


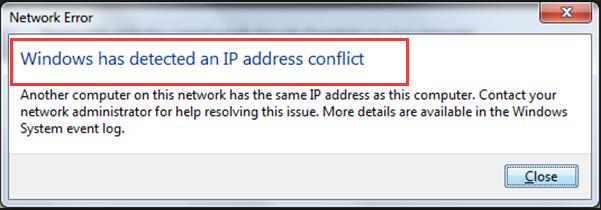
You cannot access the Internet and see the error saying “Windows has detected an IP address conflict“? You’re not alone. We’ve seen many Windows users have reported this error. And the good news is you can fix it.
In this post, you’ll learn 3 easy and effective ways to fix the error. Read on and find how…
Try these fixes:
- Release and renew your IP address
- Restart your router
- Remove your static IP
- Update your available drivers
Solution 1: Release and renew your IP address
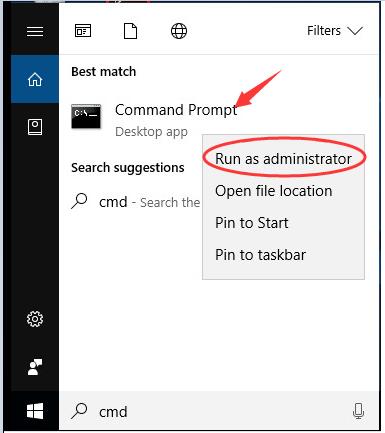
1) Type cmd in the search box from the Start menu. Then right-click Command Prompt from the top result and choose Run as administrator.
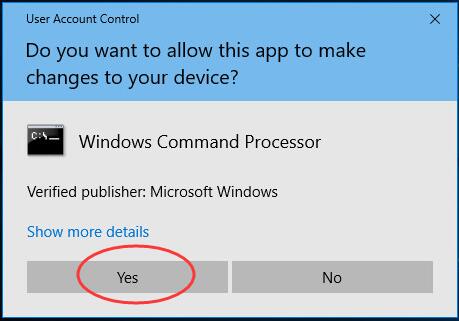
2) Click Yes when prompted by User Account Control.
3) On the pop-up window, type the following commands and press Enter after each.
ipconfig/release
ipconfig/renew
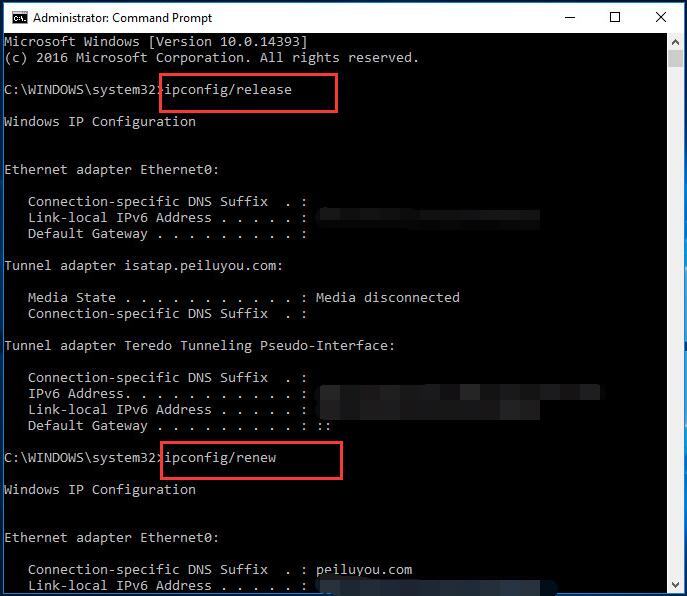
Now see if the error still exists.
Solution 2: Restart your router
For some reasons, your router might fail to assign appropriate IP address to your computer. Then the error “Windows has detected an IP address conflict” could happen. If this is the case, restart your router to try to fix it:
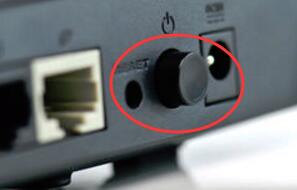
Press the power button of your router to power off, then wait for a while and press the power button again to start it again.
Solution 3: Remove your static IP
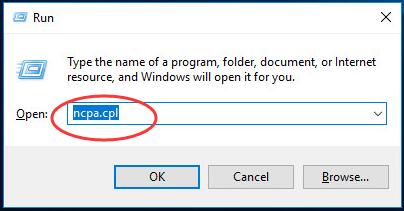
1) On your keyboard, hold down the Windows logo key, then press R to bring up the Run box.
2) Type ncpa.cpl in the box and hit Enter to open Network Connections.
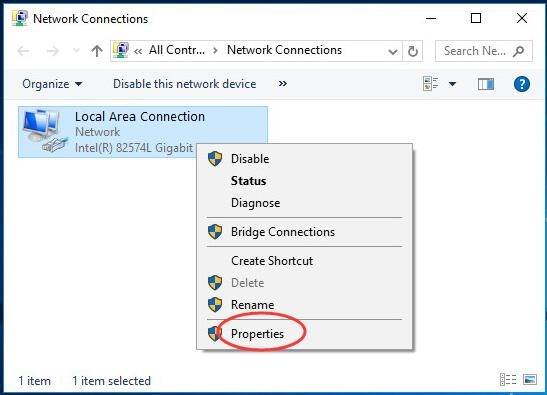
3) Right-click on your Network Connection and choose Properties.
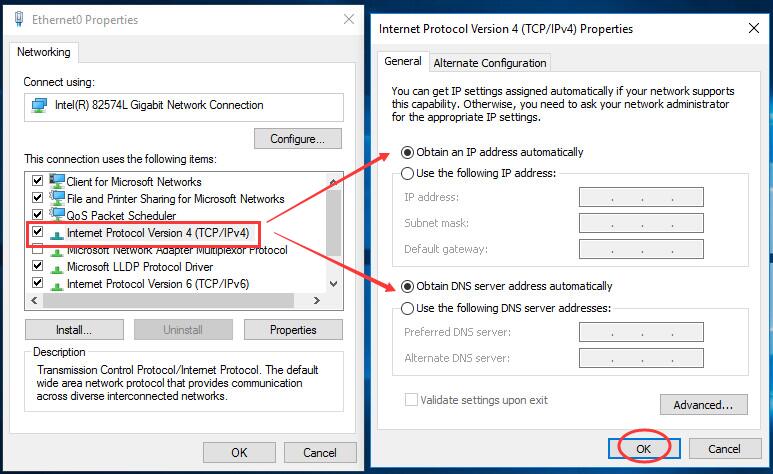
4) Double-click on Internet Protocol Version 4(TCP/IPv4). Then tick on Obtain an IP address automatically and Obtain DNS server address automatically.
Click OK and close all the windows.
5) Restart your computer and see if the error has been solved.
Solution 4: Update your available drivers
This error may also be caused by an old or incorrect network card driver. You can update your driver manually or, if you’re not confident playing around with drivers, you can do it automatically with Driver Easy.
Driver Easy will automatically recognize your system and find the correct drivers for it. You don’t need to know exactly what system your computer is running, you don’t need to risk downloading and installing the wrong driver, and you don’t need to worry about making a mistake when installing.
You can update your drivers automatically with either the FREE or the Pro version of Driver Easy. But with the Pro version it takes just 2 clicks (and you get full support and a 30-day money back guarantee):
1) Download and install Driver Easy.
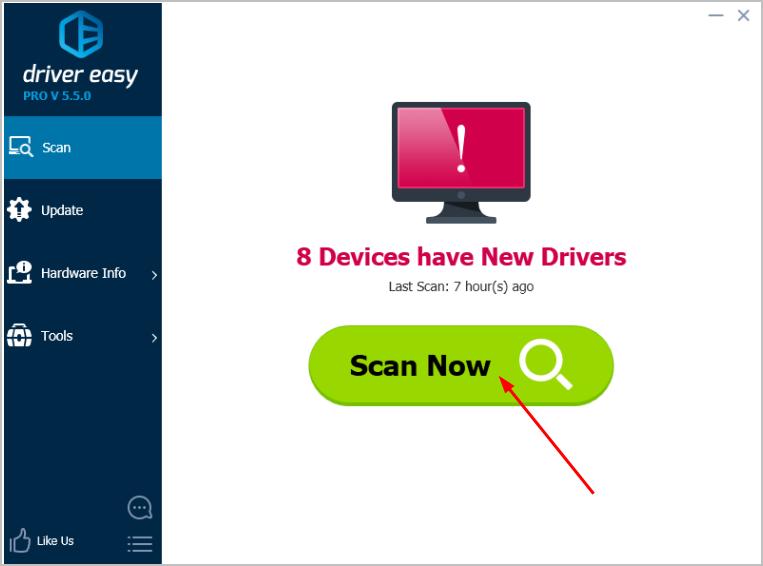
2) Run Driver Easy and click the Scan Now button. Driver Easy will then scan your computer and detect any problem drivers.
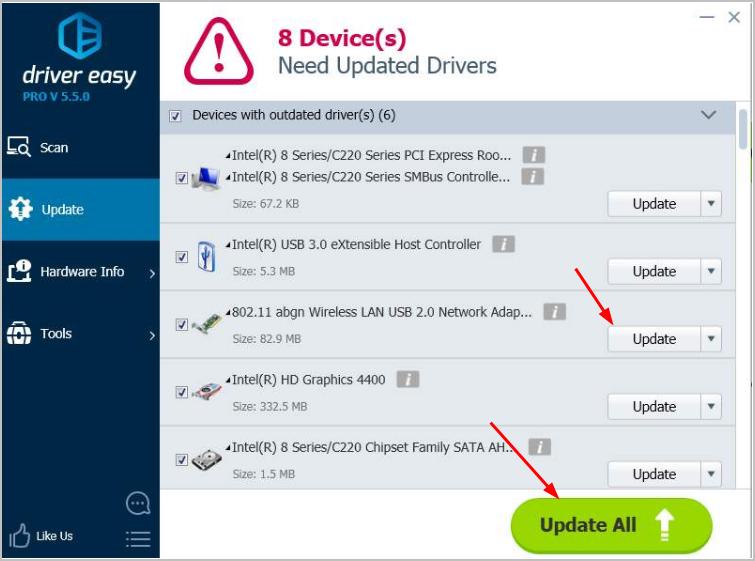
3) Click the Update button next to a flagged network card driver to automatically download and install the correct version of this driver (you can do this with the FREE version).
Or click Update All to automatically download and install the correct version of all the drivers that are missing or out of date on your system (this requires the Pro version – you’ll be prompted to upgrade when you click Update All).
4) Restart your computer.
That’s all there is to it.
Any questions please feel free to leave comment below, thanks.