


The Windows Search bar is an essential tool for quickly finding files and settings. But when it stops working — whether you can’t type into it or it returns no results—it can be frustrating. Fortunately, there are several simple fixes you can try. This guide walks you through each step to get Search working again.
- Fix 1 – Restart SearchHost.exe
- Fix 2 – Restart Windows Search Service
- Fix 3 – Run the Search and Indexing Troubleshooter
- Fix 4 – Download & Install the Latest Windows Updates
- Fix 5 – Update Your Drivers
Fix 1 – Restart SearchHost.exe
When the Search bar is not working, the very first step you should take is restarting SearchHost.exe from the Task Manager:
- Press Ctrl + Shift + Esc at the same time to open the Task Manager.
- Go to the Details tab, locate SearchHost.exe or SearchUI.exe, right-click it and select End task.
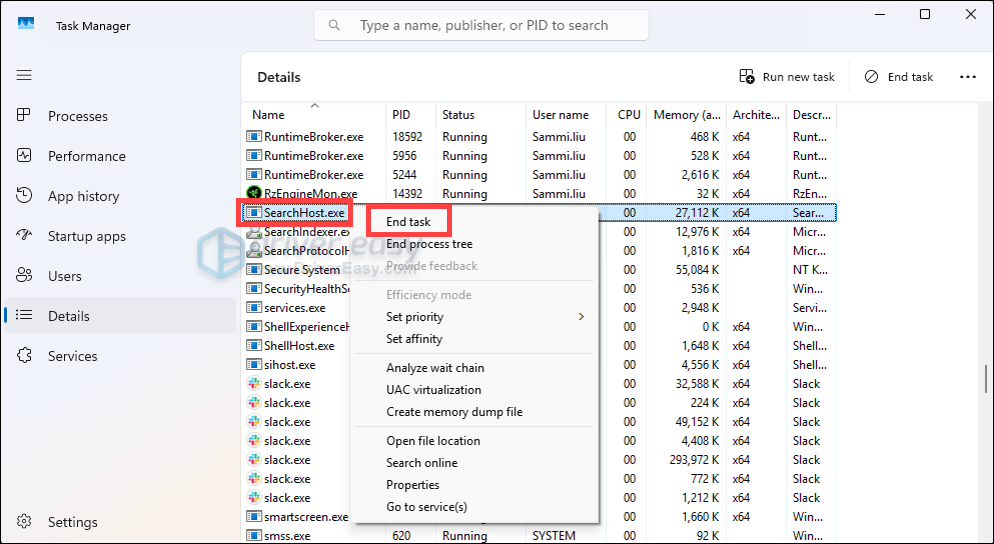
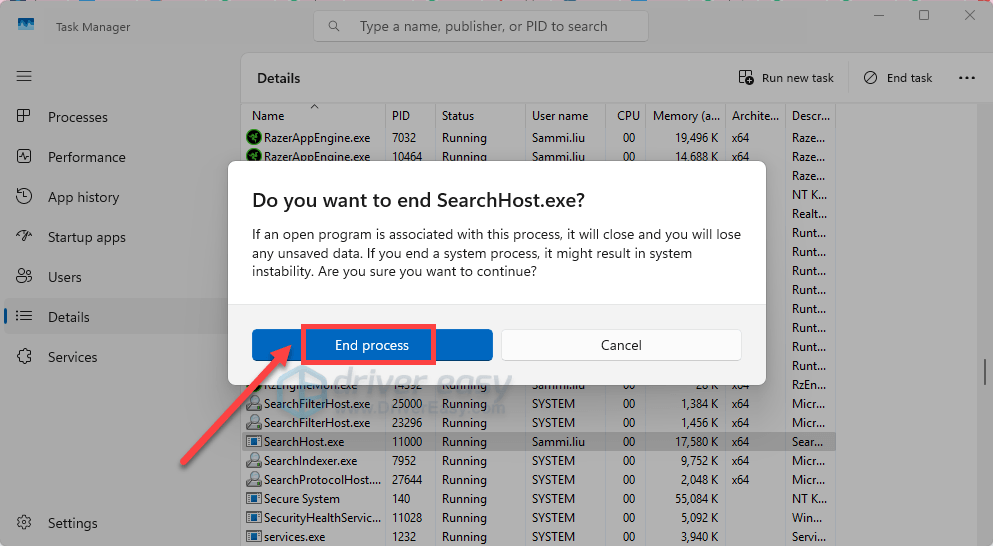
- When prompted, select End process. The next time that you search, Windows Search automatically starts.
- If it’s still not working properly, try the next fix below.
Fix 2 – Restart Windows Search Service
Sometimes it’s because that your Windows Search Service is not even running or it just needs a simple restart to clear a temporary glitch:
- Press the Windows logo + R keys at the same time to open the Run box. Type services.msc and hit Enter.
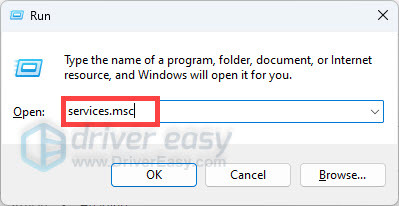
- Locate Windows Search, right-click it and select Restart. If your Windows Search is not running, you can select Start.

- Once done, check if it works. If your problems persist, move on to the next fix.
Fix 3 – Run the Search and Indexing Troubleshooter
The built-in Search and Indexing Troubleshooter may help you quickly identify the problems you’re encountering and solve them effectively. To run this troubleshooter:
Windows 11
Windows 10
If you can’t see the troubleshooter on your Windows
Windows 11
- Press the Windows logo + I keys at the same time to open Settings.
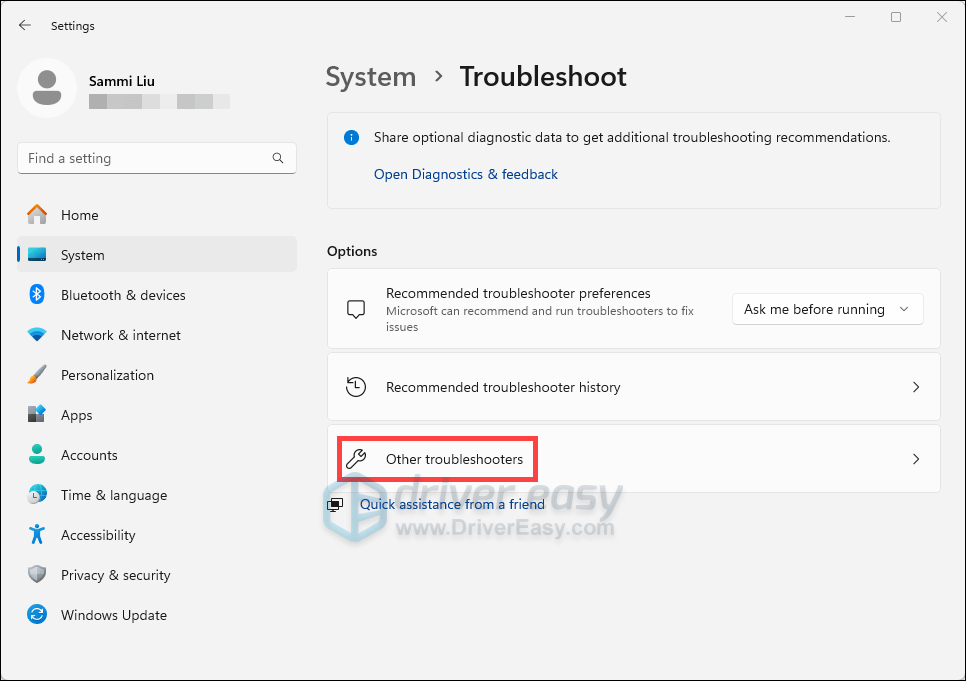
- Select System from the left pane. Then on the right side, scroll down and find Troubleshoot.
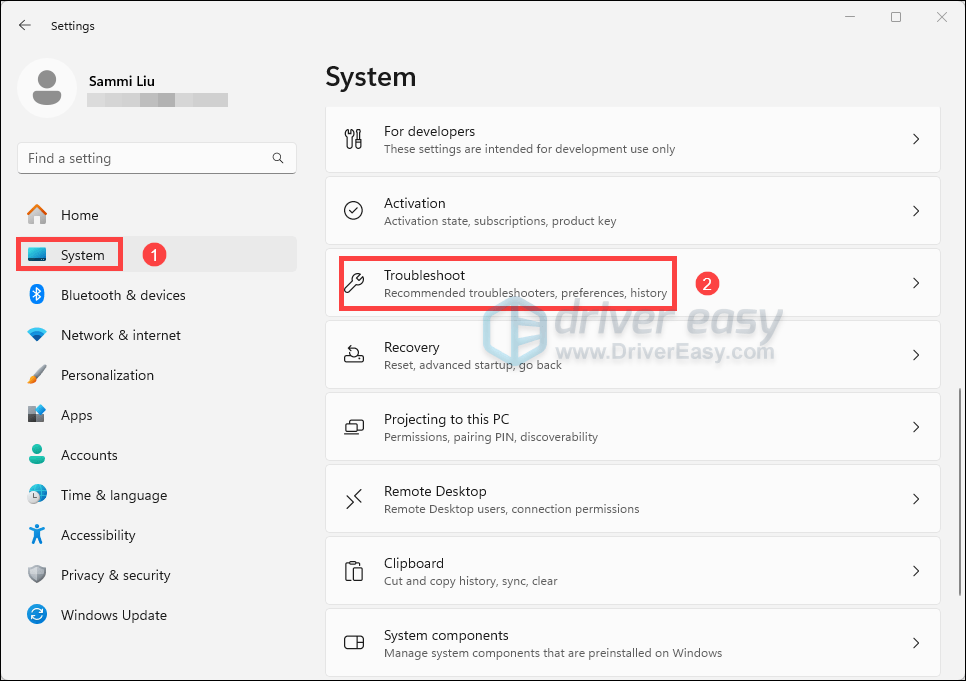
- Select Other troubleshooters.
- Look for Search and Indexing. Then click on the Run button next to it. Wait patiently for the troubleshooter to detect and solve the problems for you.

Windows 10
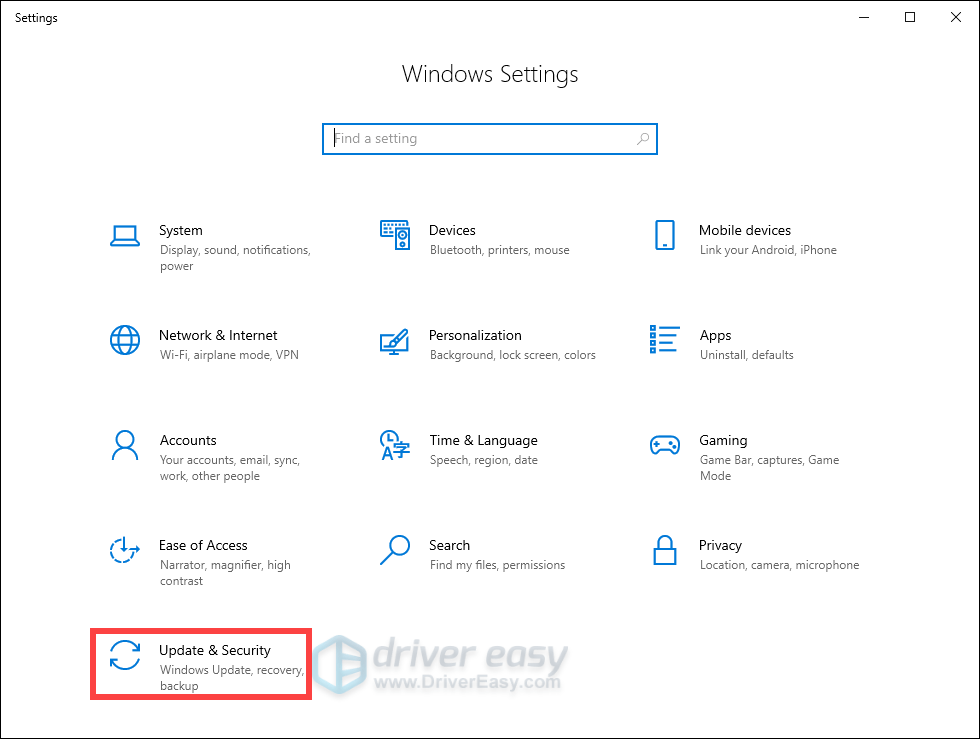
- Press the Windows logo + I keys at the same time to open Settings.
- Click Update & Security.
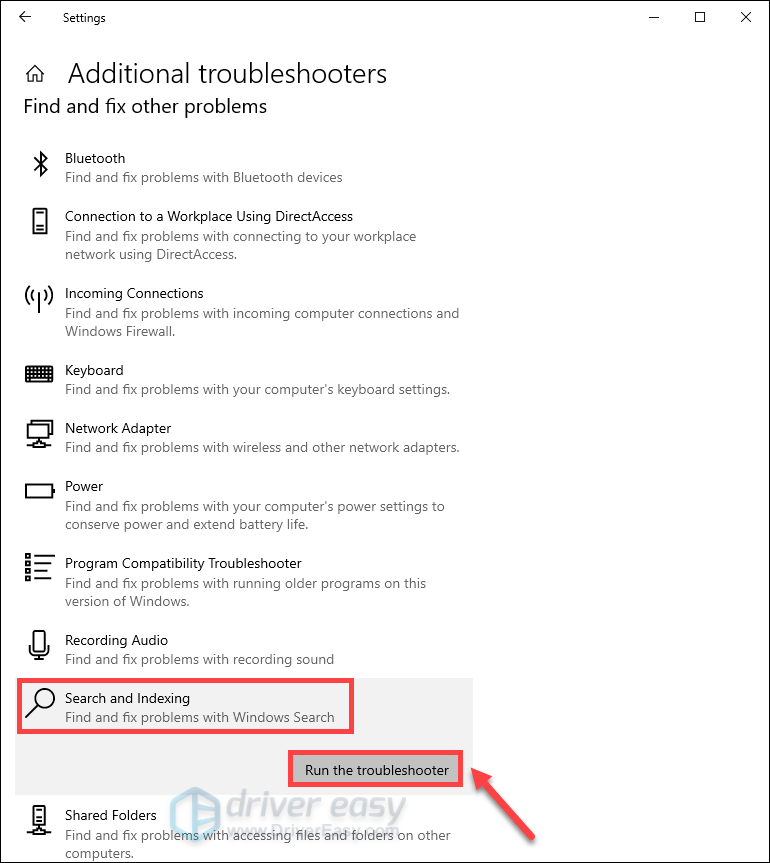
- Select Troubleshoot from the left pane. Scroll down and find Additional troubleshooters. Click on it.

- Then highlight the Search and Indexing troubleshooter and click Run the troubleshooter. Then follow the on-screen guide to let the troubleshooter diagnose your problem and hopefully fix it.
If you can’t find the Search and Indexing troubleshooter…
However, some users may find that they cannot access the Search and Indexing troubleshooter through Settings. If that’s your case, follow the steps below to use the troubleshooter:
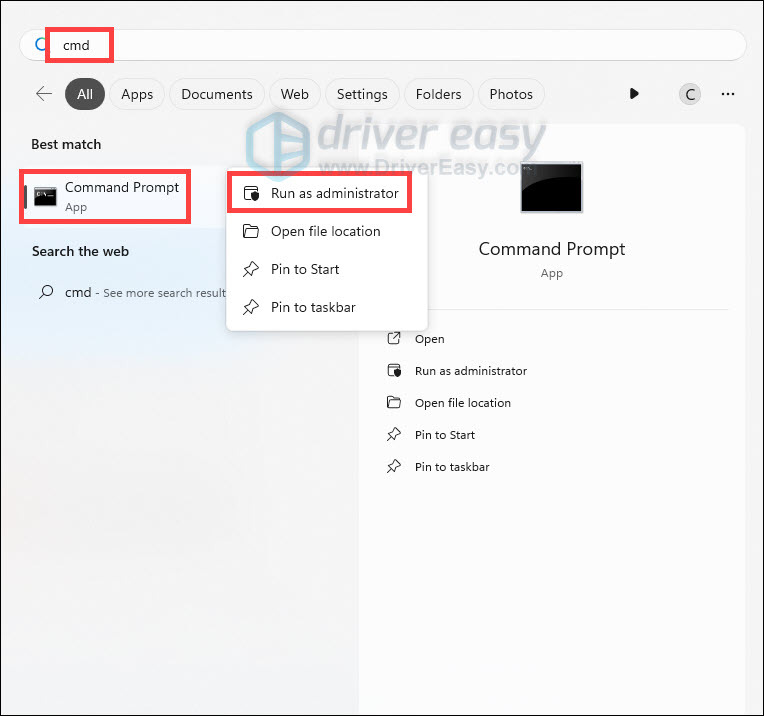
- Press the Windows logo key to invoke Search. Type cmd and hit Enter. This will open the Command Prompt window.
- Run the following command:
msdt.exe -ep WindowsHelp id SearchDiagnostic - Run the troubleshooter. Windows will try to detect and solve those problems.
Fix 4 – Download & Install the Latest Windows Updates
When you use Windows 11 or Windows 10, getting the latest updates ensures that your device runs smoothly and securely:
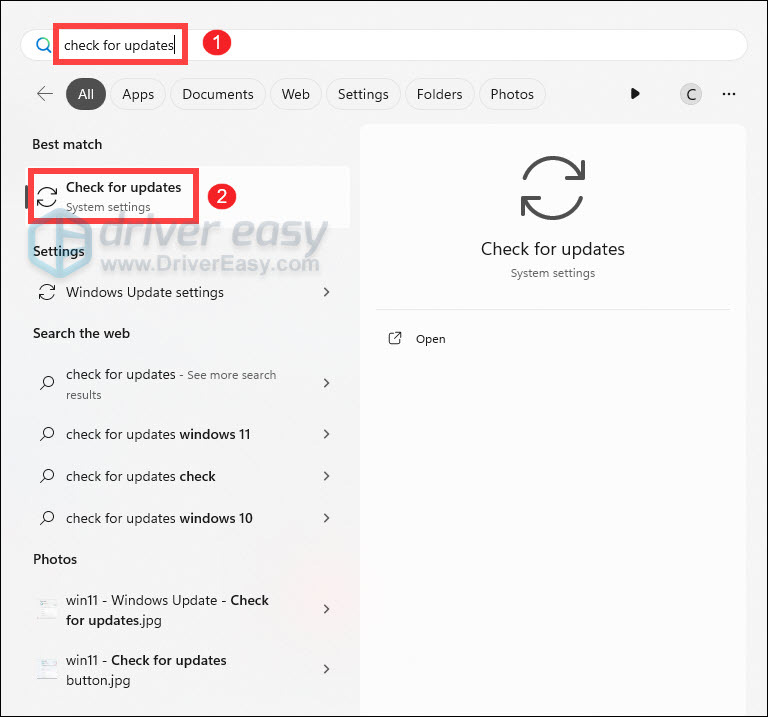
- Press the Windows logo key to invoke Search. Then type check for updates, and select it from the list of results.
- If you’re told that “Updates available to install”, simply click on the Install all button.

Or you can click on the button Check for updates to see if there are updates available.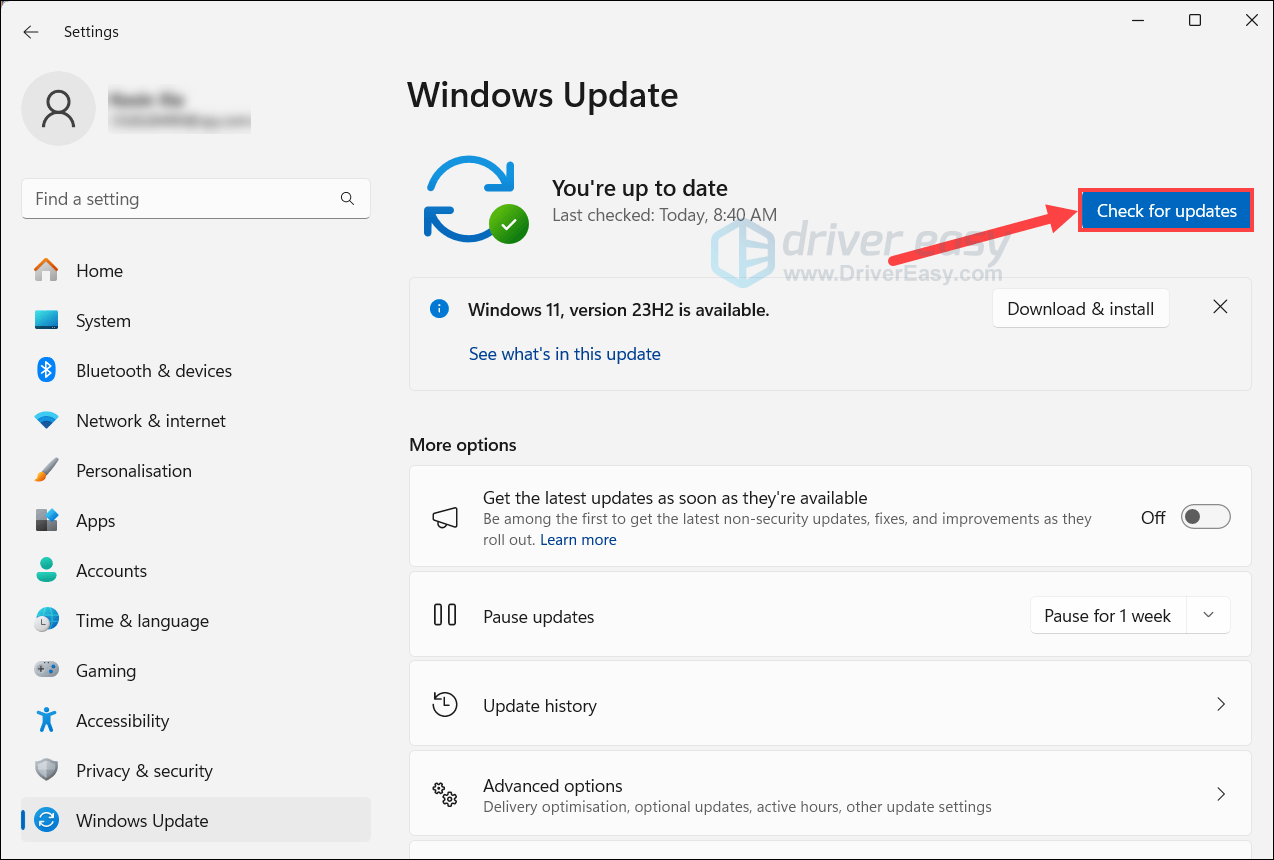
- Then follow the on-screen instructions to download and install the latest Windows updates. You should be prompted to restart your device upon completion. Till then, you can test if your problems have been solved.
Fix 5 – Update Your Drivers
Outdated or mismatched drivers — especially for graphics, chipset, or input devices—can create system instability that spills over into core Windows services, including Search. Updating drivers helps by:
- Improving stability: Ensures smoother system operation, reducing hidden service failures.
- Enhancing compatibility: Fixes UI glitches that may prevent typing or seeing results in the search bar.
- Preventing future issues: Keeps all device layers working together seamlessly.
You can update drivers via the Device Manager. What you have to do is identify key components, expand the category, right-click the device, and select Update driver. However, if you want to avoid the manual hassle — and the potential risks that come with it, you can do it automatically with Driver Easy. Driver Easy is a reliable driver update tool that performs a thorough removal of outdated drivers and automatically installs the correct, latest versions. You don’t need to worry about compatibility issues or missing steps. Driver Easy handles it all.
- Download and install Driver Easy.
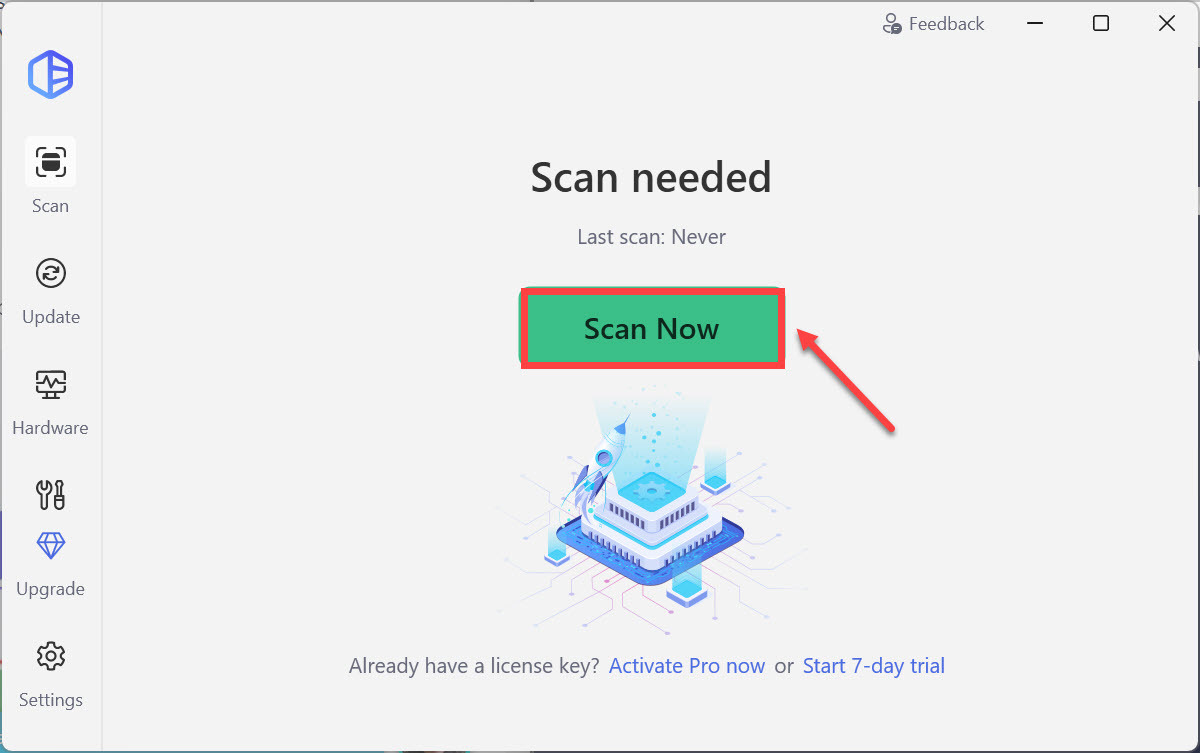
- Run Driver Easy and click the Scan Now button. Driver Easy will then scan your computer and detect any device with problem drivers.
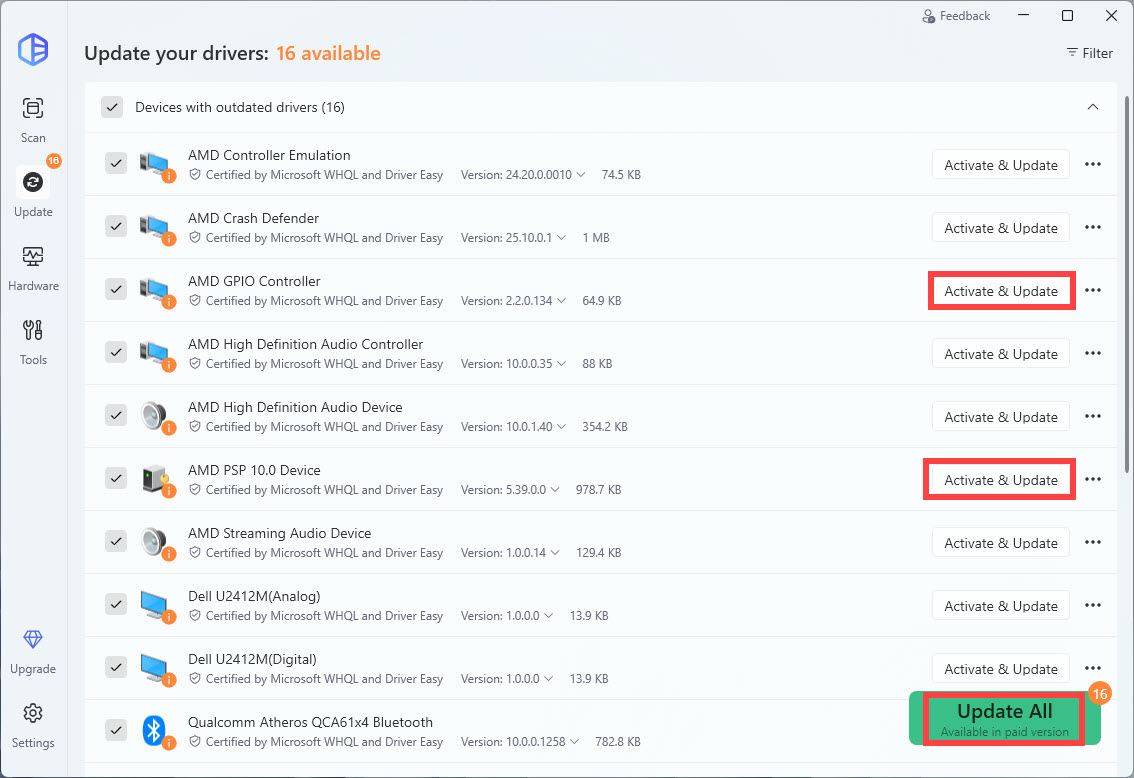
- Click Activate & Update next to your flagged device to start a 7-day free trial or upgrade to Driver Easy Pro. Or you can click Update All to update all drivers. Either option will automatically download and install the latest drivers for you.
- Restart your computer for the changes to take effect. If you need any assistance while using Driver Easy, feel free to contact our support team at support@drivereasy.com.
Wrapping Up
So this is the full guide to troubleshoot your Windows Search bar. We understand how essential this feature is for your daily tasks, and we hope these steps have helped restore its functionality. If you have any questions or need further assistance, feel free to reach out. We’re here to help you navigate any challenges you may encounter.