


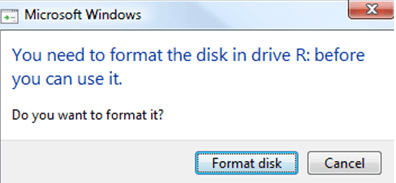
You may notice a prompt telling you to format the disk when you plug in an external device such as a USB flash drive or an SD cards. If you don’t know what’s in the drive or you want to keep the data, don’t format the drive just yet! In some cases, the device won’t work even when it’s formatted.
The error message will appear like the image above. Note that the drive name in the image (drive R:) may be different according to the device you are using and the partitions you have.
When you encounter this error, try these solutions first.
Try these fixes:
You may not need to try all the fixes. Simply work your way down until you find the one that does the trick.
- Try different USB ports
- Test the device on another computer
- Recover the disk using Windows DOS (Relatively Safe)
- Use a data recovery tool
- Run Antivirus software to scan your computer
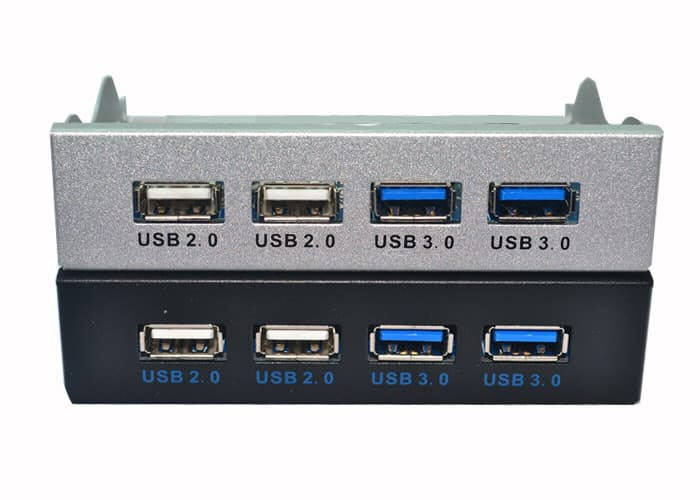
Fix 1: Try different USB ports
One easiest potential fix is to plug your device in another USB port. You can give it a shot first and see if the problem persists. You may want to try all the USB ports on your PC, including the ones on the back panel.
If you’re still seeing the error, take a look at the next fix below.
Fix 2: Test the device on another computer
Plug the device into another computer. If it solves the issue, chances are the issue lies in the first PC. If the problem still persists, the device could be damaged. You might want to try the following fixes to recover the disk.
Fix 3: Recover the disk using Windows DOS (Relatively Safe)
You can try to recover the disk using the built-in Windows tool chkdsk (check disk). This is a relatively safe approach to correct disk errors, and normally it will not cause data loss.
Here’s how:
1. Press Win+R (the Window logo key and R key) at the same time. A Run dialog box will appear.
2. Type cmd in the run box. Then press Ctrl+Shift+Enter to run Command Prompt as an administrator.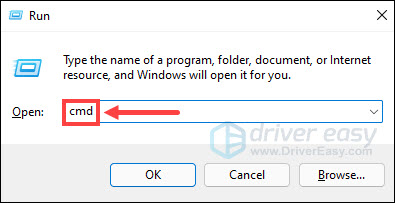
3. Type chkdsk <Your hard disk letter>: /f. The /f parameter is telling chkdsk to fix error on the disk. Press Enter and wait for the process to complete.
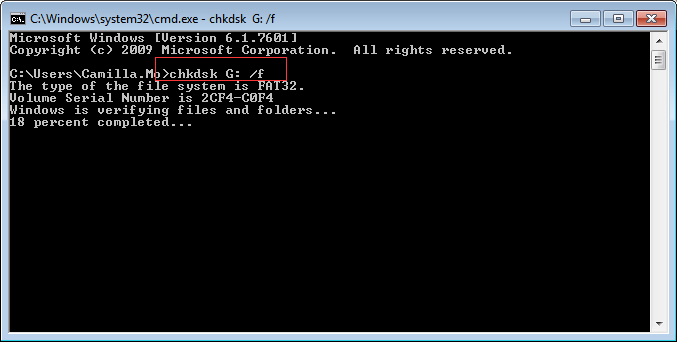
During the recovery process, if you see a confirmation message similar to this one, press Y and Enter. Windows will then saves each lost chain in the root directory as a file with a .chk extension. These .chk files are data fragments Windows found on the disk.
10 lost allocation units found in 3 chains.
Convert lost chains to files?
When the process completes, if you notice something is missing from your files, you can check these .chk files to see if they contain any data that’s important to you. Or you can simply delete them if you’re sure you don’t need them. If you’re to access these files, try renaming the file extension (like to .txt or .jpg depending on what you think the file might be) or sometimes you may need a third-party recover tool.
If this method doens’t work for you, or you’re looking for a safer solution that can preseve your data to the greatest, check out the next fix.
Fix 4: Use a data recovery tool
If the drive contains important data, you can try to recover the data with a recovery tool.
And Stellar Data Recovery is a powerful tool that suits all hard disk recovery needs, whether you’re a technician or a power Windows user. It can retrieve lost or deleted data and help you effortlessly recover data from formatted drives, deleted partitions, and RAID arrays.
- Download and install Stellar Data Recovery Professional.
- Run Stellar Data Recovery Professional.
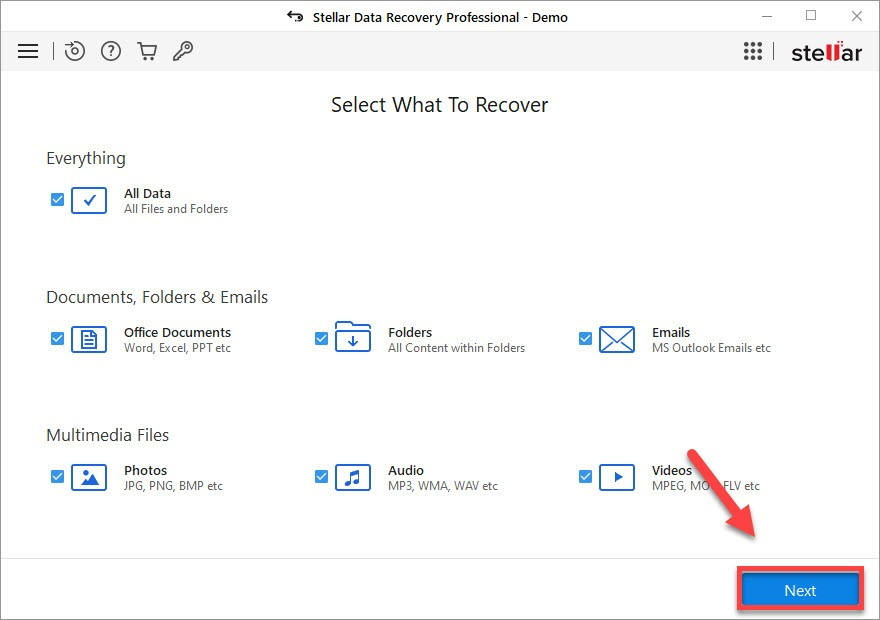
- Select which type of data you wish to recover, or you can just select All Data. Click Next to proceed.
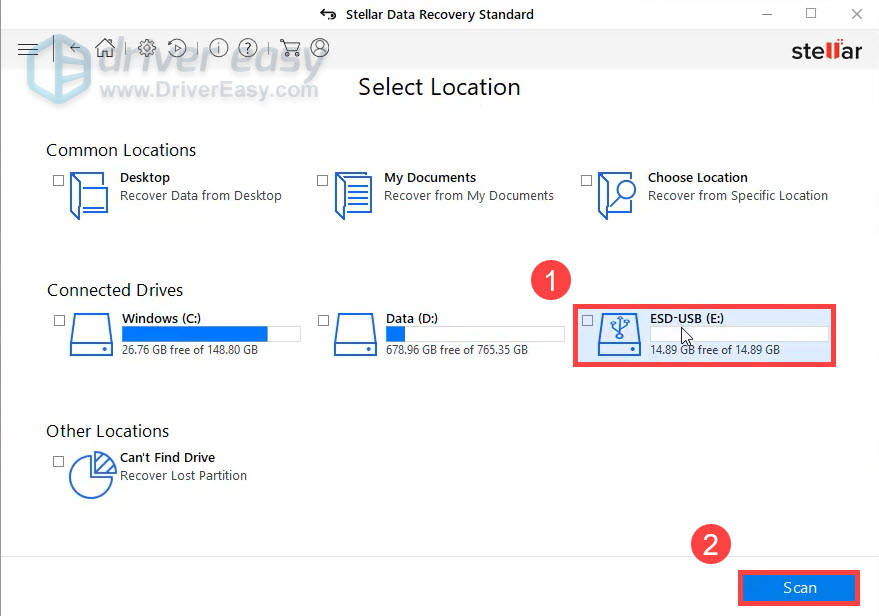
- Select the location where your file was in, then click Scan.
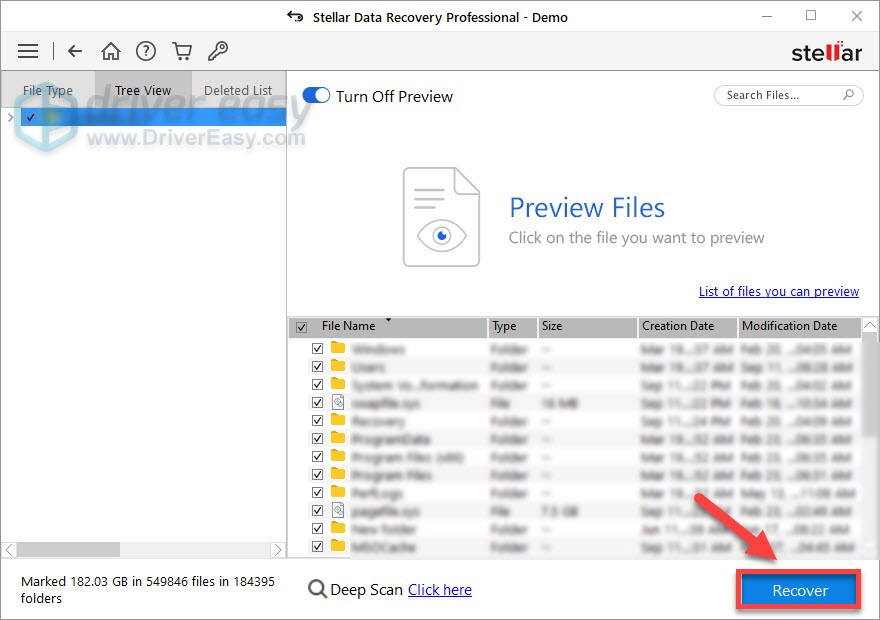
- Wait for the san to be complete, then find the file you want to recover and click Recover. This will require a paid license. You can review the data first before deciding.
If this fix doesn’t help you, take a look at the next fix.
Fix 5: Run Antivirus software to scan your computer
The problem can be caused by virus. If you have installed Antivirus software like Norton360 or Avast, use it to scan your computer to detect the problem.