


If your Windows is working slowly, and when you check your Task Manager and find that the System item is hogging much of your CPU (or Disk in some cases) usage, you’re not alone. Many Windows users are reporting this problem. Don’t worry, it’s possible to fix.
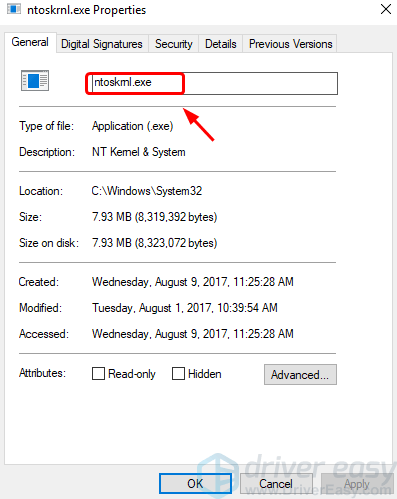
* Right-click the System item and click Properties, you’ll see a new item called ntoskrnl.exe.
What is ntoskrnl.exe?
Ntoskrnl.exe, short for Windows NT operating system kernel, is a fundamental part of the system. Usually, when you see the uncommon usage of high CPU or memory, you should shut down the possible programs that are causing the problem.
If this happens a lot, you should see if there is something wrong with certain application settings or files in your system.
How do I fix it?
Here are 4 methods for you to try. You may not have to try them all; just work your way down until you find the one that works for you.
- Method 1: Disable Windows Search Service
- Method 2: Check Incompatible Programs
- Method 3: Run SFC and DISM
- Method 4: Disable Runtime Broker
Driver Easy is a tool that detects, downloads, and updates drivers (if you go Pro). You can use it to fix any driver problems. If you go to Pro, you can even update all drivers with just one click. If the high system CPU usage problem is caused by drivers, you can use Driver Easy to fix it quickly.
You can update your drivers automatically with either the 7 days free trial or the Pro version of Driver Easy. It takes just 2 clicks, and you get full support and a 30-day money-back guarantee with the Pro version:
- Download and install Driver Easy.
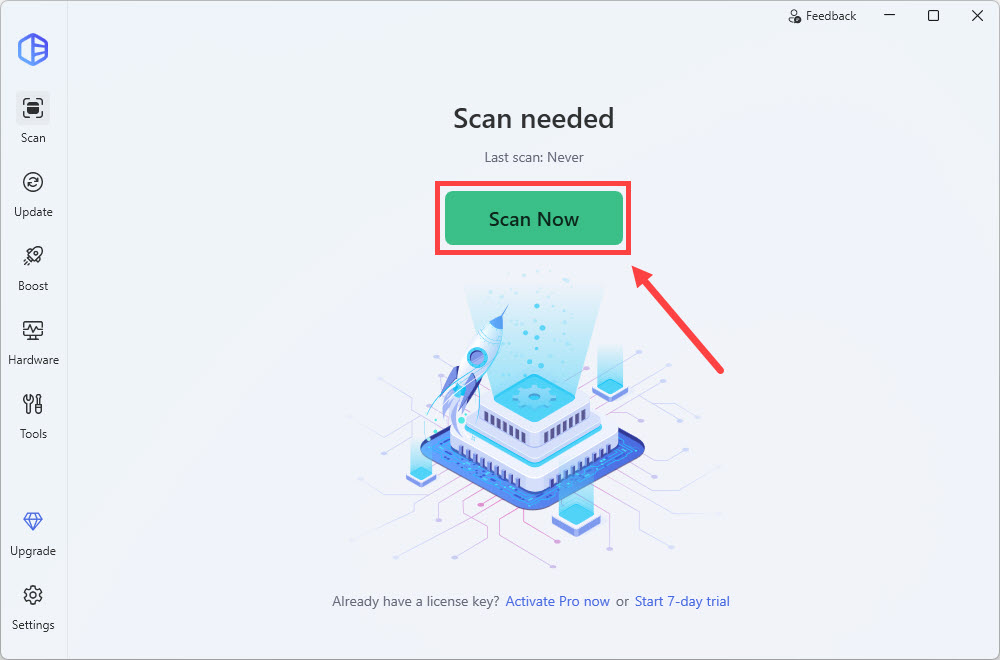
- Run Driver Easy and click the Scan Now button. Driver Easy will then scan your computer and detect any problem drivers.
- Click the Activate & Update button next to the flagged device to automatically download and install the correct version of this driver.
Or click Update All to automatically download and install the correct version of all the drivers that are missing or out of date on your system (You’ll need the Pro version for this – when you select Update All, you’ll get a prompt to upgrade. If you’re not prepared to purchase the Pro version yet, Driver Easy provides a 7-day trial at no cost, granting access to all Pro features like fast downloads and easy installation. No charges will occur until after your 7-day trial period ends.)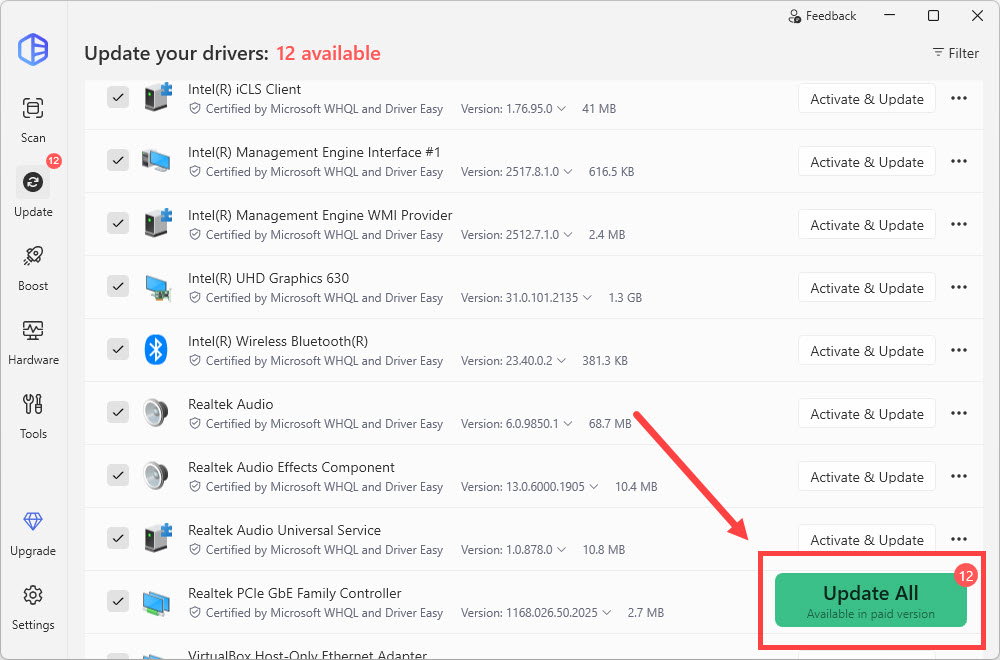
- After updating, restart your computer to take effect.
Method 1: Disable Windows Search service
A lot of users suggested that disabling Windows Search helps to reduce the CPU and Disk usage caused by ntoskrnl.exe. To see if this does the trick for you as well:
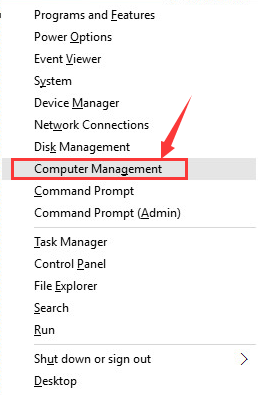
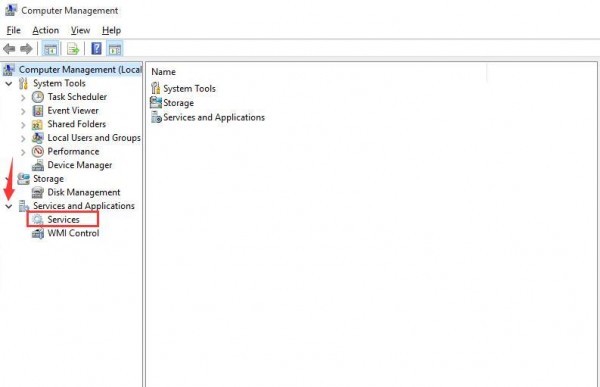
- On your keyboard, press the Windows key and X at the same time, then click Computer management.
- Expand Services and Applications and click Services.
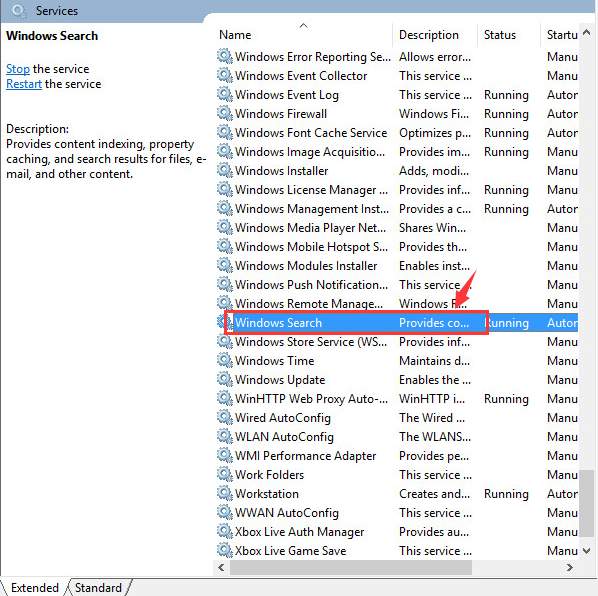
- Double-click Windows Search.
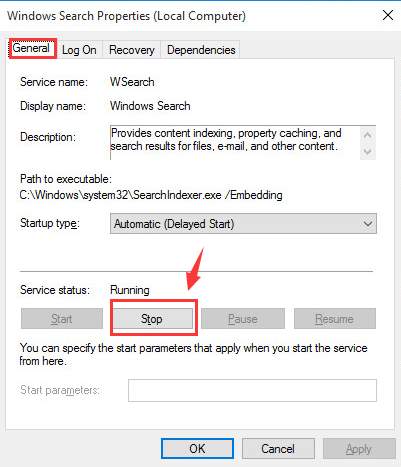
- In the General tab, click Stop.
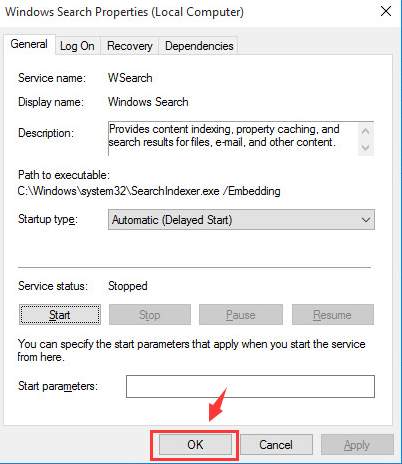
- Wait for the service to stop, then press OK to save the change and exit.
Method 2: Check incompatible programs
Some users say that this only happens when they use certain programs. Especially when they have antivirus software running in the background. The antivirus software might have some conflicts with certain programs. The next time you encounter this situation, try to pay extra attention to see if you can find the program that is messing with your system. If such a program can be located, try reinstalling it or uninstalling it completely.
Method 3: Run SFC and DISM
Corrupted system files may cause high CPU and disk usage with ntoskrnl.exe, but luckily, there are two built-in tools that can help to identify and repair such bad system files. The whole process could take some time, and we suggest you don’t run any other programs when doing the test. To run these tools:
3.1. Scan corrupt files with System File Checker
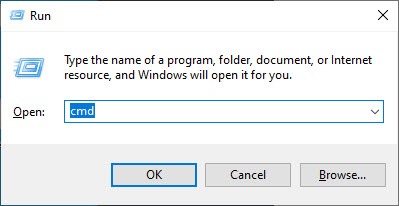
1) On your keyboard, press the Windows logo key and R at the same time. Type cmd and press Ctrl+Shift+Enter at the same time to run Command Prompt as administrator.
Click Yes when prompted for permission to make changes to your device.
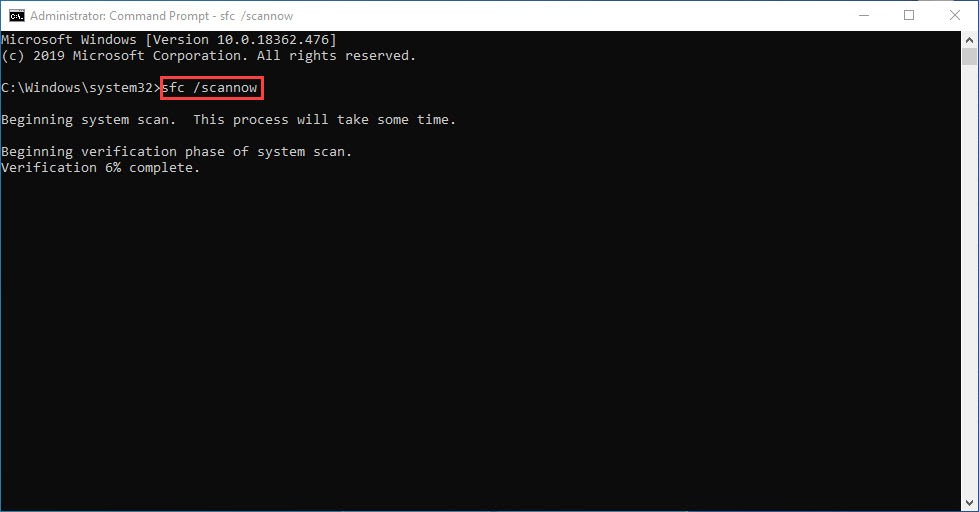
2) In the Command Prompt window, copy and paste the following command and hit Enter.
sfc /scannow
3) System File Checker will then scan all system files and repair any corrupted or missing ones it detected. This may take 3-5 minutes.
3.2. Run dism.exe
1) On your keyboard, press the Windows logo key and R at the same time. Type cmd and press Ctrl+Shift+Enter to run Command Prompt as administrator.
Click Yes when prompted for permission to make changes to your device.
2) In the Command Prompt window, copy and paste the following commands and hit Enter after each line:
dism.exe /online /cleanup-image /scanhealth
dism.exe /online /cleanup-image /restorehealth
2) When the process finishes:
- If the DISM tool gives you errors, you can always try this command line. This will take up to 2 hours.
dism /online /cleanup-image /startcomponentcleanup
- If you get Error: 0x800F081F, reboot your computer, then open Command Prompt as administrator again (step 1) and run this command line instead:
Dism.exe /Online /Cleanup-Image /AnalyzeComponentStore
When these tests are done, see if the ntoskrnl.exe high CPU or disk usage problem remains. If the problem still persists, please move on to the next fix.
Method 4: Disable Runtime Broker
Normally, the runtime broker process should only use a very low CPU resource, but if things go wrong, it could take up to 100% CPU and disk usage, making your Windows run slowly and buggy. In this case, you can try to disable it to see if it helps. To do so:
- Firstly, create a system restore point as instructed here: How to enable and create restore points in Windows 10 (the screenshots here are from Windows 10, but the instructions work on Windows 11 as well).
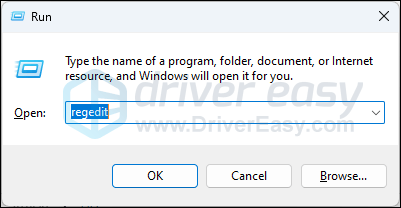
- On your keyboard, press the Windows key and the R key together. Type regedit and hit Enter.
- Go to the following location:
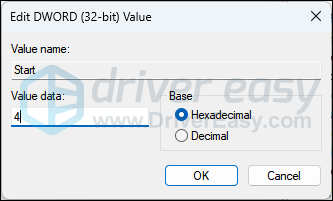
HKEY_LOCAL_MACHINE\SYSTEM\CurrentControlSet\Services\TimeBroker
- On the right side, double-click Start, and change its value to 4.
- Restart your computer for the changes to take effect.
See if the ntoskrnl.exe high CPU or disk usage problem remains.