


After you record video clips for some important moments, the moments at weddings, at Birthday parties, you may want to turn the video clips into movies so you can preserve the videos better or share them with your friends. You may also want to add some effects to the videos. In this case, a good video editor is necessary. There are many video editors out there for you to choose. But less is more. In this article, we’ll introduce you two best video editors for Mac.
It’s not easy to select the best video editor, as all video editors have their Pros and Cons. The most important thing is you can use the editor to complete your task even without editing knowledge.Based on this, we recommend the following two video editors. You can try both and select the one that works for you.
Video Editor 2: Movavi Video Editor (7-day Free Trial)
Video Editor 1: iMovie (Free)
iMovie is an official Apple video editor. It’s free and intended for amateur users. With the easy-to-use interface, you can use it to edit your videos easily.
Here are some of the features that iMovie offers:
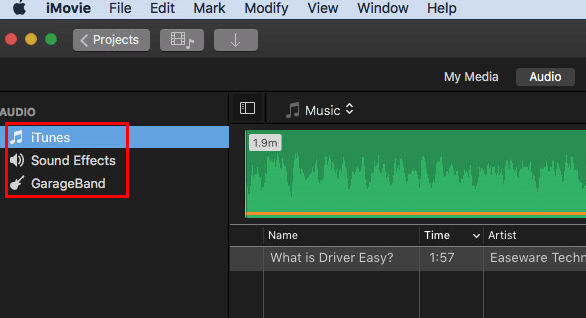
Adding Music
iMovie allows you to add music to your videos. You can select the music from the iTune library, the iMovie built-in sound library, or GarageBand. Adding music to make the move sound as good as it looks.
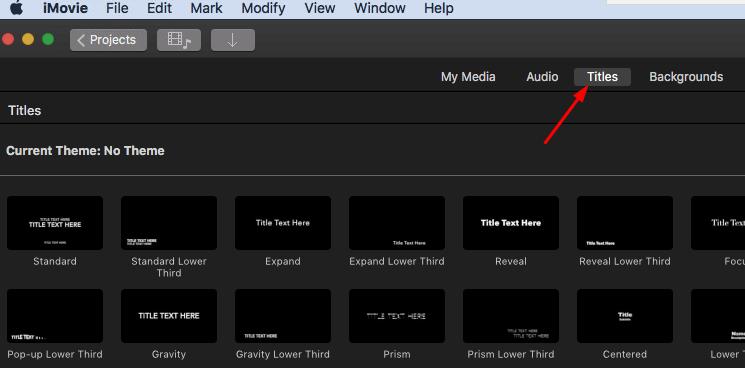
Adding Title
iMovie offers dozens of styles for you to add animated titles and credits to your videos. You can select the titles to add according to your needs.
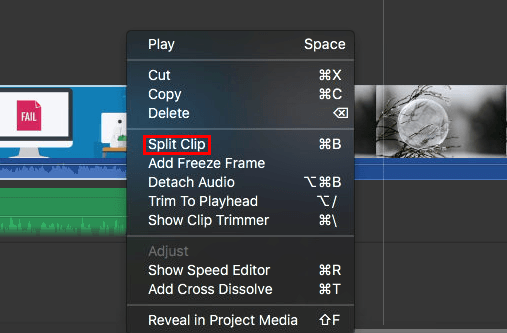
Cutting Clips
Cutting clips would be the basic requirements for video editing. iMovie also allows you to cut the videos into clips.
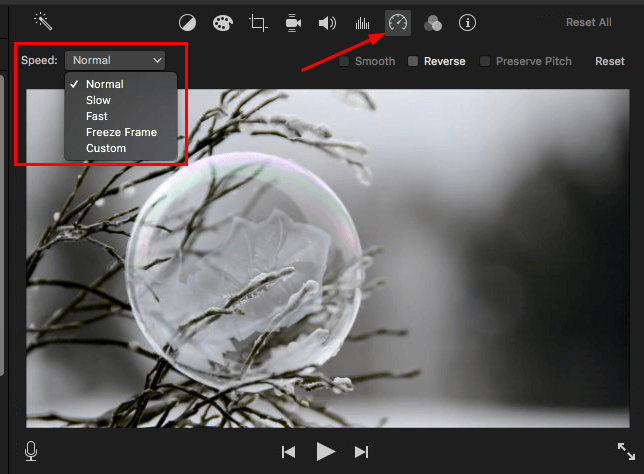
Change the video speed
You can change the speed of the action shots so the video clips can play fast or slow.
TIP: Apple doesn’t offer a complete manual for you to follow to use the features. If you’re not sure how to use the features, you can google with the keyword “iMovie + feature name” to find the guide. For example, if you want to know how to change the video speed, you can google with the keyword “imovie change speed”. The Apple support page for this feature would probably on top of the search results. Then you can visit that support page for the details about using the feature.
How to Edit Videos with iMovie on Mac
1) Open iMovie from Launchpad. If iMovie isn’t installed on your Mac, you can download and install it manually.
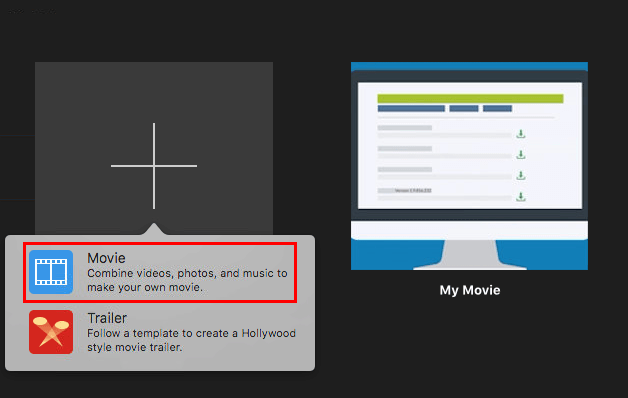
2) Click Create New and select Movie.
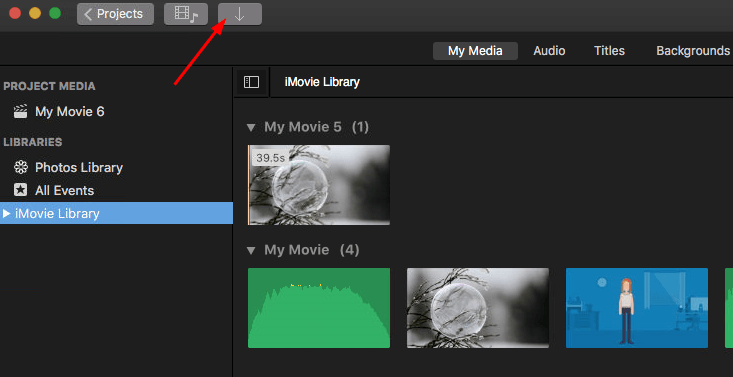
3) Click the import icon at the upper-left corner then select the video clip you want to edit. You can select the video clip from the drive or the folder where you store the video clips.
4) Drag the video clip to the timeline and select the specific feature to add the effects you want to the videos.
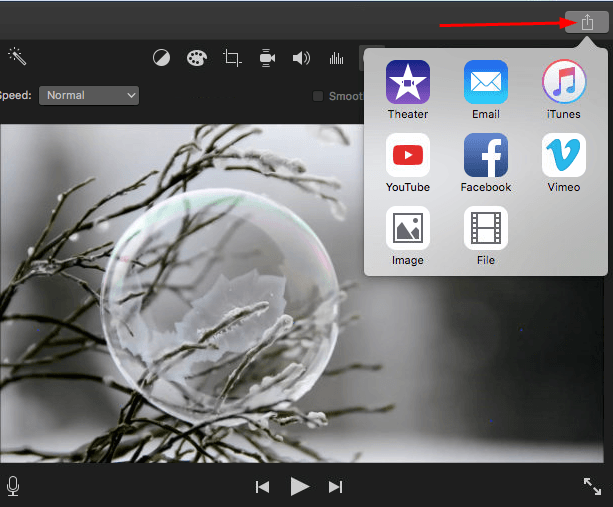
5) Export the video to local drive or upload the video to social media like YouTube and Facebook.
Other information
You not only can edit one video clip, you can combine different video clips. Just import the video clips and drag them to the timeline and add the effects you want.
iMovie is easier to use with the new Macbook Pro, as the most useful commands automatically appear on the keyboard. You can just use the keys on the keyboard to use the important features like Add to Movie, Add as Overlay.
iMovie is compatible with all Apple devices. It means you can edit the same video on different Apple devices. For example, if you start the editing on iPhone, you can continue the editing on Mac.
The exported file will only be in MOV format. If you want to export the video to other formats, you can choose to use Video Editor 2.
Video Editor 2: Movavi Video Editor (7-day Free Trial)?
Movavi Video Editor is a well-known video editor around the world. Same as iMove, Movavi Video Editor is also for amateur users. Comparing with iMovie, Movavi Video Edit offers more features and easier to use with the simpler-use interface. The biggest disadvantage is the price. It’s not free but offers 7-day Free Trial. It means you can try it for 7 days then you’ll know if it’s worth purchasing.
Here are some of the features the Movavi Video Editor Offers:
Adding Music
Movavi Video Editor allows you to add music to your videos. To add music or other sounds to your project, you can import Media Files. Or you can use one of the built-in music tracks from their free music collection.
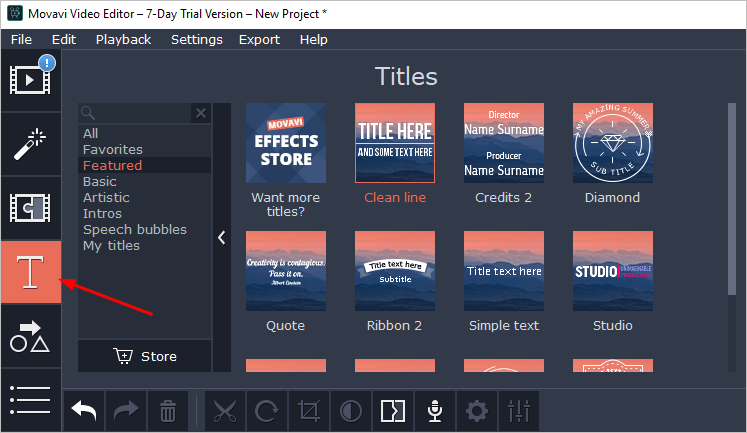
Adding Title
Adding text titles to your movie allows you to express your thoughts and supplement the audio with subtitles. Movavi Video Editor allows you to add title according to your needs.
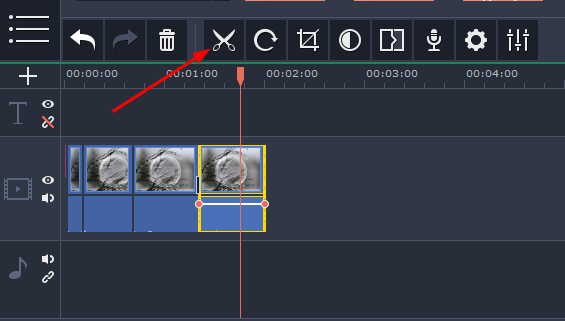
Cutting Clips
Cutting clips would be the basic requirements for video editing. Movavi Video Editor also allows you to cut the videos into clips.
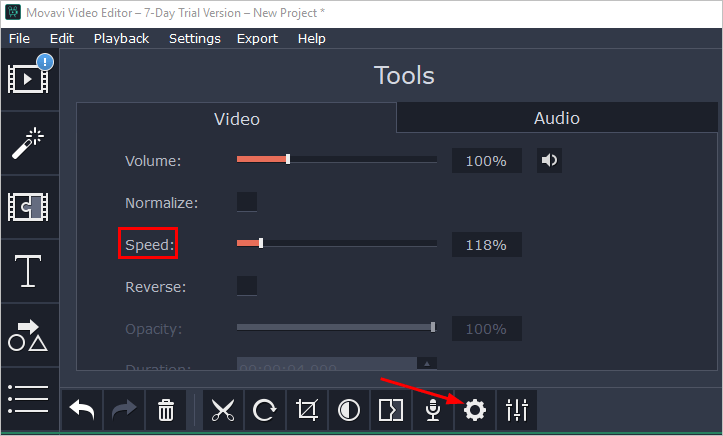
Change the video speed
You can change the speed of the action shots so the video clips can play fast or slow.
TIP: Movavi offers a product manual allowing you to follow to use the features. In the manual, you can select the feature you want to use. Then you can learn how to use the features easily by following the detailed steps. To learn how to use Movavi Video Editor, just visit Movavi Video Editor User Manual.
How to Edit Videos with Movavi Video Editor on Mac
1) Download and install Movavi Video Editor on your Mac.
2) Launch Movavi Video Editor.
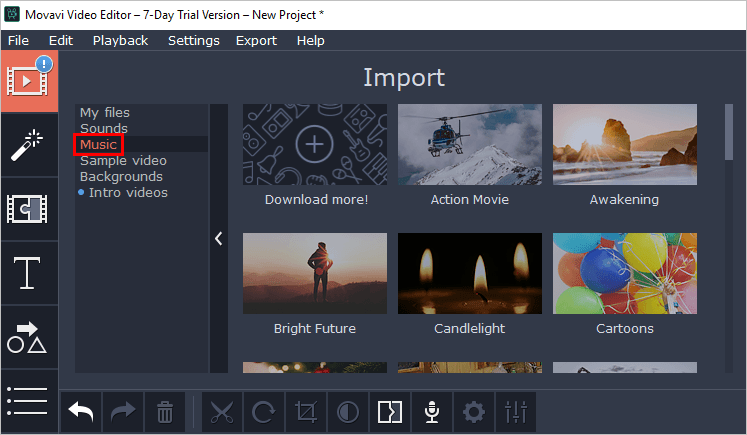
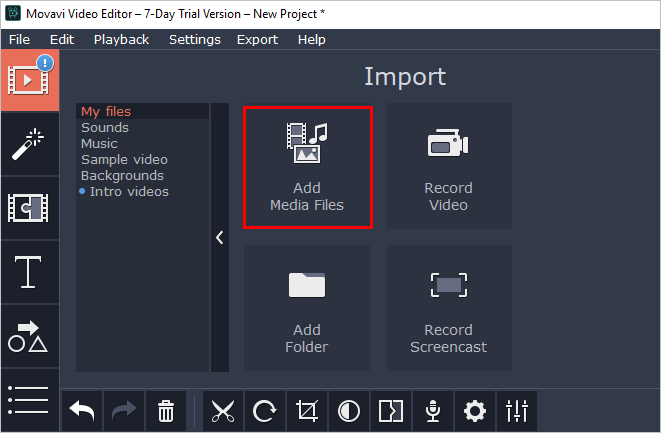
3) Click the Import tab and click Add Media Files to import the video clip you want to edit.
4) Drag the video clip to the timeline and select the specific feature to add the effects you want to the videos.
5) Export the video to local drive or upload the video online like YouTube and Google Drive.
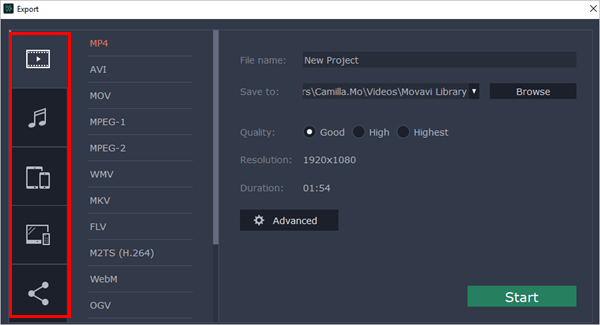
Other information
You not only can edit one video clip, but you can also combine different video clips. Just add the media files and drag them to the timeline and add the effects you want.
You can export the video files in different formats, such as MP4, MOV, WMV, MKV.
Hopefully you find this article helpful. To edit your videos, you can use iMovie or Movavi Video Editor. If you have any questions, ideas or suggestions, feel free to leave a comment below.