


Windows 10 Projecting to this PC is a feature that allows you to wirelessly project your other devices to the screen of your computer. But when you try to use this feature, you might get an error message saying “This device doesn’t support receiving Miracast, so you can’t project to it wirelessly.”. To fix it, we’ll walk you through the steps in this article.

Try these fixes
You may not need to try them all; simply work your way down the list until you find the one that works for you.
- Check if your PC supports Miracast
- Check if WiFi is enabled on both devices
- Reinstall your wireless network adapter driver
- Verify your network driver if it’s compatible
- Update your network driver
- Set Auto for Wireless Mode Selection
- Disable third-party VPN
Fix 1: Check if your PC supports Miracast
Miracast is a wireless technology that makes it possible for users to mirror one’s device’s display to another device. Before using it, the first thing you need to do is check if your device supports it.
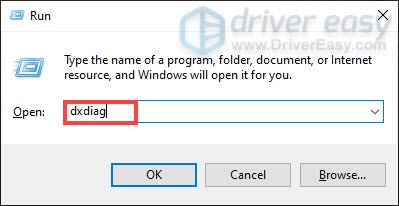
1) On your keyboard, press the Windows logo key  and R at the same time to invoke the Run box.
2) Type dxdiag, then press Enter on your keyboard.
3) In the DirectX Diagnostic Tool window, click Save All Information… at the bottom.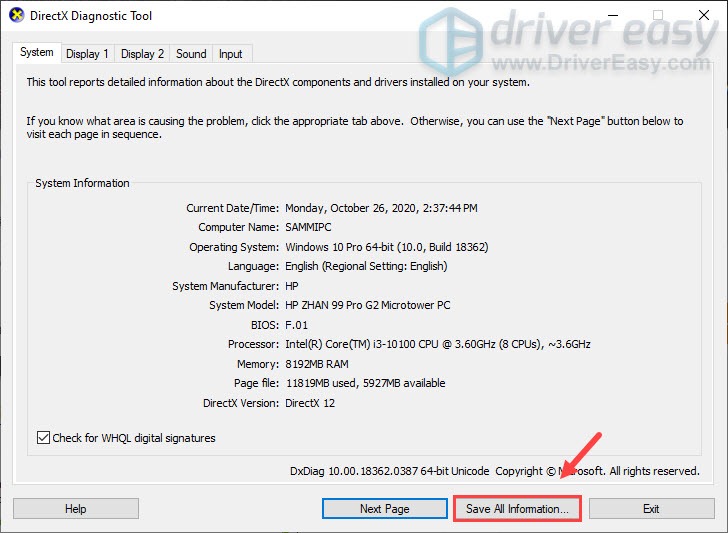
4) When the Save As window appears, select Desktop so that it’s easy to find. Then click Save.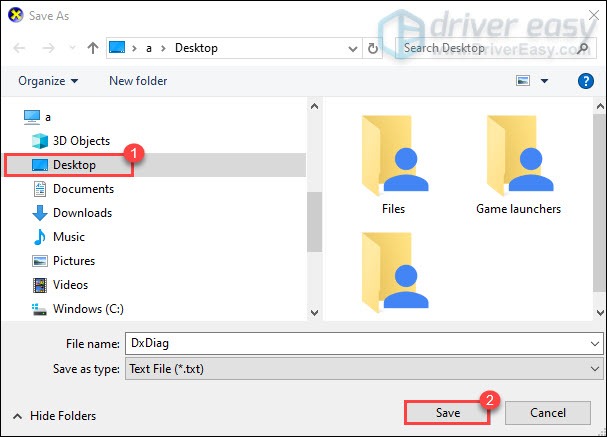
5) From your desktop, double-click on the DxDiag text file to open it.

6) Under the System Information section, look for Miracast. Now you can know whether it’s available or not. If it’s unavailable, then your PC doesn’t support Miracast.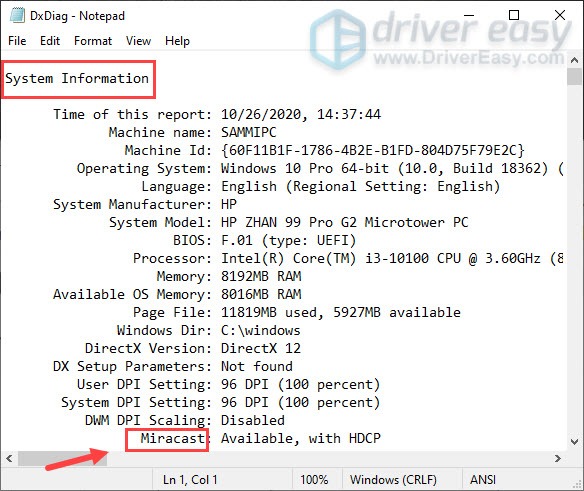
If your computer doesn’t support Miracast, then you would need to buy a wireless adapter such as Microsoft Wireless Display Adapter.
Fix 2: Check if WiFi is enabled on both devices
Miracast is a WiFi standard. So to connect your computer to another device, you must use WiFi. Many users report that the reason they can’t use Miracast is that they were using Ethernet. After they switched to WiFi, they can connect their computer to other devices. Here’s how you can check if WiFi is enabled on your computer:
1) On your keyboard, press the Windows logo key and R at the same time to invoke the Run box.
2) Type ms-settings:network-wifi, then press Enter on your keyboard.
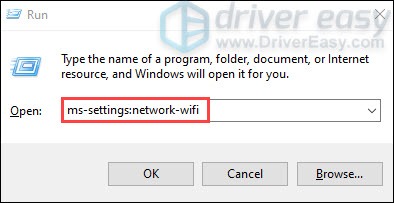
3) Click on the toggle to activate WiFi if it’s deactivated.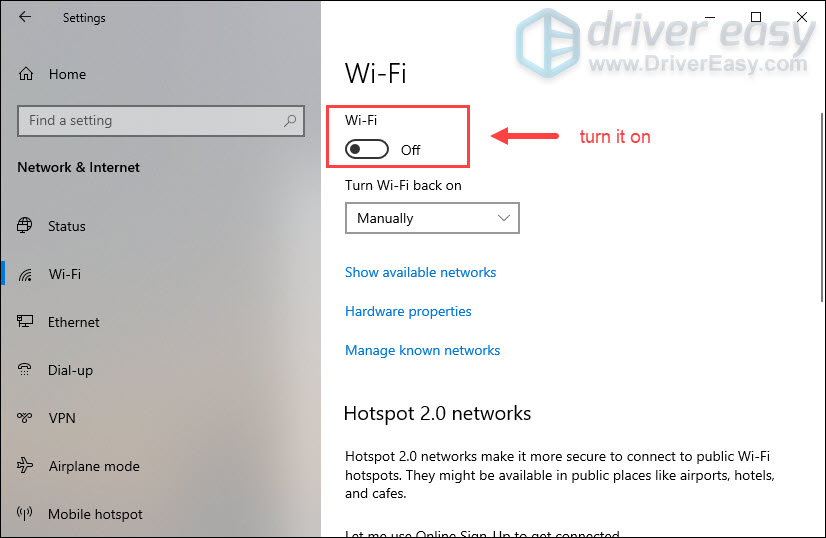
4)Also, you need to check if WiFi is enabled on other devices. For iOS and Android users, you can usually activate WiFi from the Settings app.
Once enabling WiFi on both your PC and display device, connect them to the same network.
Now you can check if it works:
1) In the Search box, type projection. Select Projection settings from the result.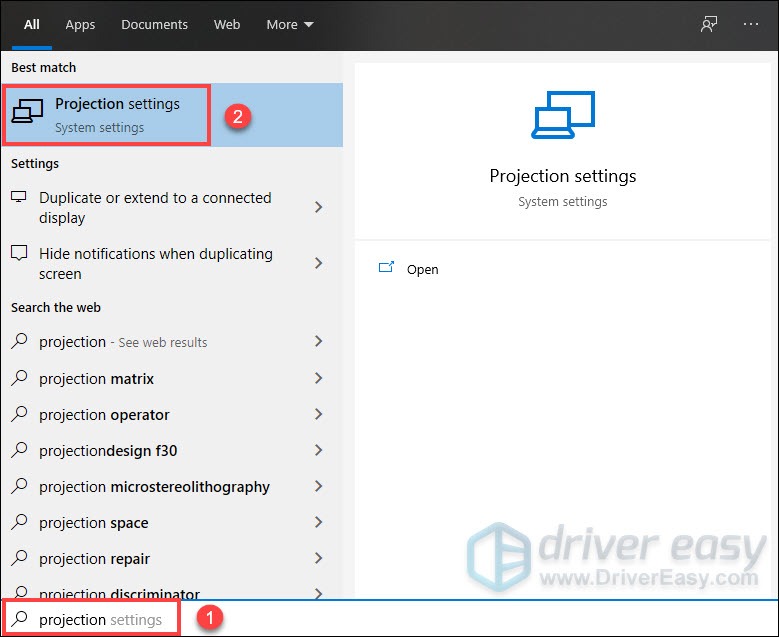
2) The error message should be gone.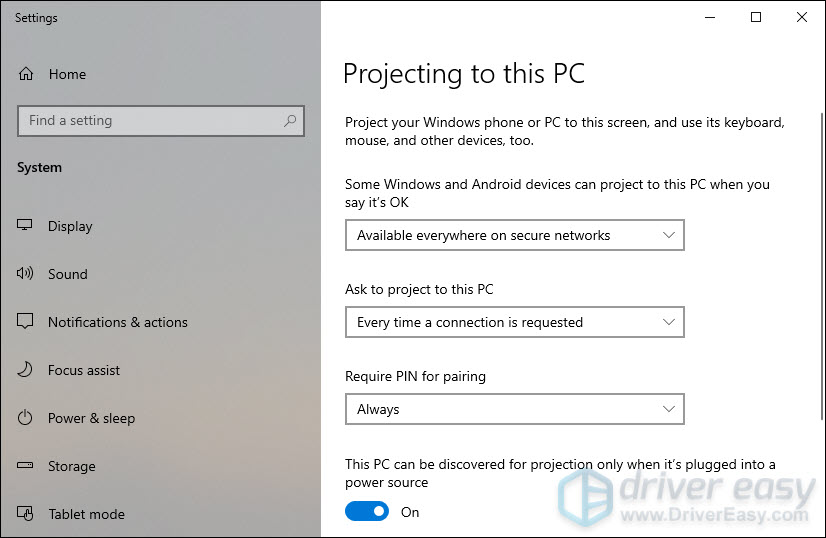
If you still have the error message, don’t panic. There are a few other working fixes for you.
Fix 3: Reinstall your wireless network adapter driver
If you have WiFi enabled but can’t really connect to WiFi and still see the error message, you should reinstall the wireless network adapter driver. There is a possibility that your wireless network adapter driver is out of date or corrupted, which would prevent you from connecting your PC to the Internet. If the wireless driver is the culprit, reinstalling it will get you back online in minutes. Here’s how you can do this:
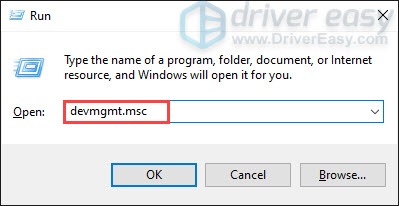
1) On your keyboard, press the Windows logo key and R at the same time to invoke the Run box.
2) Type devmgmt.msc, then press Enter on your keyboard.
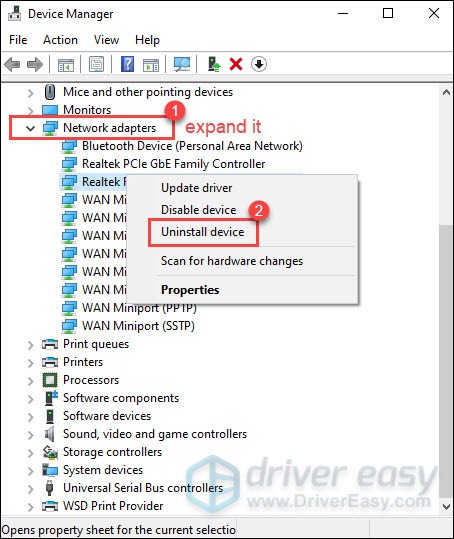
3) Expand Network adapters. Select your wireless network adapter driver, right-click on it and select Uninstall device.
4) Restart your computer and Windows will reinstall the driver automatically. (Note: you need to connect to the network.)
If reinstalling the wireless network adapter driver didn’t resolve your issue, you should verify your network driver to check if it’s compatible.
Fix 4: Verify your network driver if it’s compatible
To check if your network driver is compatible, you can follow the steps below:
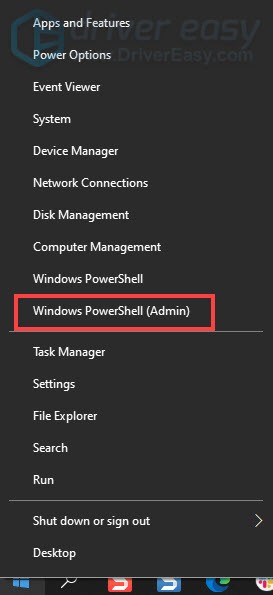
1) Right-click on the Start menu.Then select Windows PowerShell (Admin).
2) Click Yes when a prompt appears asking for the right.
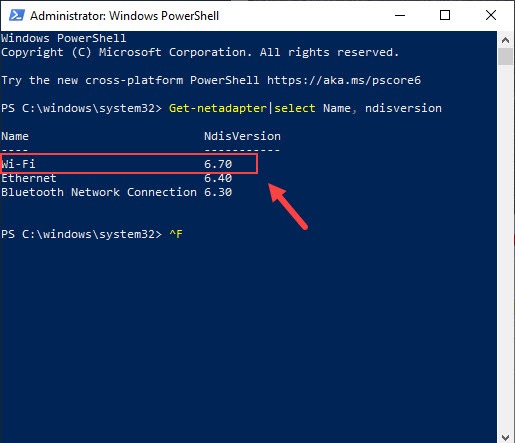
3) Copy the command and past in the window. Then hit Enter.
Get-netadapter|select Name, ndisversion
Now you can check your NdisVersion. It should be above 6.30 for your wireless card to support Miracast. If it’s below 6.30, you need to update your wireless network driver.
Fix 5: Update your network drivers
If your network drivers are outdated or faulty, you will encounter connectivity issues. So to fix it, you need to check for updates.
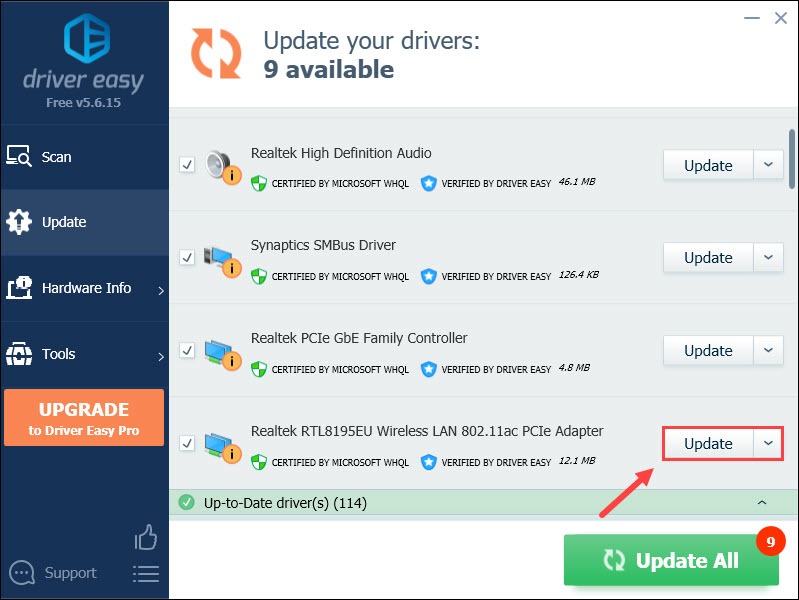
You can manually update your network drivers by going to manufacturers’ official websites to download and install the correct network drivers for your system. This can be time-consuming and you might risk downloading the wrong drivers for your system. So if you’re not comfortable doing it on your own, we recommend using Driver Easy to automatically update your network drivers.
1) Download and install Driver Easy.
2) Run Driver Easy and click the Scan Now button. Driver Easy will then scan your computer and detect any problem drivers. (Any problem drivers can cause issues. So we recommend checking for drivers updates on a regular basis.)

3) Click the Update button next to your wireless network adapter driver to automatically download the correct version of that driver, then you can manually install it (you can do this with the FREE version).
Or click Update All to automatically download and install the correct version of all the drivers that are missing or out of date on your system. (This requires the Pro version which comes with full support and a 30-day money-back guarantee. You’ll be prompted to upgrade when you click Update All.)
After updating your drivers, restart your computer for them to take effect.
Fix 6: Set Auto for Wireless Mode Selection
There is a possibility that your wireless adapter is on 5GHz or 802.11blg instead of Auto. To set it to Auto, follow these steps:
1) On your keyboard, press the Windows logo key and R at the same time to invoke the Run box.
2) Type devmgmt.msc, then press Enter on your keyboard.
3) Expand Network adapters. Select your wireless network adapter driver, right-click on it, and select Properties.

4) Select the tab Advanced. Set the Value to Auto. Then click OK.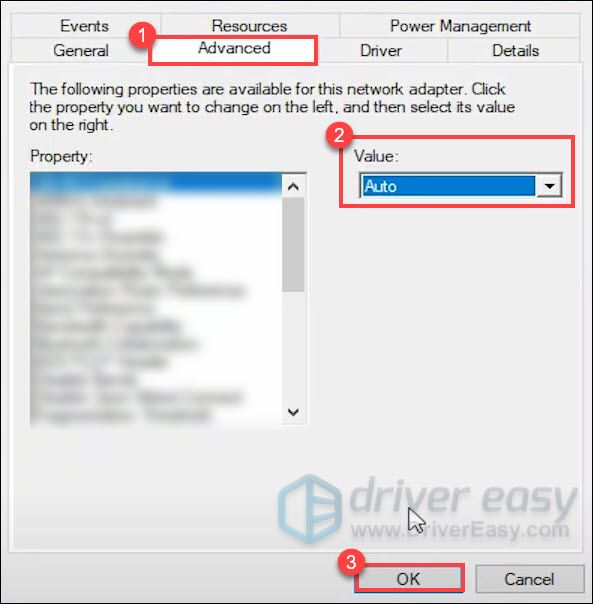
After applying the changes, try using the feature Projecting to this PC and the error message should be gone.
Fix 7: Disable third-party VPN
If you have any third-party VPN software such as Cisco AnyConnect running on your PC, they might be in conflict with you utilizing Miracast mirroring. So to fix it, you should disable them.
To conclude, the error “This device doesn’t support receiving Miracast, so you can’t project to it wirelessly.” can occur due to a variety of reasons which are mainly related to compatibility and network driver issues. So I hope with the fixes in this article, you can resolve your issue. If you have any ideas or questions, please leave us a comment below.