


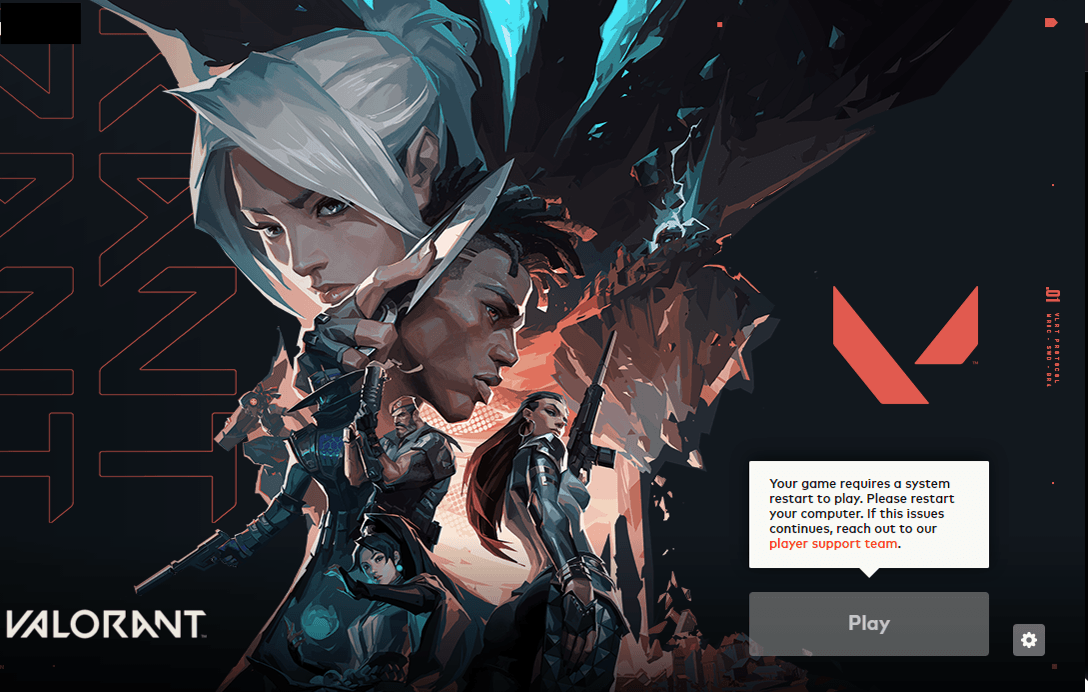
VALORANT is a pretty optimized game. But it’s not immune to bugs. Recently, players cannot play the game and get this message “Your game requires a system restart to play”. Without access to your game, it’s pretty upsetting. But the good news is, it’s fixable.
Try these fixes:
You may not need to try them all; simply work your way down the list until you find the one that works.
- Run VALORANT as administrator
- Enable Vanguard service and change its startup type
- Disable driver signature enforcement
- Update your device drivers
- Make sure Windows is up to date
- Disable virtualization
Fix 1: Run VALORANT as administrator
The “system restart” message may indicate that it’s a permission issue. If your game didn’t have the necessary permissions to run certain services, the issue will occur and you will not be able to play VALORANT. To fix it, you can forcibly open your game with administrative privileges.
Here’s how to do this:
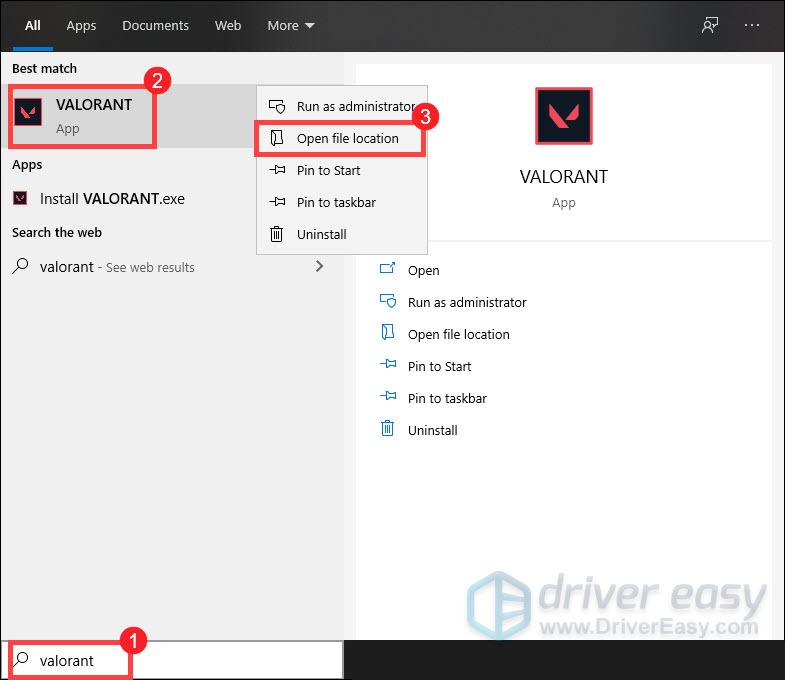
- In the Search box, type valorant. Right-click VALORANT and select Open file location.
- When the window opens, right-click on VALORANT Shortcut and select Properties.

- Select the Compatibility tab. Check the box Run this program as an administrator. Then click Apply > OK.

After applying the changes, open VALORANT. If you still can’t play your game, try the next fix below.
Fix 2: Enable Vanguard service and change its startup type
Riot Vanguard is Riot’s all new anti-cheat system and is required to play VALORANT. So you need to make sure that it’s enabled. To check it, follow the instructions below:
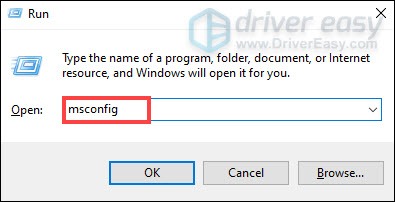
- On your keyboard, press the Windows logo key and R at the same time to open the Run dialog box. Type msconfig and press Enter.
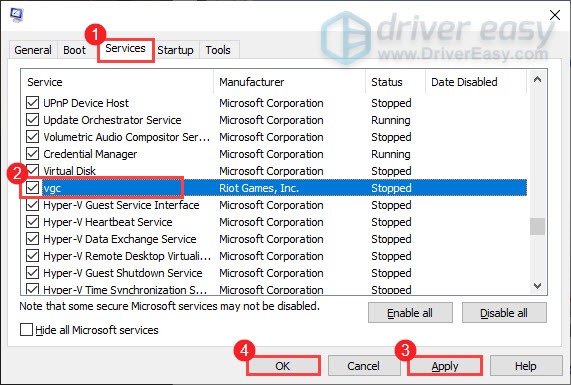
- Click on the Services tab. Locate the vgc service. Tick the box next to it to enable the service. Then press Apply > OK.
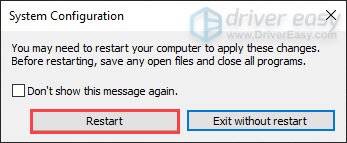
- Click Restart.
After rebooting your computer, play your game to check if your problem is resolved. If that didn’t work, you need to change vgc startup type.
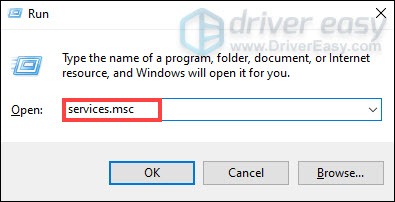
- On your keyboard, press Windows logo key and R at the same time to open the Run dialog box. Type services.msc and press Enter.
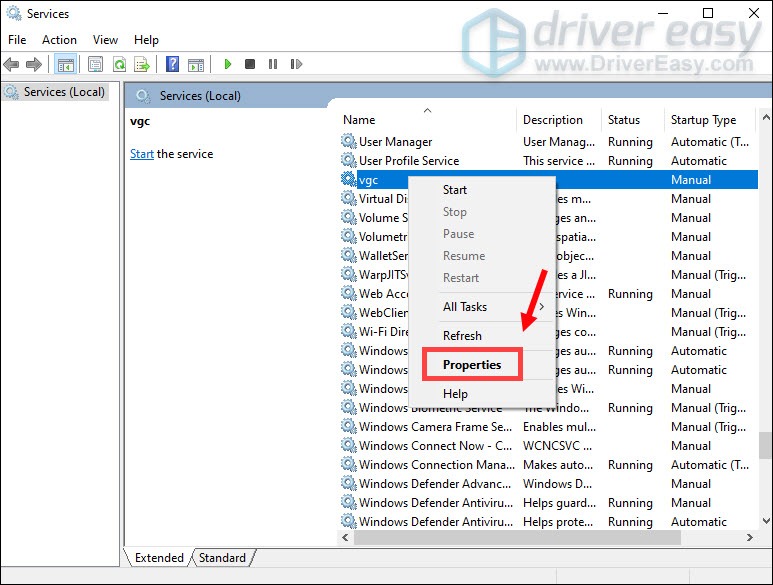
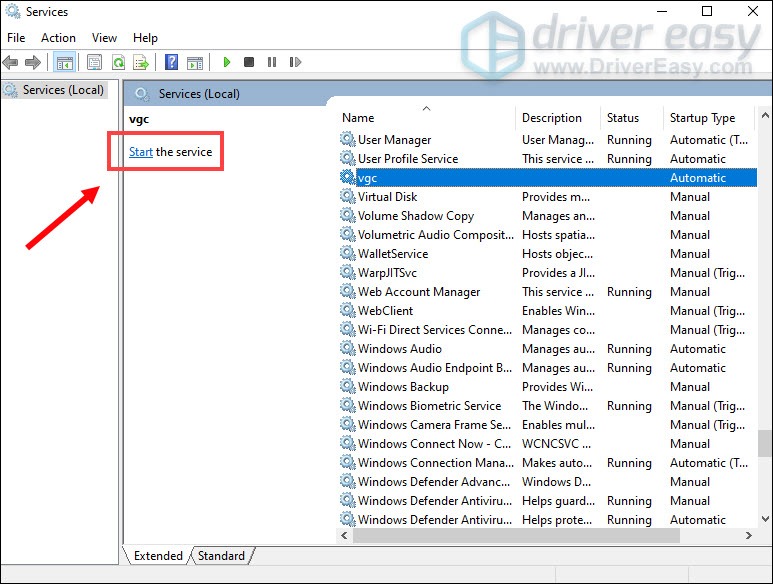
- Locate vgc service. (The list is in alphabetical order.) Right-click it and select Properties.
- In Startup type, click on the down arrow and select Automatic.Then click Apply > OK.
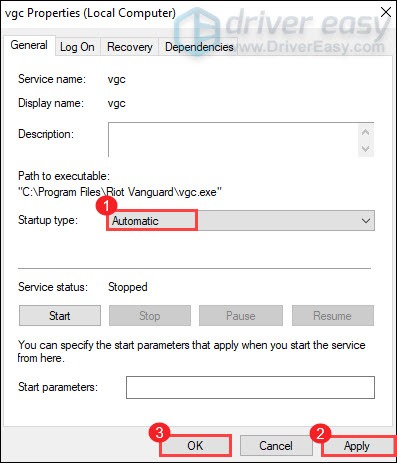
- Click Start to start the service.
Now launch VALORANT. If you still get this “system restart” message, try the next fix below.
However, if you get the Error 1: Incorrect function when trying to enable Vanguard service, follow the steps below to fix it: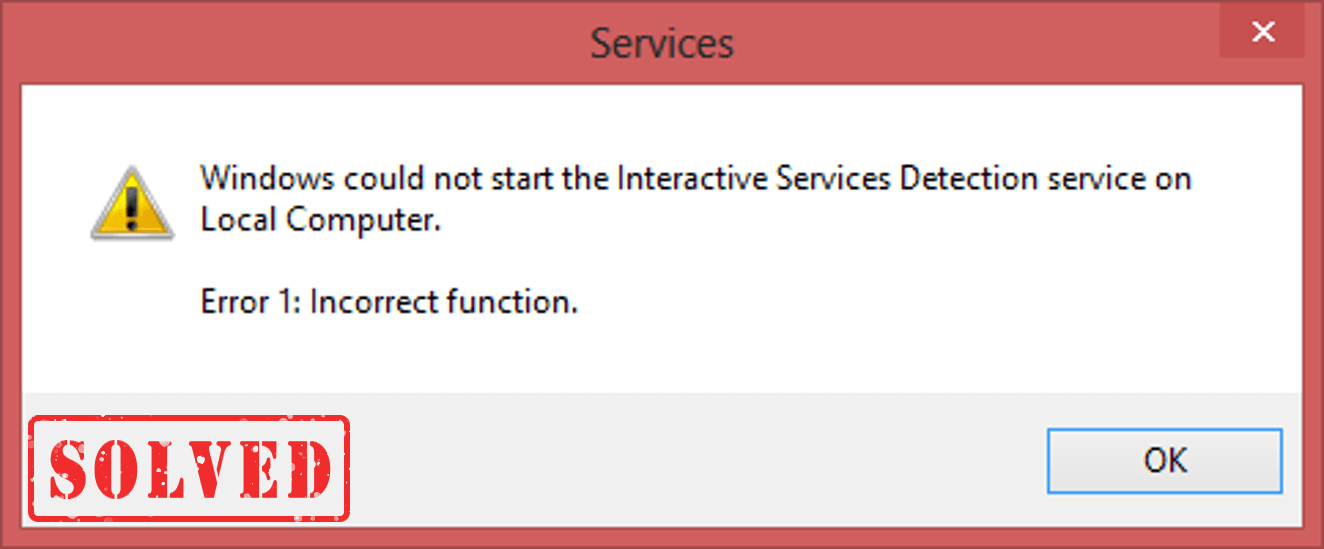
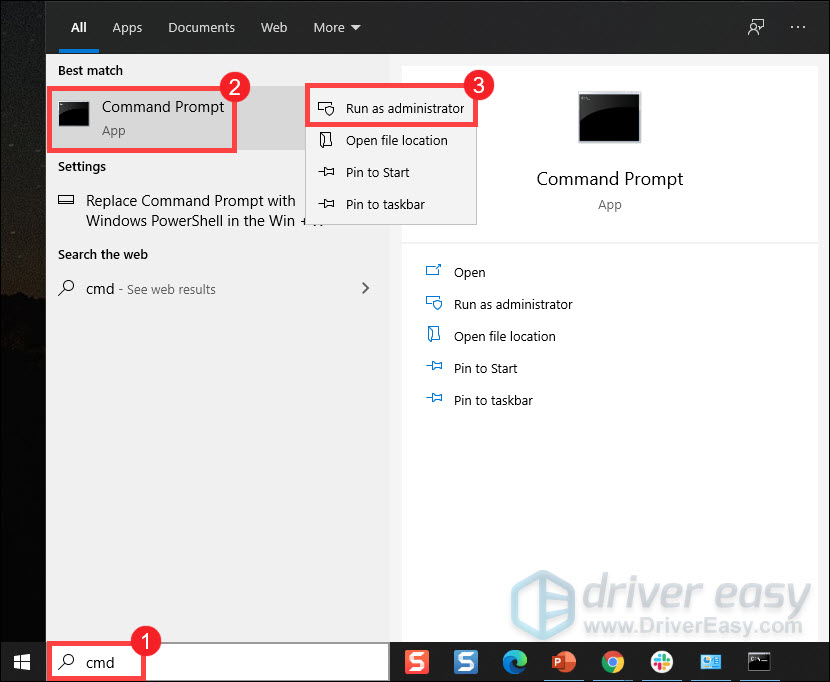
- In the Search box, type cmd. Right-click Command Prompt from the results and select Run as administrator.
- Type and press Enter for both of these commands, in succession:
sc delete vgc

sc delete vgk - Restart your computer.
- Once your computer is rebooted, press Windows logo key and E at the same time to open File Explorer.
- Navigate to your game’s installation folder. (Usually C:\ Drive > Program Files) Right-click on the Riot Vanguard folder and select Delete.

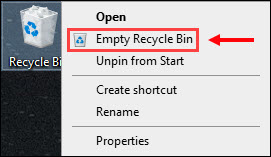
- From your desktop, right-click Recycle Bin, and select Empty Recycle Bin to completely delete the Riot Vanguard folder. (Note: if you have any important documents in the Recycle Bin, make sure you’ve restored them before you confirm to permanently delete all the stuff in it.)
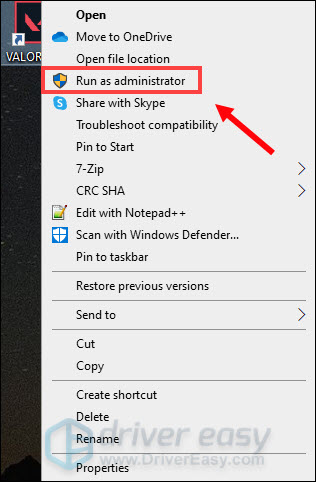
- Right-click on the VALORANT shortcut and select Run as administrator.
- Wait for Vanguard to be installed.

This will take several minutes to complete. After it’s finished, click the PLAY button.
If the error message still occurs, you need to update your drivers, especially your graphics driver.
Fix 3: Disable driver signature enforcement
Windows 10 includes a driver signature enforcement feature that requires all drivers be signed by Microsoft with a digital signature before being allowed to install and load into the Windows kernel. This is a security feature to help prevent malware from getting into the Windows kernel.
But if needed, you can disable driver signature enforcement to install and load unsigned drivers you trust or test. This also worked for many players.
Here’s how you can disable driver signature enforcement using Command Prompt:
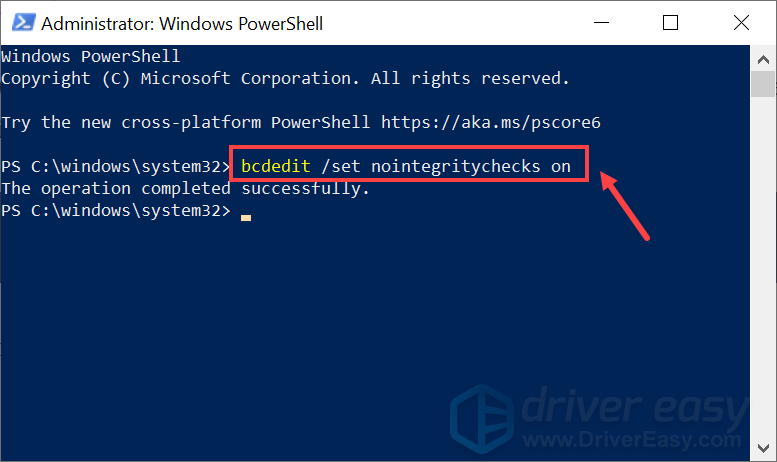
- In the Search box, type cmd. Right-click Command Prompt from the results and select Run as administrator.
- Type the command: bcdedit /set nointegritychecks on to permanently disable driver signature enforcement.
- Then you need to restart your computer and launch your game to check if you’re still getting the “system restart” message. If that message doesn’t appear any more, you can enable the driver signature enforcement back in Windows by typing the following command in the Command Prompt:
bcdedit set nointegritychecks off
Fix 4: Update your device drivers
Driver updates come with bug fixes and bring some new features to deal with compatibility issues for certain programs. So if the fixes above didn’t help you solve your problem and your can’t remember when was the last time you updated your drivers, definitely do it right now. As it may fix your issue immediately.
Methods to update your device drivers
There are mainly two ways to update your device drivers: manually and automatically.
Option 1: Manually – You can either use Device Manager to update drivers. But this option may not give you the latest driver versions. Or you can go to the manufacturers’ official websites to download and install the correct drivers corresponding with your operating system. You’ll need some computer skills and patience to update drivers this way.
OR
Option 2: Automatically (recommended) – This is the quickest and easiest option. With Driver Easy, it’s all done with just a couple of mouse clicks.
Driver Easy will automatically recognize your system and find the correct drivers for it. You don’t need to know exactly what system your computer is running or risk downloading and installing the wrong driver.
- Download and install Driver Easy.
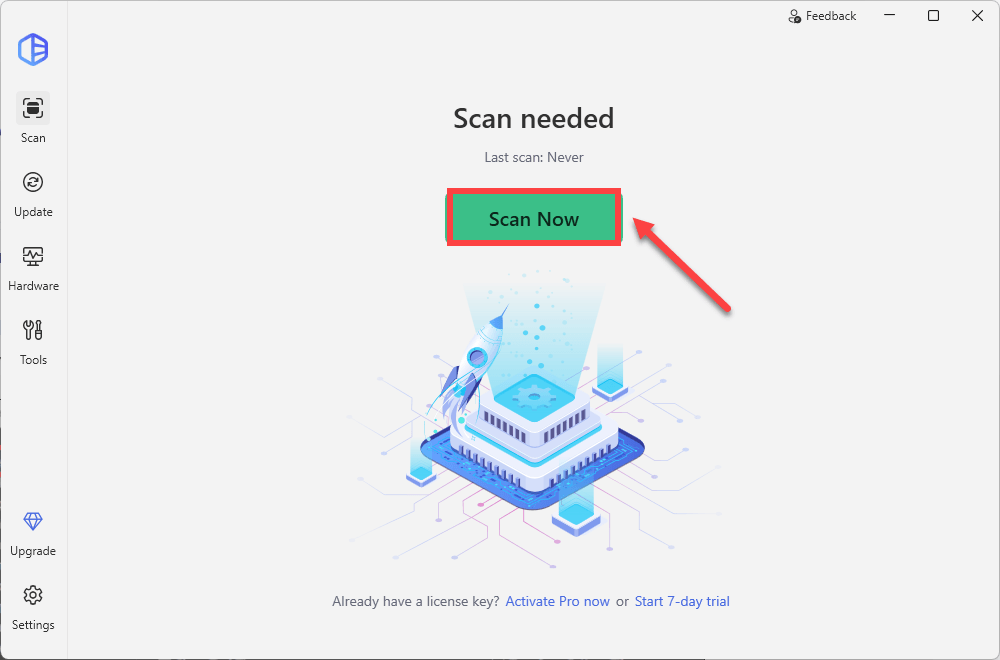
- Run Driver Easy and click the Scan Now button. Driver Easy will then scan your computer and detect any problem drivers.
- Click Update All to automatically download and install the correct version of all the drivers that are missing or out of date on your system.
(This requires the Pro version which comes with full support and a 30-day money-back guarantee. You’ll be prompted to upgrade when you click Update All. If you’re not ready to buy the Pro version, Driver Easy offers a 7-day free trial which includes access to all the Pro features such as high-speed download and one-click install. You won’t be charged anything until your 7-day trial has ended.)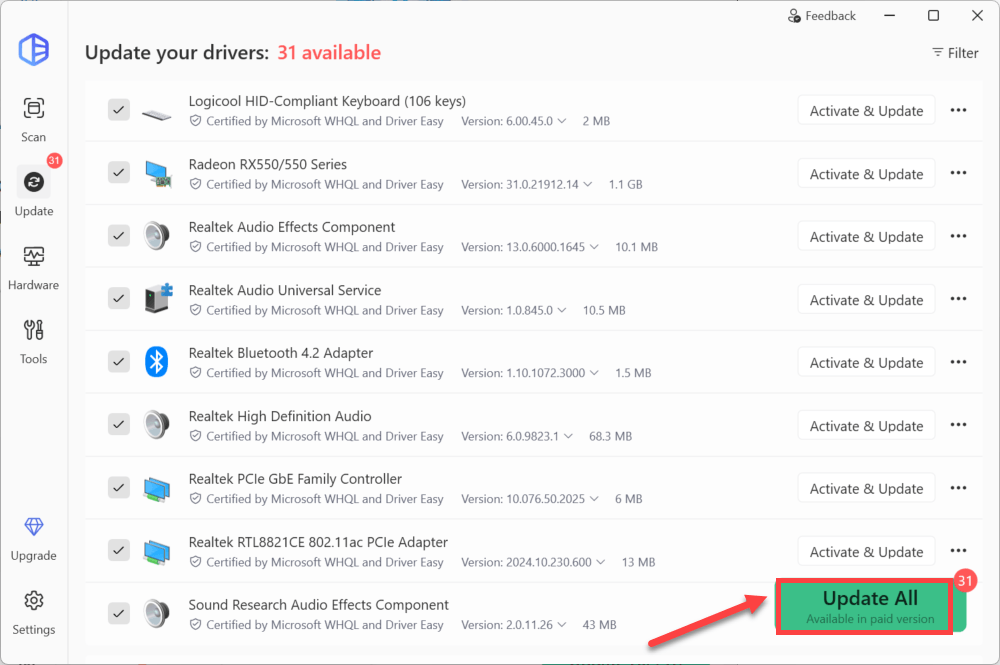
- Restart your computer for the changes to take effect.
After updating your drivers, restart your computer and launch your game to check if the problem is solved. If not, then continue trying the fixes below, or contact support@drivereasy.com for assistance.
Fix 5: Make sure Windows is up to date
To ensure your game runs well without interruptions, it’s crucial to keep your Windows updated. Windows updates often include bug fixes, make sure your system is compatible with application requirements, and enhance system stability, reducing conflicts that can hinder game launches.
To download and install all Windows updates, simply press the Windows logo + I keys simultaneously to open Settings.
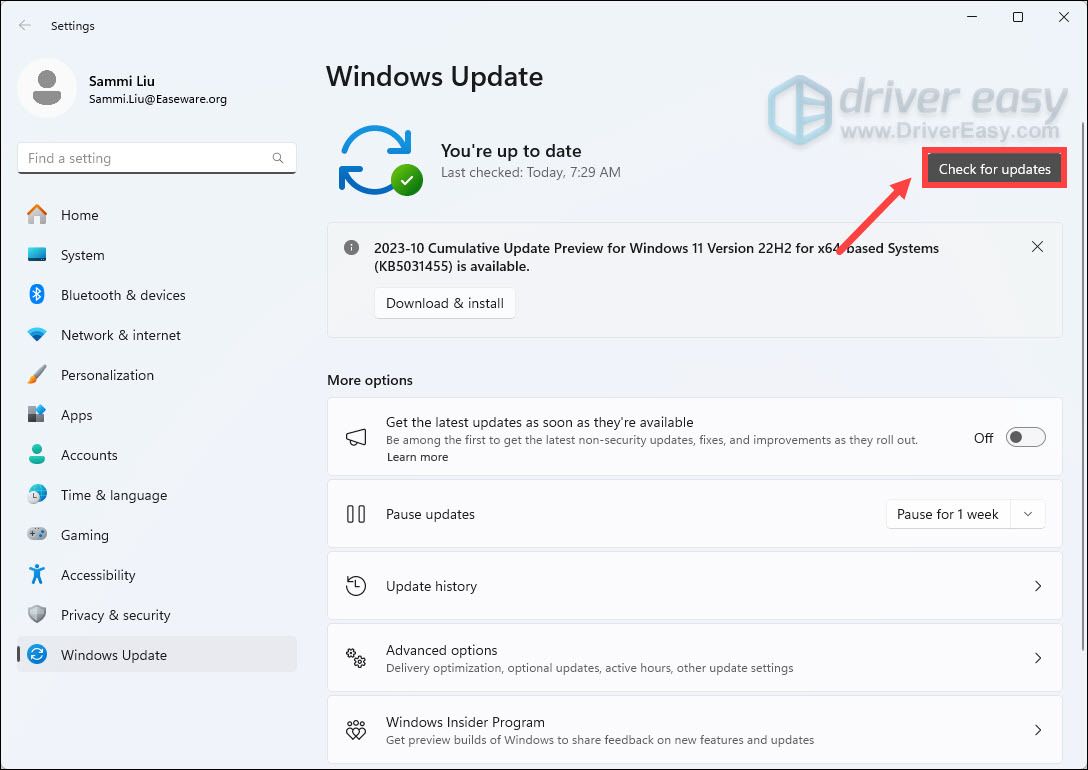
If you’re on Windows 11, simply select Windows Update from the left navigation panel. Then click Check for updates.
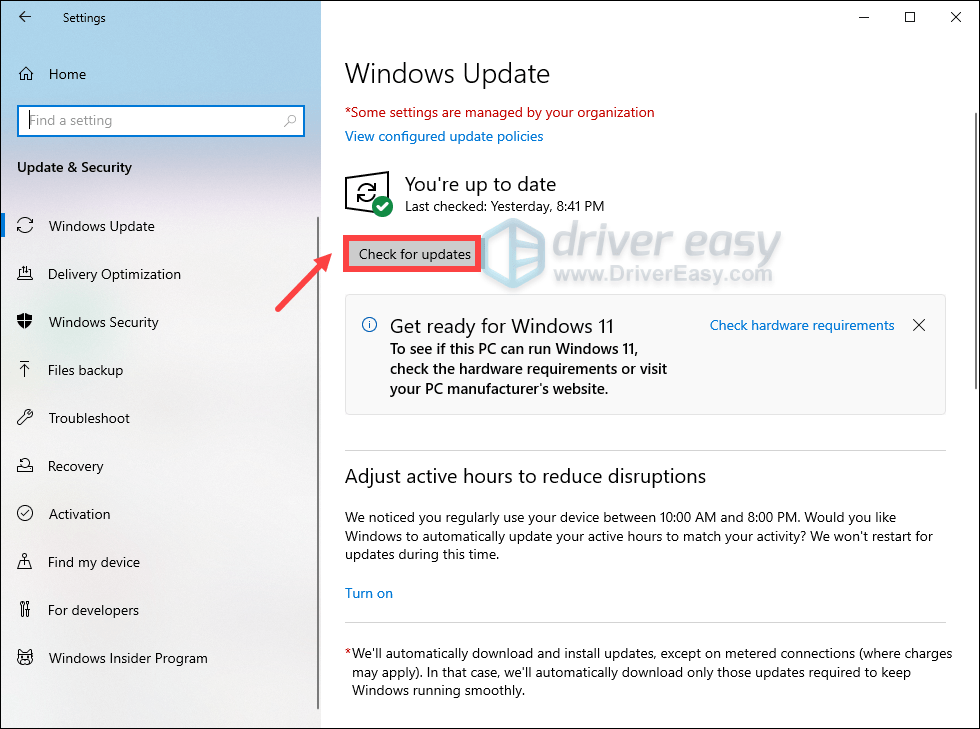
If you’re on Windows 10, first click on Update & Security.

Then click Check for updates.
Windows will scan for any available updates. If updates are found, they’ll be downloaded and installed automatically. This process may take some time, depending on the size of the updates. Repeat these steps until you see the message You’re up to date, ensuring that all updates have been installed. Then restart your computer to apply the changes.
Fix 6: Disable virtualization
If all else fails and you still can’t play VALORANT, you should disable virtualization. Some players reported that when it’s enabled, VALORANT would not be working properly.
Here’s how to disable virtualization:
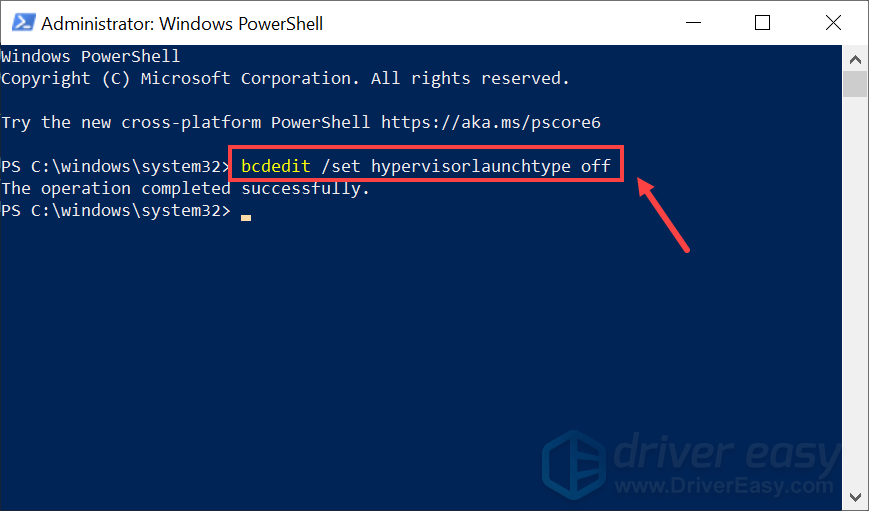
- In the Search box, type cmd. Right-click Command Prompt from the results and select Run as administrator.

- Type the command bcdedit /set hypervisorlaunchtype off and press Enter.
Once done, restart your computer and check if it helps you fix the issue. If it does, you can enable virtualization back again by typing the following command:
bcdedit /set hypervisorlaunchtype auto
If disabling virtualization didn’t work for you, you can instead disable Hyper-V via the Control Panel:
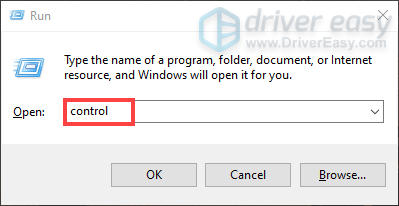
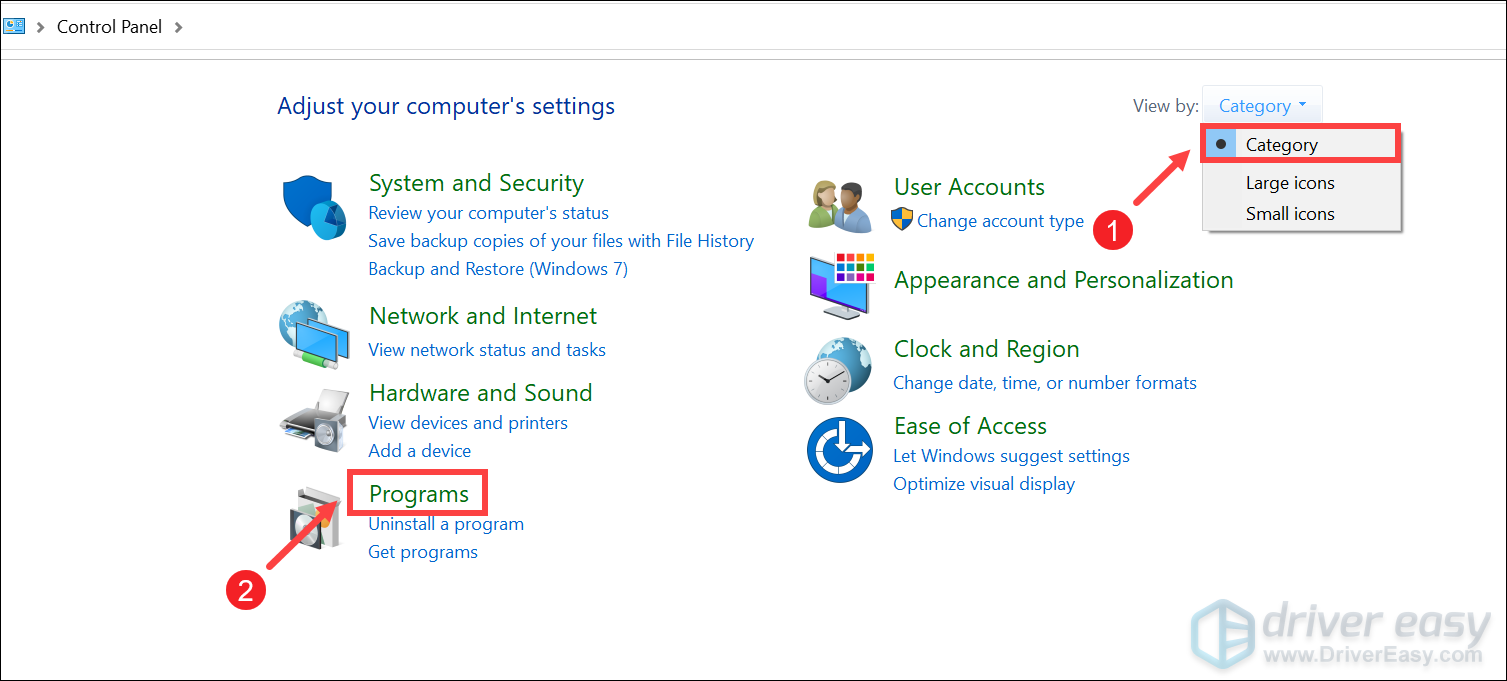
- On your keyboard, press the Windows logo key and R at the same time to invoke the Run box. Type control in the field and press Enter to open the Control Panel.
- Select Category from the drop-down menu next to View by:. Then click Programs.
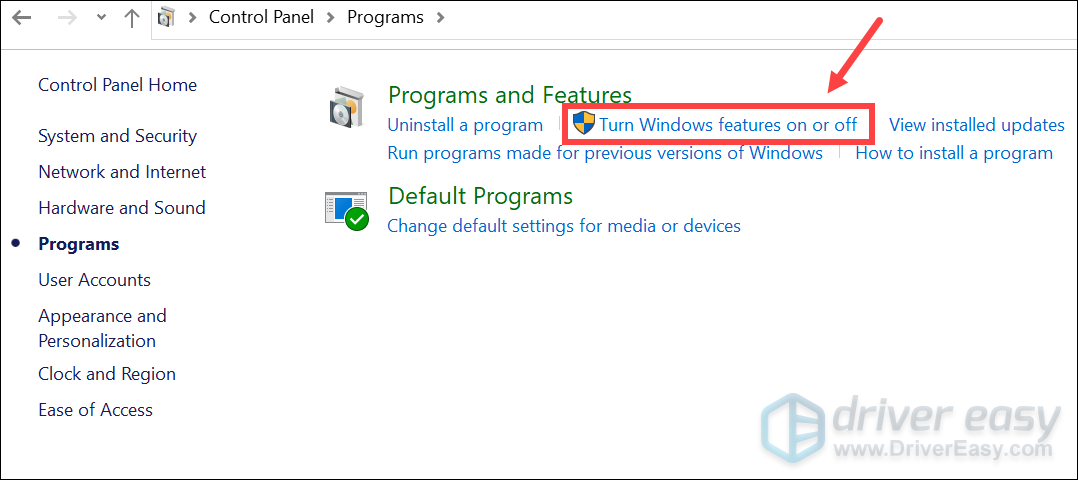
- Click Turn Windows features on or off.
- Look for Hyper-V and uncheck it. Then click OK to save the changes.
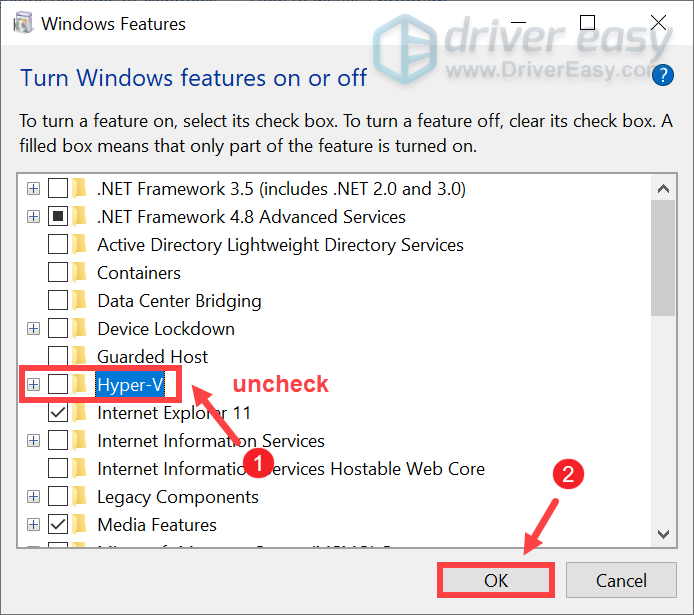
- Till then you can try to launch your game and you should not receive that “system restart” message again.
Or you can try to locate the file vgkbootstatus.dat and delete it from your installation files. Some users found that the error occurs when the system is blocking some VALORANT dependencies from running correctly.
If worse comes to worst, uninstall VALORANT and its anti-cheat system to do a clean restart of the game.
Hopefully, one of these fixes brought VALORANT to the playable state for you. If you have any questions or ideas, feel free to drop us a line in the comment section below.
