


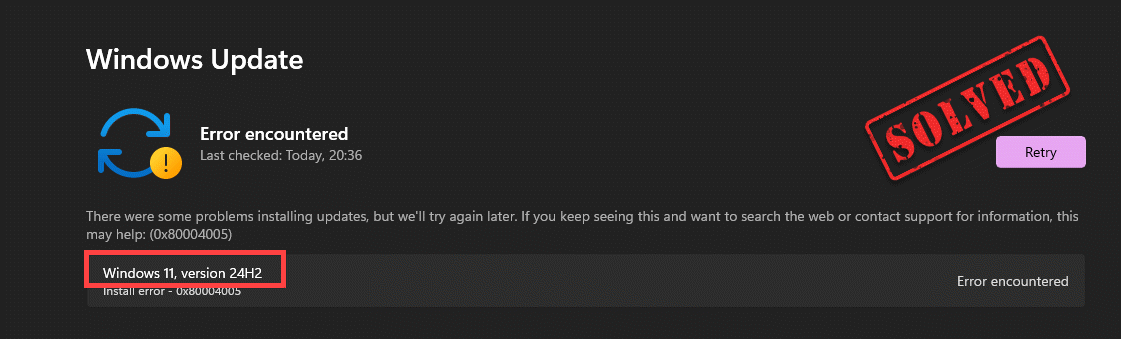
If Windows 11 version 24H2 fails to install, even without displaying an error, it’s usually because something is blocking the upgrade. Common causes include low disk space, corrupted update files, or compatibility holds that prevent the update from ever starting. Once you trigger the installation, it either stalls or immediately reverts back. To clear these underlying issues, you can perform the steps outlined in the tutorial.
Try These Fixes
You may not need to try them all; simply work your way down the list until you find the one that works for you.
- Free up Your Drive Space
- Run Windows Update Troubleshooter
- Update Your Drivers
- Clear the Windows Update Cache
- Perform a Clean Boot to Remove Interference
- Run DISM and SFC Scans
1. Free up Your Drive Space
Windows feature updates like version 24H2 require substantial free space on C:. If there’s insufficient room, the installer may fail or stall without clear error messages. You can use in Settings:
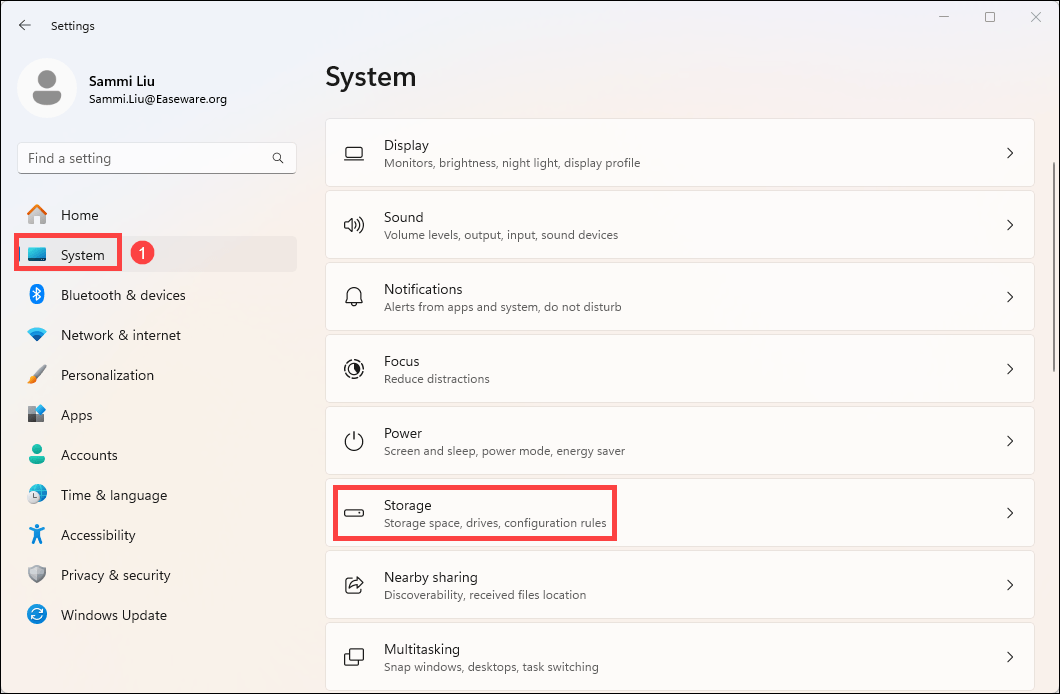
- Press Win + I to open Settings.
- Go to System > Storage.
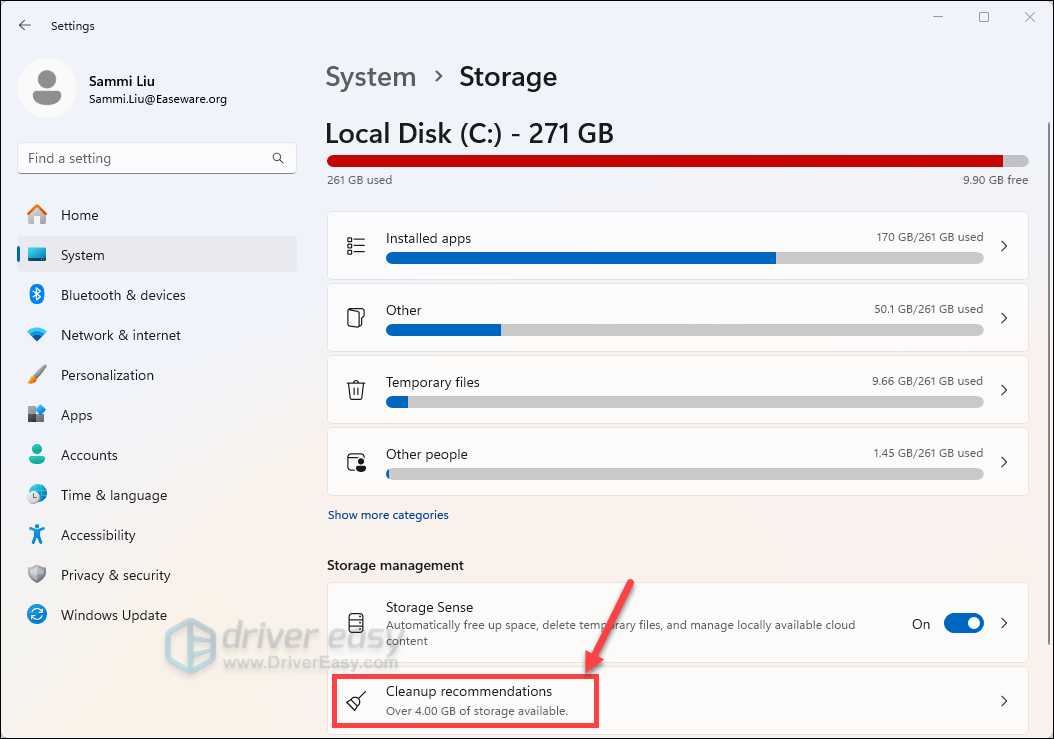
- Click Cleanup recommendations.
- Review each of the categories, including Temporary files, Large or unused files, Files synced to the cloud, and Unused apps, and select the items you’d like to remove. Windows will suggest files for you and show the amount of space you’ll save when you remove those items.
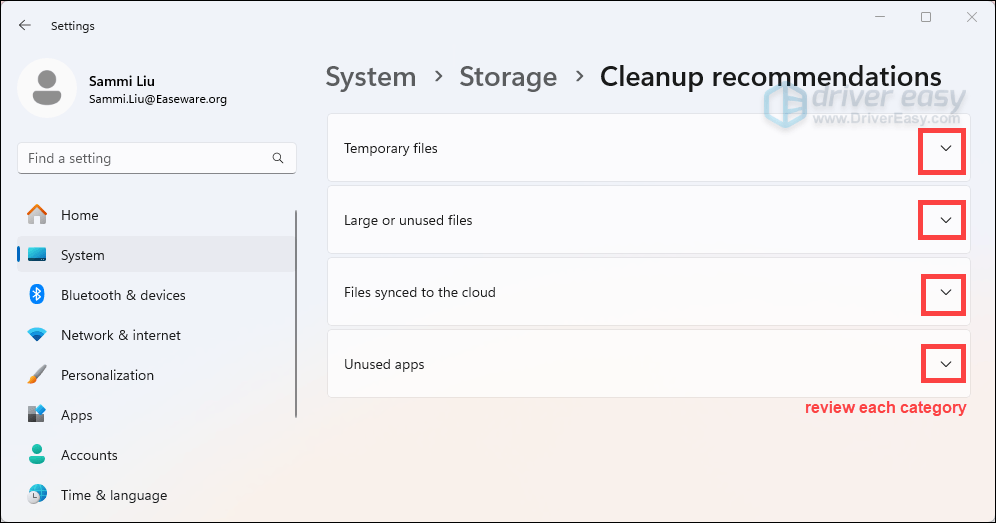
- After you’ve selected items to remove, select the Clean up button for each section.
2. Run Windows Update Troubleshooter
Windows Update Troubleshooter is a built-in tool that helps detect common issues preventing Windows updates. It’s a quick first step you can take easily.
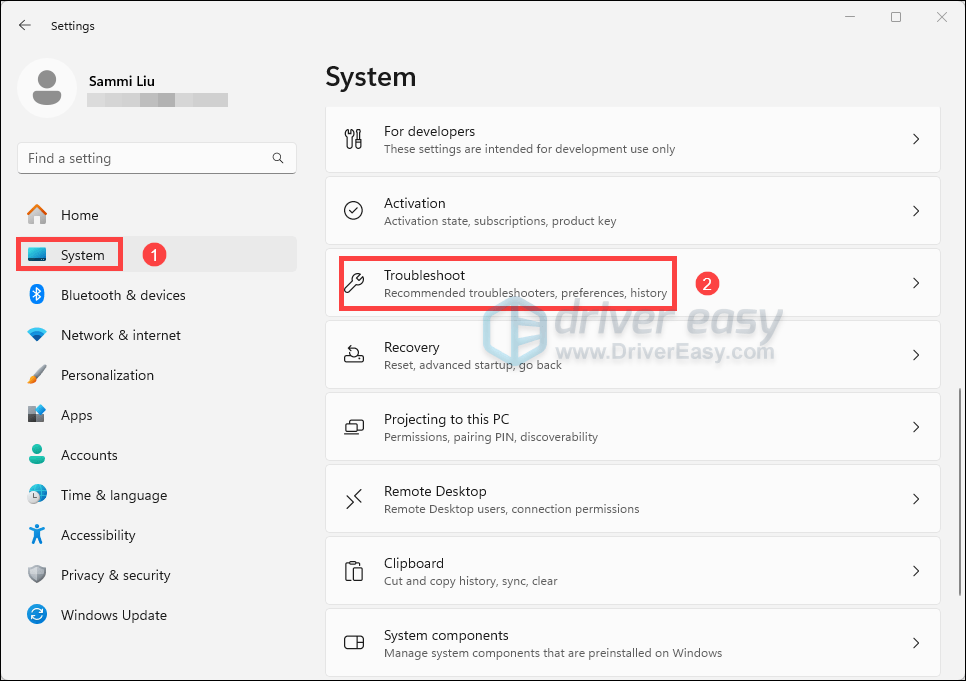
- Press Win + I simultaneously to open Settings.
- From the left navigation panel, select System. Then click Troubleshoot.
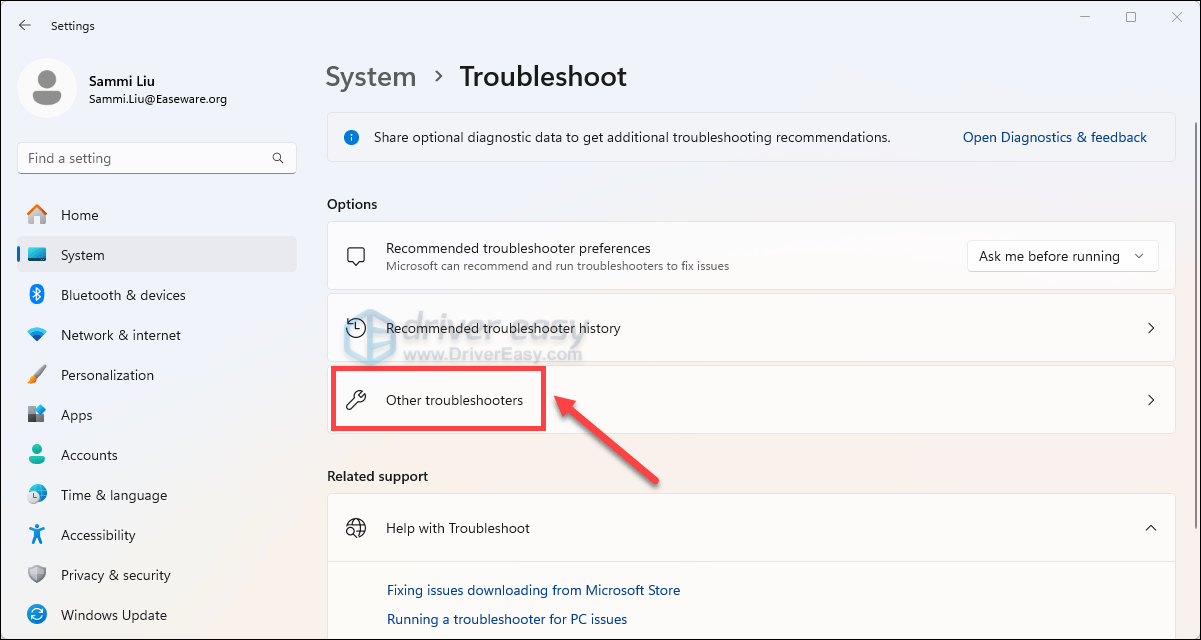
- Click Other troubleshooters.
- Click on the Run button next to Windows Update.
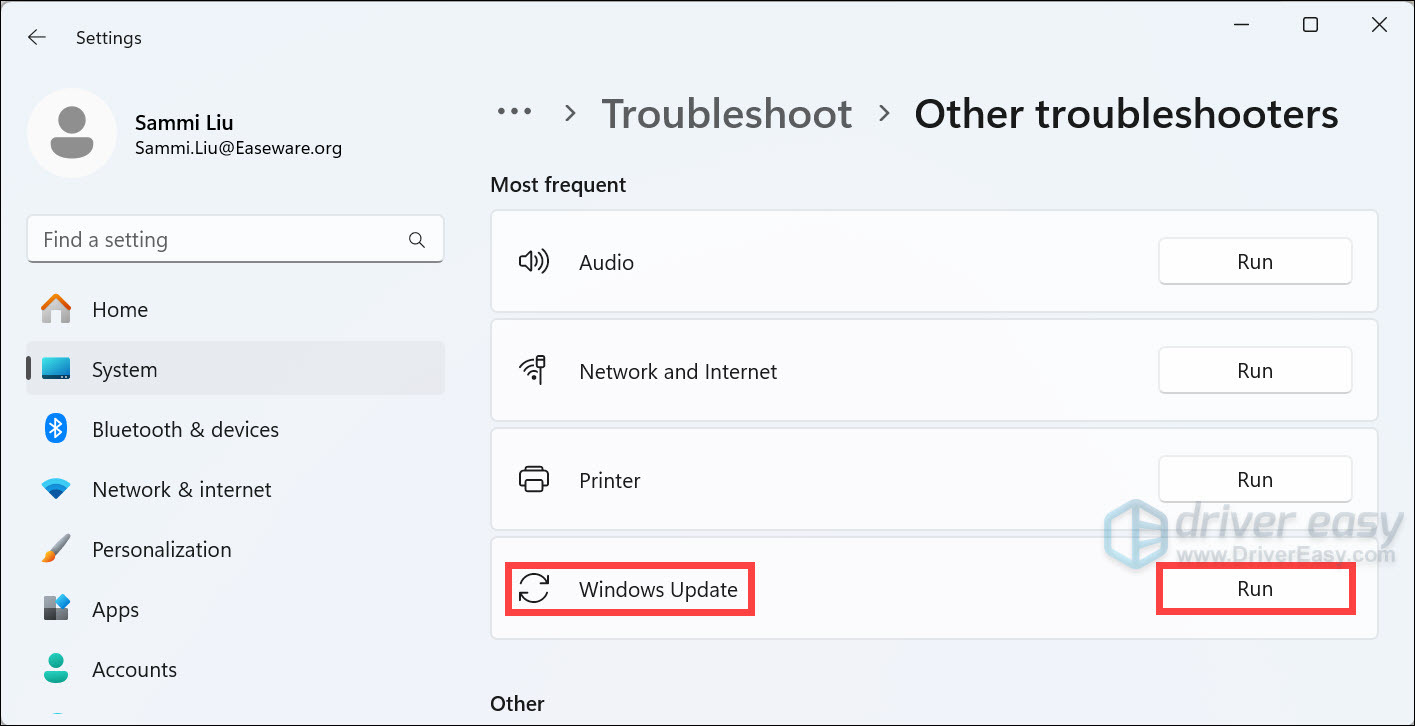
- Follow the on-screen instructions to complete the troubleshooting process. Then you can retry the installation. If there’s still no progress, try other fixes below.
3. Update Your Drivers
Make sure your drivers, especially the graphics card and chipset drivers, are up to date. Outdated drivers may prevent the update from installing. You can visit the official website of the brand of your computer to download them. Or you can use Driver Easy to automatically detect the outdated or missing drivers on your system, then download and install the latest versions for you. All it takes is a few mouse clicks:
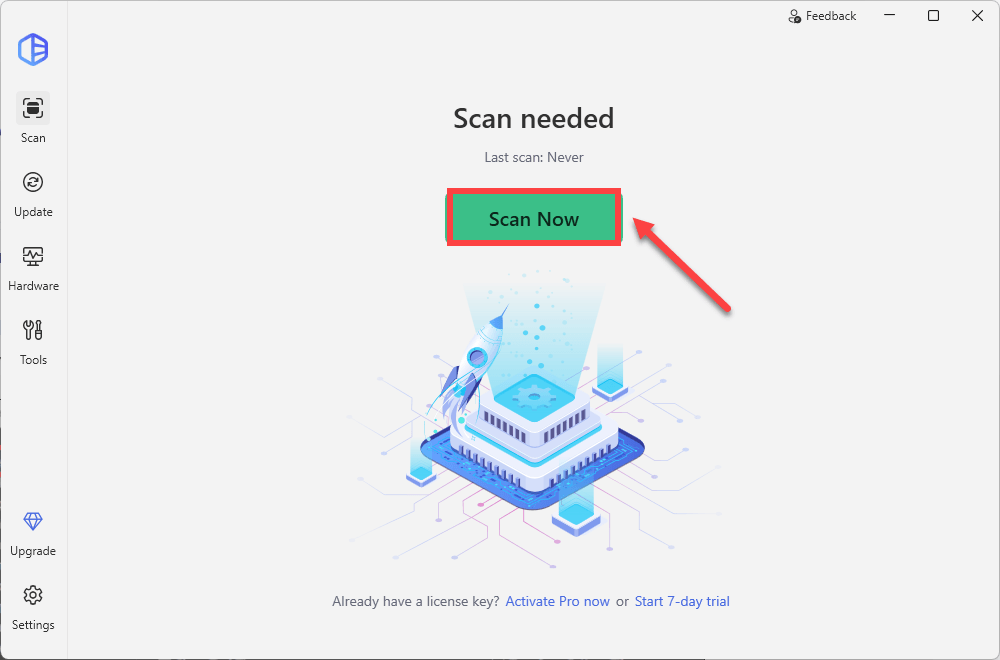
- Download and install Driver Easy.
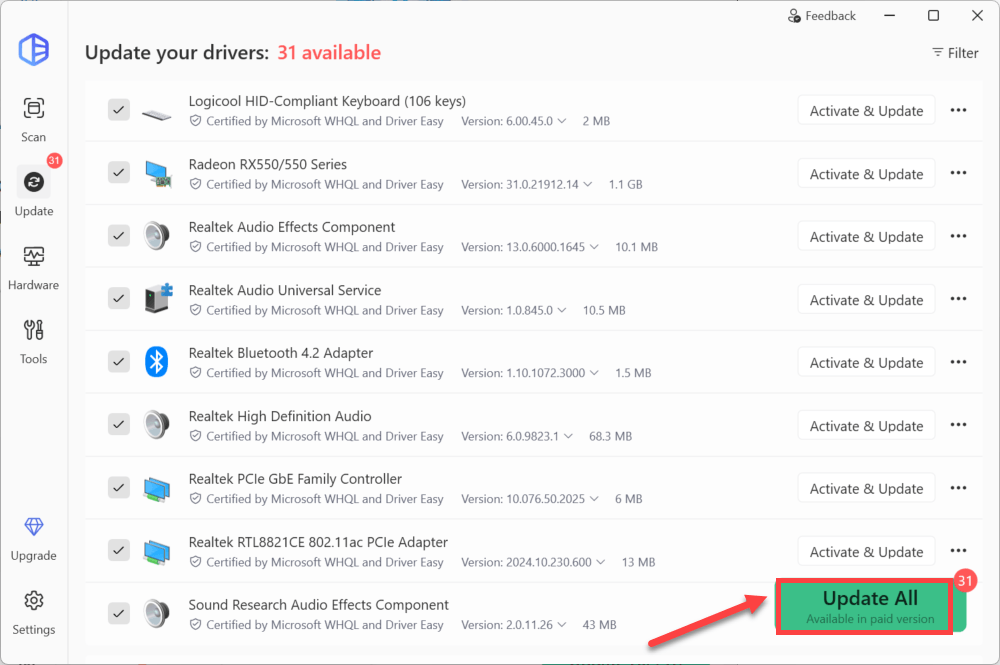
- Run Driver Easy and click the Scan Now button. Driver Easy will then scan your computer and detect any problem drivers.
- Click Update All to download and install the latest drivers. You’ll be prompted to upgrade, with 30-day money-back guarantee. If you’re not ready for your purchase, you can try the 7-day free trial to unlock all premium features with no upfront cost.
- Restart your computer for the changes to take effect. If you need any assistance while using Driver Easy, feel free to contact our support team at support@drivereasy.com.
- Retry the installation. If your issue persists, move on to the next fix.
4. Clear the Windows Update Cache
Corrupt update files in the cache can cause installation failures. Follow the steps below to clear the cache:
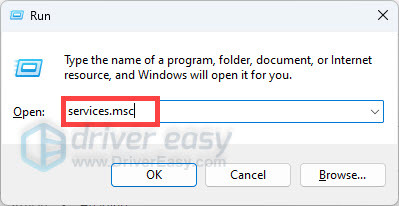
- Press Win + R, TYPE services.msc, and press Enter.
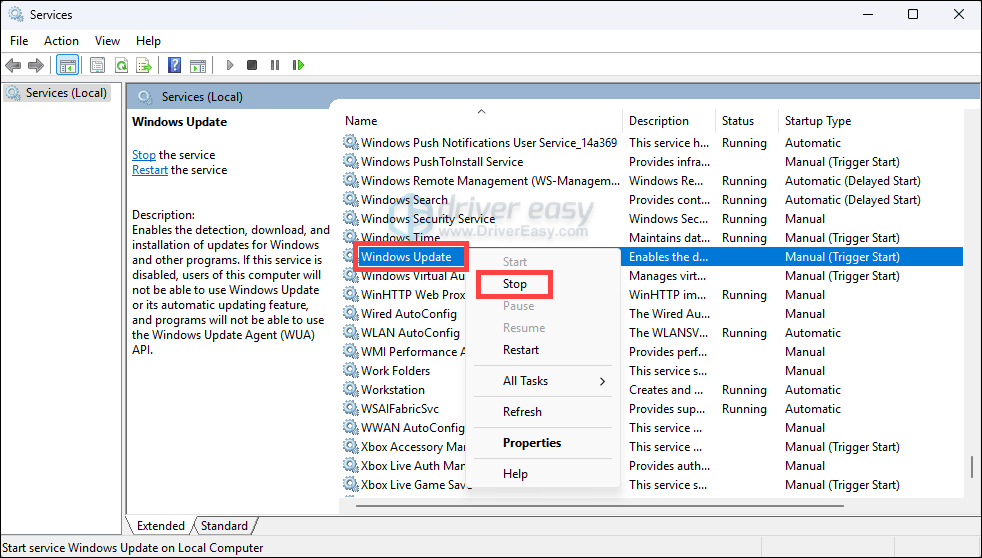
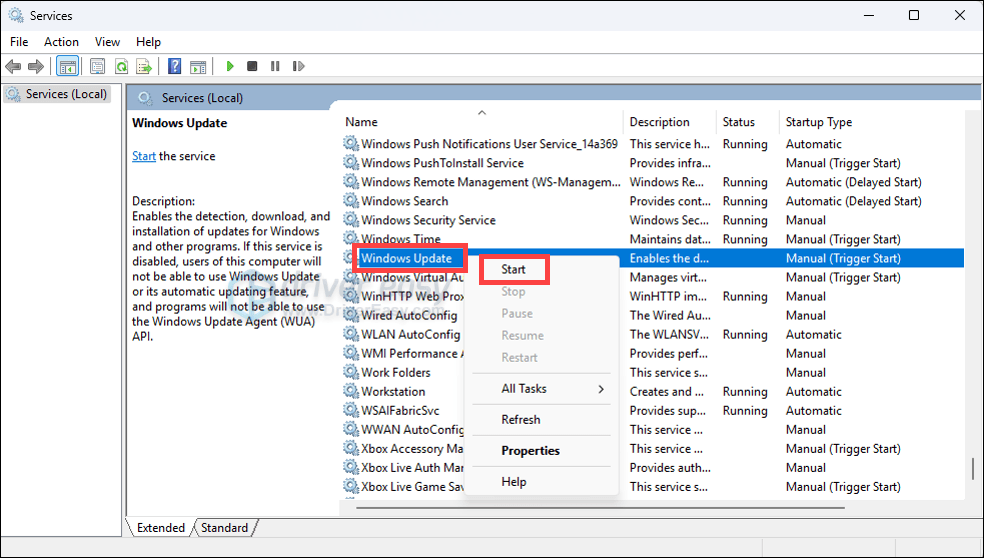
- Locate the Windows Update service, right-click it, and select Stop.
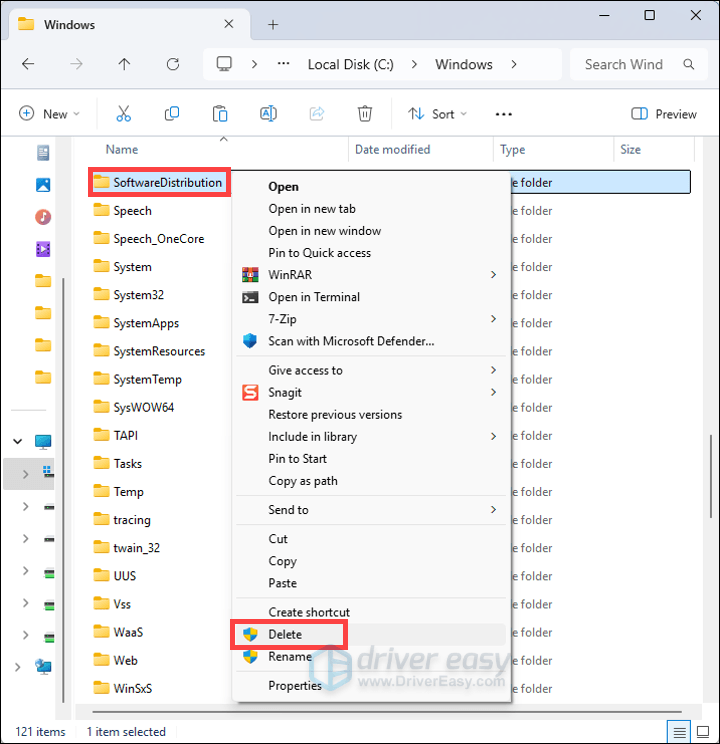
- Navigate to C:\Windows\SoftwareDistribution. Delete all files and folders inside this directory.
- Go back to the Services window, right-click Windows Update, and select Start.
- Retry the installation. If your issue persists, try the next fix below.
5. Perform a Clean Boot to Remove Interference
The issue could be caused by software conflicts or third-party applications running in the background. A Clean Boot allows you to start Windows with only the essential services and programs, helping you identify if a background application or service is causing the problem.
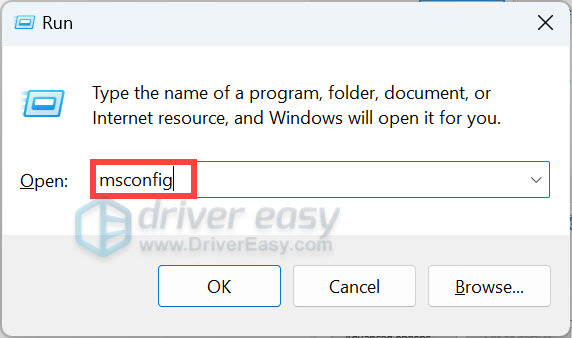
- Press Win + R at the same time to open the Run box. Type msconfig and press Enter to open the System Configuration window.
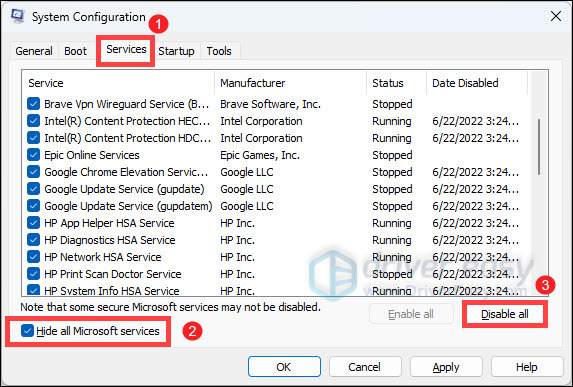
- Select the Services tab, check the box next to Hide all Microsoft services so that you don’t accidentally disable a key process, and then click Disable all. After that, click Apply.
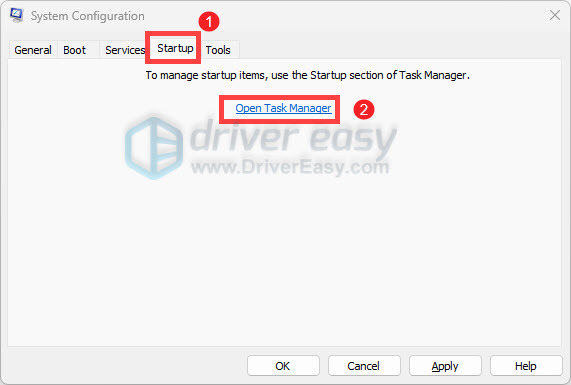
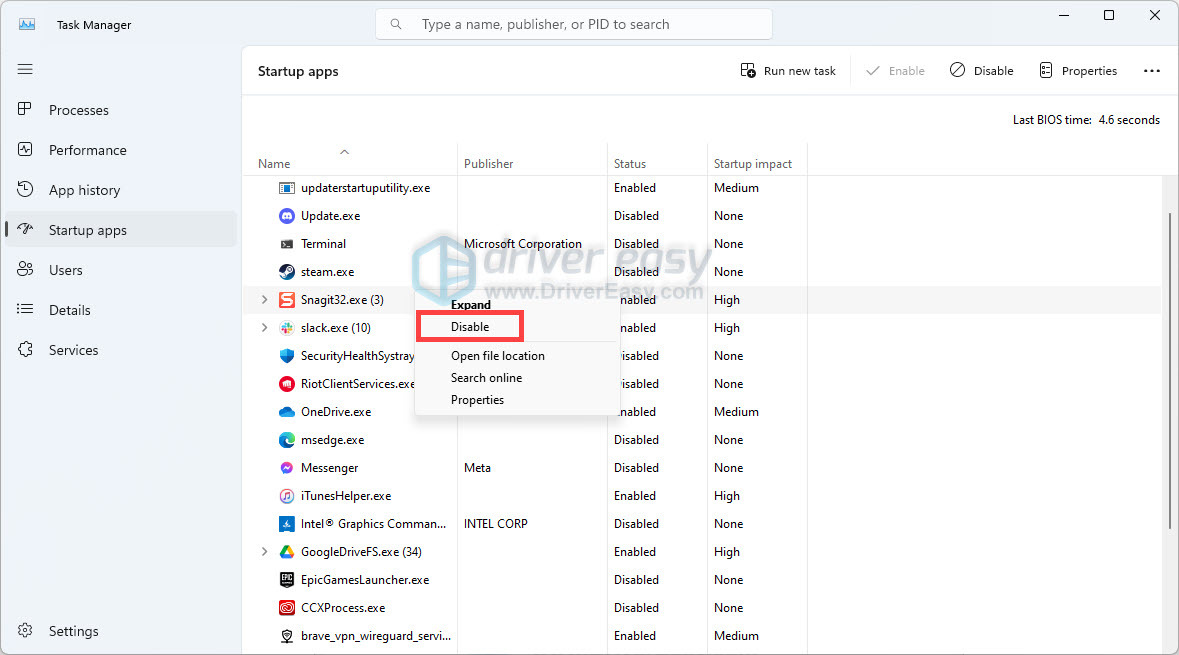
- Click on the Startup tab and click Open Task Manager.
- Right-click each enabled startup item and select Disable.
- Close Task Manager. Back to the Startup tab of System Configuration, select OK. When you restart the computer, it will be in a clean boot environment. Then you can attempt the update again. If it still fails to install, proceed to the next fix.
6. Run DISM and SFC Scans
Corrupt system files may prevent the update from installing. Running a DISM (Deployment Image Service and Management Tool) and SFC (System File Checker) scan can help fix these issues:
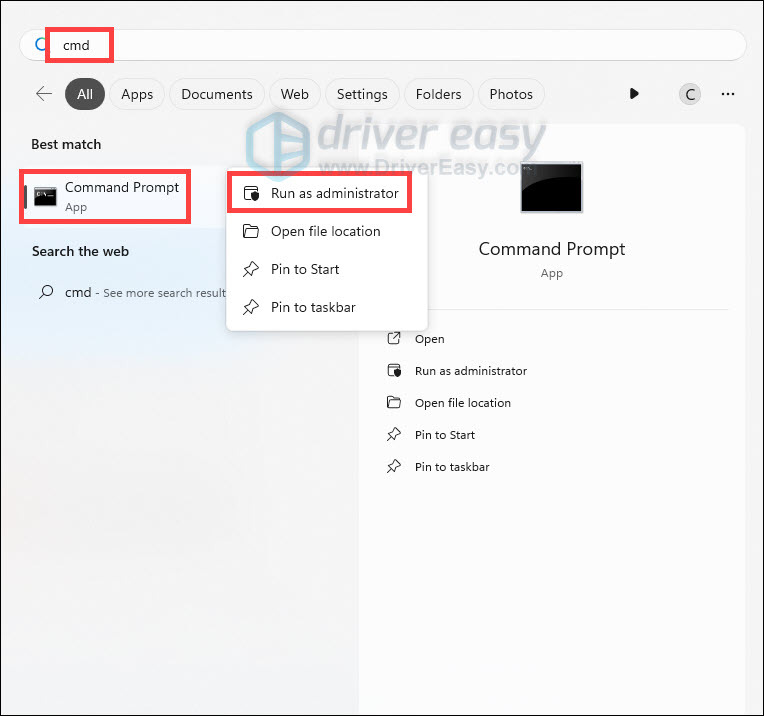
- Press the Windows logo key to invoke Search. Type cmd, right-click Command prompt and select Run as administrator.
- Enter the following command:
DISM /Online /Cleanup-Image /RestoreHealth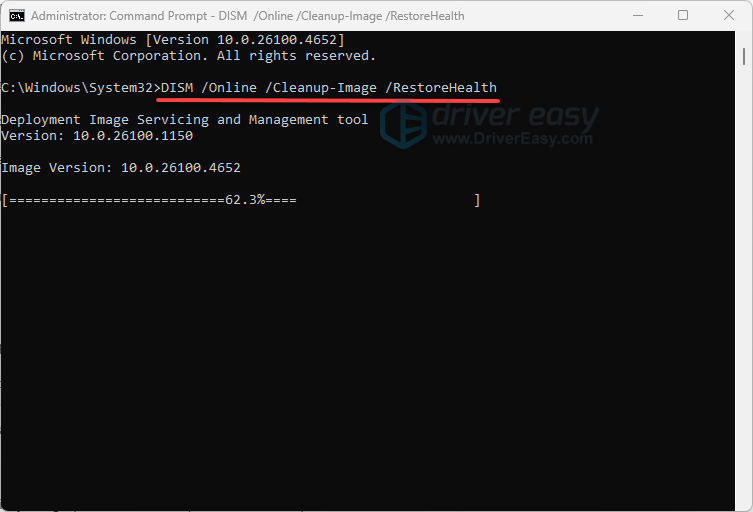
This may take some time. After the DISM is complete, type:sfc /scannow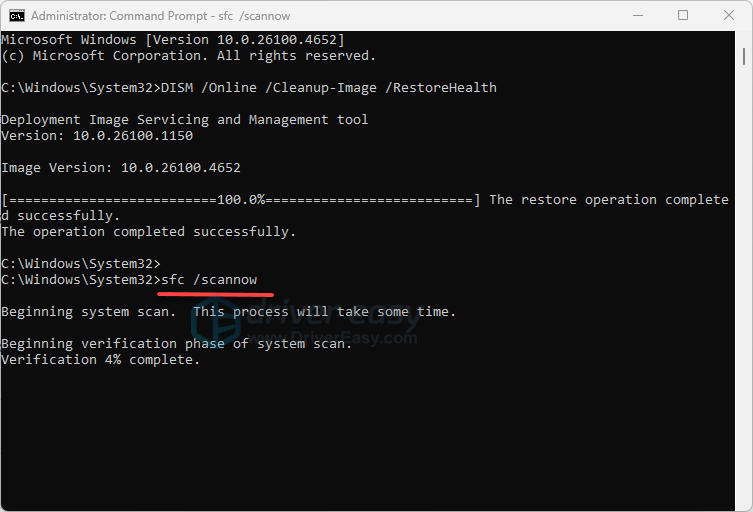
- This may take some time. Patiently wait for it to finish. Once done, restart your computer and try the update again. If the update stalls, you might consider upgrading using Windows 11 Installation Assistant.
If you’re still unable to install Windows 11 24H2, consider contacting a professional support for further assistance.