


On Windows, you’ll now be able to use your face, fingerprint, palm, or any other Windows Hello-supported authentication method to unlock your device. However, you may find that the Windows Fingerprint not working with the warning “This option is currently unavailable“.
Why does Windows fingerprint stop working?
- Hardware issues: Check your fingerprint reader carefully for possible hardware issues, such as scratches on the sensor, or grease or dust on the scanner.
- Corrupted device drivers: Your Fingerprint reader will not work if the related drivers are corrupted, outdated or incompatible.
- Chipset firmware: If you recently reinstalled Windows from Microsoft be sure to update your chipset firmware for your computer.
- Incorrect Settings: Your Windows Hello may not be configured in the right way.
- Corrupted system files: Some system files may get corrupted, thus preventing you from using the fingerprint reader.
- Software conflicts: Your fingerprint reader software or other software is causing the Windows fingerprint not working issue.
How to fix the Windows fingerprint not working?
No matter what caused your fingerprint reader not to work/give the “This option is currently unavailable” error, you shall follow the steps below to fix the issue on your own.
- Install/uninstall the latest Windows update
- Remove your fingerprint reader
- Change your PIN
- Update your device drivers
- Turn off the “save power” mode for USB ports
- Make sure biometrics is enabled
- Turn off Fast Startup
- Reinstall the fingerprint software
Fix 1. Install/uninstall the latest Windows update
If you haven’t turned on auto-update, make sure you update your Windows system to the latest version manually. If this problem occurs after a recent update, you can, instead, uninstall the update.
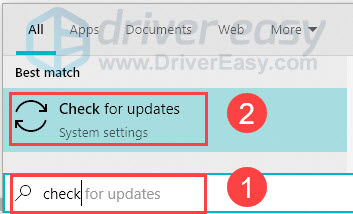
1) On your keyboard, press the Windows + S key simultaneously and type in check for updates.
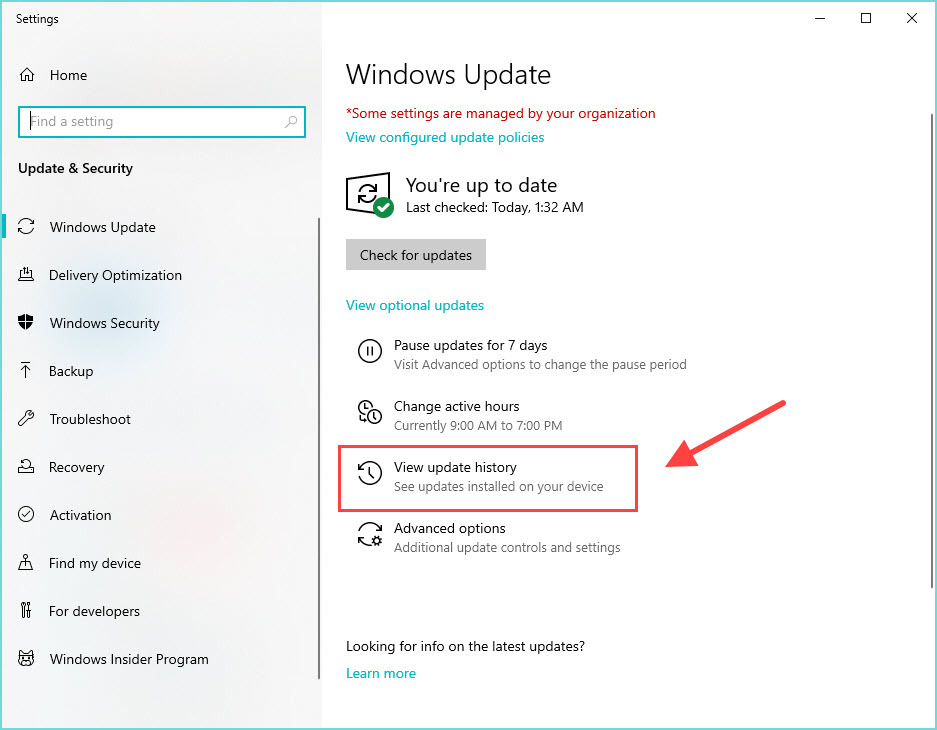
2) Make sure your Windows system is up to date. But if the ‘fingerprint reader not working’ issue comes after a Windows update, you can click View update history.
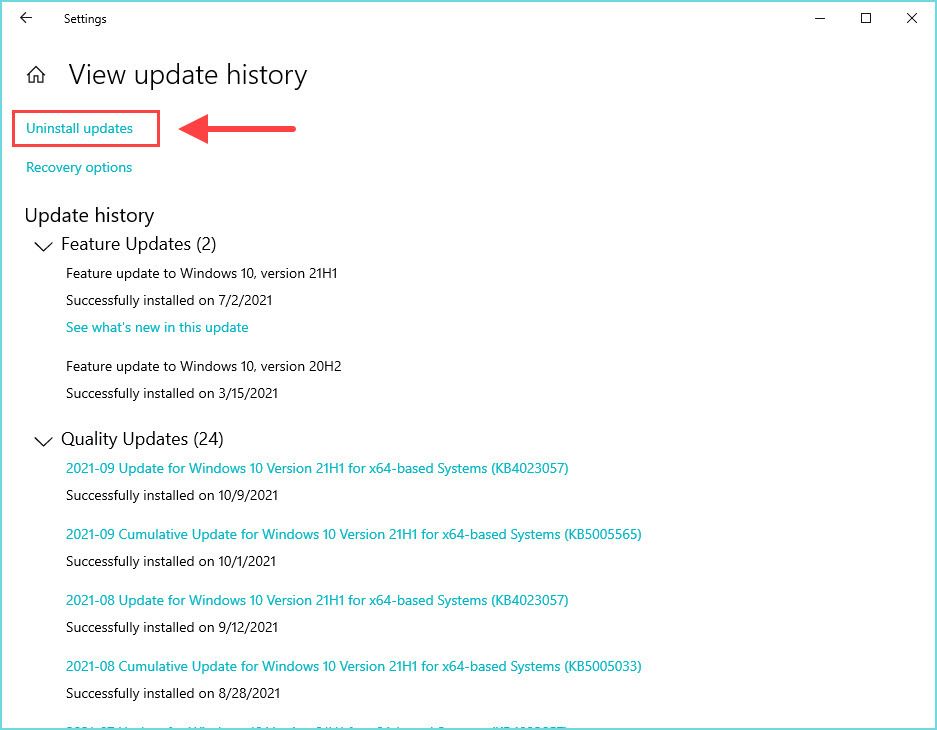
3) Click Uninstall updates.
4) Right-click the update that caused the problem and select Uninstall.
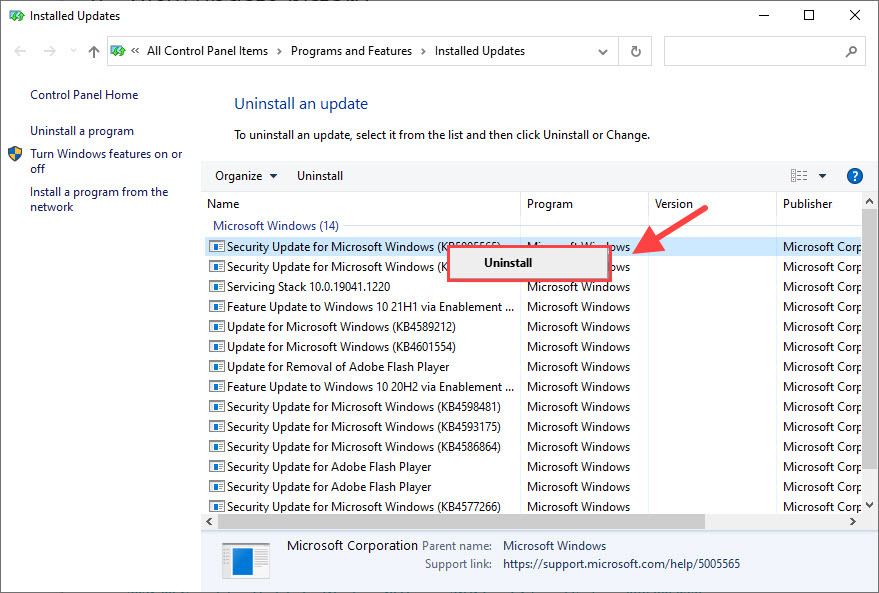
Once uninstalled, restart your computer and try logging in with your fingerprint. If this method doesn’t work for you, you can try the next fix below.
Fix 2. Remove your fingerprint reader
To make sure you have added this fingerprint reader correctly, you can remove it and configure it again. Here’s how:
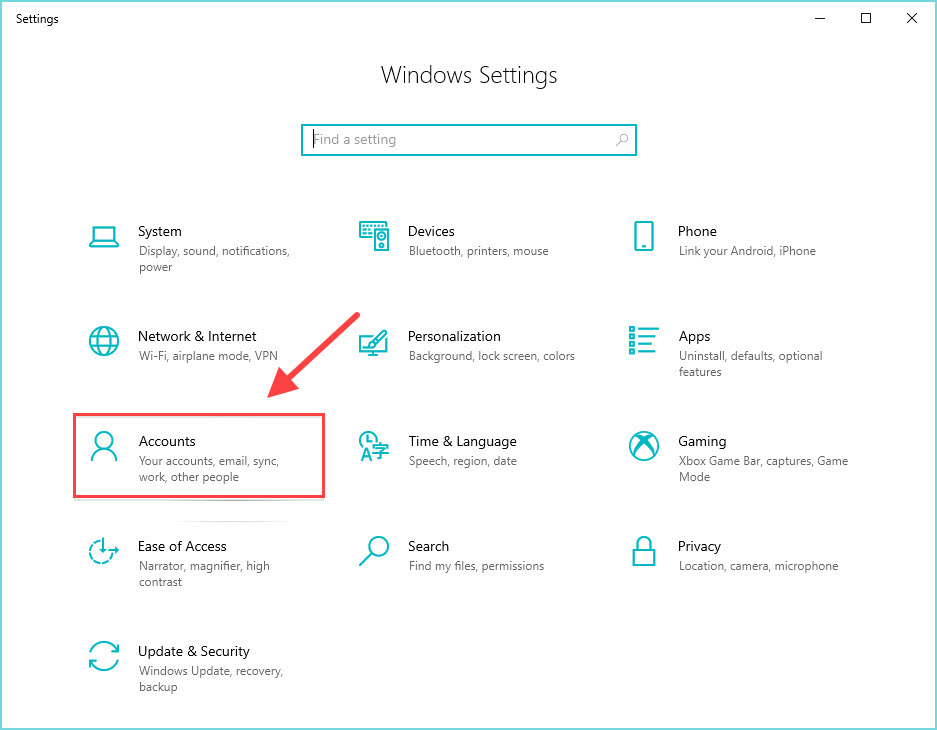
1) Open Settings and go to Accounts.
2) Go to the Sign in options, and make sure that you have a PIN set up. If not, set up your PIN now. (Windows Hello requires a PIN in case Windows Hello doesn’t work properly.)
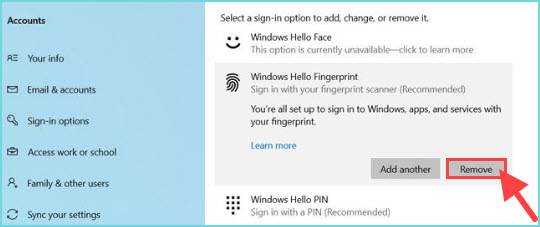
3) Select Windows Hello Fingerprint and click Remove.
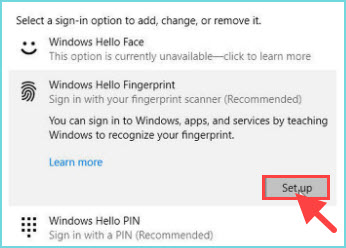
4) Click Get started and follow the on-screen instructions to add your fingerprint again.
Once complete, try rebooting your system and log in with your fingerprint.
Fix 3. Change your PIN
If resetting your Windows Hello Fingerprint is not working, there might be something wrong with your PIN. You may need to change your PIN, or even reset it.
1) Select Start > Settings > Accounts > Sign-in options .
2) Select Windows Hello PIN > Change and then follow the instructions. You will need to know and enter your old PIN to change to a new one.
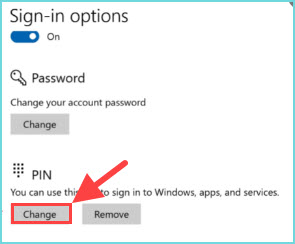
3) OR you can click Remove and enter your Microsoft Account password to confirm. Then click Add to set a new PIN.
When you have updated the PIN, you can configure the fingerprint again to check if it’s working again.
Fix 4. Update your device drivers
The main cause of a device not working is an outdated/corrupted driver. As the translator for your fingerprint reader and your system, the fingerprint driver plays a vital role in making sure you can log in with your fingerprint.
To update the fingerprint driver, you can either visit the manufacturer’s official website such as Synaptics to download the latest driver, or you can do it automatically with Driver Easy. It’s a tool that detects, downloads and installs any driver updates your computer needs.
- Download and install Driver Easy.
- Run Driver Easy, then click Scan Now. Driver Easy will then scan your computer and detect any problem drivers.

- Click Update All to automatically download and install the correct version of all the drivers that are missing or out of date on your system.
(This requires the Pro version – you’ll be prompted to upgrade when you click Update All. If you don’t want to pay for the Pro version, you can still download and install all the drivers you need with the free version; you just have to download them one at a time, and manually install them, the normal Windows way.)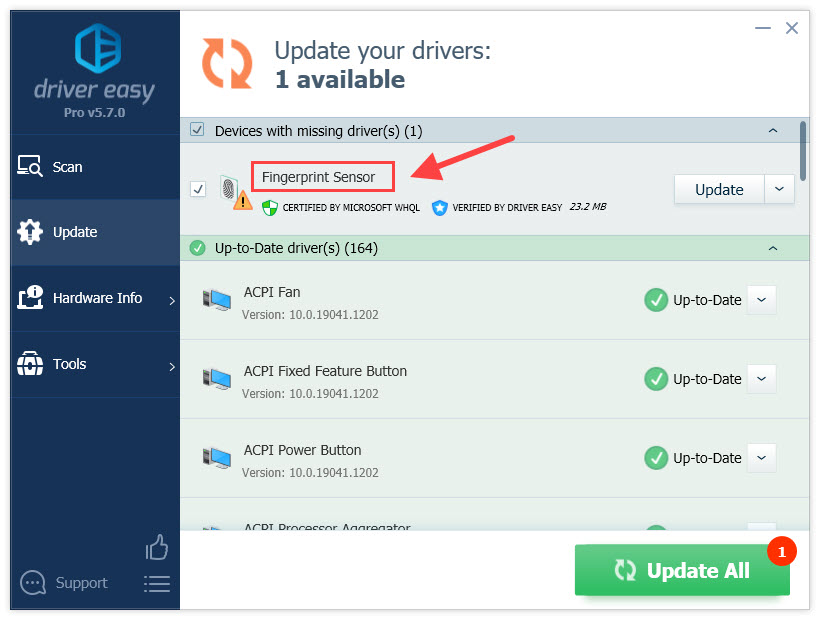
Fix 5. Turn off the “save power” mode for USB ports
Your computer would turn off your USB to save power. To prevent your PC from doing so, here’s how:
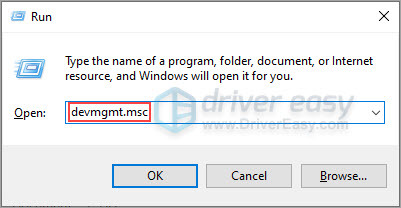
1) On your keyboard, press the Windows logo key and R at the same time. Type devmgmt.msc and press Enter.
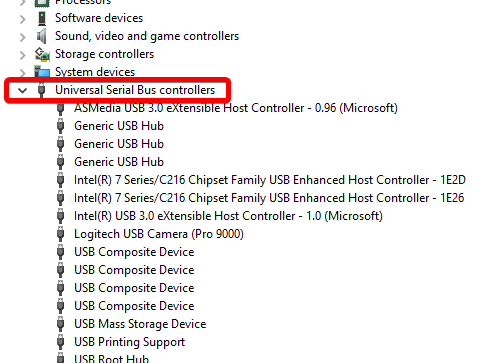
2) Expand the Universal Serial Bus controllers branch
3) Double-click the first USB Root Hub device in the list (if you see only one USB Root Hub device, that’s fine)
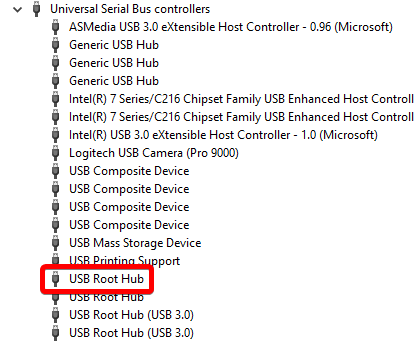
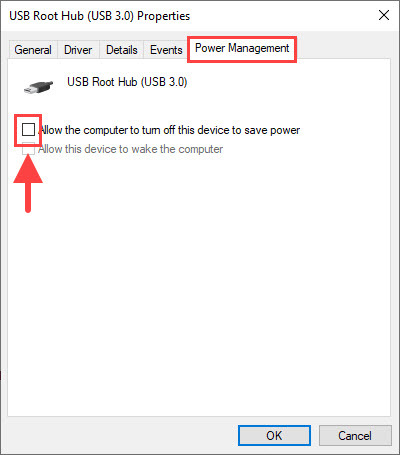
4) Click the Power Management tab. Uncheck the Allow the computer to turn off this device to save power checkbox, and click OK.
5) Repeat steps 3-4 for each USB Root Hub device in your list of Universal Serial Bus controllers.
Once you have made changes to other USB hubs, plug your USB device back in to see if your computer is can recognize it. Try logging in with your fingerprint to test the issue.
Fix 6. Make sure biometrics is enabled
If your Windows Hello Fingerprint or Windows Hello Face not working at all, you should check if Biometrics is enabled in the group policy. Here’s how:
1) On your keyboard, press the Windows + S key simultaneously and type in gpedit, and then press Enter to edit group policy.

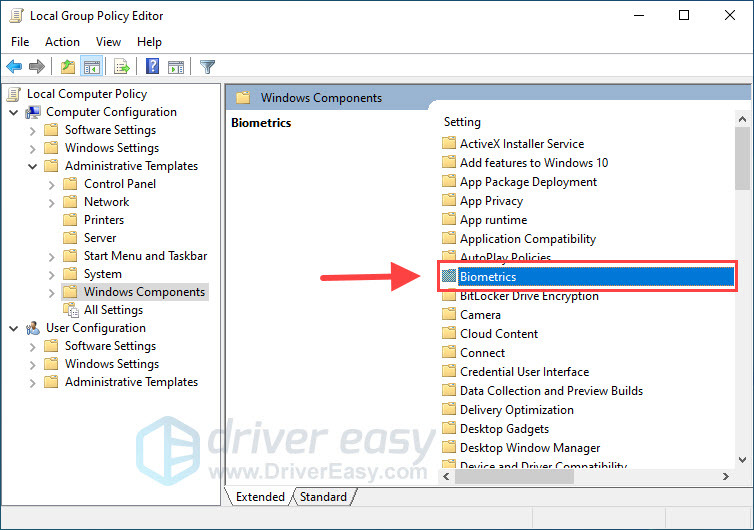
2) Under Computer Configuration, select Administrative Templates > Windows Components.

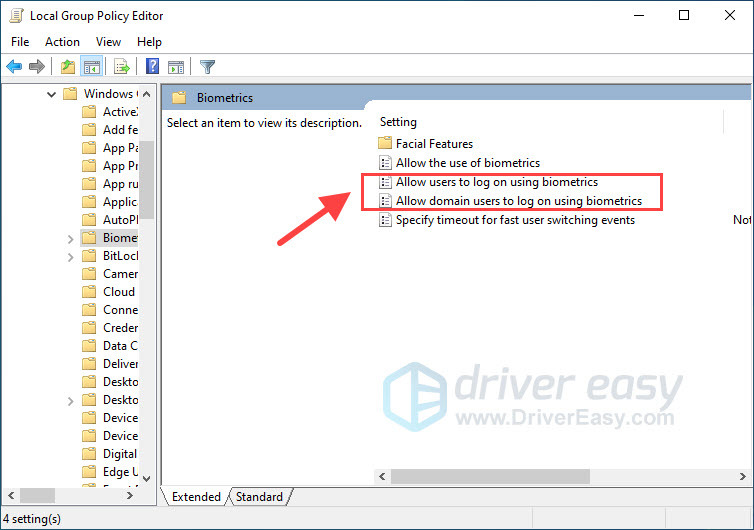
3) Select Biometrics.
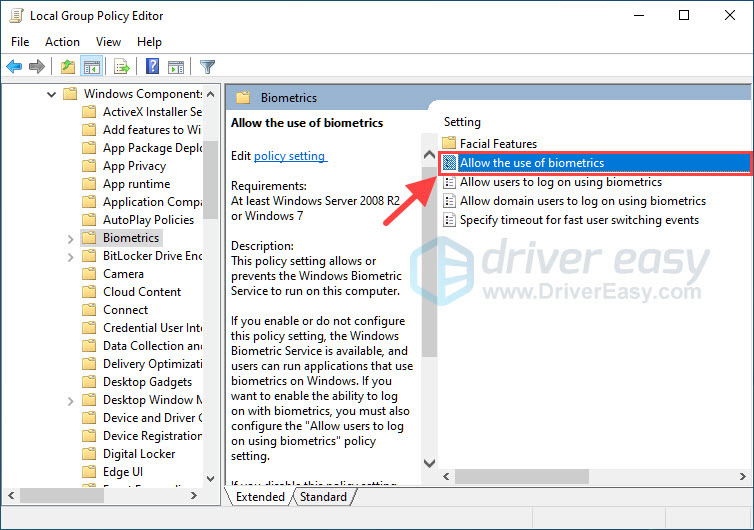
4) Double-click Allow the use of Biometrics.
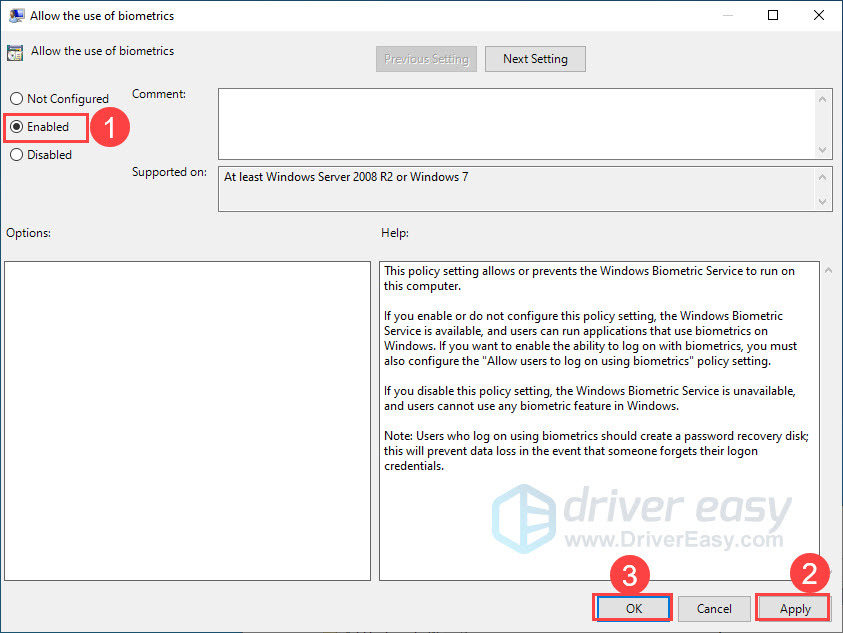
5) Select Enabled, and click Apply > OK.
6) Make sure you have enabled “Allow users to log on using biometrics” and “Allow domain users to log on using biometrics“.
7) Restart your PC and check if you can log on using Windows Hello Fingerprint.
Does this fix work for you? If not, don’t panic, and we have a few more fixes for you to try.
Fix 7. Turn off Fast Startup
Your PC comes with a fast startup feature. With Fast Startup enabled, choosing to shut down your PC might look like you’re completely shutting things down, but in reality, your PC is entering a mix between a shutdown and hibernation. Turning it on might affect your Fingerprint reader, so we recommend that you turn off Fast Startup to test the issue.
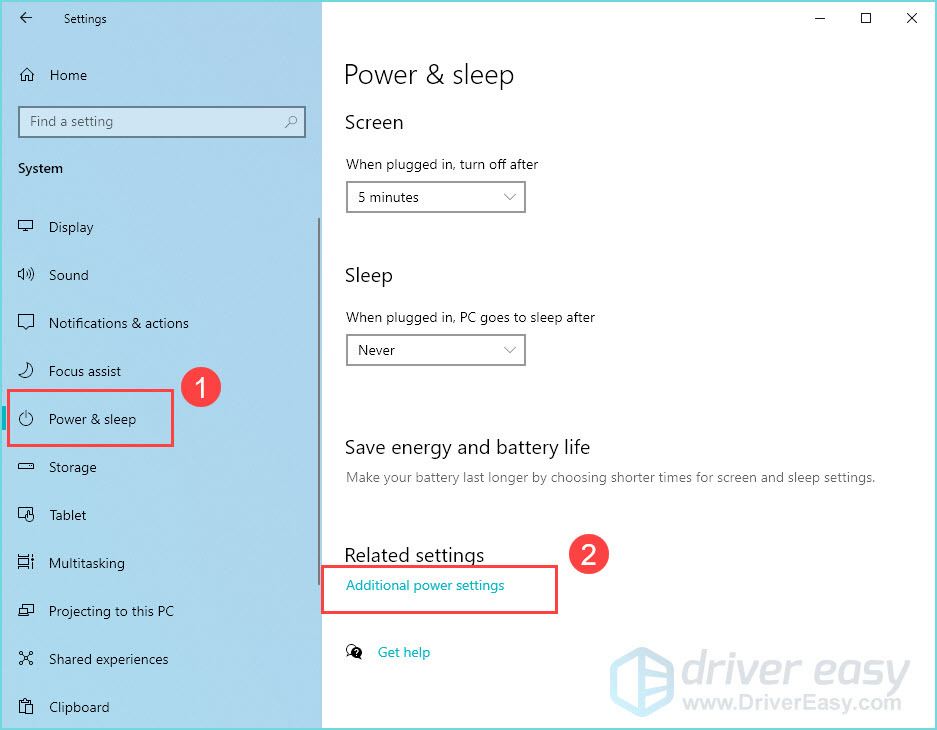
1) Go to Settings > System.
2)Select Power & Sleep > Additional Power Settings.
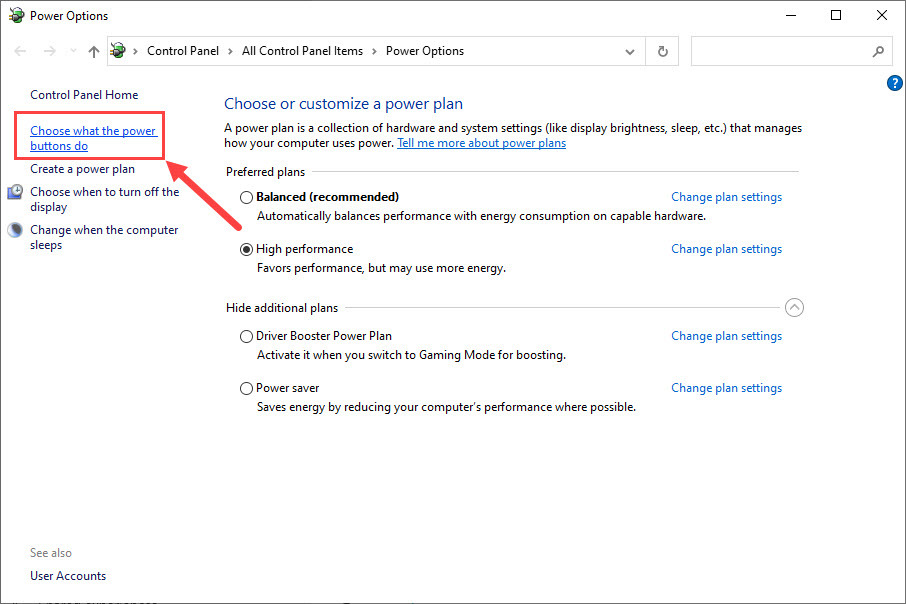
3) From the left pane, click Choose what Power buttons do.
4) Make sure the ‘Fast Startup’ feature is not on. If it’s turned on, click Change settings that are unavailable > uncheck Turn on fast startup.
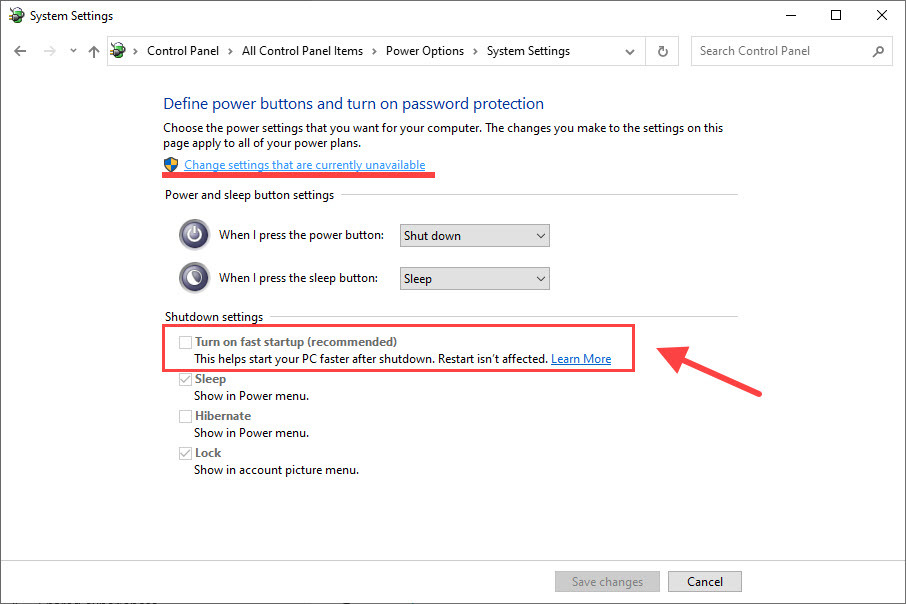
5) Click Save changes.
6) Shut down your PC completely and turn it back on.
Try logging on with your fingerprint. If the fingerprint reader is still not working, it’s perhaps caused by software conflict.
Fix 8. Reinstall the fingerprint software
To check if your fingerprinter software is up to date or gets corrupted, you might as well uninstall the software, and do a clean reinstallation.
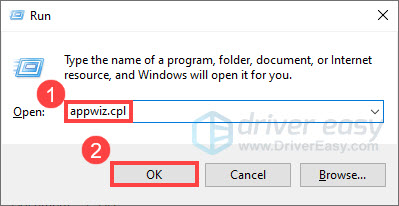
On your keyboard, press the Windows + R key and type in appwiz.cpl. Then right-click the software and select Uninstall.
Problem solved?
If you can’t fix your fingerprint reader, you may need to check if there are corrupt system files on your PC. Here’s how:
Step 1. Scan corrupt files with System File Checker
System File Checker (SFC) is a Windows built-in tool to identify and repair corrupted system files.
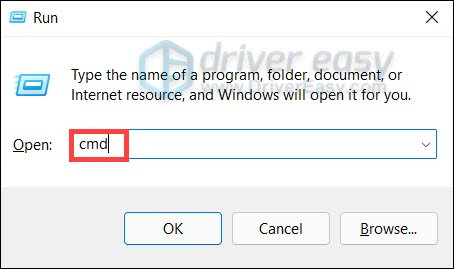
1) On your keyboard, press the Windows logo key and R at the same time to open the Run box. Type cmd and press Ctrl+Shift+Enter to run Command Prompt as administrator.
Click Yes when prompted for permission to make changes to your device.
2) In the Command Prompt, type the following command and hit Enter.
sfc /scannow
3) System File Check will begin to scan all system files and repair any corrupted or missing ones it detected. This may take 3-5 minutes.
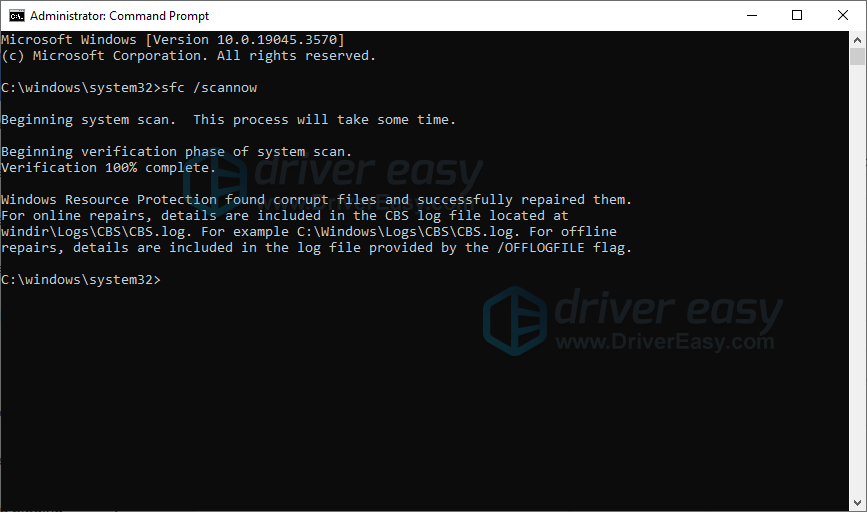
4) You may receive something like the following messages after the verification.
- no errors
- it fixed some errors
- could not fix all errors
- could not fix errors at all
- ……
No matter what message you receive, you can try running dism.exe (Deployment Image Servicing and Management) to further scan the health of your PC.
Step 2. Run dism.exe
1) Run Command Prompt as admin and enter the following commands.
- This command line will scan the health of your PC:
dism.exe /online /cleanup-image /scanhealth
- This command line will restore the health of your PC:
dism.exe /online /cleanup-image /restorehealth
2) After the restore health process finishes, you may get some error messages.
- If restore heath gave you errors, you can always try this command line. This will take up to 2 hours.
dism /online /cleanup-image /startcomponentcleanup
- If you get Error: 0x800F081F with the restore health scan, reboot your PC and run this command line.
Dism.exe /Online /Cleanup-Image /AnalyzeComponentStore
If the System File Check finds any files corrupted, follow the on-screen instructions to repair them, and then restart your computer for the changes to take full effect.
Did the fixes above do the trick for you? Feel free to drop us a line if you have any questions.