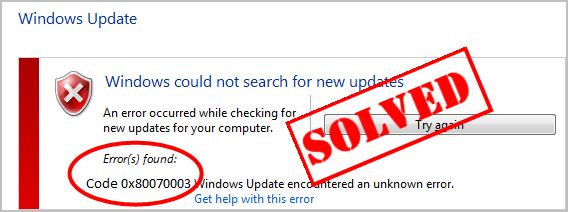
Many Windows users are reporting that their Windows PC cannot update and displays an error code of 0x80070003. If you’re being bugged by the same issue, don’t worry, you can try the methods below, which worked for a lot of people.
Try these methods
- Check your date and time settings
- Use the Command Prompt
- Run System File Checker
- Run Windows Update Troubleshooter (Windows 10)
Method 1: Check your date and time settings
Some users found that their computer’s date and time settings were causing the 0x80070003 error, so you’d better make sure the date and time on your PC are correct. To check for and change date and time settings, you can follow these steps:
If you’re using Windows 10
- In the lower right corner of your screen’s desktop, right-click the date/ time, then select Adjust date/time.
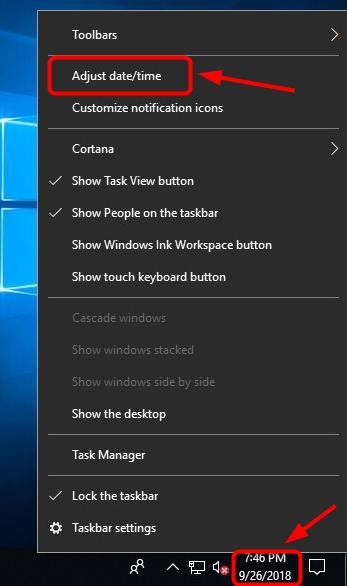
- If the Date, Time or Time zone is incorrect, you can toggle off the button under Set time automatically or Set time zone automatically, then click the Change button to change the date/time, or select the correct time zone from the drop-down menu. (See screenshot below)
- Restart your PC.
- Try to update your system again.
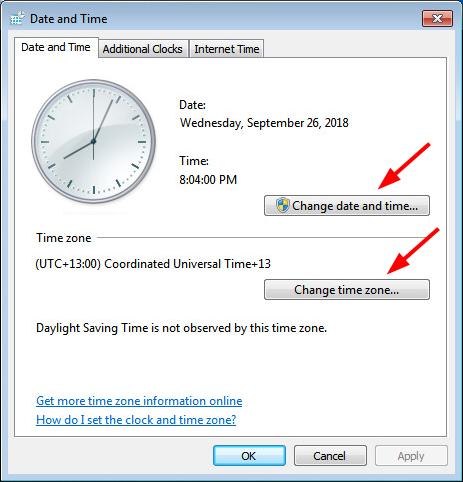
If you’re using Windows 7
- Click the date/time in the lower right corner, then Change date and time settings…
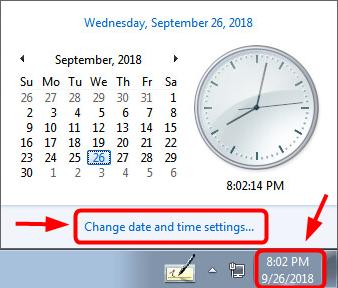
- If the Date, Time or Time zone is incorrect, you can click Change date and time.. or Change time zone… to rectify it. (See screenshot below)
- Restart your computer.
- Try to update your system again.
Method 2: Use the Command Prompt
For unsuccessful Windows updates, you can try running the following commands in Command Prompt to troubleshoot the 0x80070003 error. Here’s what you need to do:
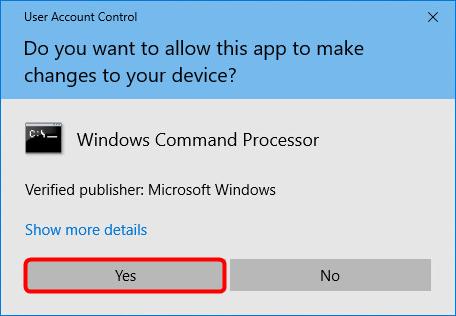
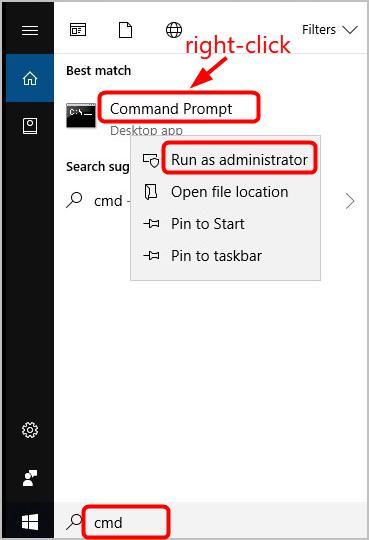
- In the Windows search box, type cmd, then right-click Command Prompt and select Run as administrator.

- Click Yes if prompted by User Account Control.
- In the almost black window, type net stop wuauserv and press Enter on the keyboard to stop the Windows Update service (see screenshot below).

- Type ren c:\windows\SoftwareDistribution softwaredistribution.old and press Enter to rename the Windows update folder softwaredistribution.old. Note: If you’ve typed this command correctly, you should see no prompt after you press Enter.
- Type net start wuauserv and press Enter to restart the Windows Update service (see screenshot below).

- Type exit and press Enter to close the window.
- Try to download Windows updates.
Method 3: Run System File Checker
As mentioned in the beginning, the 0x80070003 error may be caused by damaged system files, so you can run System File Checker to scan your system and help sort out the issue. Follow me:
- Type cmd in the search box, then right-click Command Prompt and select Run as administrator. (Click Yes if prompted by User Account Control.)
- In the pop-up window, type sfc /scannow and press Enter on your keyboard.
Note: There’s a space between sfc and /scannow.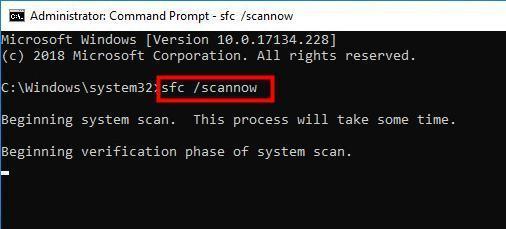
- When the verification reaches 100%, you’ll see something like this if issues were found and corrected:
Windows Resource Protection found corrupt files and successfully repaired them.
If this is the case, restart your PC and your system will repair the problem.
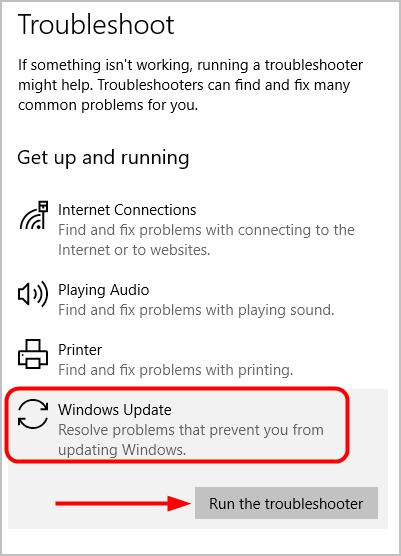
Method 4: Run Windows Update Troubleshooter (Windows 10)
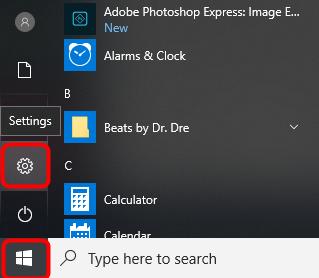
If you’re using Windows 10, you can also use the handy built-in tool: Troubleshooter to troubleshoot your Windows update problem. To run the troubleshooter, you can:
- Click the Start button in the lower left corner, then the settings icon.
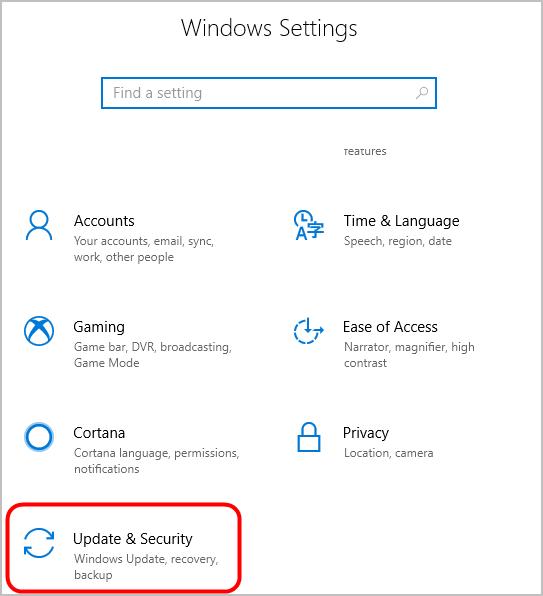
- Click Update & Security.
- In the left pane, click Troubleshoot.
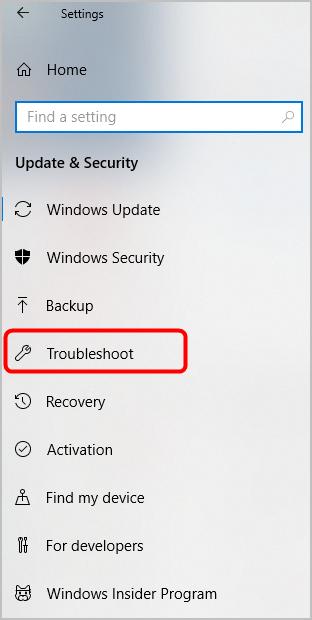
- In the right pane, click Windows Update, then Run the troubleshooter.
Pro tip
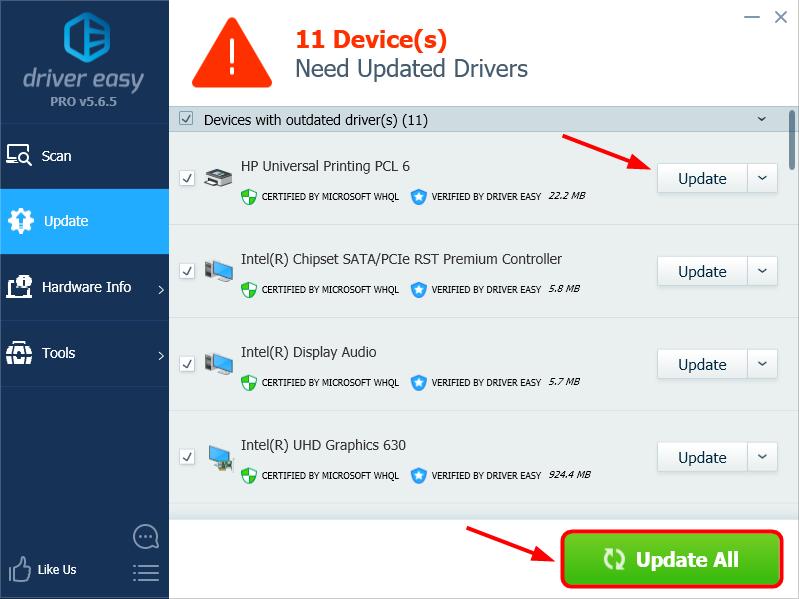
Just as Microsoft keeps updating Windows, device manufacturers keep updating drivers. For the well being of your Windows PC, you should see to it that devices connected with your computer have the most recent correct drivers. Because outdated or faulty drivers can create various issues on your system.
Considering that manually updating all your drivers can be very time-consuming, we recommend Driver Easy to you. It can help you do the job effectively and efficiently.
Driver Easy will automatically recognize your system and find the correct drivers for it. You don’t need to know exactly what system your computer is running, you don’t need to risk downloading and installing the wrong driver, and you don’t need to worry about making a mistake when installing.
You can update your drivers automatically with either the FREE or the Pro version of Driver Easy. But with the Pro version it takes just 2 clicks (and you get full support and a 30-day money back guarantee):
- Download and install Driver Easy.
- Run Driver Easy and click Scan Now. Driver Easy will then scan your computer and detect any problem drivers.
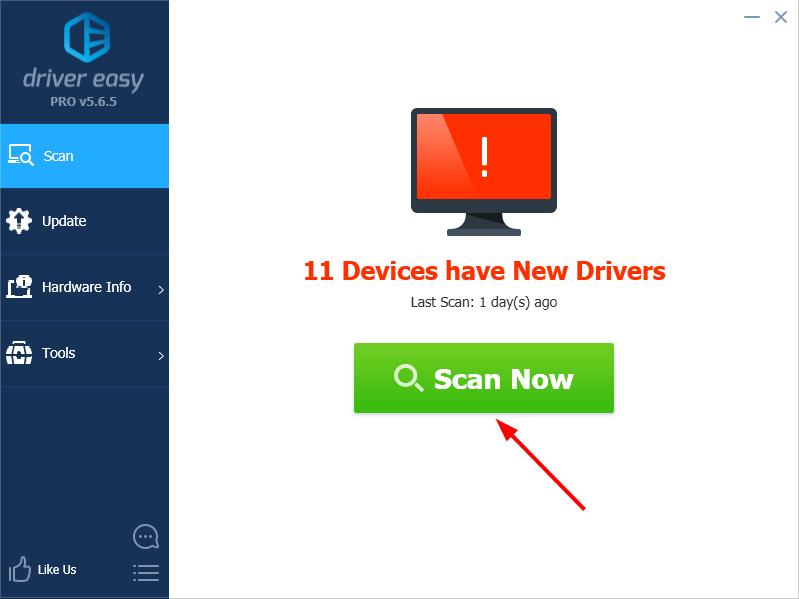
- Click the Update button next to a flagged driver to automatically download the correct version of this driver, then you can manually install it (you can do this with the FREE version).
Or click Update All to automatically download and install the correct version of all the drivers that are missing or out of date on your system (this requires the Pro version – you’ll be prompted to upgrade when you click Update All).