


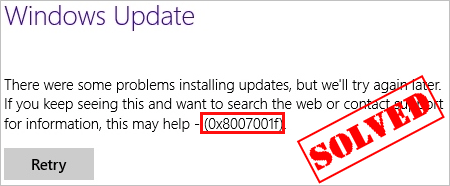
Seeing the error code 0x8007001f when you perform Windows Update? Although it is very frustrating, you’re definitely the only person to experience this problem. Thousands of Windows users have recently reported the very same issue. More importantly, you should be able to fix it pretty easily…
Try these fixes
Here’s a list of fixes that have resolved this problem for other Windows users. You don’t have to try them all. Just work your way through the list until you find the one that does the trick for you.
- Run the Windows Update Troubleshooter
- Update your drivers
- Restart the Windows Update Service
- Run the DISM tool
- Run System File Checker
- Perform a clean boot
- Download updates from Microsoft Update Catalog manually
Fix 1: Run the Windows Update Troubleshooter
Windows Update troubleshooter is a built-in tool that can help you analyze and resolve issues related to Windows updates. Try running the Windows Update troubleshooter to see if you can resolve this issue. Here is how to do it:
on Windows 10
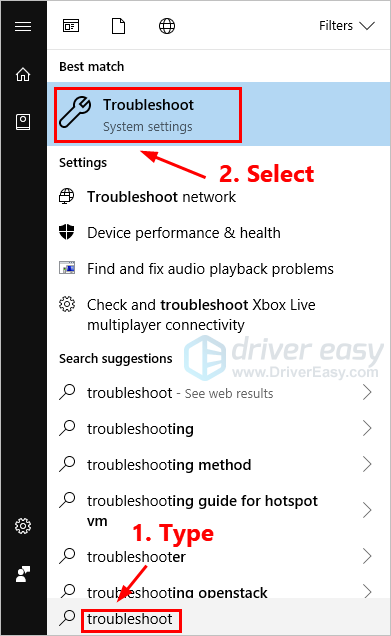
- On your keyboard, press the Windows logo key and type troubleshoot. In the list of search results, select Troubleshoot.
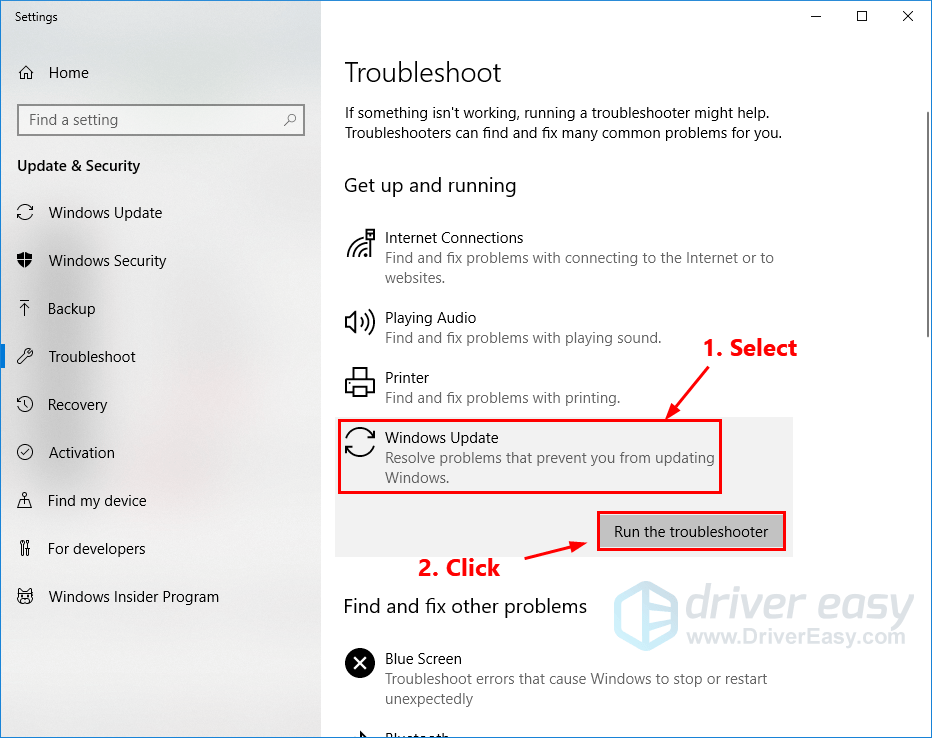
- In the pop-up window, select Windows Update and click Run the troubleshooter. You’ll be prompted for permission. Click Yes to run the Windows Update troubleshooter.
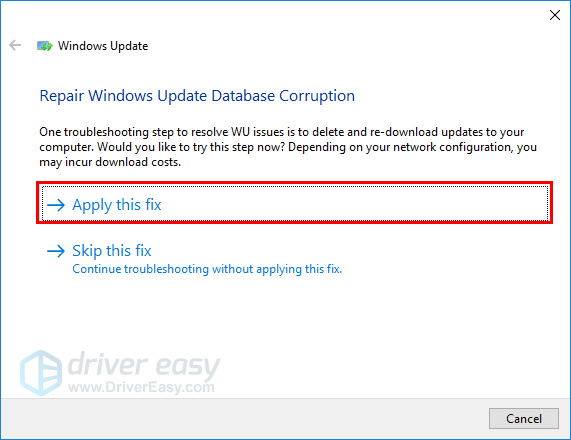
- Click Apply this fix to continue.
- Follow the on-screen instructions to troubleshoot this issue.
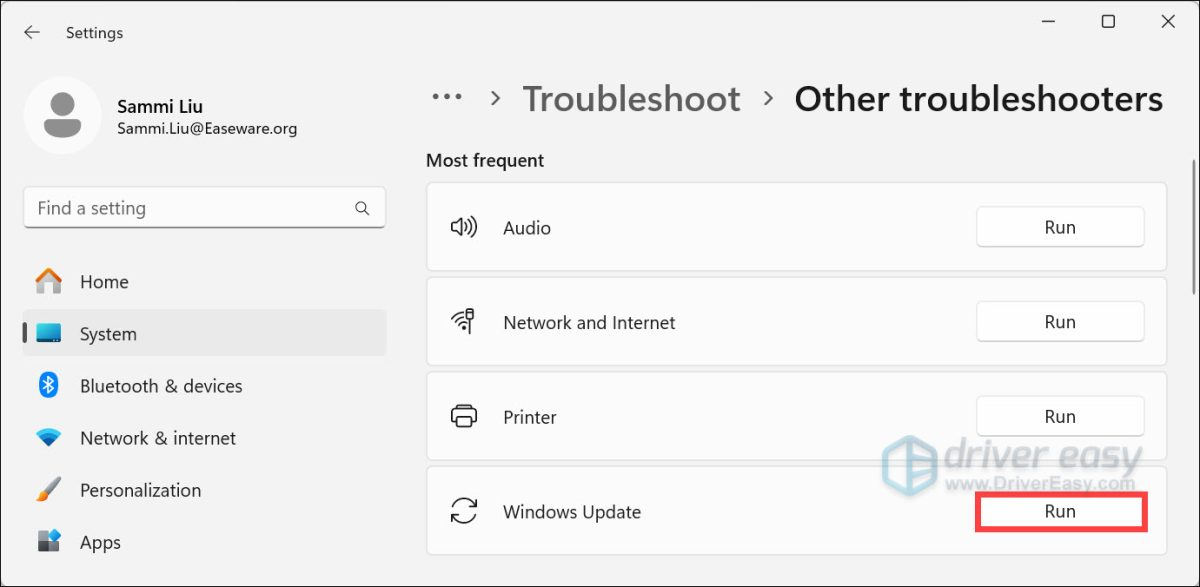
on Windows 11
Select Start > Settings > System > Troubleshoot > Other troubleshooters. Next, under Most frequent, select Windows Update > Run.
Perform the Windows update again to see if you can install the update. If not, try the next fix, below.
Fix 2: Update your drivers
This issue may also be triggered by some missing or outdated drivers. Some Windows users reported that this issue was resolved after they updated their audio drivers. Try updating your drivers to see if you can fix this issue.
There are two ways to update your drivers: manually and automatically.
Update your drivers manually – You can update your drivers manually by going to the manufacturer’s website and searching for the latest driver for each device on your PC.
Or
Update your drivers automatically – If you don’t have the time, patience, or computer skills to update your drivers manually, you can, instead, do it automatically with Driver Easy. You don’t need to know exactly what system your computer is running, you don’t need to risk downloading and installing the wrong driver, and you don’t need to worry about making a mistake when installing. Driver Easy handles it all.
All the drivers in Driver Easy come straight from the manufacturer. They’re all certified and secure.
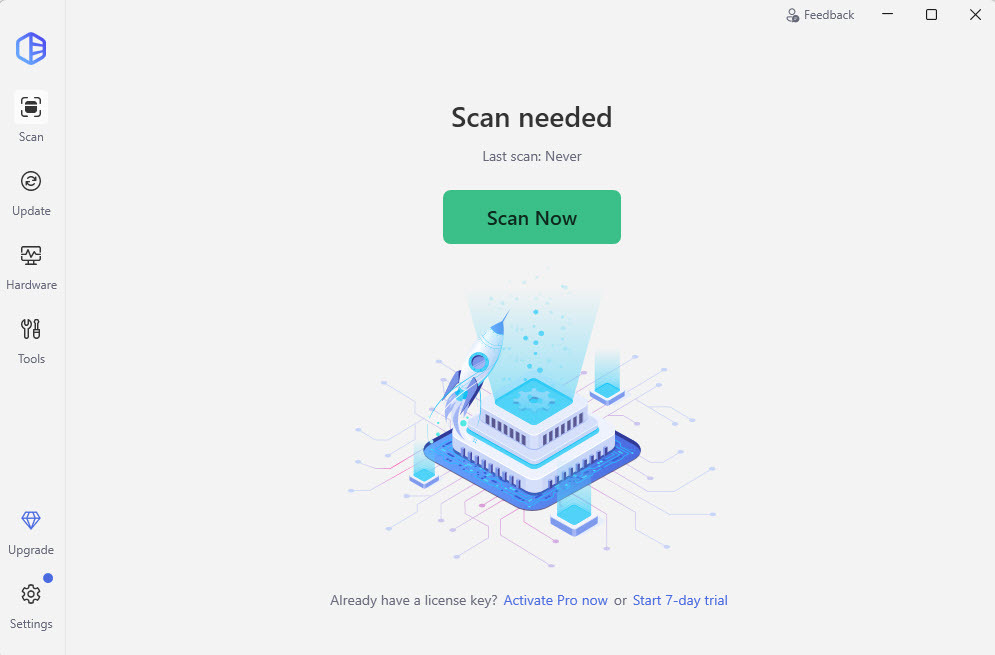
- Download and install Driver Easy.
- Run Driver Easy and click Scan Now. Driver Easy will then scan your computer and detect any problem drivers.
- Click Update next to any device to automatically download the correct version of its driver. Or click Update All to automatically download and install the correct version of all the drivers that are missing or out of date on your system (This requires the Pro version – you’ll be prompted to upgrade when you click Update All. You get full support and a 30-day money-back guarantee).

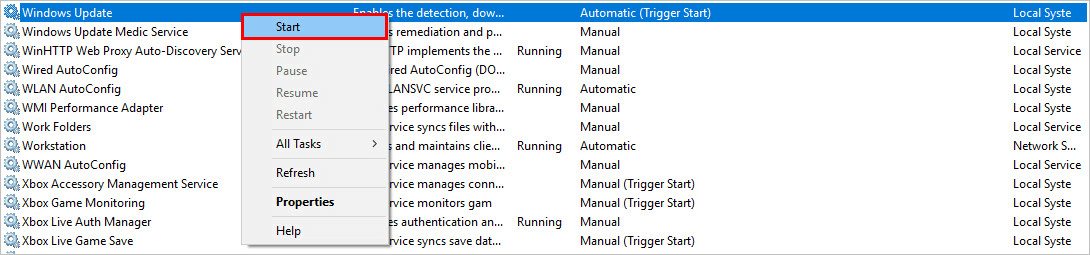
Fix 3: Restart the Windows Update Service
You may run into this issue if there is something wrong with the Windows Update service. You can try restarting the Windows Update service to resolve this problem. Here’s how to do it:
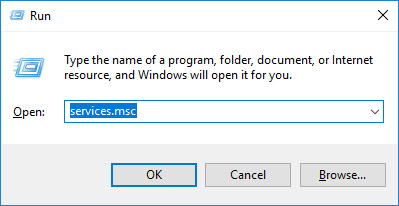
- On your keyboard, press the Windows Logo key and R at the same time to open the Run dialog, then type services.msc and press Enter to open the Services window.
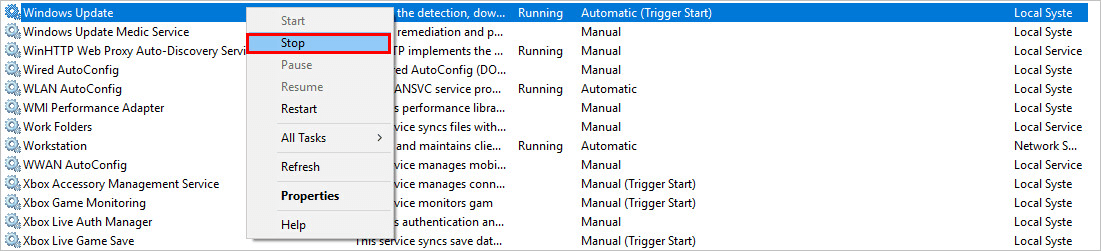
- Right-click Windows Update and select Stop if its current status is “Running”. If the Windows Update service is not running, please skip this step.
- On your keyboard, press the Windows Logo Key and E at the same time to open File Explorer. Copy the path below and paste it into the address bar, then press Enter on your keyboard to go to the DataStore folder.
C:\Windows\SoftwareDistribution\DataStore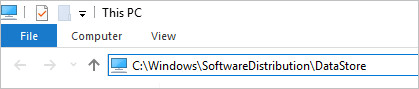
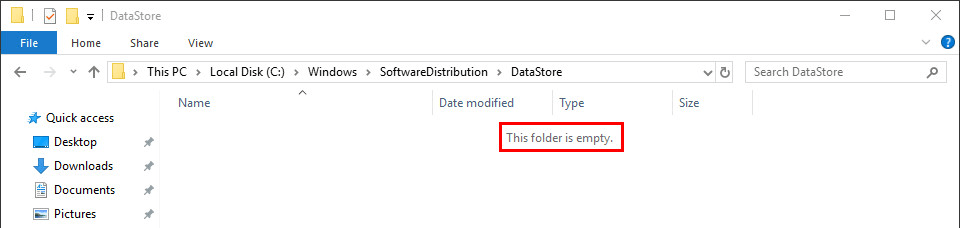
- Delete all the files in the folder DataStore.
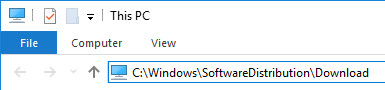
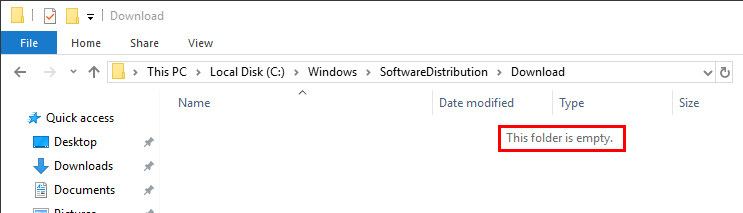
C:\Windows\SoftwareDistribution\Download
Check Windows Update again to see whether you can install the update. If not, try the next fix, below.
Fix 4: Run the DISM tool
If your Windows update files are corrupted, this issue may also occur. In this case, running the Deployment Image Servicing and Management (DISM) tool may resolve this issue. Here is how to do it:
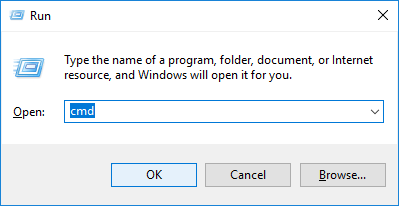
- On your keyboard, press the Windows Logo Key and R at the same time to open the Run dialog. Type cmd and then press Ctrl, Shift, and Enter on your keyboard at the same time to run the Command Prompt as administrator. You will be prompted for permission. Click Yes to run the Command Prompt.

- On your keyboard, type the command lines below one by one and press Enter.
-
Dism /Online /Cleanup-Image /ScanHealth
When you run the command mentioned above, the DISM tool will scan all the system files and compare them with official system files. The function of this command line is to see if the system file on your PC is consistent with its official source or not. This command line doesn’t fix the corruption. It may take several minutes for this command operation to be completed.
 -
Dism /Online /Cleanup-Image /CheckHealth
When you run the command line Dism /Online /Cleanup-Image /CheckHealth, the DISM tool will check whether your Windows 10 image exists corruptions or not. This command line also doesn’t repair the corrupted files. It may take several minutes for this command operation to be completed.
 -
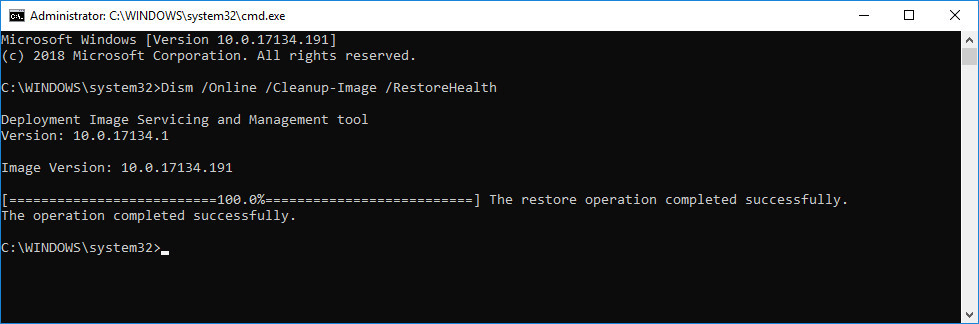
Dism /Online /Cleanup-Image /RestoreHealth
The command line Dism /Online /Cleanup-Image /RestoreHealth tells the DISM tool to try to repair the corrupted files detected. It will replace the corrupted files with the files from official source online. It may take several minutes for this command operation to be completed.
-
- Close Command Prompt when the restore operation is completed.
See if you resolved this issue. If this issue persists, try running System File Checker.
Fix 5: Run System File Checker
System File Checker can scan for corruptions in Windows system files and restore corrupted files. When you fail to install Windows updates, it may be caused by some corruption error. In this case, running System File Checker may help you resolve this issue.
- On your keyboard, press the Windows Logo Key and R at the same time to open the Run dialog. Type cmd and press Ctrl, Shift and Enter to run Command Prompt as administrator. You’ll be prompted for permission. Click Yes to open Command Prompt.
- In Command Prompt, type the following command and press Enter.
sfc /scannow
It may take some time for the command operation to be completed.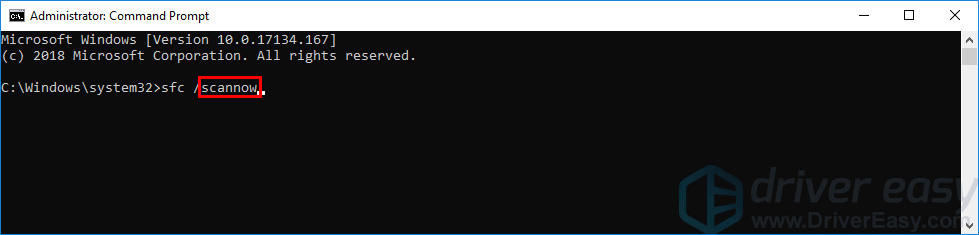
- Close Command Prompt when this command operation is completed.
Run Windows Update again to check whether this fix works or not.
If you still fail to install updates, please try the next fix.
Fix 6: Perform a clean boot
You may need to perform a clean boot if this issue persists. The clean boot is a troubleshooting technique that allows you to manually disable startups and services to test if this issue is caused by other applications or services. Normally, you should be able to install the updates after you perform a clean boot. Here is how to do it:
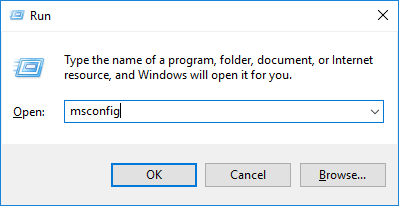
- On your keyboard, press the Windows logo key and R at the same time to open the Run Dialog. Type msconfig and press Enter to open the System Configuration window.
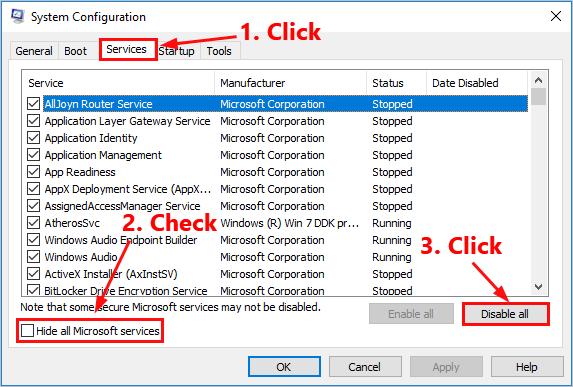
- Navigate to the Services tab, check the box near Hide all Microsoft services, and then click Disable all.
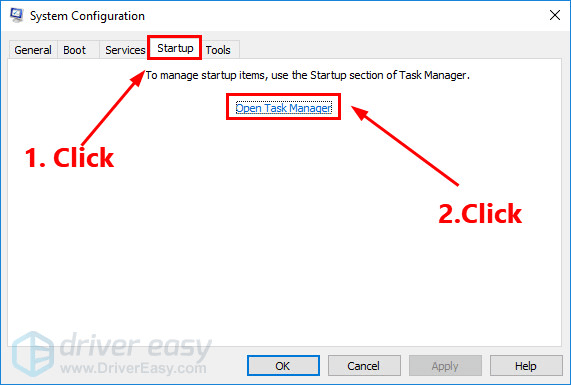
- Select the Startup tab and click Open Task Manager.
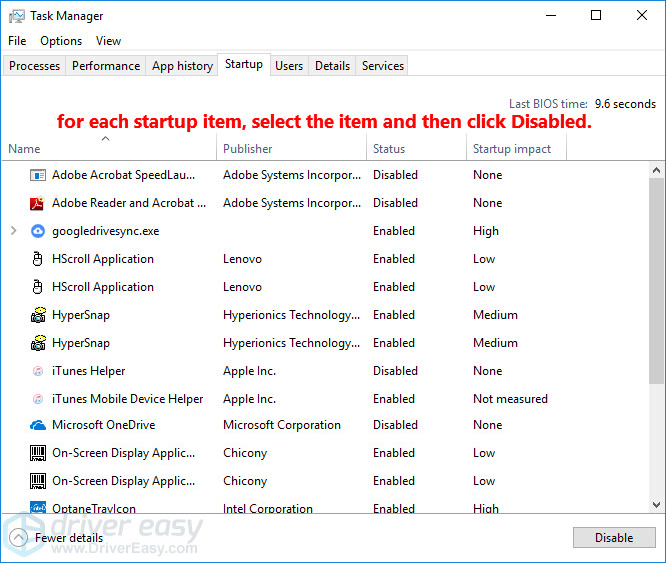
- On the Startup tab in Task Manager, for each startup item, select the item and then click Disabled.
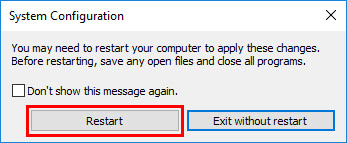
- Go back to the System Configuration window and click OK.

- Click Restart to restart your PC.
Restart your PC and perform Windows Update again to see if you can install the updates. If this issue persists, try the next fix below to download the updates and install them manually on your PC.
Fix 7: Download updates from Microsoft Update Catalog manually
If none of the fixes above works for you, you can try downloading the updates you failed to install from Microsoft Update Catalog and install them manually. Here is how to do it:
- On your keyboard, press the Windows Logo Key and type Windows Update, and then press Enter to open Windows Update.
- Click View update history to check the updates you failed to install. For example, if you fail to install update KB3006137, you can download the update and install it manually.
- Follow the instructions below to view your system type:
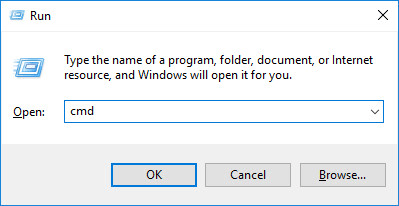
- On your keyboard, press the Windows Logo key and R at the same time to open the Run dialog. Type cmd and press Enter to open the Command Prompt.
- Type the command line systeminfo and press Enter to view your system type.
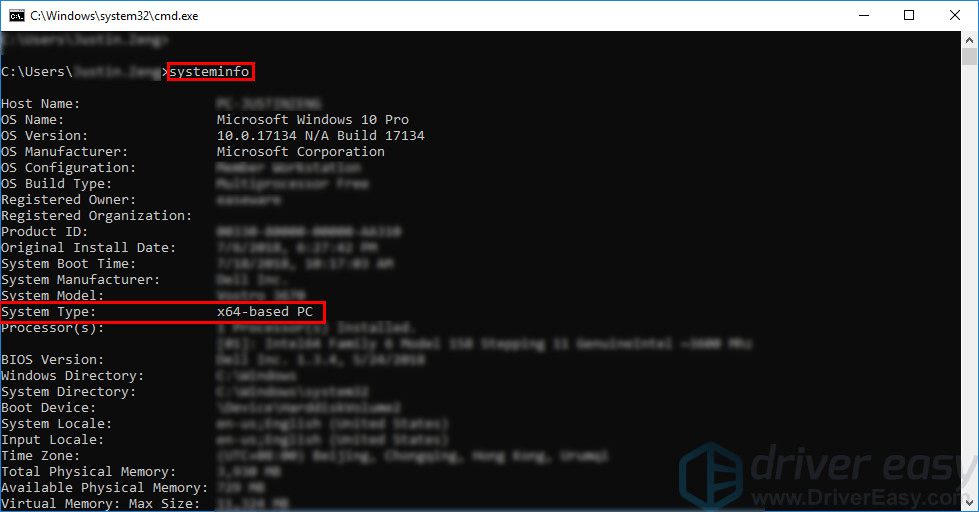
“X64-based PC” indicates that your Windows OS is 64-bit; “X86-based PC” means that your Windows OS is 32-bit.
- On your keyboard, press the Windows Logo key and R at the same time to open the Run dialog. Type cmd and press Enter to open the Command Prompt.
- Visit Microsoft Update Catalog.
- Type the update number that you want to download. In this example, type KB3006137 and then click Search.

- In the list of search results, select the right update for your operating system and click Download.
If your Windows OS is 64-bit, you should download the update whose name contains “x64-based”.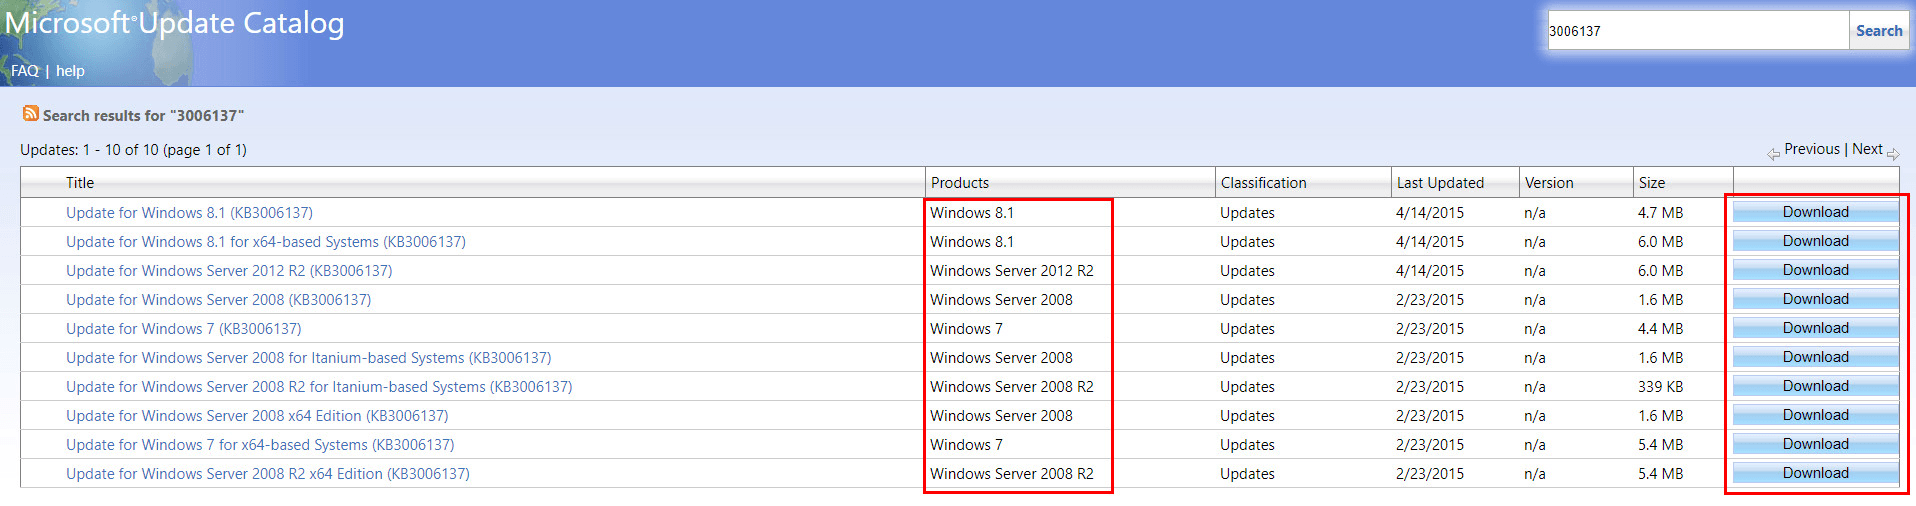
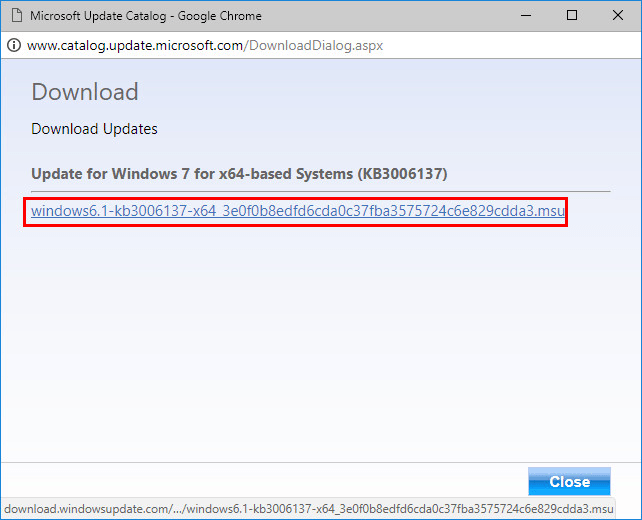
- In the pop-up window, click the link to start downloading the updates.
- Double-click the downloaded file and follow the on-screen instructions to install the update.
Hopefully one of the fixes resolved this issue for you. Please leave your comment below if you have any questions or suggestions!