


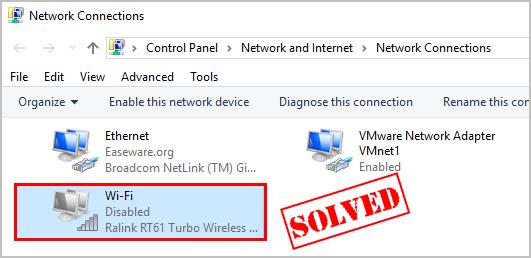
If you see your WiFi adapter is disabled in your computer, don’t worry. This is a common issue and you can fix it if your WiFi adapter is disabled.
Why is my WiFi adapter disabled
WiFi adapter, also called wireless adapter or wireless network card, is a key device that allows your computer to connect to wireless network.
Usually the problem is that your WiFi adapter connection is shown as Disabled in your Windows computer. This is literally because your WiFi network card has been disabled, and the reasons that cause it disabled is various, such as your wireless network card faulty, or your WiFi adapter driver corruption.
But don’t worry, there’s workaround to fix WiFi adapter disabled.
How to fix WiFi adapter disabled
Here are some solutions you can try. You don’t have to try them all; just work your way down the list until everything’s working again.
- Enable your WiFi adapter
- Configure settings in Device Manager
- Update your WiFi adapter driver
- Enable WLAN AutoConfig service
Fix 1: Enable your WiFi adapter
If you see your WiFi adapter is shown Disabled, it’s possible that you may have accidentally disabled, such as your keyboard combinations trigger the problem. So you can manually enable your WiFi adapter in your computer.
There are two ways to enable your WiFi adapter:
Way 1: Enable your WiFi adapter via your keyboard
Some laptops such as HP or Lenovo have a switch or key to directly turn on/off WiFi adapter. If you have the switch or key on your keyboard, check it out and enable your WiFi.

In addition, some keyboard combinations (like Fn+F5) can trigger your WiFi adapter to be disabled. If you know the keyboard combination, give it a shoot and see if it enables your WiFi adapter.

If this way doesn’t work for you, don’t worry. You can try the second way.
Way 2: Enable your WiFi adapter via Control Panel
You can also enable your WiFi adapter via Control Panel.
To do so, follow the steps below:
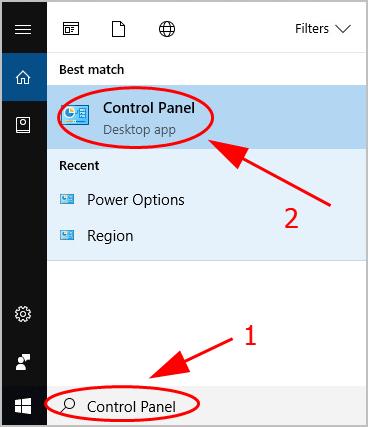
- Search Control Panel in the search box on your desktop, and click Control Panel to open it.
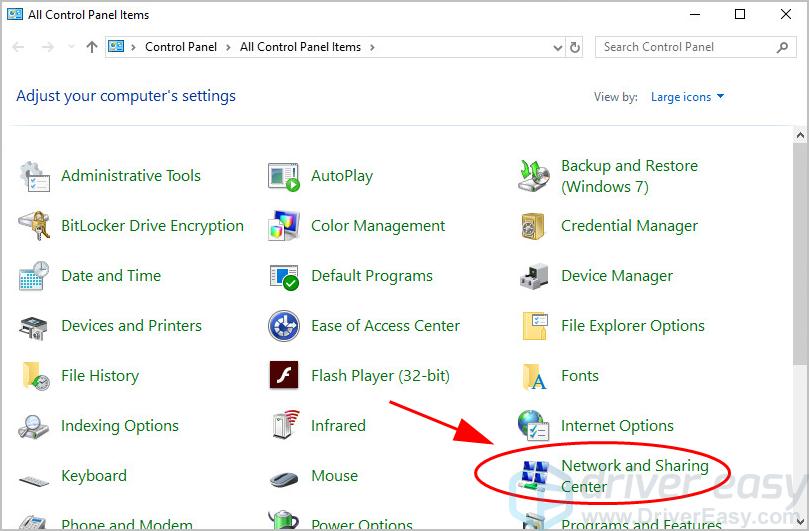
- Click Network and Sharing Center.
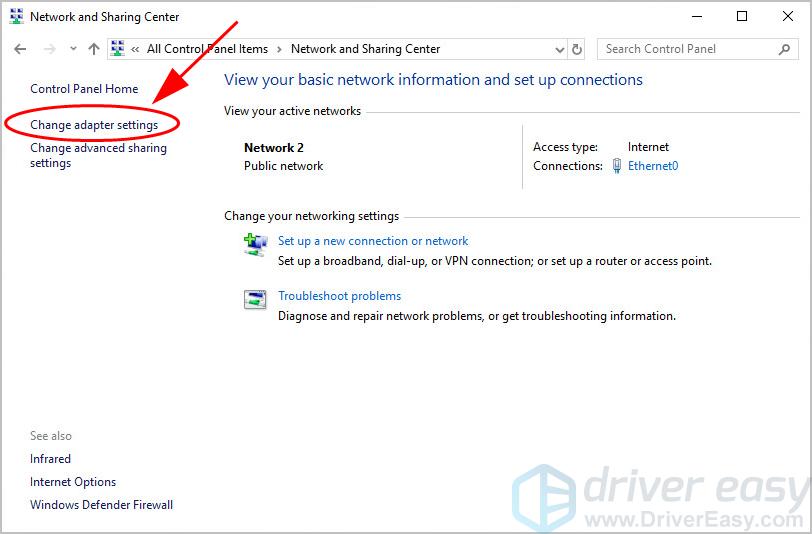
- Click Change adapter settings.
- Right click on your WiFi adapter that is having problem, and click Enable.
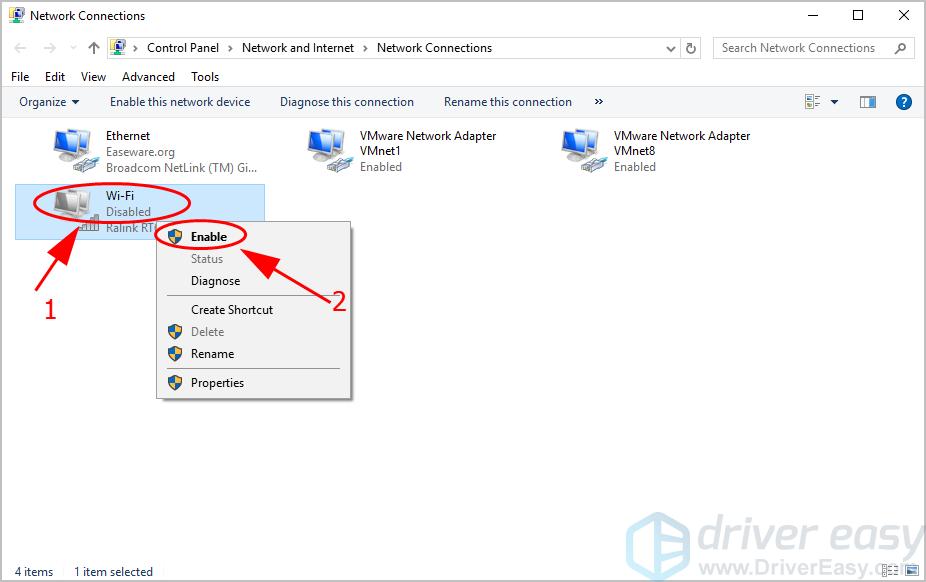
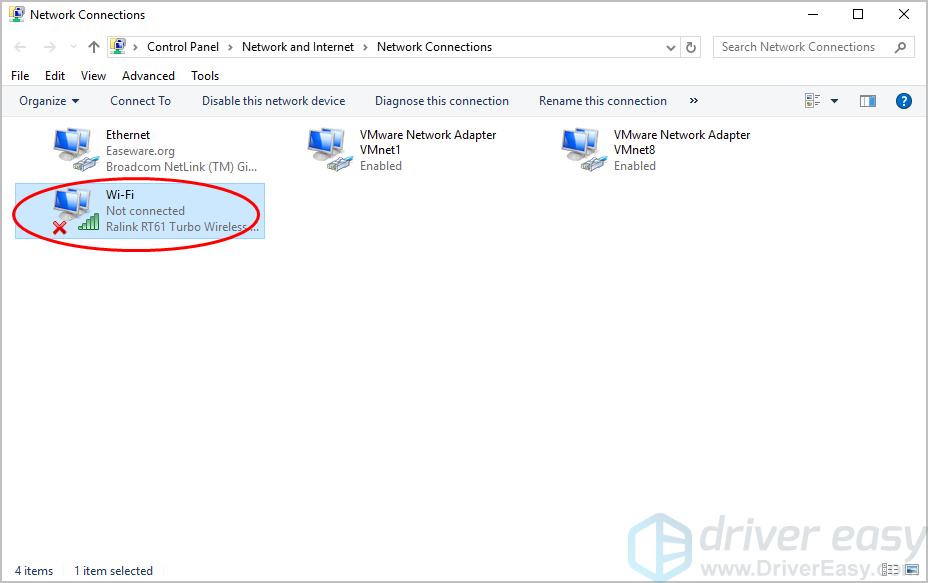
- Windows will enable your WiFi adapter and it should be shown as Enabled, or the Network name that it connects to, or Not Connected if there’s no WiFi to connect.
Restart your computer, and check if your WiFi adapter is still disabled.
If this method doesn’t work, or it works for a while and turns into Disabled every now and then, don’t worry. There are other solutions.
Fix 2: Configure settings in Device Manager
Device Manager enables you to view and manage your hardware devices in your computer, so you can check your WiFi adapter settings to fix WiFi adapter is disabled. Follow the steps below:
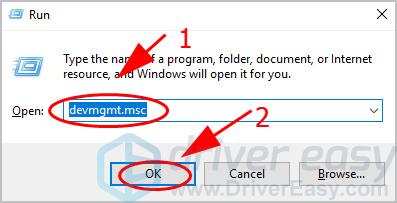
- On your keyboard, press the Windows logo key and R at the same time to invoke the Run box
- Type devmgmt.msc and click OK.
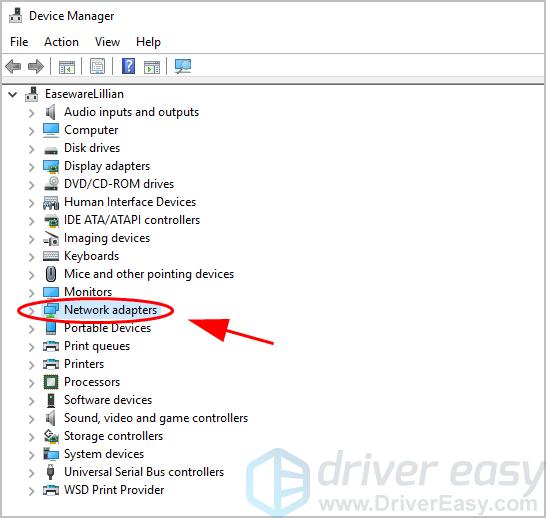
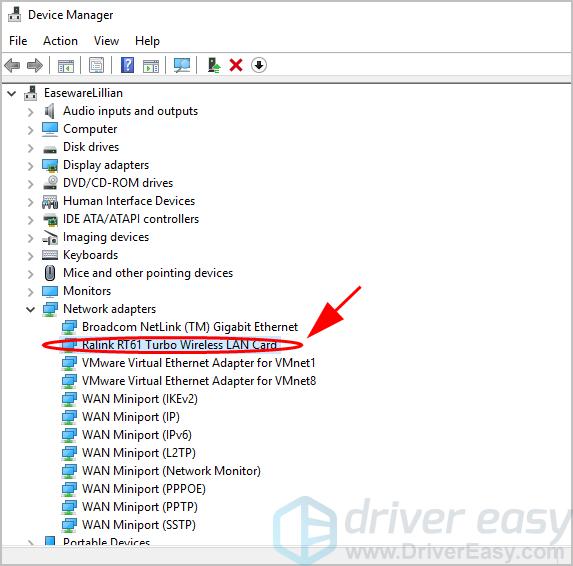
- Double click Network adapters to expand the category.
- Double click your wireless network card that is having the problem.
- In the properties pane, click the Driver tab, and click Enable Device (or Enable if you’re using Windows 7).
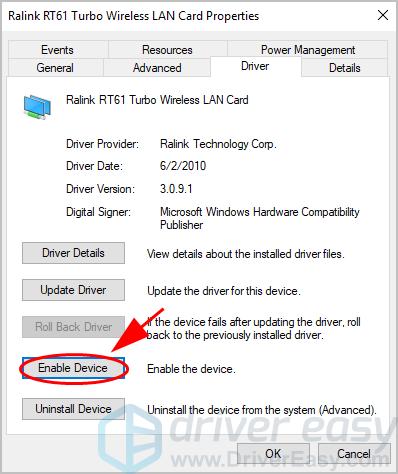
- Windows will enable your WiFi adapter and you’ll see Disable Device if it’s enabled successfully.
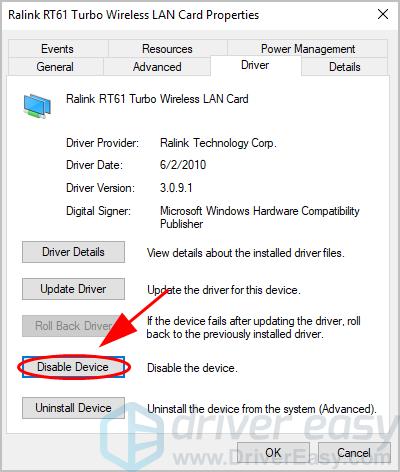
If you only see Disable Device, click Disable Device and then click Enable Device to re-enable yourr WiFi adapter.
- On the same pane, click the Power Management tab, and uncheck the box next to Allow the computer to turn off this device to save power. Then click OK to save your settings.
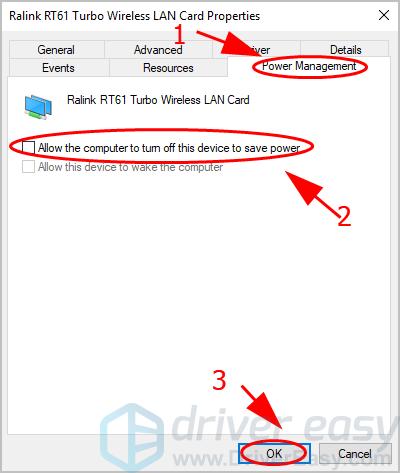
This will prevent your computer to disable your WiFi adapter when your computer is in power saving mode.
Restart your computer and open your WiFi connection to see if it’s enabled.
Fix 3: Update your WiFi adapter driver
If your wireless network card driver is missing, outdated, or corrupted, you’re likely to have the WiFi adapter disabled issue. To rule it out as the cause of your problem, you can update your WiFi adapter driver to the latest version.
There are two ways to update your WiFi adapter driver: manually and automatically.
Manually update your driver – You can go to the manufacturer’s website of your network card, find the latest driver and download it. Ensure to download the driver that is compatible with your Windows operating system.
Automatically update your driver – If you don’t have time or patience, you can do it automatically with Driver Easy.
- Download and install Driver Easy.
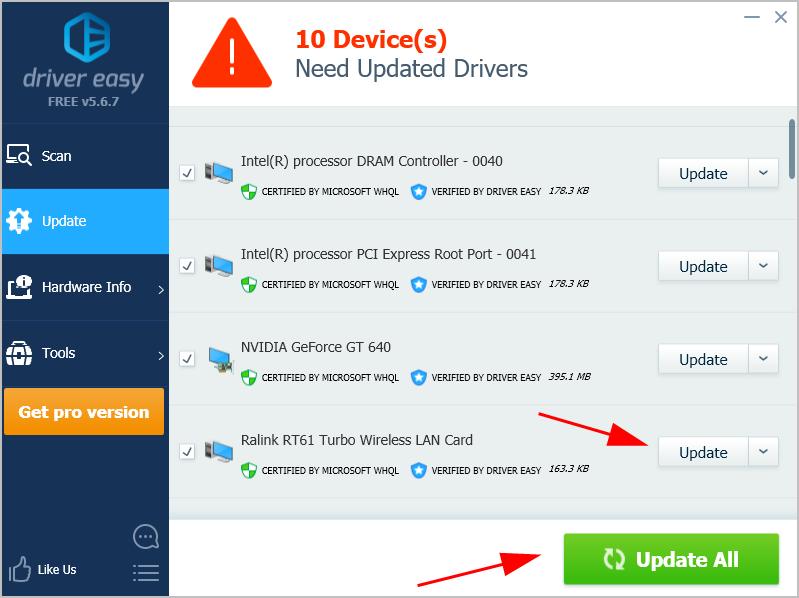
- Run Driver Easy and click Scan Now. Then Driver Easy will scan your computer and detect any problem drivers.

- Click the Update button next to the flagged WiFi adapter to automatically download the driver (you can do that with the FREE version), then install it in your computer.
Or click Update All to automatically download and install all the correct drivers (you can do this with the Pro version, and you’ll be prompted to upgrade when your click Update All).
- Restart your computer to take effect.
Open your WiFi adapter connection and see if it fixes your WiFi adapter disabled issue.
Still no luck? Okay, there’s one more thing to try.
Fix 4: Enable WLAN AutoConfig service
WLAN AutoConfig service provides the logic required to configure, discover, connect to your wireless network in your computer. If WLAN AutoConfig service is disabled or not running, your WiFi adapter will be disabled. So you should make sure WLAN AutoConfig service is running properly.
Here’s what you need to do:
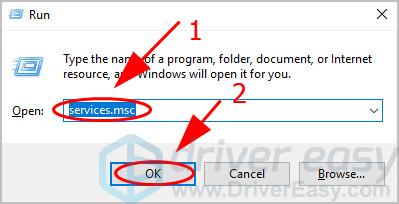
- On your keyboard, press the Windows logo key and R at the same time to invoke the Run box.
- Type services.msc and click OK.
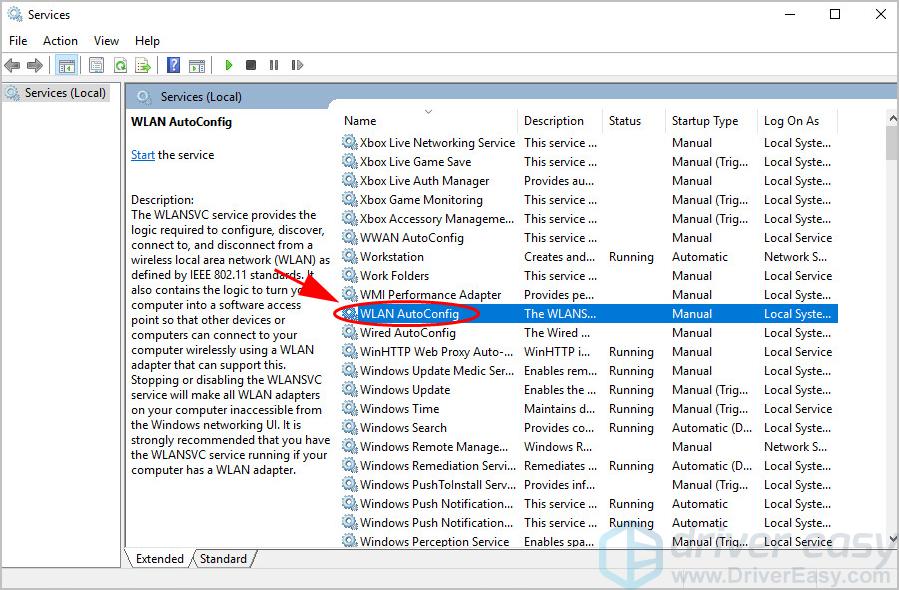
- Scroll down and double click WLAN AutoConfig.
- Ensure the Startup type is set Automatic, and the Service status is Running.
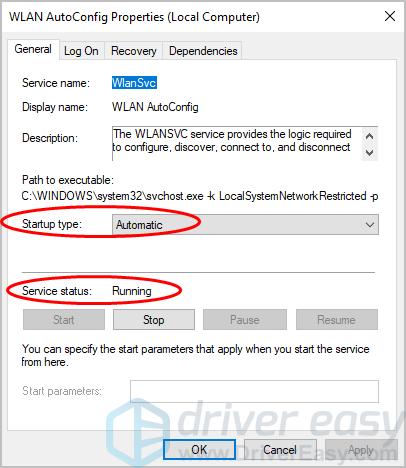
- Save your changes and restart your computer and see if your WiFi adapter is enabled.
So there you have it – the four effective solutions to fix WiFi adapter is disabled. If you have any questions or suggestions, feel free to leave a comment below.