


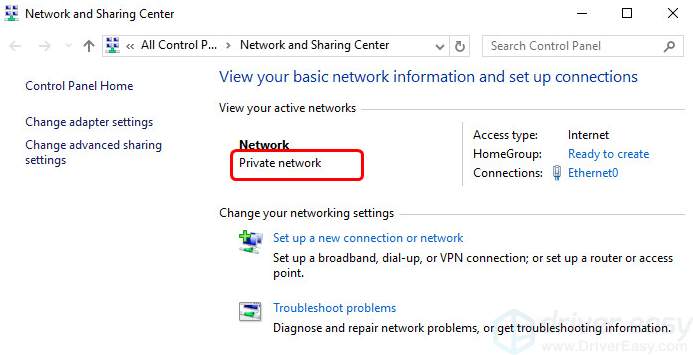
If you’re connecting to a private network, let say, your home network, and you want to share music, family pictures and videos on the same network, private network comes in handy.
Switching from the public network to a private one in Windows 10 takes only 3 steps. Read on and follow the steps below to get it done.
IMPORTANT: You should only change to private network when you’re sure that you’re in a safe network environment.
What’s the difference between the public network and the private one?
By default, you’ll be assigned to the public network location the first time you connect to a new network. The public network provides no protection between your PC and any other computers. So the Windows Firewall will place the most restrictive rules by limiting the usage of many devices and applications.
If you’re in a trusted network environment, for instance, you’re in your home or office, you can change your network type to private and share the files and devices such as printers on the same network.
How to change network location from public to private?
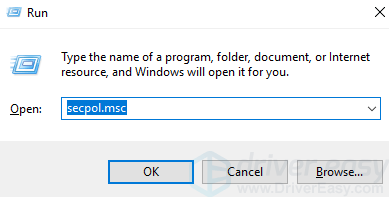
1) On your keyboard, press the Windows logo key and R at the same time. Type secpol.msc and press Enter.
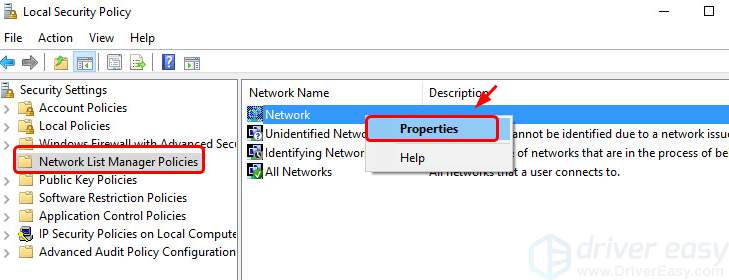
2) Click Network List Manager Policies and right-click your network and click Properties.
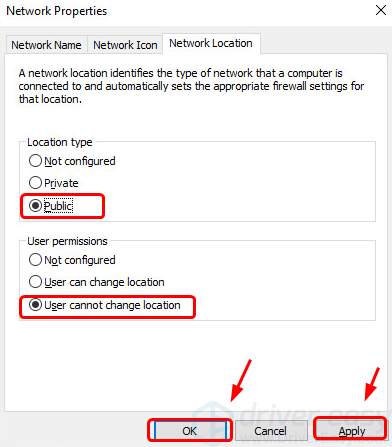
3) Click the Network Location tab. Click Private and User cannot change location. Click Apply and OK to save and exit.
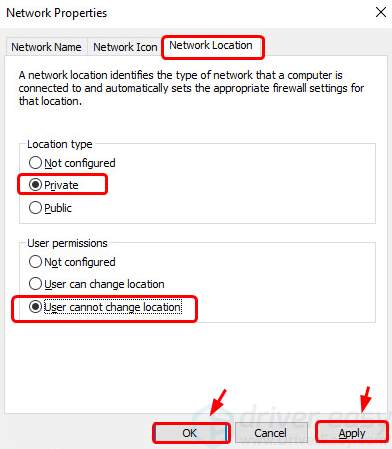
Bonus: If you want to change it back to public network, click Public and Not configured. Then click Apply and OK to save and exit.
That’s it. You’ve successfully changed your network type from public to private.
Feel free to leave us comments if you need more assistance and we’ll see what we can do to help.