


Constantly getting this error message ‘Connection to the Battle.net game server has been lost. Please exit and try again.‘? You’re not alone there. Many Call of Duty players find this random disconnection quite annoying and have a hard time finding a real solution. But here in this post, you will learn every possible way that has been proved helpful to other gamers.
Why am I getting this error message?
This error occurs when you have an issue with your connection to the Call of Duty servers. Either the server is down or there’s something wrong with your Internet connection or network settings.
The most possible causes of ‘Connection to the Battle.net game server has been lost‘ are as follows:
- The server is down
- Firewall/antivirus interruption
- Insufficient bandwidth
- Unstable internet connection
- Outdated device drivers
- Software confliction
- etc.
How to fix ‘Connection to the Battle.net game server has been lost‘?
Before you try any of these fixes below, please make sure to check the game server status and restart your modem and router to rule out any possible connection issues.
If the game servers are working just fine but the ‘Connection to the Battle.net game server has been lost‘ error persists after restarting your network, you may want to try the following fixes.
- Allow your game to run through Windows Firewall
- Perform a network reset
- Change your DNS server
- Update your device drivers
- Use a VPN
Note: The screenshots below have been mostly taken from a Windows 10 operating system. If you are using Windows 11, please be aware that the visual appearance of your screen may vary slightly, but the steps to perform the task remain consistent.
Fix 1. Allow your game to run through Windows Firewall
Check for any firewall and antivirus restrictions that may hinder your connection. As reported by some gamers, turning off firewall restrictions and uninstalling antivirus software worked for them immediately.
First, uninstall your antivirus software in case simply disabling them might not work. Once complete, try restarting your game to check if the error ‘Connection to the Battle.net game server has been lost‘ disappears.
If this method doesn’t work for you, it might be your Windows Firewall settings that stop your game from functioning properly. Here’s how to allow your game to run through Windows Firewall:
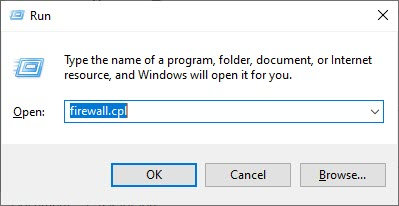
- On your keyboard, press the Windows + R key to open the Run dialog box.
- Type in firewall.cpl and press Enter.
- From the left panel, click Allow an app or feature through Windows Defender Firewall.
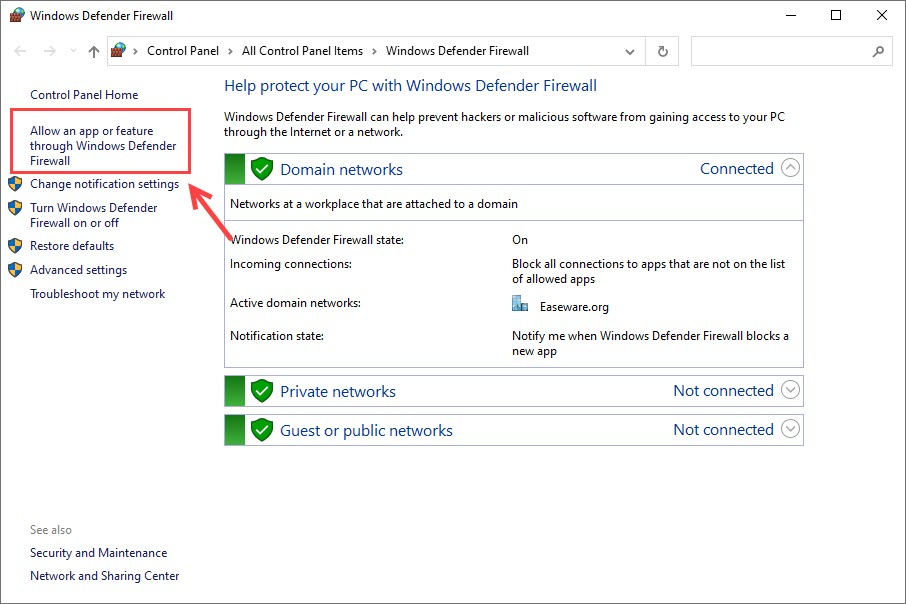
- Look for your game e.g. Call of Duty: Black Ops Cold War, and make sure the box to its left is checked, as well as the two boxes to the right i.e. Private & Public.
If your game isn’t on the list, follow these steps:
- Click on Change settings > Allow another app…
- Click Browse to locate your game (BlackOpsColdWar.exe) and click Add once selected.
- Once added, tick both the Private and Public boxes for the application.
- Restart your Battle.net and play the game again the test the issue.
Fix 2. Perform a network reset
If the fix above didn’t fix your problem, the problem is not caused by your antivirus software or firewall interruption. You may want to follow these steps to reset your network quickly:
- In the Windows search box, type cmd. Under Command Prompt, select Run as administrator.
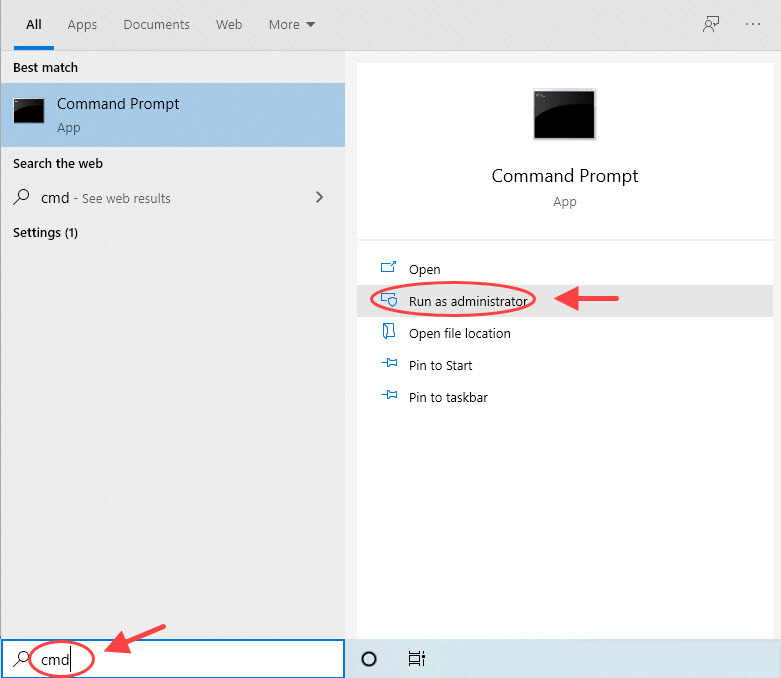
- Click OK to confirm your action.
- Once the Command Prompt window is open, type the following 5 command lines (press Enter after entering each command line):
netsh winsock resetnetsh int ip resetipconfig /releaseipconfig /renewipconfig /flushdns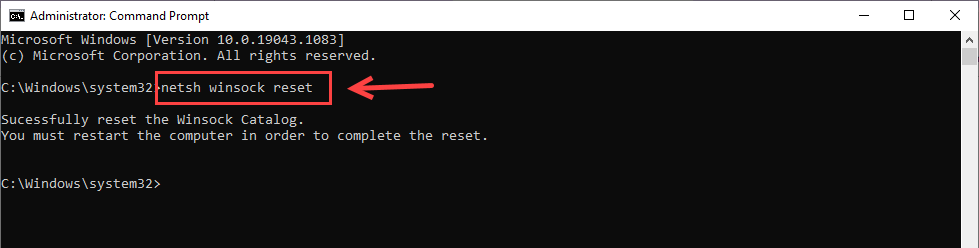
- Restart your computer for the changes to take effect.
Fix 3. Change your DNS server
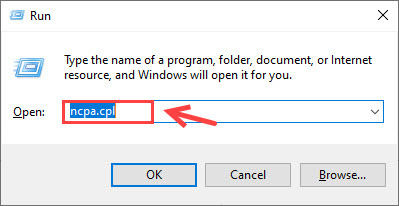
- On your keyboard, press the Windows + R key at the same time to open the Run dialog box.
- Type in ncpa.cpl and press Enter.
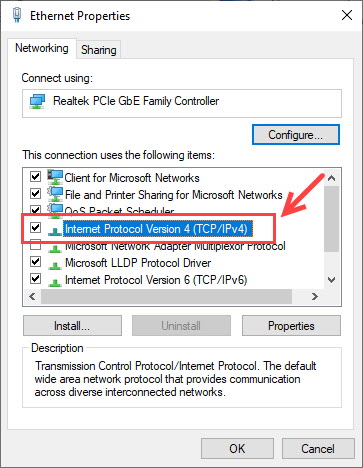
- Right-click your current network connection, and select Properties.
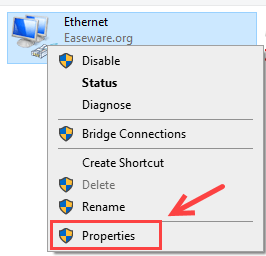
- Double-click Internet Protocol Version 4 (TCP/IPv4).
- Select Use the following DNS server addresses and fill in the Google DNS servers:
Preferred DNS server: 8.8.8.8
Alternate DNS server: 8.8.4.4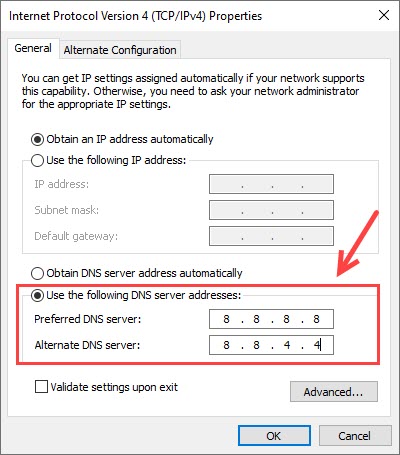
- Click OK to apply.
Fix 4. Update your device drivers
It’s also recommended by Activision that you should update your device drivers (including your Network adapter driver) to check if the ‘Connection to the Battle.net game server has been lost‘ problem is caused by corrupted/outdated drivers.
If you don’t have the time, patience or computer skills to update your drivers manually, you can do it automatically with Driver Easy.
Driver Easy will automatically recognize your system and find the correct drivers for it. You don’t need to know exactly what system your computer is running, you don’t need to risk downloading and installing the wrong driver, and you don’t need to worry about making a mistake when installing. Driver Easy handles it all.
You can update your drivers automatically with either the Free or the Pro version of Driver Easy. But with the Pro version it takes just 2 clicks (and you get full support and a 30-day money back guarantee):
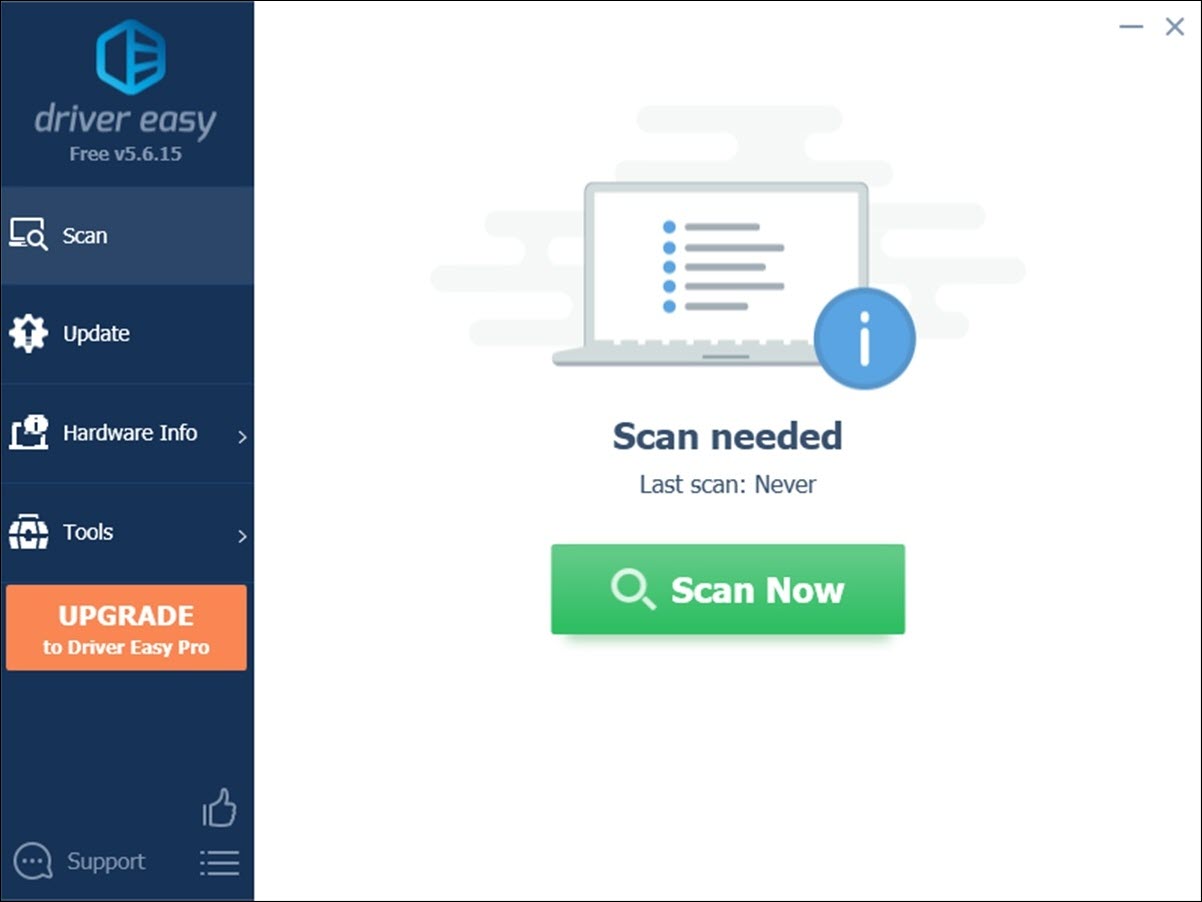
- Download and install Driver Easy.
- Run Driver Easy and click the Scan Now button. Driver Easy will then scan your computer and detect any problem drivers.
- Click the Update button next to the flagged network adapter driver to automatically download the correct version of that driver, then you can manually install it (you can do this with the FREE version).
Or click Update All to automatically download and install the correct version of all the drivers that are missing or out of date on your system. (This requires the Pro version which comes with full support and a 30-day money back guarantee. You’ll be prompted to upgrade when you click Update All.)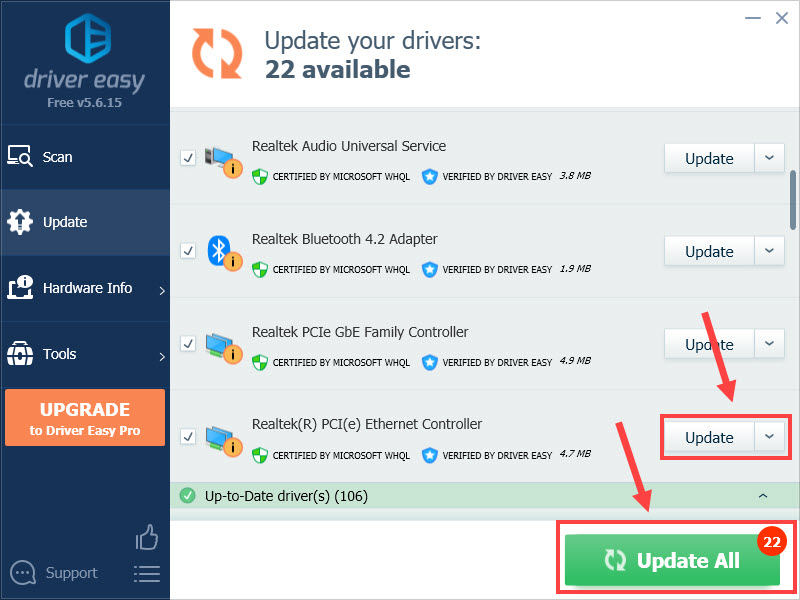
- Once your drivers are up to date, restart your computer for the changes to take full effect.
Fix 5. Use a VPN
It has now been confirmed that some ISPs are having trouble routing to Blizzard and Battle.net servers. It’s very unlikely that you will switch to a different ISP, but there’s still a way to change the routing – using a VPN.
Every VPN results in much higher latency and slower speeds (both upload and download). The higher latency is the primary issue for most online games, as there will be a noticeable delay from your input to when the server recognizes it.
Obviously, the farther the VPN server is from you and the game’s server, the higher the latency. So when you look for a great VPN with less latency, you go with these with more servers in your country.
If you’re looking for some great VPNs that work perfectly with your games, we recommend a paid VPN since it has more stable servers, and many free VPNs come with a data limit, so choose a VPN depending on your personal use:
- Nord VPN (5,000+ servers; paid) 85% Off Coupon
- Hotspot Shield (3,200 servers; 500MB of free data per day)
- Surfshark VPN (3,200 servers; paid)
Hopefully, you have fixed your ‘Connection to Blizzard Game Server Lost’ issue by now. But if the connection error persists, you can contact Activision for further help.