


The in-game proximity voice chat feature in Content Warning is definitely making the game even more exciting and immersive. However, this beloved feature is rather buggy. If you’re also having trouble using the Content Warning voice chat or microphone, which stops you from making money on SpookTube, don’t worry: here are some methods that can help you out. Read on and see how you can get the voice chat or microphone issue in Content Warning fixed.
Try these methods for the Content Warning voice chat not working issue
You don’t have to try all the following methods: simply work your way down the list until you find the one that does the trick to fix the Content Warning voice chat or microphone not working problem for you.
- Check the sound settings in Content Warning
- Make sure the computer sound settings are all correct
- Verify the game file integrity
- Disable possible conflicting software programs
- Update sound card driver
Update sound driver to fix voice chat issues
3 steps to update ALL drivers for FREE
1. Download; 2. Scan; 3. Update.
1. Check the sound settings in Content Warning
If the voice chat in Content Warning hasn’t been working since you first started the game, it’s possible that the in-game sound settings are incorrect. To make sure that the voice settings in Content Warning are all correct:
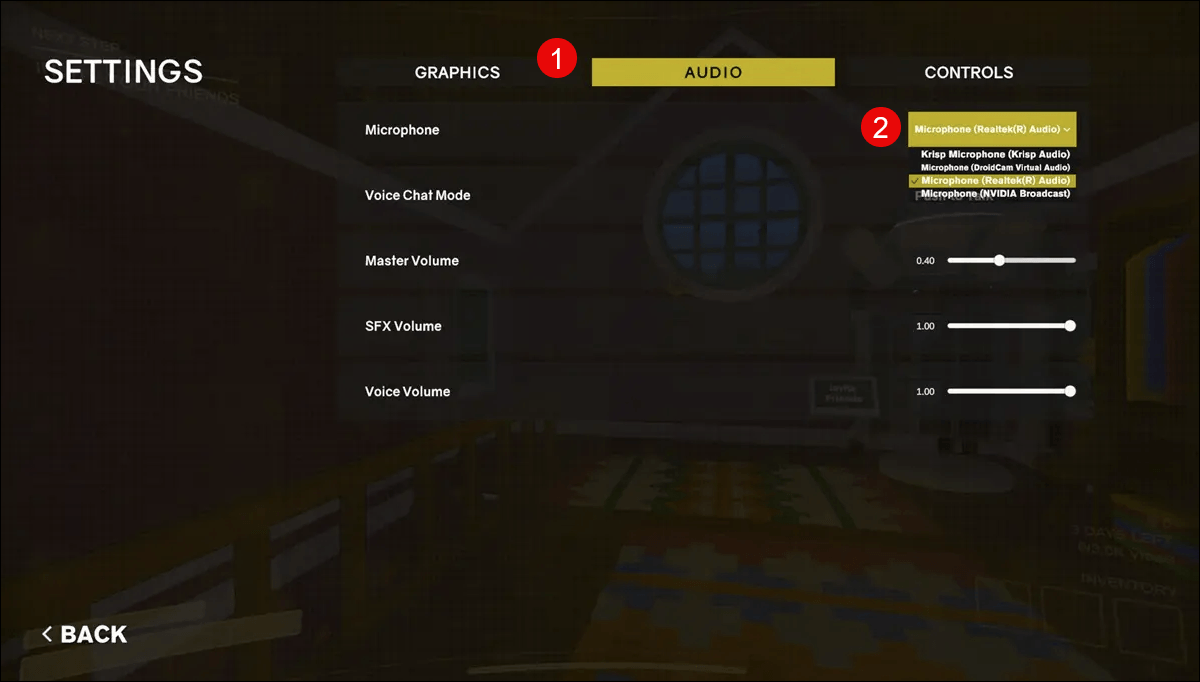
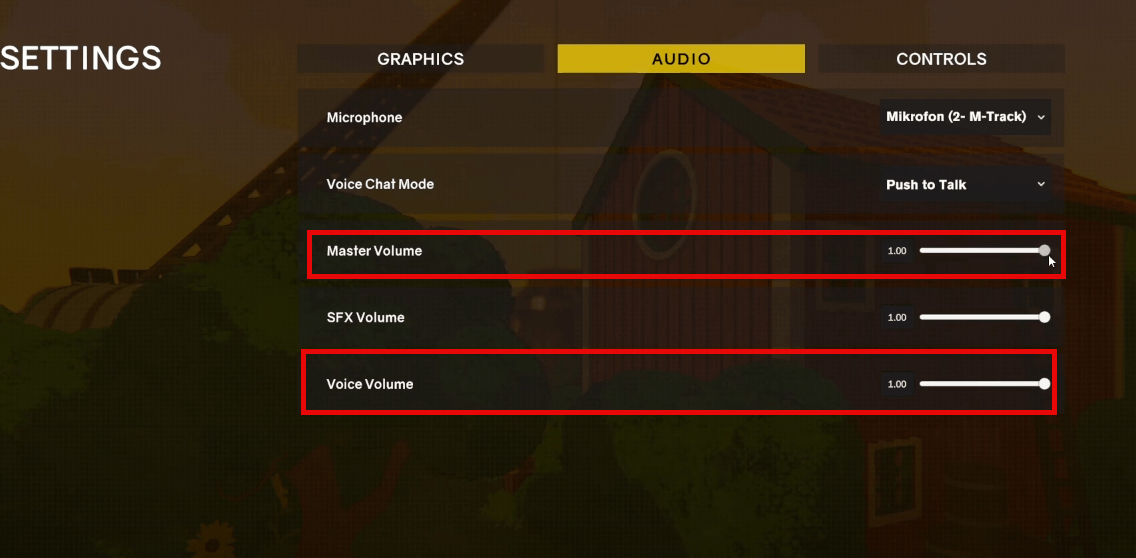
- Launch Content Warning, then select OPTIONS.

- Go to AUDIO, then select the microphone that you’re using (which is usually your Realtek audio card).
- Then change the Voice Detection mode to Voice Detection. (If Voice Detection doesn’t work, try Push to Talk instead to see if the voice chat works.)
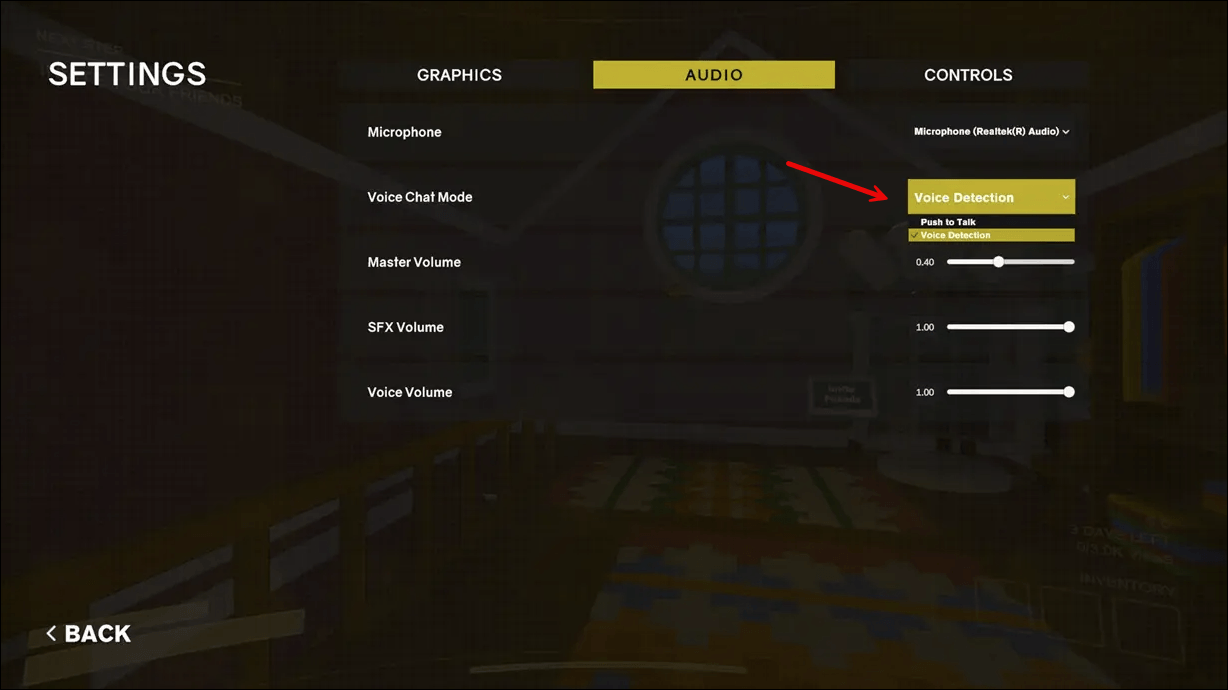
- Then make sure the Master Volume and Voice Volume are set to max.
When the above setting changes are made, try to launch Content Warning again to see if the voice chat works properly. If the problem remains, please move on.
2. Make sure the computer sound settings are all correct
When the sound settings in Content Warning are checked out, but the voice chat still refuses to work right, you should check your computer sound settings to ensure that they’re set up right as well. To do so:
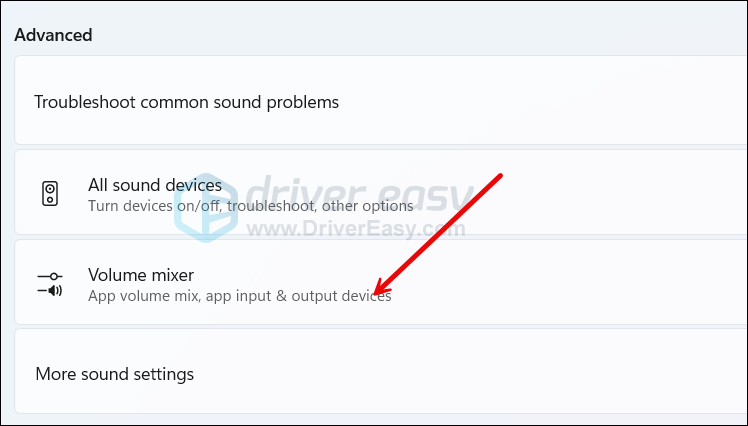
- On your keyboard, press the Windows key and the I key at the same time to open Settings. Select System > Sound.

- Scroll down a bit to select Volume mixer.
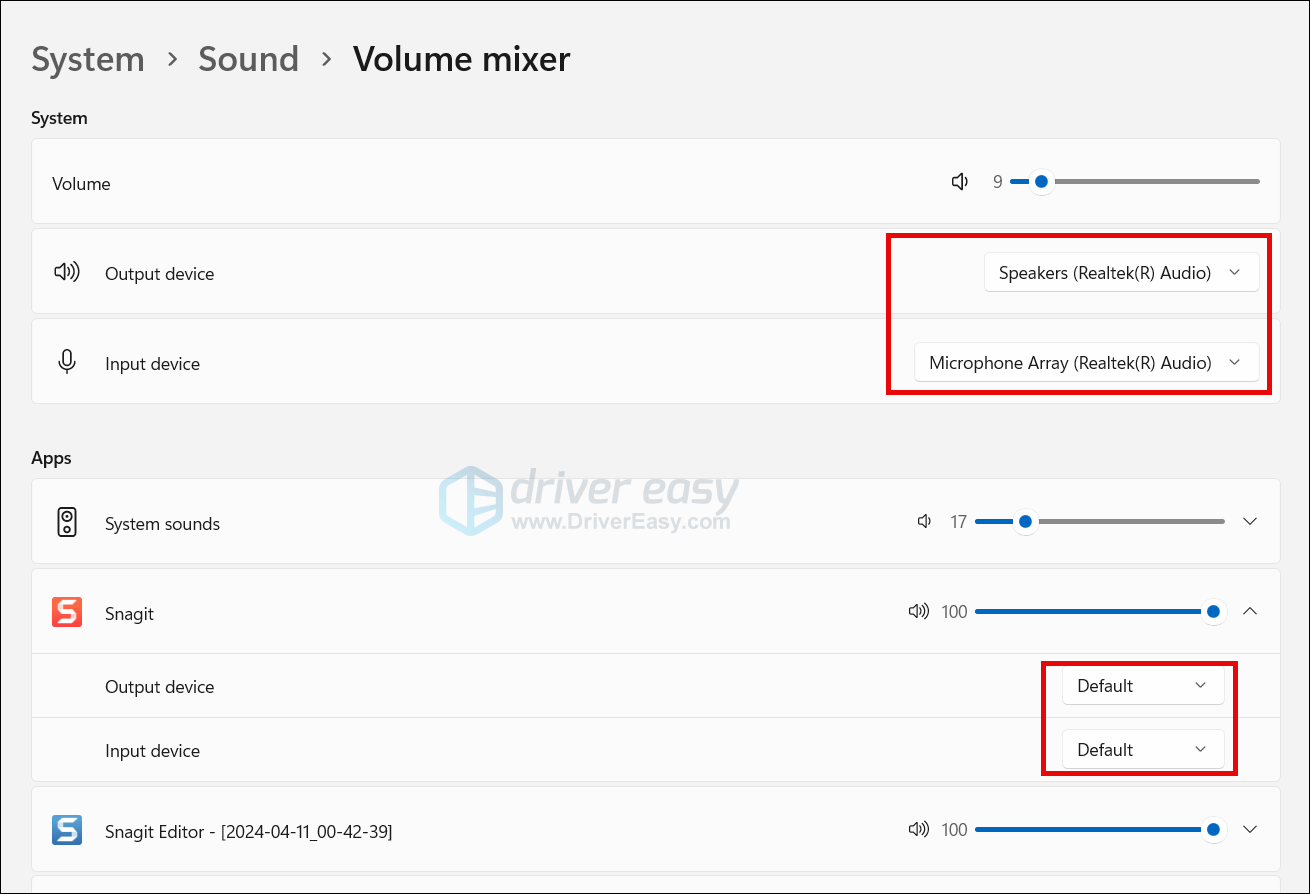
- Make sure the Output device and Input device are both set up correctly. Then make sure that the output and input devices for your Steam program are both set to Default.
Then try to launch Content Warning via Steam again to see if the voice chat works properly. If the problem remains, please move on.
3. Verify the game file integrity
Another common reason for game glitches like voice chat or microphone not working is corrupted or missing game files. To fix this, you can try to verify the game file integrity within Steam. Plus it also usually updates your game to the latest version. To see if this does wonders for you:
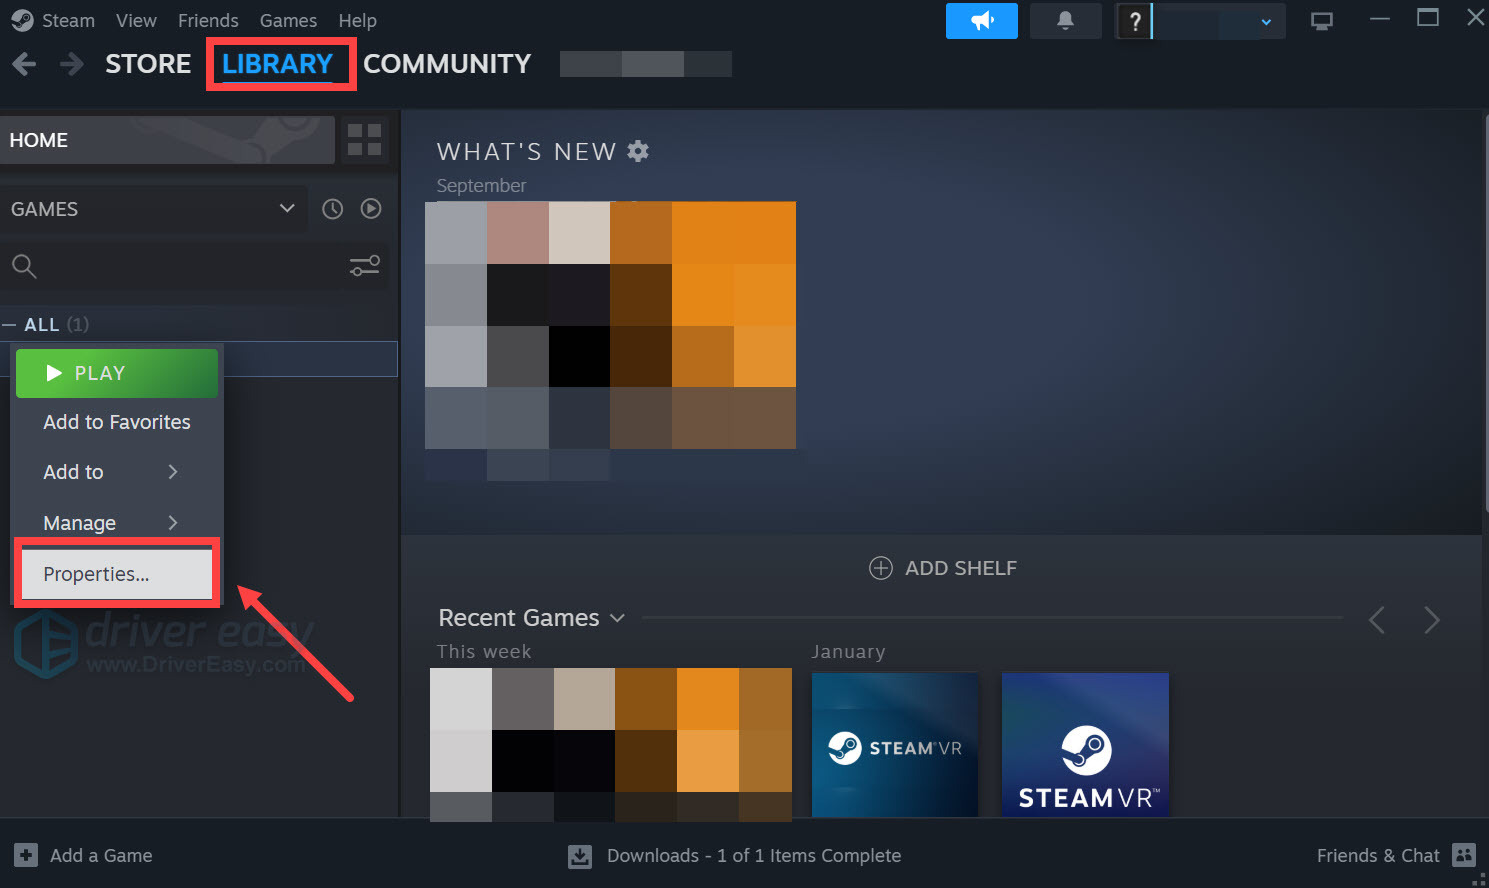
- Launch Steam.
- In the LIBRARY, right-click Content Warning and select Properties from the drop-down menu.
- Select the Installed Files tab and click on the Verified integrity of game files button.
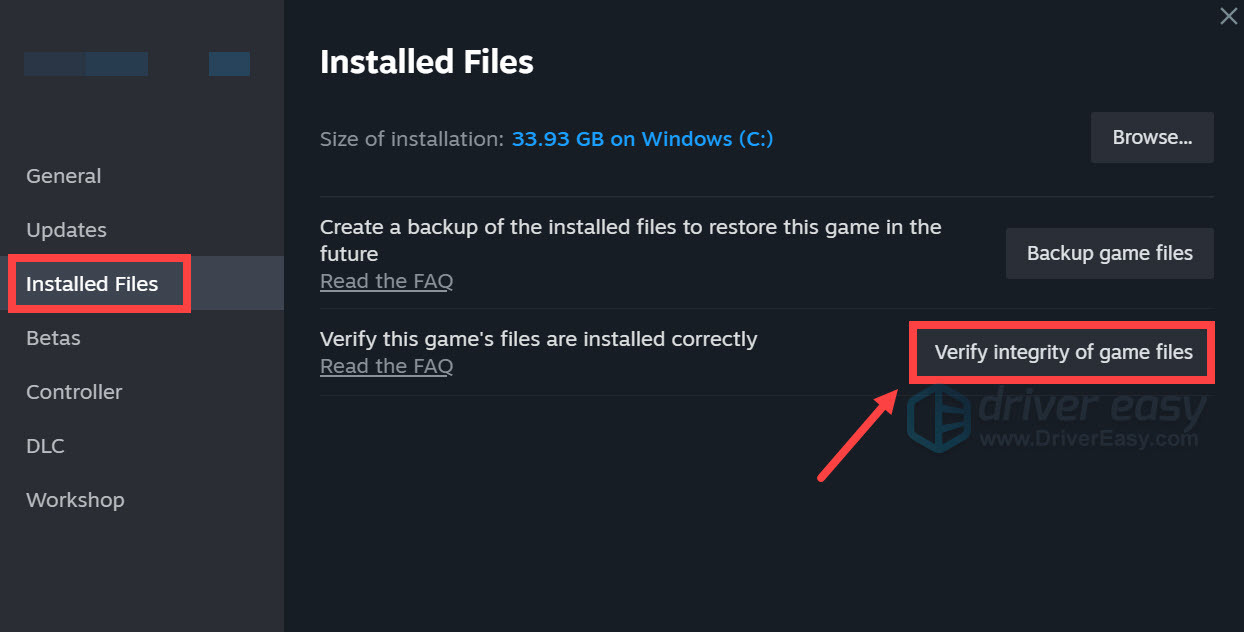
- Steam will verify the game’s files – this process may take several minutes.
When the verification is done, launch Content Warning again to see if the voice chat or microphone works now. If this doesn’t help, please move on.
4. Disable possible conflicting software programs
If you have third-party programs, like video recording, streaming, browsers, etc, running in the background that use the sound card resources, it’s possible that they’ll create conflicts between the microphone in Content Warning, and render it useless. So before you start gaming, make sure to close all unneeded applications as follows:
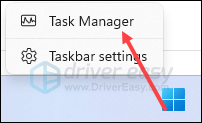
- Right-click the Windows taskbar and select Task Manager.
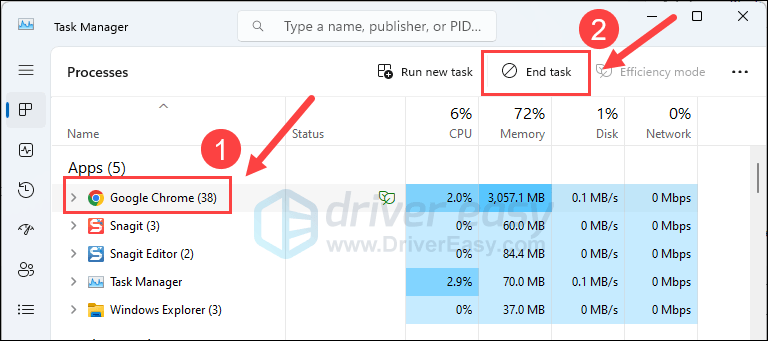
- Select each possible suspecious application and click End Task to close them one by one.
Then run Content Warning again and see if the voice chat not working issue is fixed. If the problem remains, please move on to the next fix below.
5. Update sound card driver
An outdated or incorrect sound card driver could also be the culprit to your Content Warning voice chat not working problem, so if the above methods don’t help to restore the microphone in Content Warning, it’s likely that you have a corrupted or outdated sound card driver. So you should update your drivers to see if it helps.
If you don’t have the time, patience or skills to update the driver manually, you can do it automatically with Driver Easy. Driver Easy will automatically recognize your system and find the correct drivers for it. You don’t need to know exactly what system your computer is running, you don’t need to be troubled by the wrong driver you would be downloading, and you don’t need to worry about making a mistake when installing. Driver Easy handles it all.
You can update your drivers automatically with either the 7 days free trial or the Pro version of Driver Easy. It takes just 2 clicks, and you get full support and a 30-day money-back guarantee with the Pro version:
- Download and install Driver Easy.
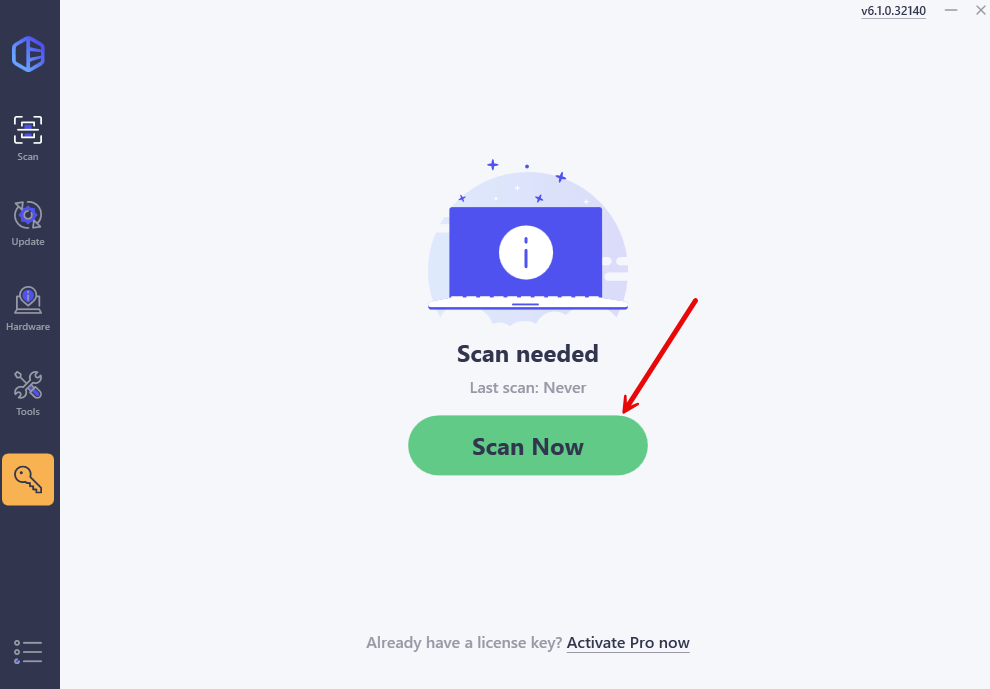
- Run Driver Easy and click the Scan Now button. Driver Easy will then scan your computer and detect any problem drivers.
- Click the Activate & Update button next to the flagged device to automatically download and install the correct version of this driver.
Or click Update All to automatically download and install the correct version of all the drivers that are missing or out of date on your system (You’ll need the Pro version for this – when you select Update All, you’ll get a prompt to upgrade. If you’re not prepared to purchase the Pro version yet, Driver Easy provides a 7-day trial at no cost, granting access to all Pro features like fast downloads and easy installation. No charges will occur until after your 7-day trial period ends.)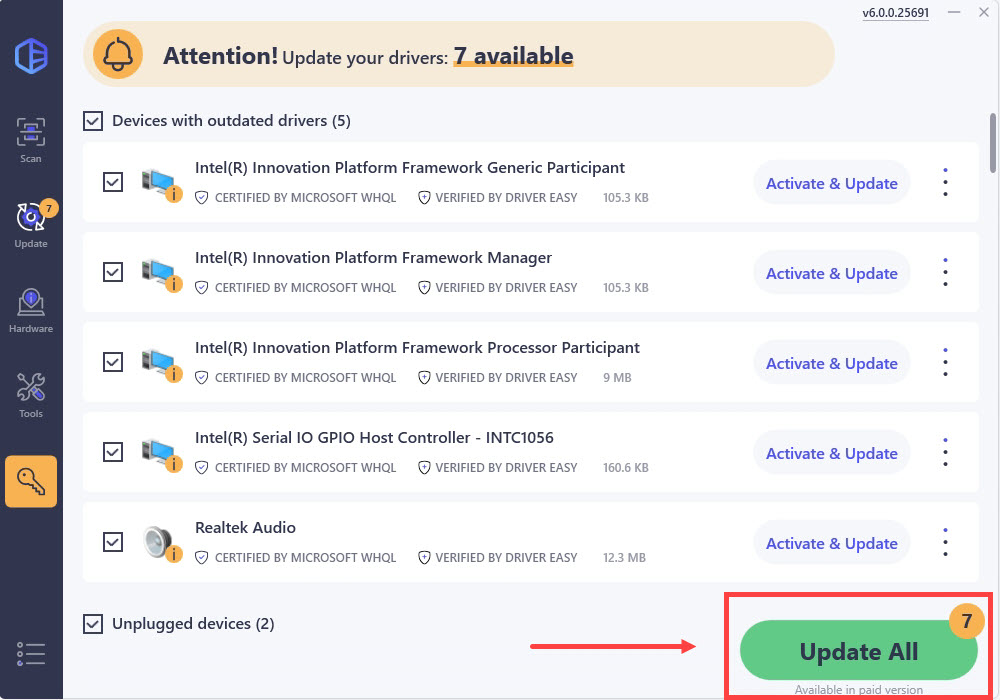
- Restart your computer for the change to take effect.
Launch Content Warning again and see if the latest sound card driver helps to fix the voice chat not working issue. If this fix doesn’t work for you, try the next fix, below.
Thanks for reading the post on how to fix the voice chat or mic in Content Warning doesn’t work issue. Feel free to let us know if you have any other suggestions by leaving a comment below.