


1. Set DNS Server as Automatic
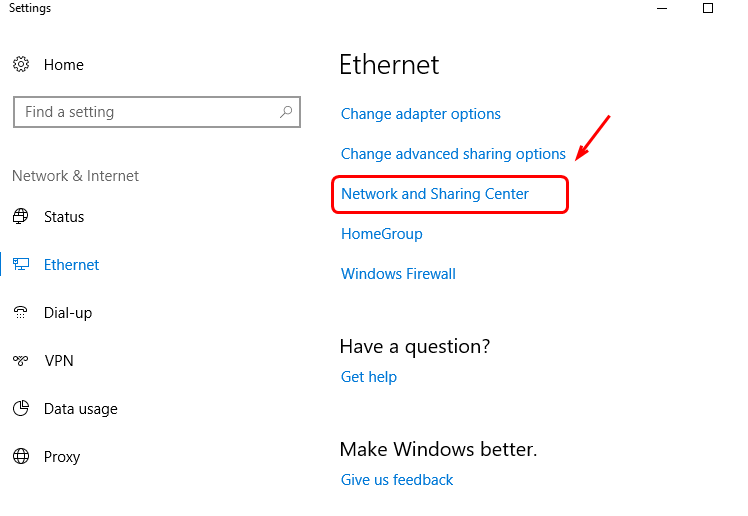
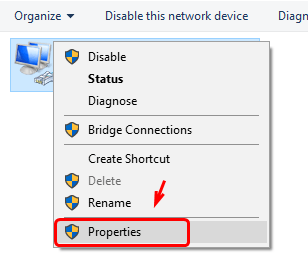
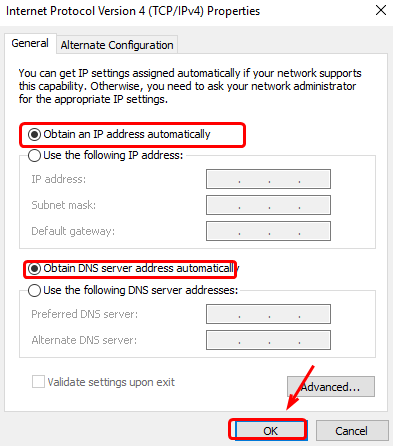
If you are able to use the internet, for example, you are able to search for help. Then your DNS is mostly working. You just need to set the server address as automatic. 1) On your keyboard, press Windows logo key and I at the same time, and then choose Network.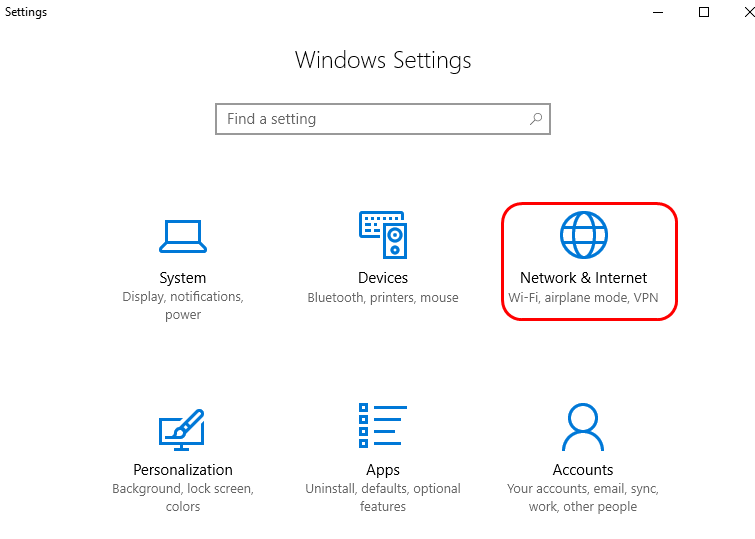
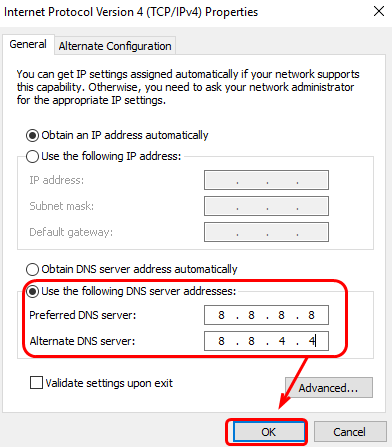
2. Define DNS Server by Yourself
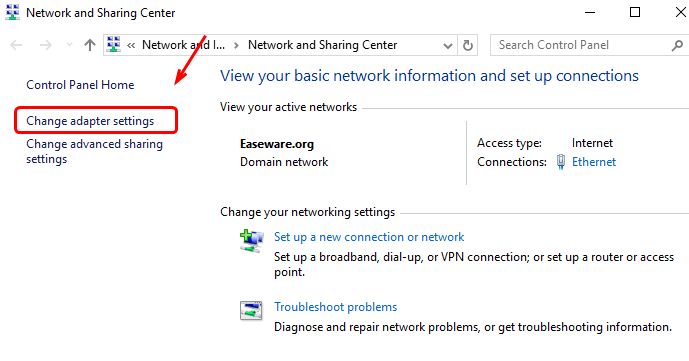
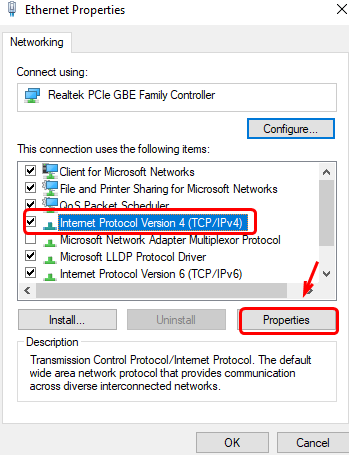
If setting the DNS server as automatic did not help you with this problem, then it is likely that your DNS can’t find the route to Microsoft servers. In such case, try: 1) Repeat 1) to 5) in the first method. And you will be in the Properties window.
PRO TIP
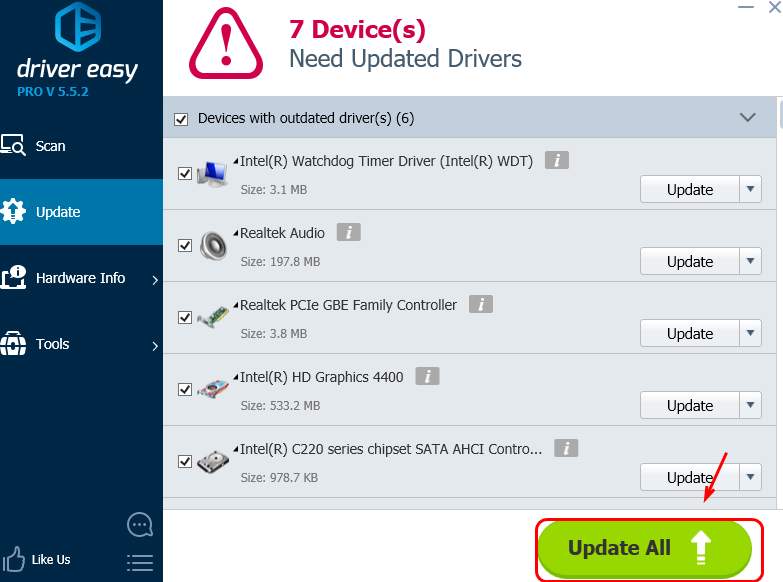
It is always suggested that you keep your network card driver up-to-date so as to avoid such problems. You can do the update by yourself by going to manufacturer website. If you don’t have the time, patience or computer skills to update your drivers manually, you can do it automatically with Driver Easy. Driver Easy will automatically recognize your system and find the correct drivers for it. You don’t need to know exactly what system your computer is running, you don’t need to risk downloading and installing the wrong driver, and you don’t need to worry about making a mistake when installing. You can update your drivers automatically with either the FREE or the Pro version of Driver Easy. But with the Pro version it takes just 2 clicks (and you get full support and a 30-day money back guarantee): 1) Download and install Driver Easy. 2) Run Driver Easy and click Scan Now button. Driver Easy will then scan your computer and detect any problem drivers.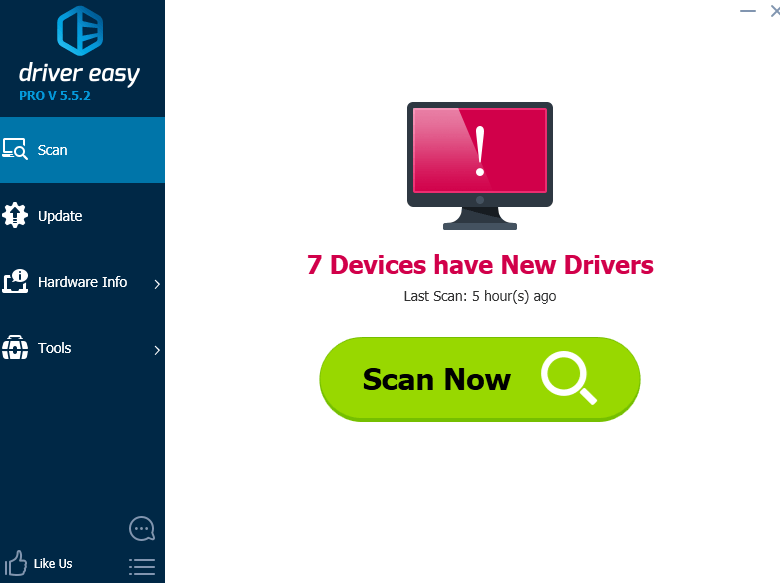
1
1 people found this helpful
1 Comment
Most Voted