


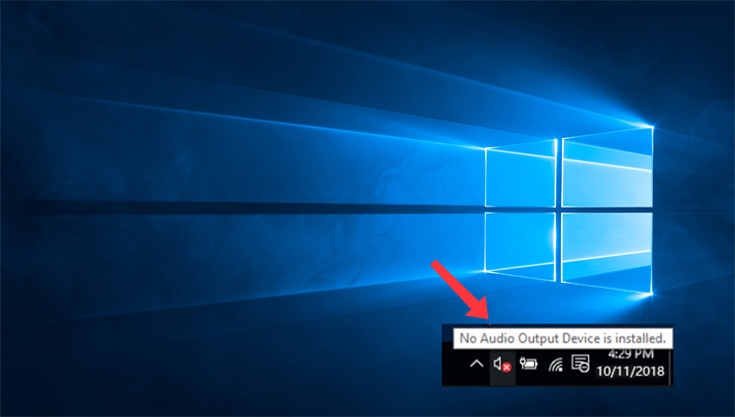
When the sound icon in your taskbar has a red x on it (as illustrated above), your computer won’t play any sound.
This is usually caused by one of two problems: either Windows has disabled your audio device or your PC doesn’t have the latest correct device drivers installed, and Windows therefore can’t ‘talk’ to the device.
If you see No Audio Output Device is installed when you hover your mouse over the sound icon, your audio problem is probably caused by one of these issues, and there are three repair methods you can try that have helped other users. You may not need to try them all; just start at the top of the list and work your way down.
- Make Sure Audio Services are Started
- Manually Uninstall & Reinstall Your Audio Driver
- Update Your Audio Driver
- Re-enable the Device
- Check for Windows Updates
Method 1: Make Sure Audio Services are Started
First, you need to ensure that Windows Audio service is enabled or started:
1) Press the Windows logo key + R simultaneously to open the Run box, copy and paste services.msc and hit Enter. 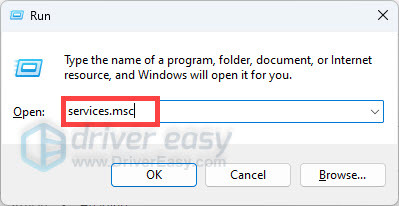
2) Locate Windows Audio and double-click it. 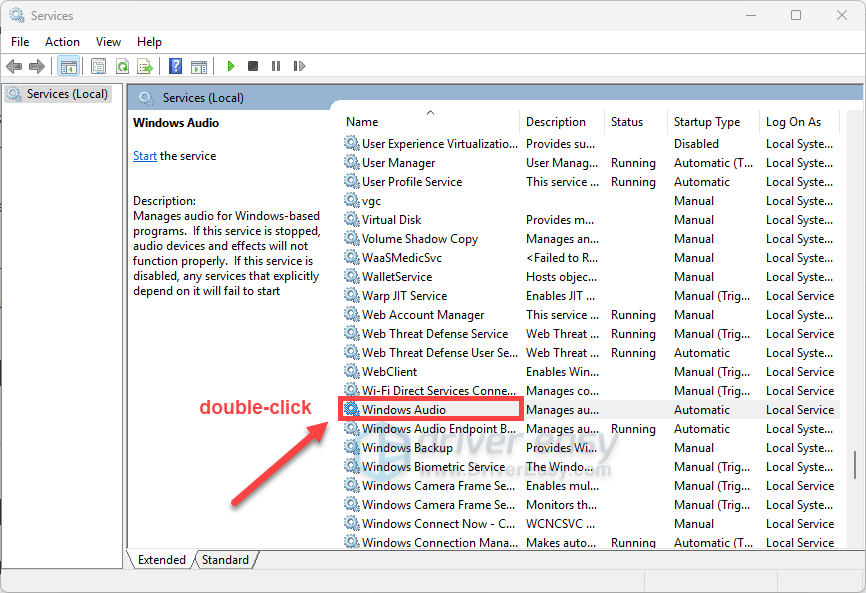
3) Click on the Log On tab, tick Local System account, and then click Apply > OK to save the changes. 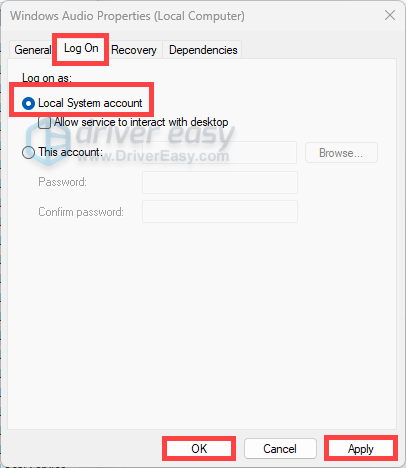
4) Right-click Windows Audio and select Start.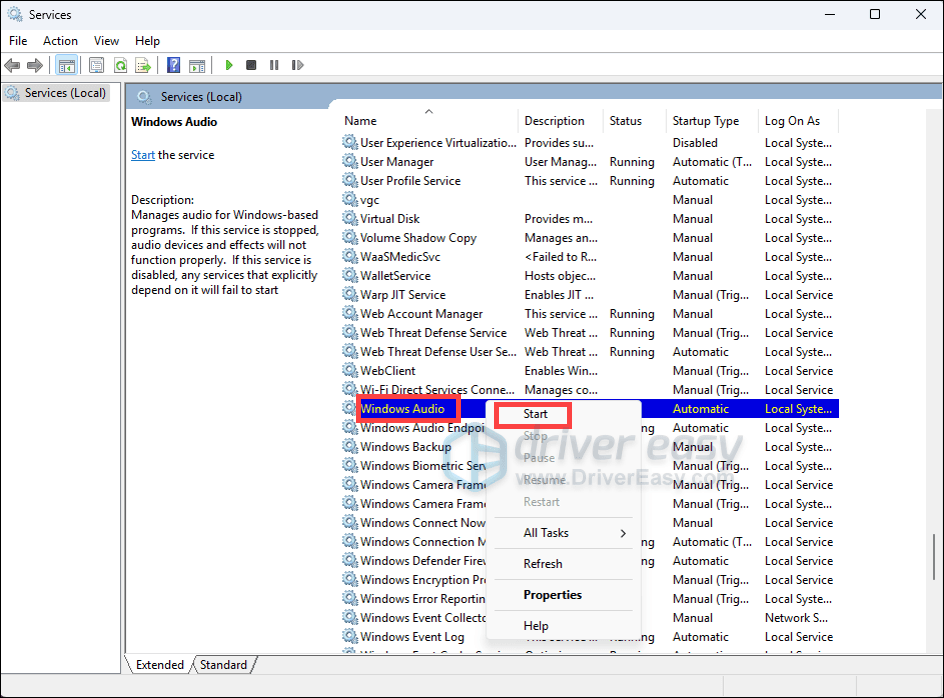
Method 2: Manually Uninstall & Reinstall Your Audio Driver
If a driver update doesn’t fix your issue, try to reinstall your audio driver:
(You can also do that on Driver Easy. )
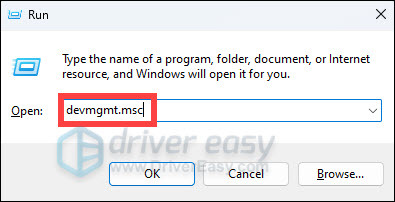
1) On your keyboard, press the Windows logo + R keys simultaneously to open the Run box. Then type devmgmt.msc and hit Enter to open the Device Manager.
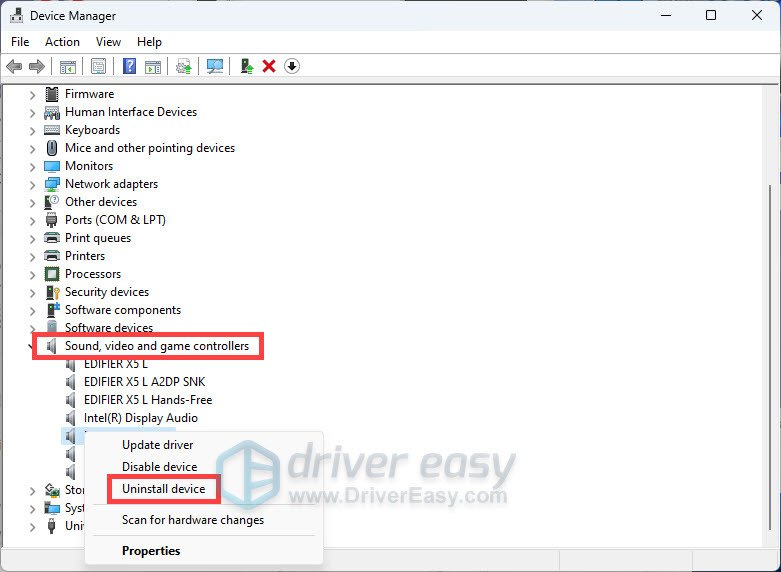
Find Sound, video, and game controllers, then double-click on it to expand the list. Right-click on your audio device and select Uninstall device.
2) Restart your PC. After restarting, Windows should automatically re-install the sound driver.
Method 3: Update Your Audio Driver
This error can be triggered by an outdated audio driver. You can obtain driver updates through the Device Manager or Windows Update. Or you can do it automatically with Driver Easy.
Driver Easy is a user-friendly tool designed to simplify the process of updating drivers on your Windows PC. With an extensive database of drivers that are direct from the manufacturers, it ensures that your hardware components, including keyboards, are always equipped with the latest and most compatible drivers. The software automatically scans your system, identifies outdated or missing drivers, and installs the appropriate updates with just a few clicks.
1) Download and install Driver Easy.
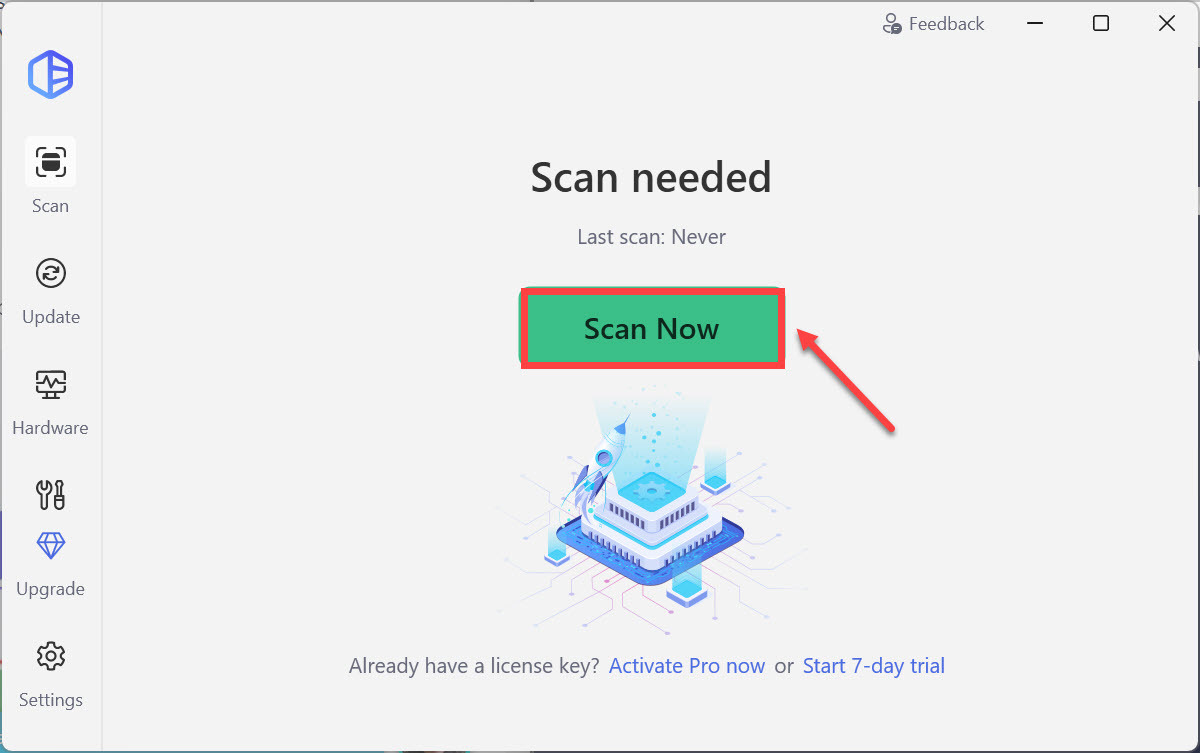
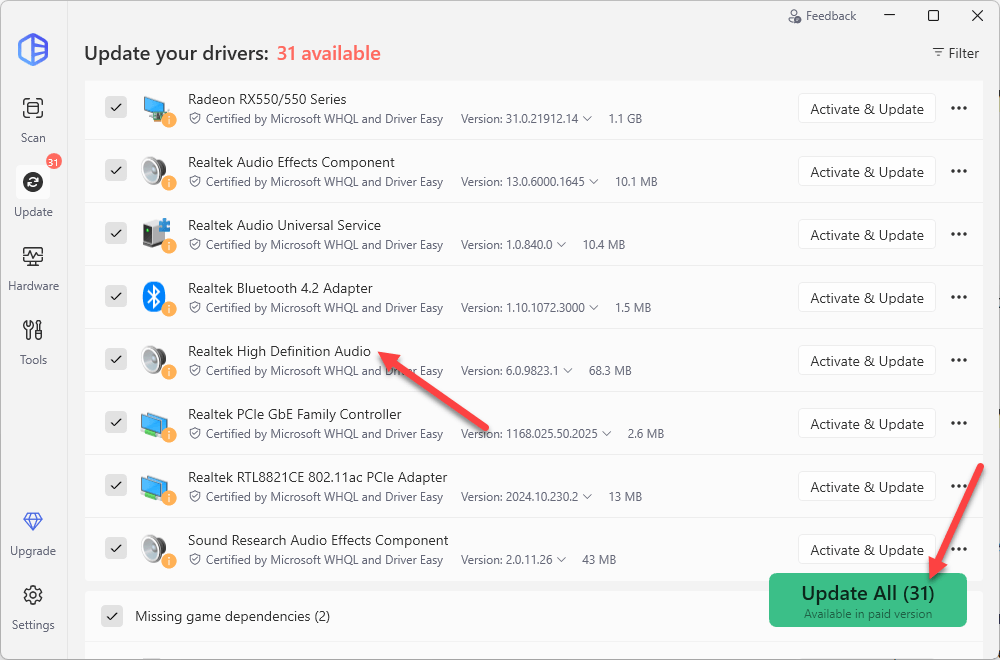
2) Run Driver Easy and click Scan Now. Driver Easy will then scan your computer and detect any missing or outdated drivers.
3) Click the Activate & Update button next to a flagged audio driver to automatically download the correct version of this driver. Or click Update All to automatically download and install the correct version of all the drivers that are missing or out of date on your system. Both are available in the paid version, but you can start a 7-day free trial, which gives you access to all premium features.
4) Restart your computer for the changes to take effect.
Method 4: Re-enable the Device
To fix the problem, follow these steps (Steps below are for your reference. The specific steps in different system versions may be different. ):
1) On your keyboard, press the Windows logo key + R keys at the same time to invoke the Run box. Type devmgmt.msc hit Enter.
2) Locate the Sound, video, and game controllers category in the list.
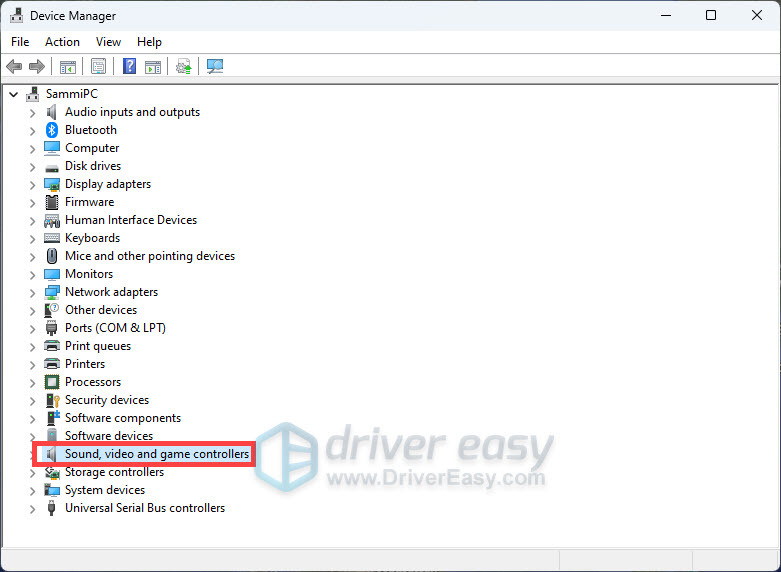
If you don’t see this category in your list, continue with step 2a) below. Otherwise, skip to step 3.
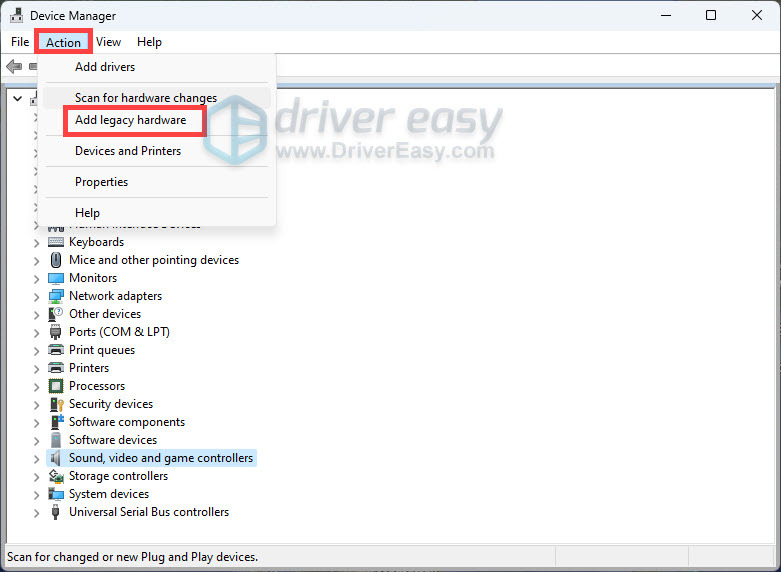
2a) Click the Action menu and select Add Legacy hardware (if you see only the Help in this menu, click somewhere in the white space around the list (i.e. make sure nothing in the tree is selected), then click the Action menu again)
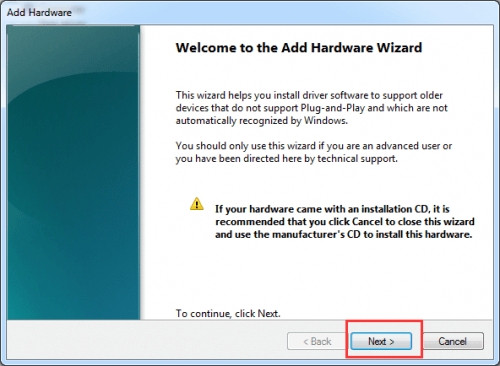
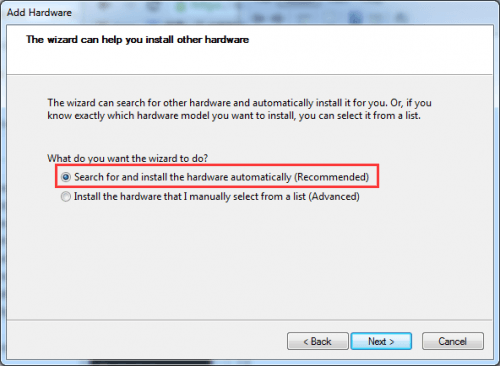
2b) Click Next to start the Add Hardware wizard.
2c) Select Search for and install hardware automatically (Recommended).
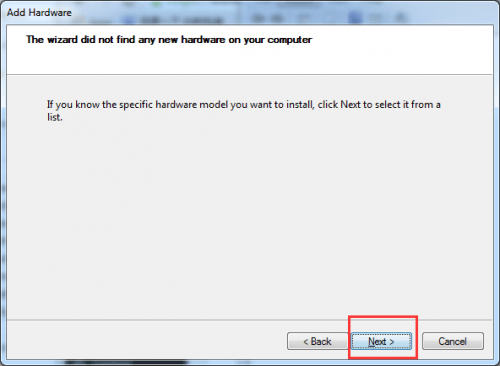
2d) If the wizard tells you it can’t find any new hardware, click Next.
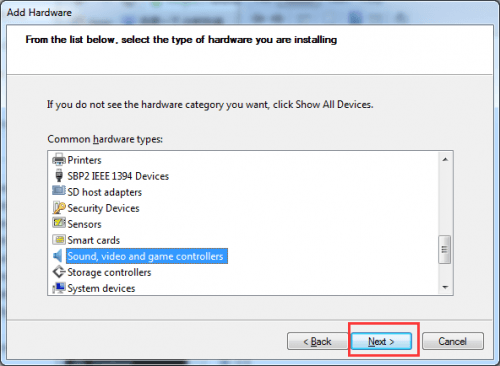
2e) You should now see a list of hardware types. Scroll down until you see Sound, video and game controllers. Select it and click Next.
2f) Select the manufacturer and model of your sound card, then click Next.
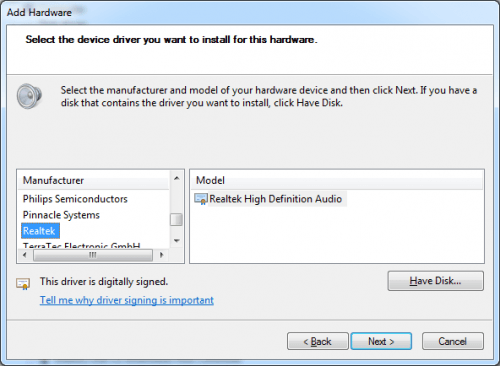
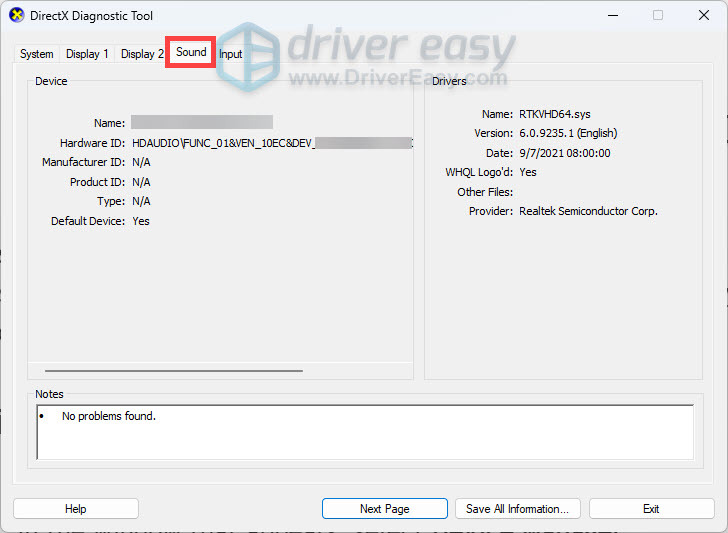
If you’re not sure what manufacturer and model to select, press the Windows logo + R keys simultaneously to open the Run box, type dxdiag, and hit Enter to open the DirectX Diagnostic Tool. Select the Sound tab and you should be able to see your sound card.
2g) Click Next to install the device, then when the installation is complete, click Finish.
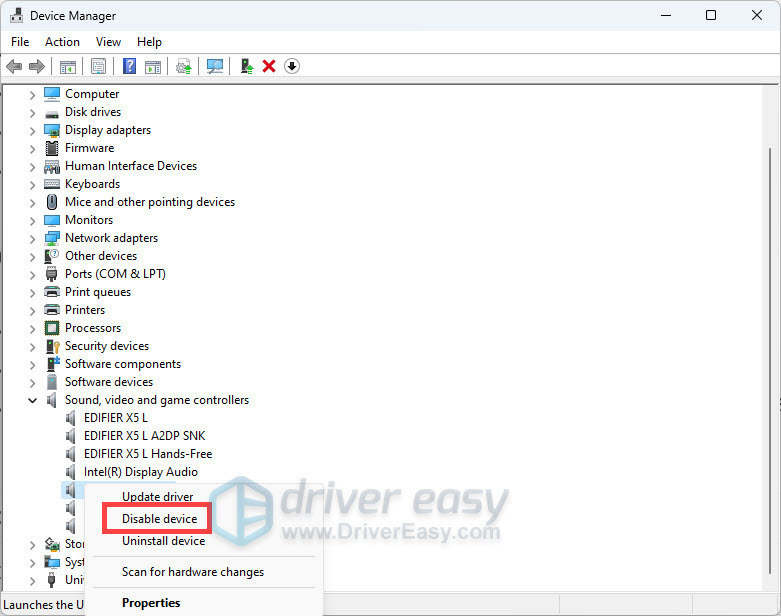
3) Expand the Sound, video and game controllers category, right-click on your audio device, and select Disable device.
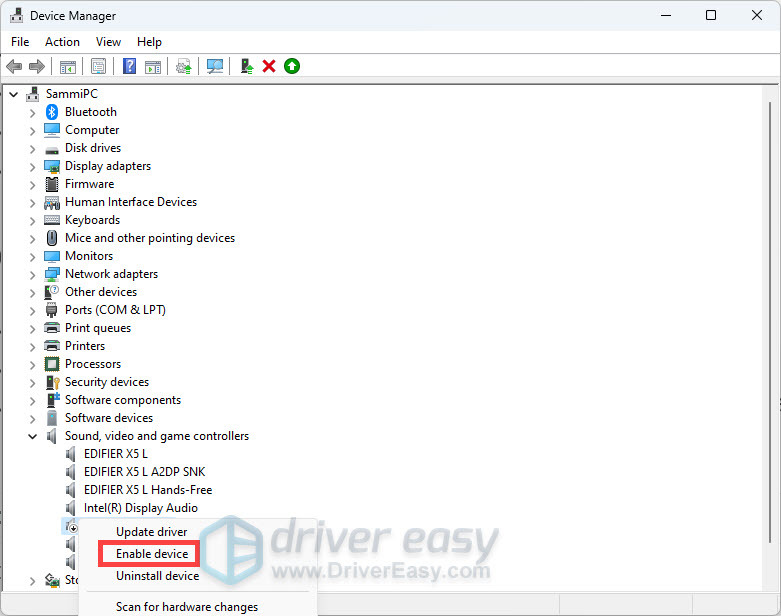
Once again, right-click your audio device and select Enable device.
After making the changes, restart your device and check if the error still occurs.
Method 5: Check for Windows Updates
Windows updates often include improvements that stabilize core system components, like audio services, sound settings, and system services, which can fix errors such as “No Audio Output Device Is Installed.” To ensure your system is fully updated:
1) Press the Windows logo key to invoke Search. Then type check for updates, and select it from the list of results.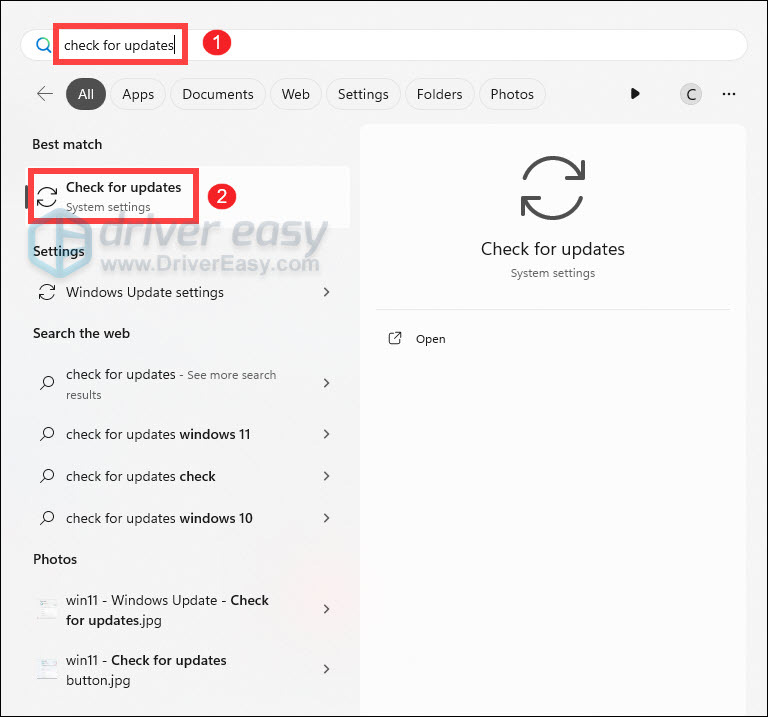
2) If you’re told that “Updates available to install”, simply click on the Install all button.
Or you can click on the button Check for updates to see if there are updates available.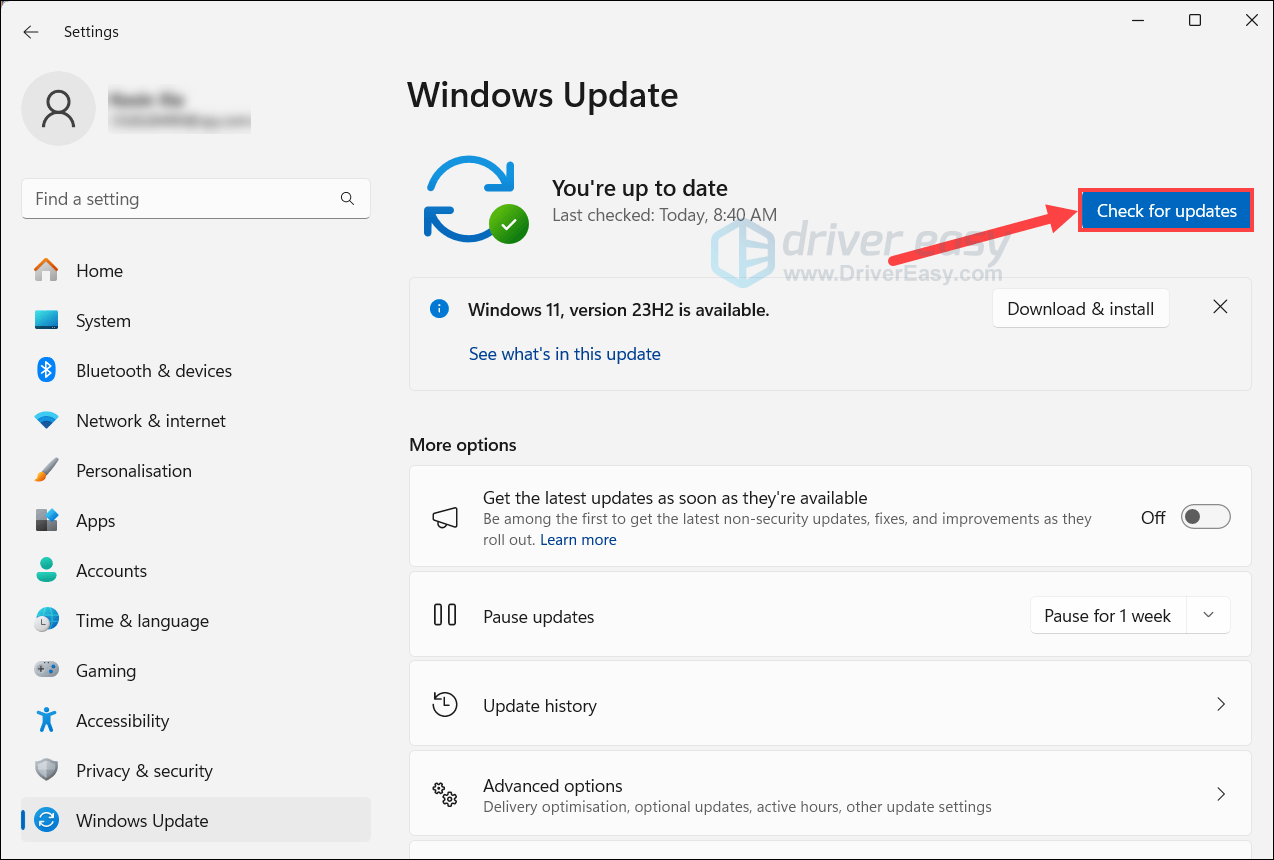
3) Then follow the on-screen instructions to download and install the latest Windows updates. You should be prompted to restart your device upon completion.
That wraps up our full guide on how to fix the error “No Audio Output Device is installed”. Hope you find it helpful. If you have additional questions, feel free to write them down in the comment section below. We’ll get back to you ASAP, and the community may also be able to offer a hand.

