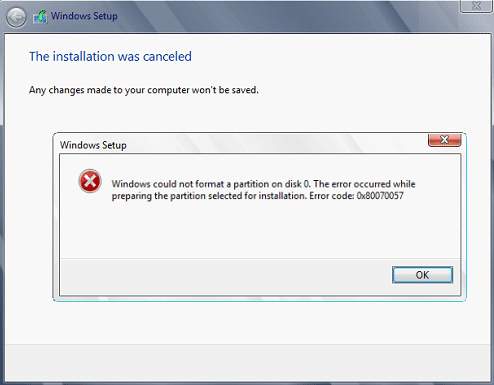
Error 0x80070057 is a commonly seen error: it could happen in many different scenarios. We have a post regarding some of the scenarios and the resolutions to it:
Error 0x80070057 in Windows Update
In this post, we will be focusing on solving this problem when it occurs during Windows installation.
The causes of this error could be damaged hard drive, broken partition reserved for system (an area reserved for the BitLocker encryption and the restoration of Windows) or loose connected SATA cable.
Now that we have some clues about the cause, we can get started to find solutions accordingly.
Option One: Check SATA Cable or SATA Port
Option Two: Format Partition in Command Prompt Window
Option Three: Format Partition when installing Windows
Option One: Check SATA Cable or SATA Port
If you are a desktop user, you should pay extra attention to the possibility of your SATA cable is not working properly.
Disonnect all the SATA cables that you are having, APART FROM the driver that you want to install Windows into. That is the only drive that you leave the SATA connected.
Now try install Windows again.
If the problem still persists, you can try to replace the SATA cable for a new one to see if it helps.
Option Two: Format Partition in Command Prompt
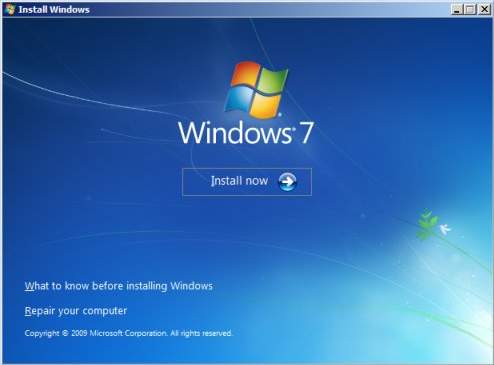
1) Boot your computer with Windows 7 installation DVD or USB. In the Install Windows, press Shift + F10 at the same time.
2) In the command prompt window, type in the following commands:
disk part
list disk
Hit Enter respectively after each command.
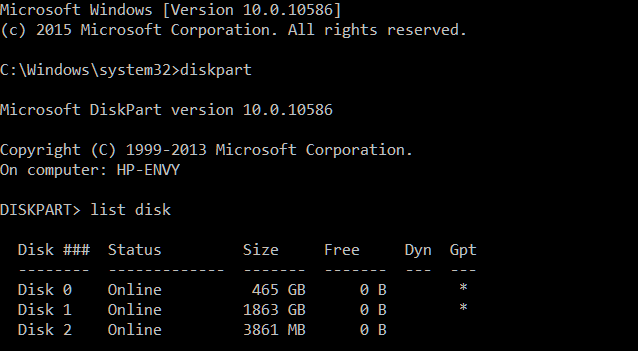
3) Identify the disk you want to reformat. Select it and then reformat it by typing the commands below:
select disk (your disk number)
cleanStill, hit Enter after each of the command. This will help you clean the drive.
4) Then type in the following commands:
create partition primary
select partition 1
activate
Hit Enter after each of the command. These commands will help you activate the partition on the disk.
5) Type in command and hit Enter when you are sure that there is no typo:
format fs=ntfs
This command will help you do a full format into NTFS. This will take some time to complete, you need to wait with patience.
6) When the format finishes, type exit two times in the command prompt window to exit diskpart and command prompt.
7) Continue to install Windows 7.
Option Three: Format Partition when installing Windows
As mentioned above, this problem could also be caused by damaged system reserved partition. Microsoft suggests that you delete the system reserved partition and system partition and then create a new partition, then continue with the formatting during the installation process.
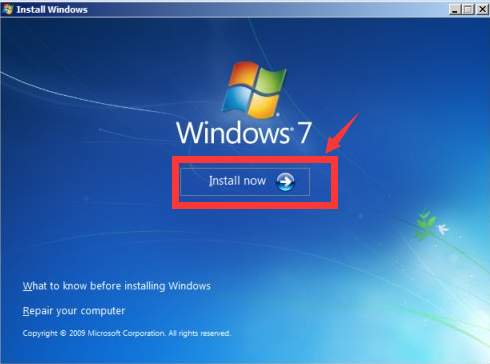
1) Boot your computer with the installation DVD or USB plugged in. After setting up your preferences, click the Install Now button.
2) After entering your product key and clicking Yes to the license agreement, you will be seeing the question below:
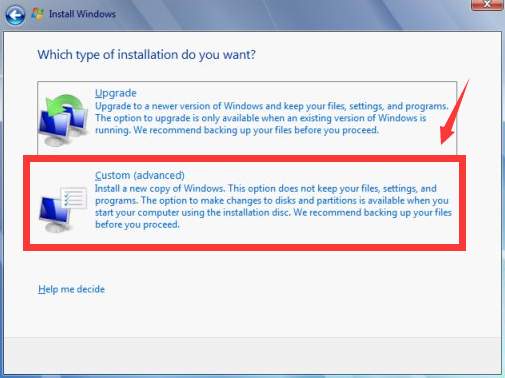
Choose Custom (advanced) to continue.
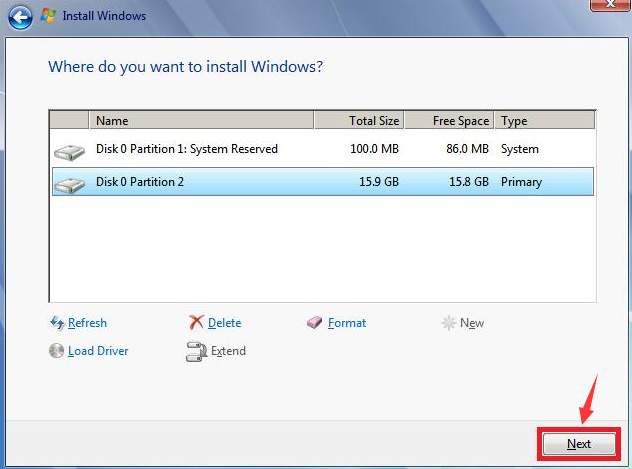
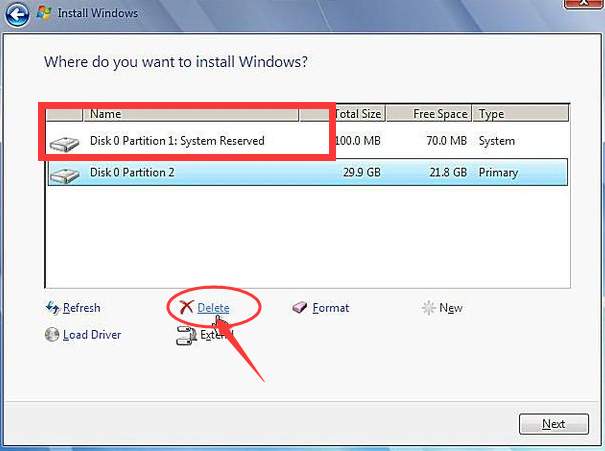
3) Select Disk 0 Partition1: System Reserved and choose Delete.
When asked to confirm the delete, click OK to continue.
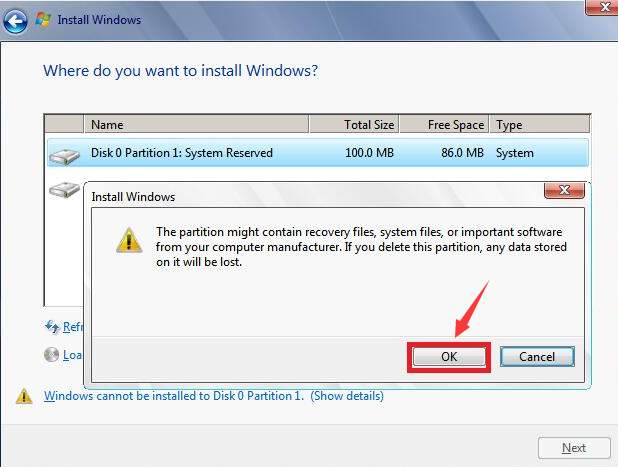
Repeat this step until you finish deleting all the partitions listed here.
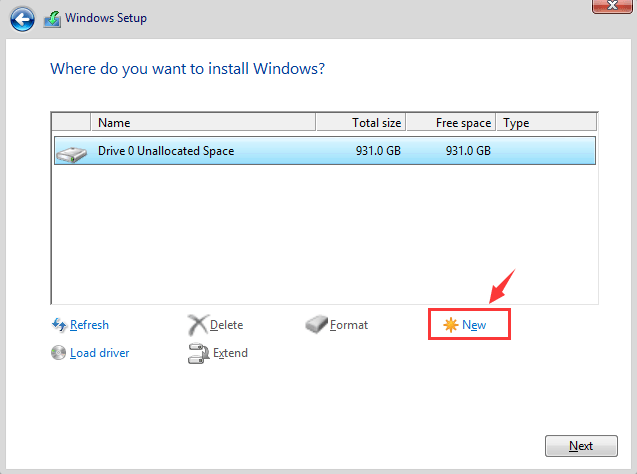
4) Then you should be able to see that the whole disk now is an unallocated space. Click the New button to create a new partition.
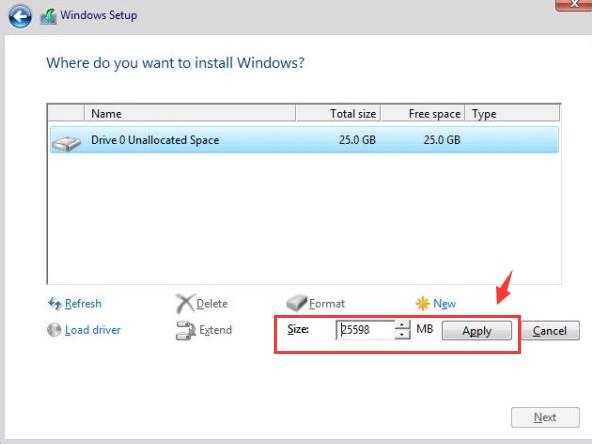
5) You can change the size of the new partition by yourself and hit Apply to save the change. Or just leave the box here, the default value will be the maximum size of the disk.
6) Then you will see new partitions are created. Choose the partition that is NOT system reserved and hit Format. Here, we we choose Drive 0 Partition 3 and click Format.
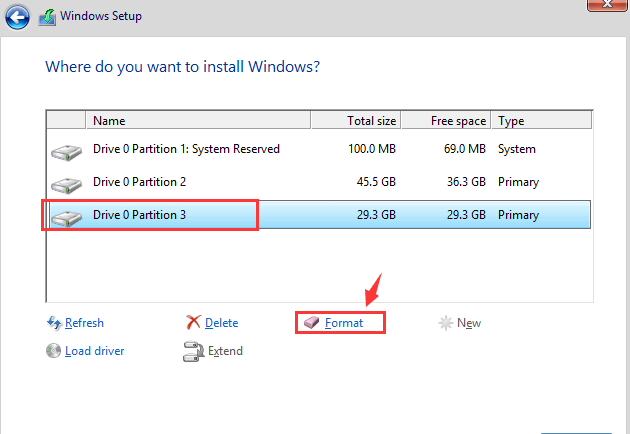
When prompted with confirmation, just click OK to continue.
7) When the format completes, click Next button to continue with the Windows installation.