


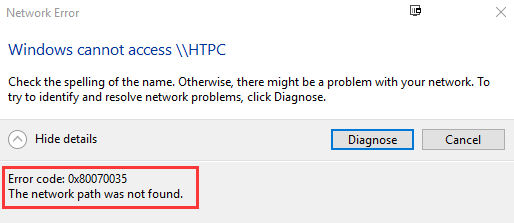
Microsoft allows computers with Microsoft Windows operating systems and sharing the same network to have access to the files and data on each other’s computer without cables. But the initiating user might see the message saying that Error code: 0x80070035. The network path was not found.
This error could be caused by various causes, but there are some general resolutions that are going to help you with it. So please try the following methods below to troubleshoot and get your problem solved!
Step 1: Make sure your drive is shared
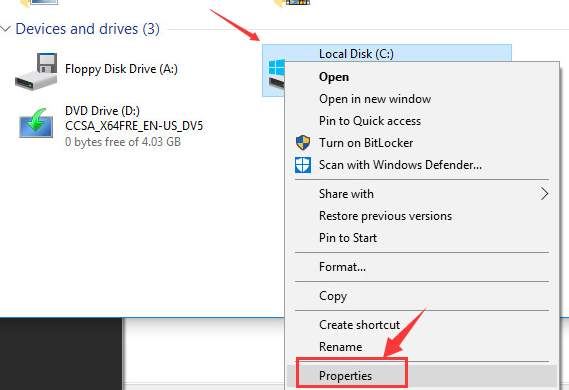
1) Right click the drive on the targeted computer that you are to visit and choose Properties. We are using the C drive on a virtual machine as an example.
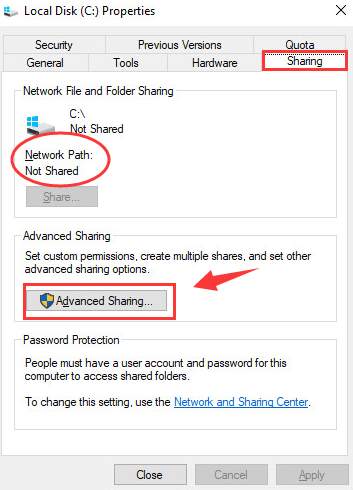
2) Navigate to Sharing tab. If you see that the network path here says Not Shared, then click Advanced Sharing… tab.
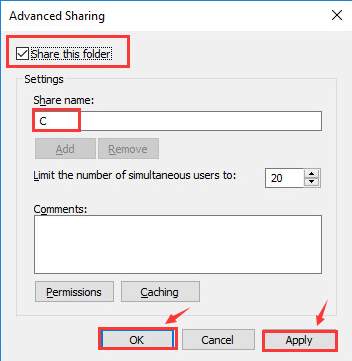
3) Tick the box for Share this folder and then please make sure the the Share name is correct. Then click Apply and OK to save the change and exit.
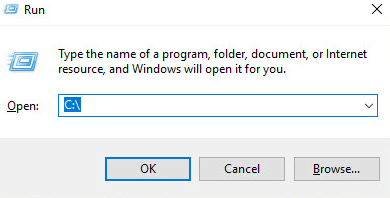
4) Then press Windows key and R at the same time to open the run command. Type the name of the folder in the search box and hit Enter. You should be able to access to this folder correctly now.
Step 2: Use IP address of the targeted computer
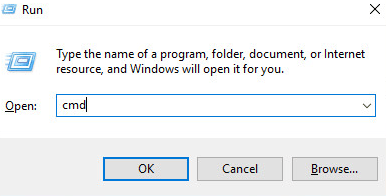
1) On your targeted computer, press Windows key and R at the same time, then type in cmd.
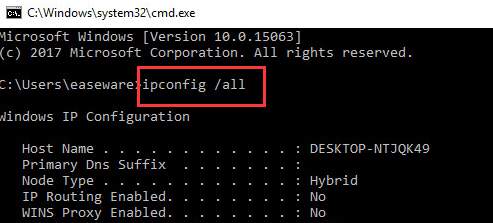
2) In the command prompt window, type in the following command:
ipconfig /all
then hit Enter.
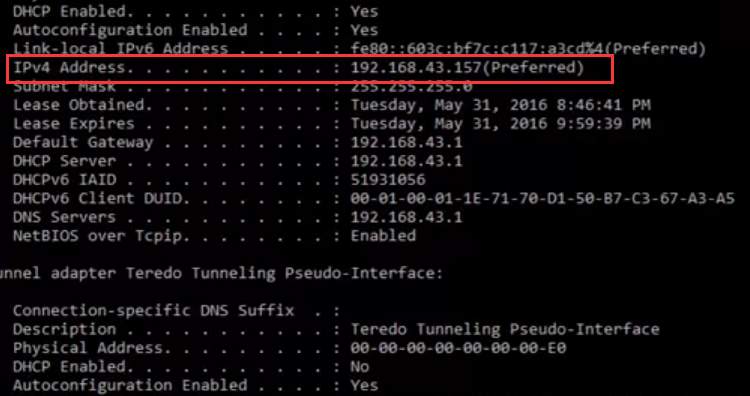
3) Then scroll down a little bit to locate the category IPv4 Address. Mark down the address (192.168.43.157) here.
4) Then press Windows key and R together again. In the search box, type in the \\IPv4 Address\the drive you want to access. And then hit Enter. We are using \\192.168.43.157\c as an example.

5) You should be able to see that the C drive open just fine.
Step 3: Change Network Security settings
If the above two methods did not help, then you should check whether the problem was on your network connection.
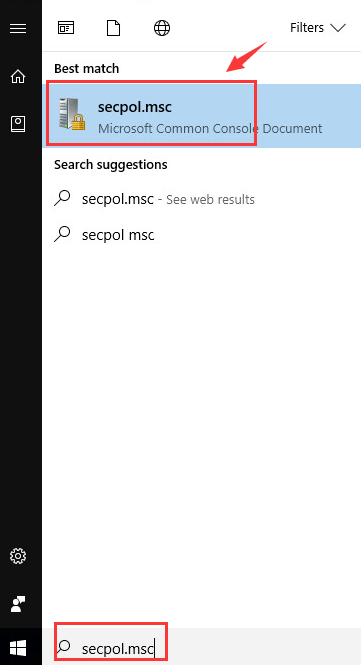
1) Hit Start button, then type in the search box secpol.msc and hit Enter.
2) Then follow the path: Local Policies > Security Options > Network security: LAN Manager authentication level. Double click the option Network security: LAN Manager authentication level.
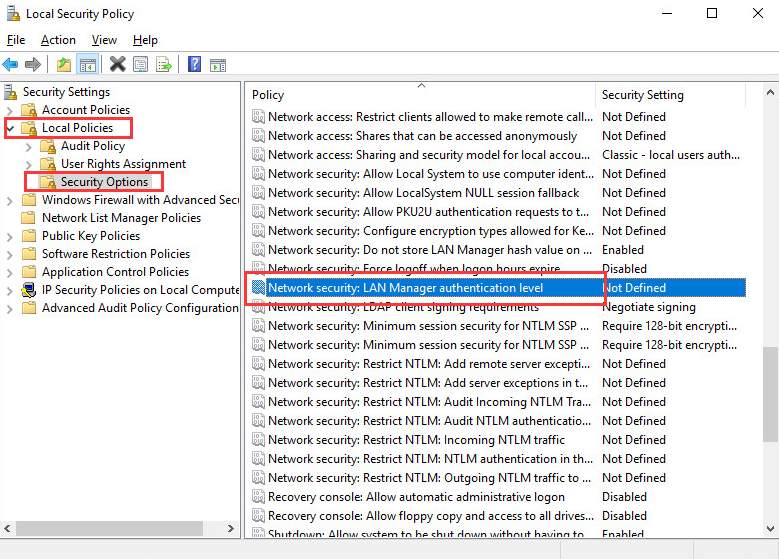
3) Then choose from the drop-down menu Send LM & NTLM-use NTLMv2 session security if negotiated. Then choose Apply and OK to save the change.

4) Have a try now.
Step 4: Reset TCP/IP
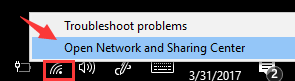
1) Right click the network connection icon on the bottom right corner and choose Open Network and Sharing Center.
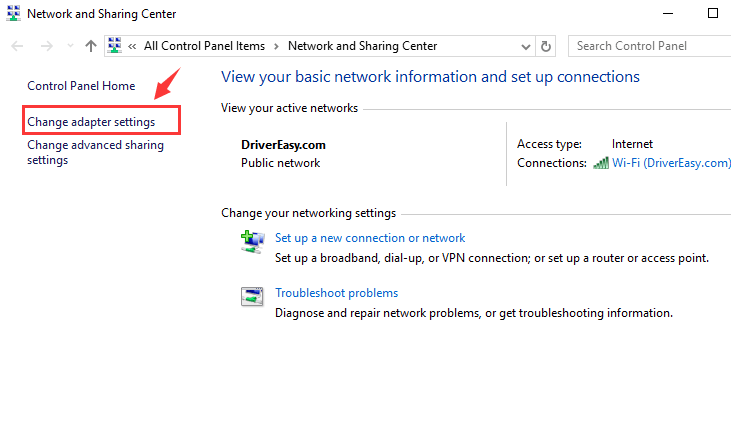
2) On the left side of the pane, choose Change adapter settings.
3) Right click the network adapter that you have and choose Properties. If you are using WiFi connection, click the network adapter accordingly and do the same procedures as follows.
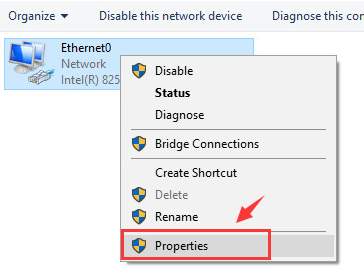
4) Click Install… button.
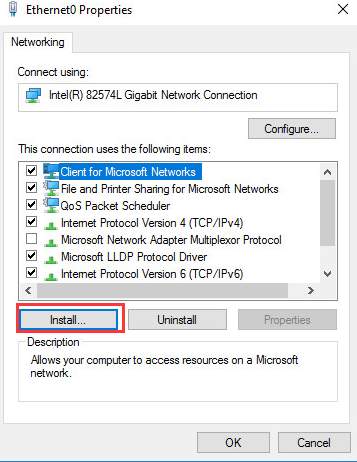
5) Select Protocol and then click Add….
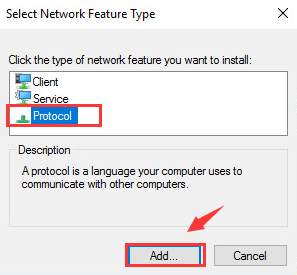
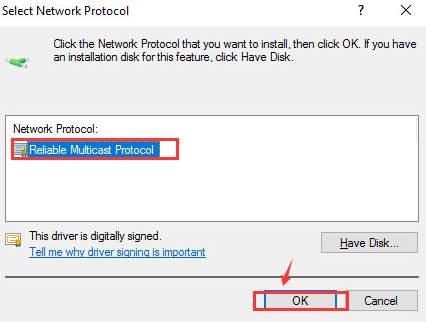
6) Select Reliable Multicast Protocol option listed here and then click OK to install the protocol.
Hopefully you find this article helpful. If you have any questions, ideas or suggestions, feel free to leave a comment below.