


You may need to add more storage space or back up files for your Mac computer. If so, then using an external hard drive is usually a good way to do this.
But what external hard drive you should use, and how to use it on your Mac computer? Follow the instructions below, and you’ll know to choose and install a hard drive for your Mac computer.
- What external hard drive should you use?
- How to install an external hard drive on your Mac computer?
What external hard drive should you use?
You should choose an external hard drive that has the compatible connector with your Mac computer. There are four external hard drives we recommend:
- Western Digital My Passport for Mac
- Seagate Backup Plus Portable Drive for Mac
- LaCie Rugged Thunderbolt USB-C Portable Drive
- G-Technology G-DRIVE
How to install an external hard drive on your Mac computer?
To use an external hard drive on your Mac computer, just connect the external hard drive to your Mac computer.
If you see an drive icon showing up on your desktop, then you’re able to use your external hard drive.
But if not, you should follow the instruction below to set up your hard drive on your Mac computer.
1) Open Disk Utility:
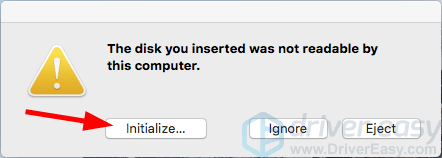
a. If you see an error message popped up that says “The disk you inserted was not readable by this computer”, click the Initialize button.
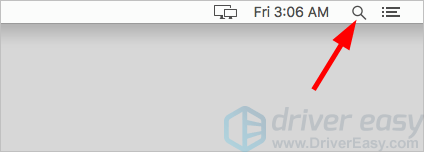
b. If you don’t see any message:
i. Click the Search icon in the upper right corner of your screen.
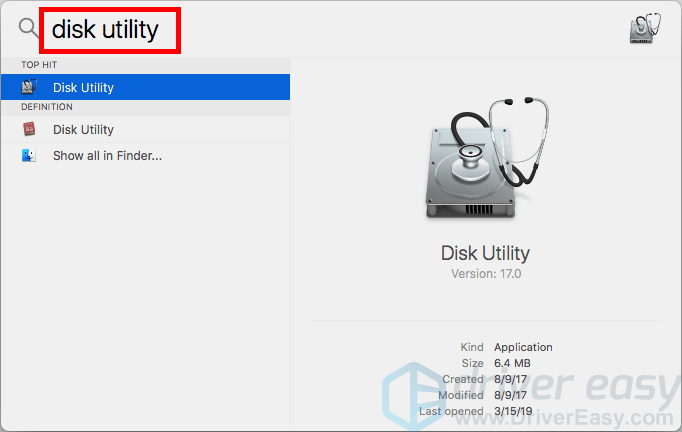
ii. Type disk utility, then press Enter.
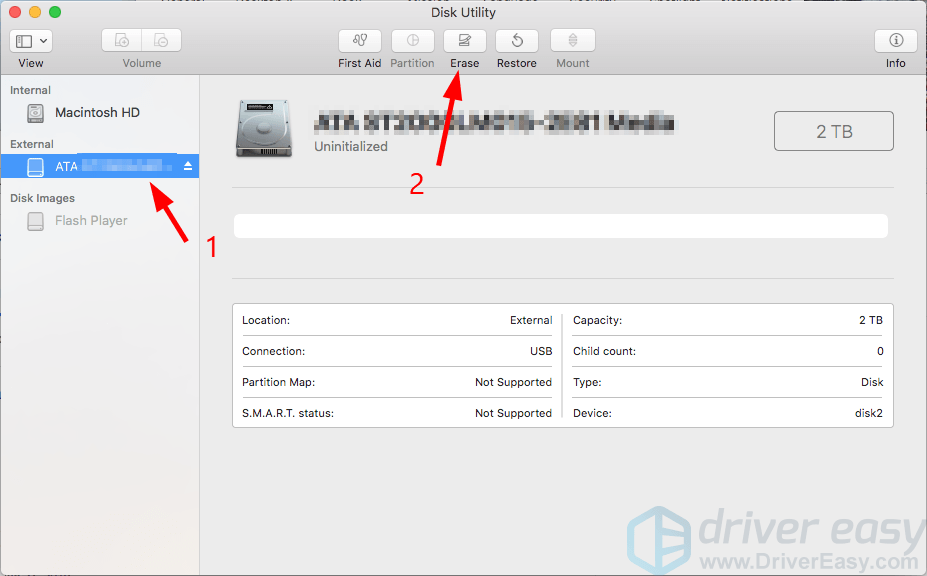
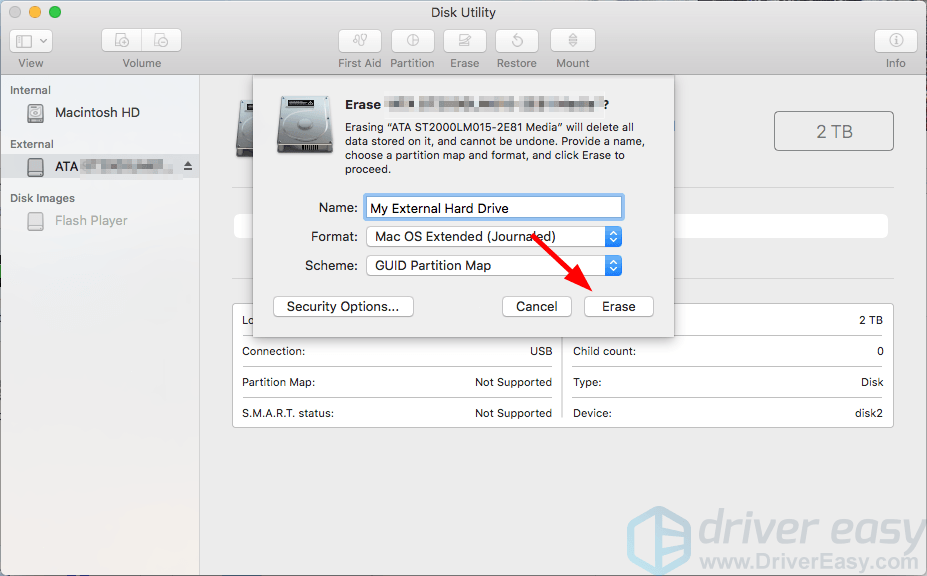
2) Select your external hard drive (under External), then click Erase.
3) Enter a name for your external hard drive.
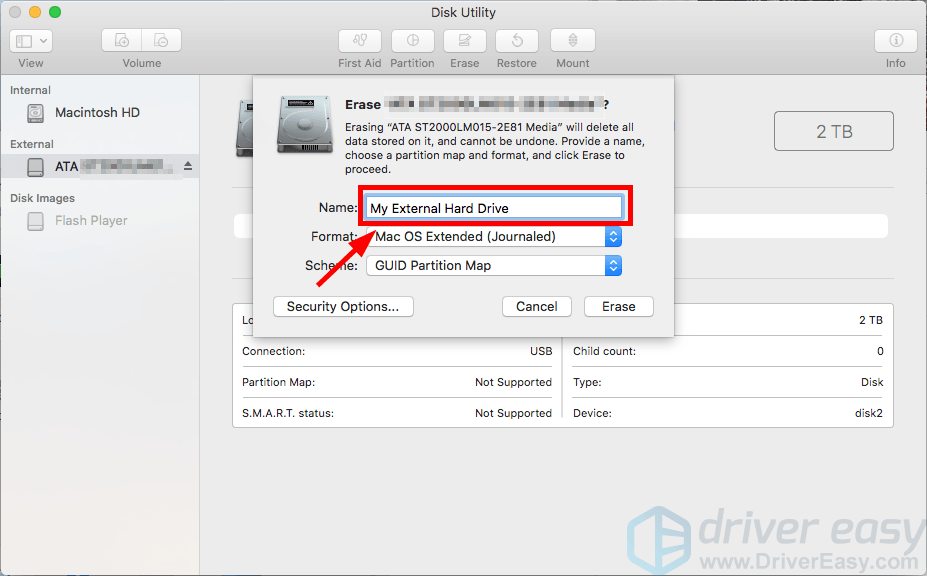
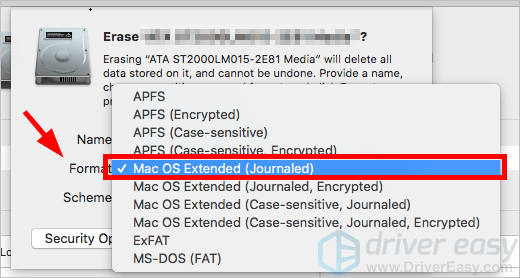
4) Select Mac OS Extended (Journaled) for Format. (If you want your external hard drive to be recognized by a Windows computer, then you should choose ExFAT.)
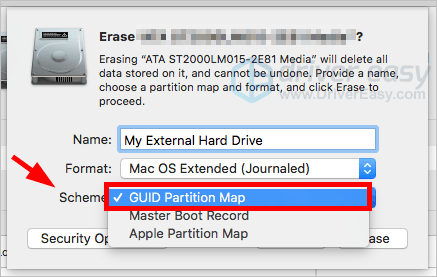
5) Select GUID Partition Map for Scheme.
6) Click Erase, then wait for the process to be complete.
7) Click Done.
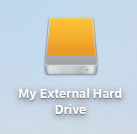
Now you should see your external hard drive appear on the desktop, which means you’re able to use it on your Mac computer.
Hopefully, the instructions above helped you know something about using external hard drive on a Mac computer. If you have any questions or suggestions, you’re more than welcome to leave us a comment below.