


Fails to connect your Uno board with Windows computer? Don’t panic. This post is going to walk you through how to fix it easily.
Usually your Uno board not recognized properly problem is due to its driver problem. You can solve it through updating your Arduino Uno driver. See how…
Pick the way you prefer:
Option 1: Update your Arduino Uno driver manually
You’ll need some computer skills and patience to update your drivers this way, because you need to find exactly the right the driver online, download it and install it step by step.
See how to do it:
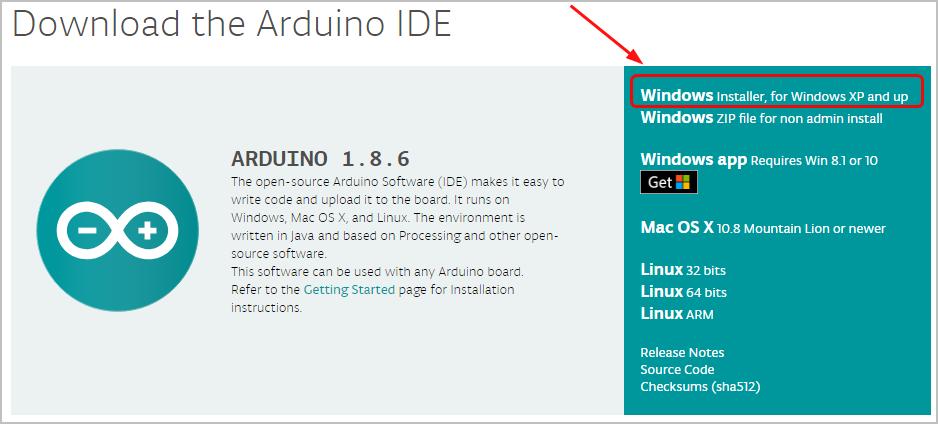
- Go to the official Arduino website. Then go to the Software Downloads section.
- Click Windows Installer, for Windows XP and up.
- Click Just Download. The driver .exe installation file would then be downloaded automatically.

- On your keyboard, hold down the Windows logo key and then press Pause.
- Click Device Manager.

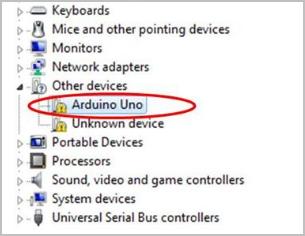
- Find and right-click your Arduino Uno software. Probably it’s listed under the Other devices section due to the problem. Then select Update driver.
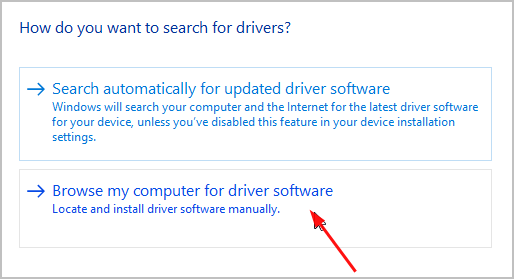
- Select Browse my computer for driver software.
- Click the Browse… icon. Another window appears: go to the folder with the Arduino uno driver that you just downloaded. Select the drivers folder, then OK > Next.
If you don’t have the time, patience or computer skills to update your Arduino Uno driver manually, you can do it automatically with Driver Easy. Move onto Option 2 then.
Option 2: Update your Ardunio Uno driver automactically
Driver Easy will automatically recognize your system and find the correct drivers for it. You don’t need to know exactly what system your computer is running, you don’t need to risk downloading and installing the wrong driver, and you don’t need to worry about making a mistake when installing.
You can update your drivers automatically with either the FREE or the Pro version of Driver Easy. But with the Pro version it takes just 2 clicks:
- Download and install Driver Easy.
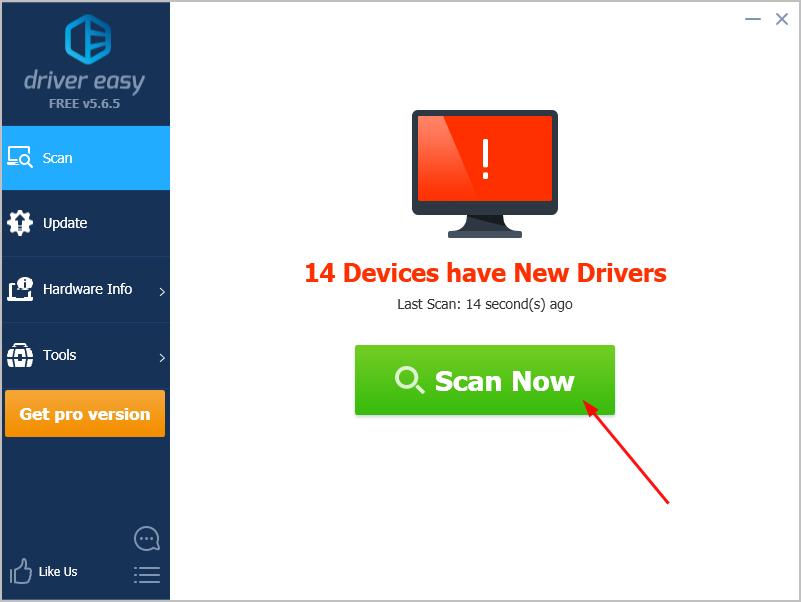
- Run Driver Easy and click the Scan Now button. Driver Easy will then scan your computer and detect any problem drivers.
- Click Update All to automatically download and install the correct version of all the drivers that are missing or out of date on your system (this requires the Pro version – you’ll be prompted to upgrade when you click Update All).
Note: You can do it for free if you like, but it’s partly manual.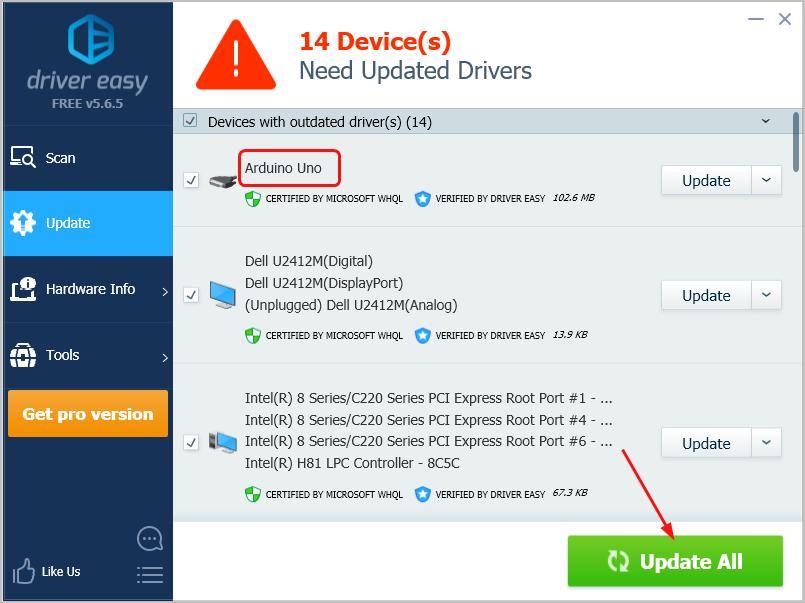
That’s it. Your Uno board should be connected to your Windows computer successfully now. Feel free to comment below if you have any questions.