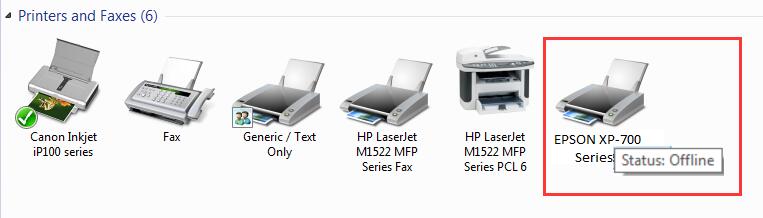
When your EPSON printer appears offline after you put a lot of effort to set it up, it could be really annoying and drives you crazy. However, there are a few simple solutions to try. Here in this article, 3 tried-and-true fixes for EPSON Printer Offline are standing by you. Read on and find out how…
Try these fixes:
- Disable the Use Printer Offline feature of your EPSON printer
- Update your EPSON printer driver
- Reinstall your EPSON printer
Fix 1: Disable the Use Printer Offline feature of your EPSON printer
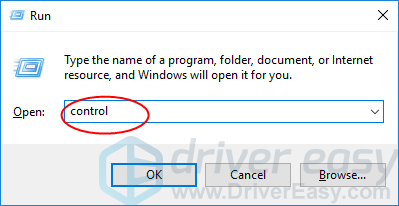
1) On your keyboard, press the Windows logo key and R at the same time to invoke the Run box.
2) Type control and press Enter.
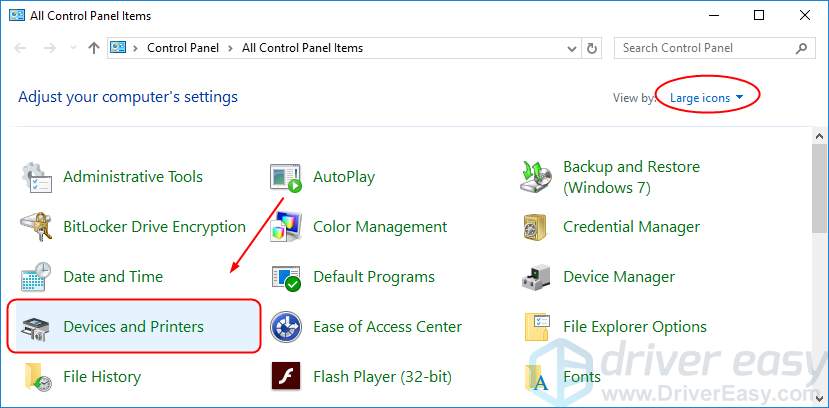
3) Click Devices and Printers in Large icons.
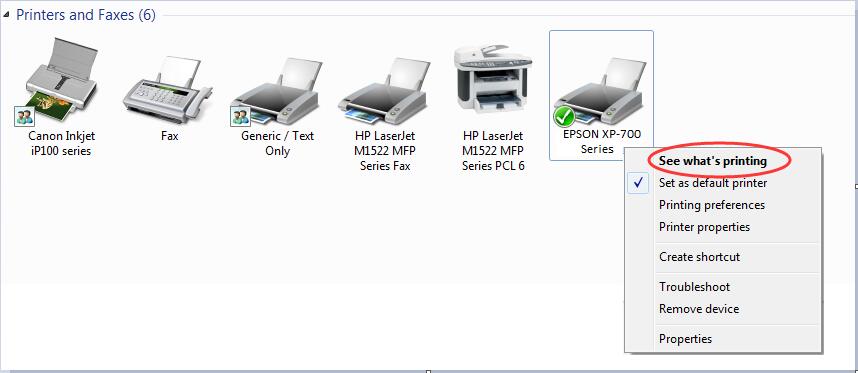
4) Right-click on your printer and click See what’s printing.
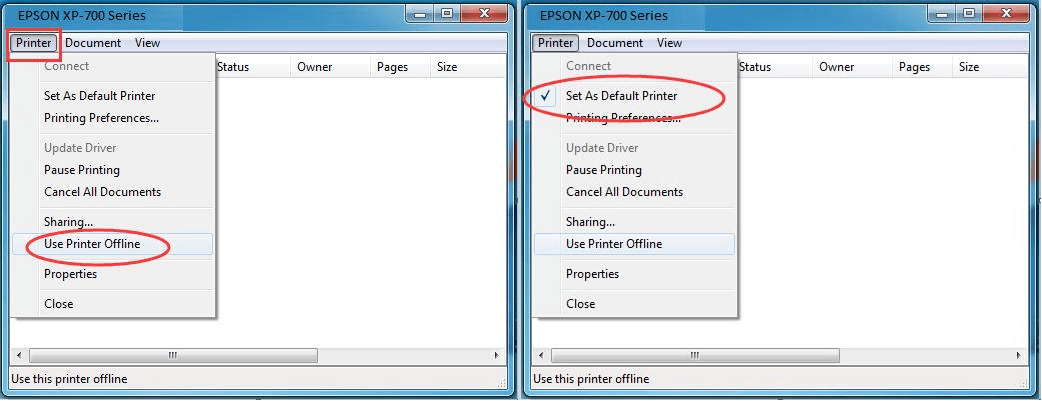
5) Click Printer to make sure there’s no √ mark before Use Printer Offline. Then click Printer again and this time check on Set As Default Printer.
4) Close the window and check if you’re able to use your printer.
Fix 2: Update your EPSON printer driver
Your Epson printer offline problem is probably being caused by driver issues. The steps above may resolve it, but if they don’t, or you’re not confident playing around with drivers manually, you can do it automatically with Driver Easy.
Driver Easy will automatically recognize your system and find the correct drivers for it. You can update your drivers automatically with either the FREE or the Pro version of Driver Easy. But with the Pro version it takes just 2 clicks (and you get full support and a 30-day money back guarantee):
1) Download and install Driver Easy.
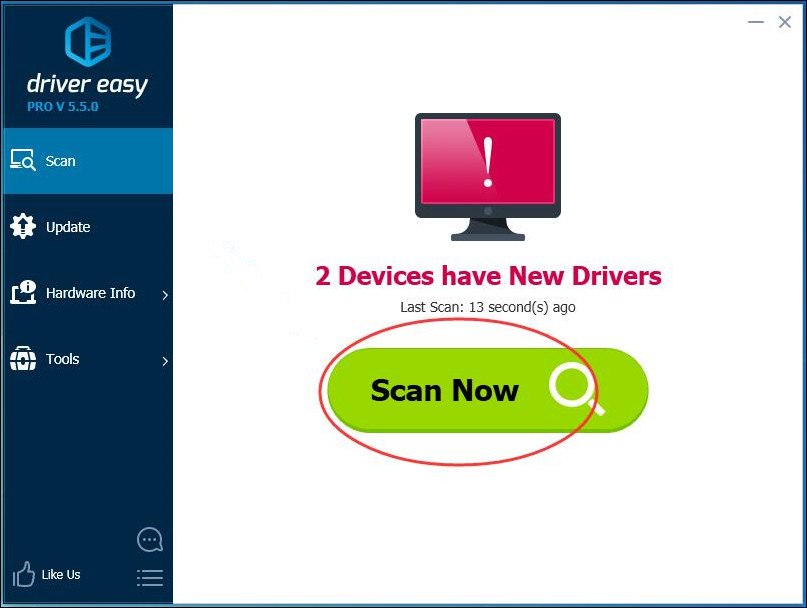
2) Run Driver Easy and click Scan Now button. Driver Easy will then scan your computer and detect any problem drivers.
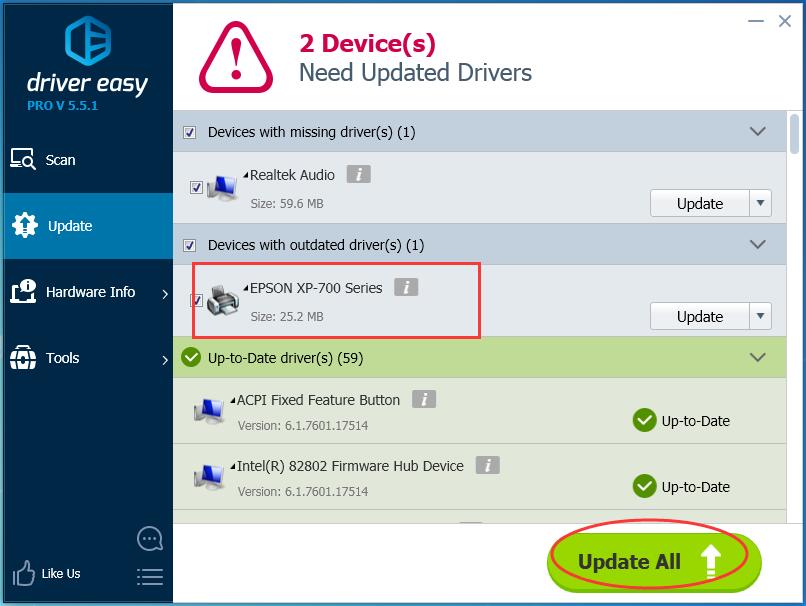
3)With the Free version: Click the Update button next to the flagged printer driver to automatically download and install the correct version of this driver.
With the Pro version: click Update All to automatically download and install the correct version of all the drivers that are missing or out of date on your system.
4) Restart your computer and check if you’re able to use your printer.
Fix 3: Reinstall your EPSON printer
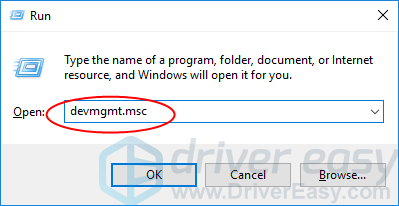
1) On your keyboard, press the Windows logo key and R at the same time to invoke the Run box.
2) Type devmgmt.msc and press Enter.
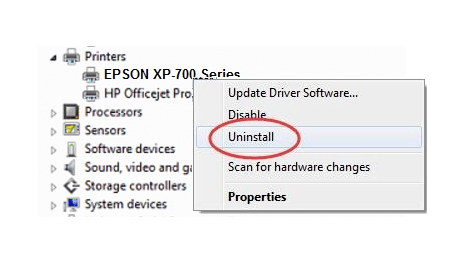
3) Right-click on your EPSON printer device in Printers or Printer queues. Then click Uninstall.
4) On your keyboard, press the Windows logo key and R at the same time to invoke the Run box.
5) Type control and press Enter.
6) Click Devices and Printers in Large icons.
7) Right-click on the blank area and click Add a printer.

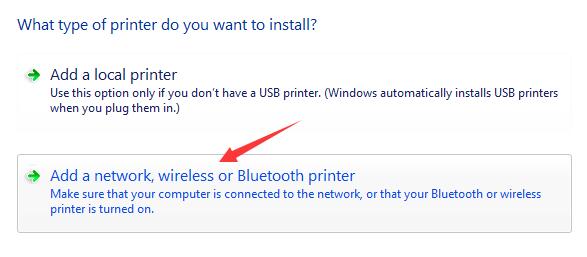
8) For Windows 7 users, click Add a network, wireless or Bluetooth printer.
(For Windows 10 users, please skip to step 9)
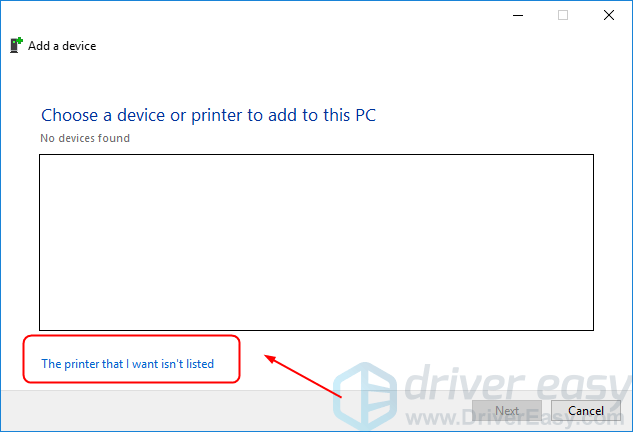
9) Click The printer that I want isn’t listed.
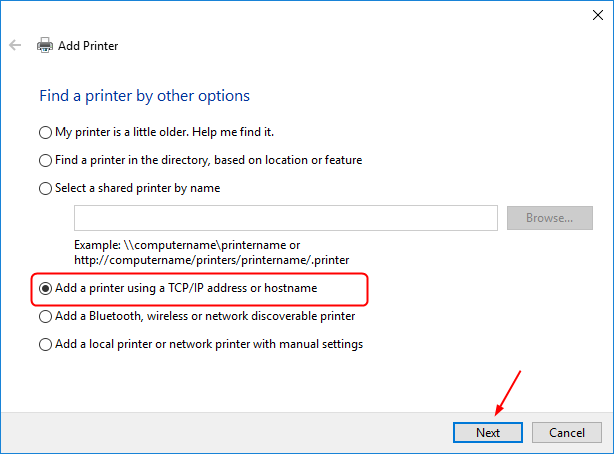
10) Tick on Add a printer using a TCP/IP address or hostname. Then click Next.
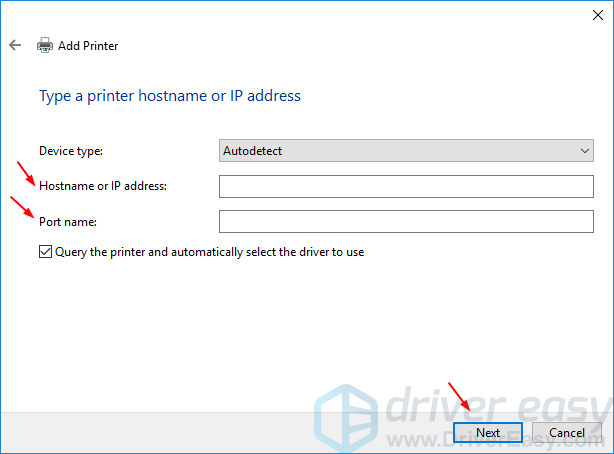
11) Enter the IP address and Port name of your printer. Then click Next to complete reinstalling your printer.
Note: See your IP address and Port name.
12) Restart your computer and check if you’re able to use your printer.
How to check IP address and port name of printer:
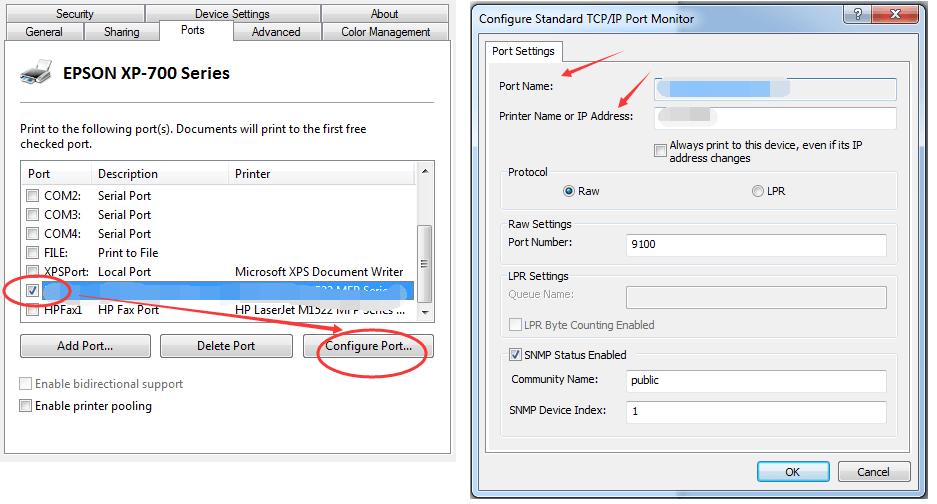
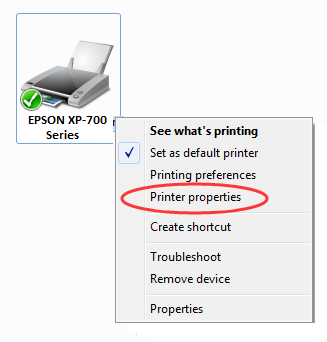
1)Right-click on your printer and choose Printer properties.
2) Highlight the checked Port with √ mark in Ports, then click Configure Port…
Now you can see the Port name and IP address of your printer on the pop-up window.