Firstly, perform some troubleshooting:
1. Use the hard drive on another computer and see if it can be recognized. This will verify whether the hard drive is broken.
2. Try a different USB port. This will figure out whether the problem is caused by a dead port. (apply to USB flash drives)
3. If you plug the drive into a USB hub, try connecting it to the computer directly. Some USB hubs won’t provide enough power for your external hard drive to work.
4. If you connect the drive to computer with a cable, try a different cable. Broken cable could also be the cause.
If there is no problem with the hard drive or the ports, try following methods.
Method 1: Partition the Drive
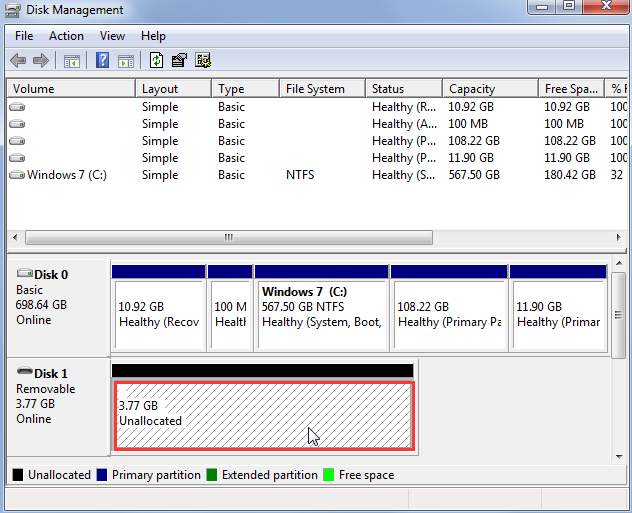
Go to Disk Management and see if there is partition issues with the drive. If you see that the drive is unpartitioned and is full of “Unallocated space”, try creating a new partition on it.
Follow these steps to create a new partition on the drive:
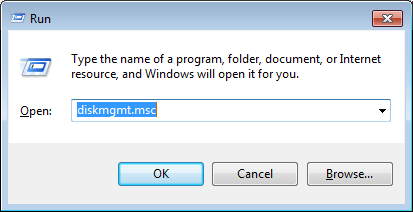
1. Press Win+R (Windows logo key and R key) at the same time. A Run dialog box will open.
2. Type diskmgmt.msc in the run box and click on OK button.
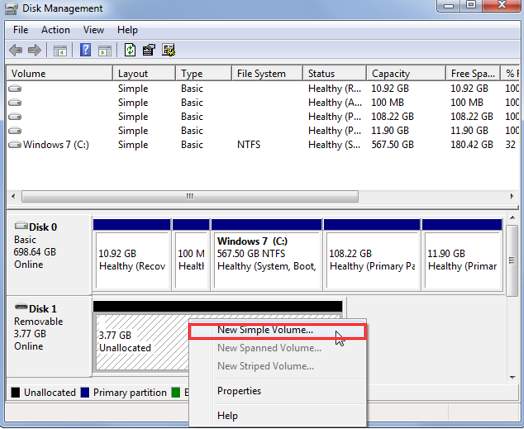
3. Right-click inside the unallocated space and select New Simple Volume on the context menu. Then follow the wizard to create a new partition.
Method 2: Assign a Drive Letter for the Drive
In Disk Management, make sure the drive has a drive letter assigned. If not, follow steps below to assign a drive letter for the drive.
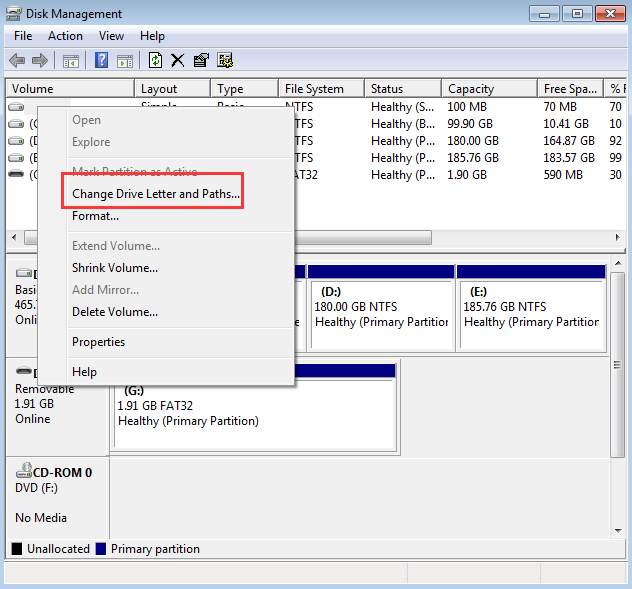
1. Right-click on the drive and select Change Drive Letter and Paths. To do this, make sure the drive is online. If the drive is offline, make it online by right-clicking on the disk number and click Online.
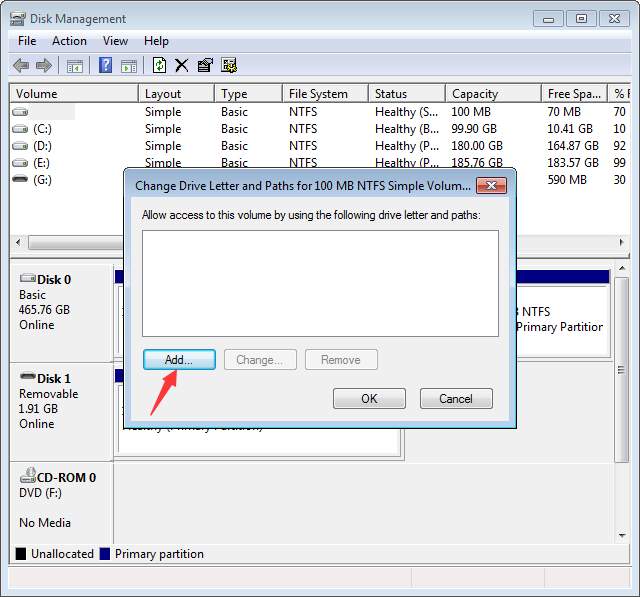
2. Click on Add button.
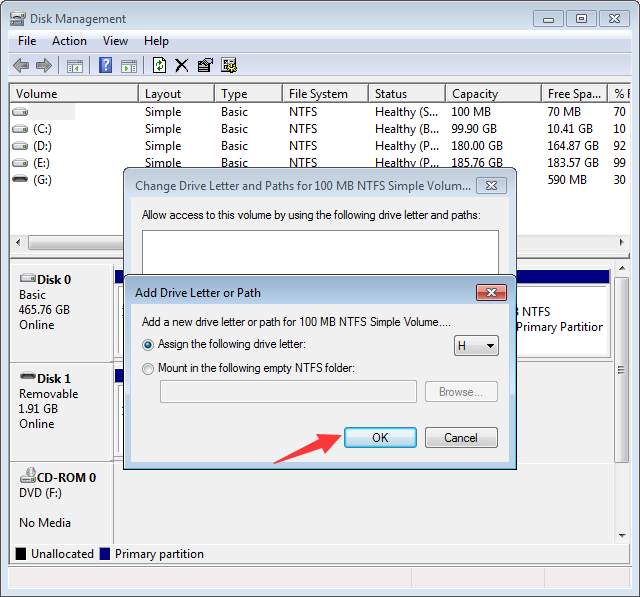
3. Click on OK button to select the first available drive letter.
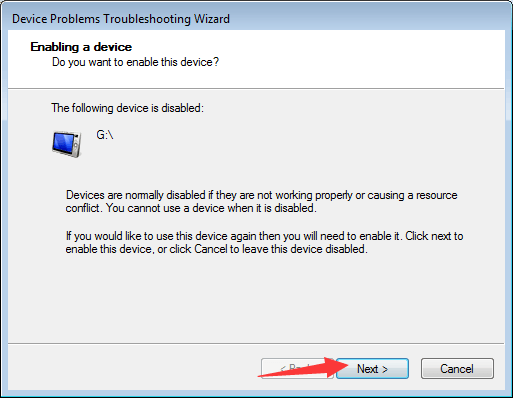
Method 3: Make Sure the Drive is Enabled
If the drive is disabled, it won’t show up in Windows. Follow below steps to check and see if the drive is disabled, enable it if necessary.
1. Go to Device Manager.
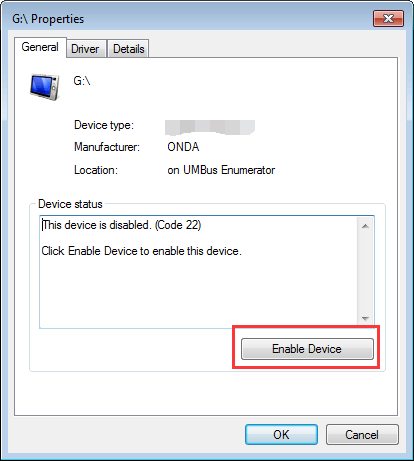
2. Expand category “Disk drives”. Under this category, check if there is an icon with an arrow pointing down over the drive name. If yes, the drive is disabled. To enable it, double-click on the drive name and click on Enable Device button.
3. Click on Next button then Finish button.
Method 4: Update Drivers
The problem could be caused by corrupted drivers. In Device Manager, see if there is a yellow exclamation mark next to the device. If yes, Windows is having driver problems like USB driver problems so it cannot recognize the hard drive.
You can go to your PC manufacturer’s website to check for and download the latest drivers. Before you get started, ensure that you know the PC model name and the specific operating system that you are using (See How to Quickly Get Operating System Version).
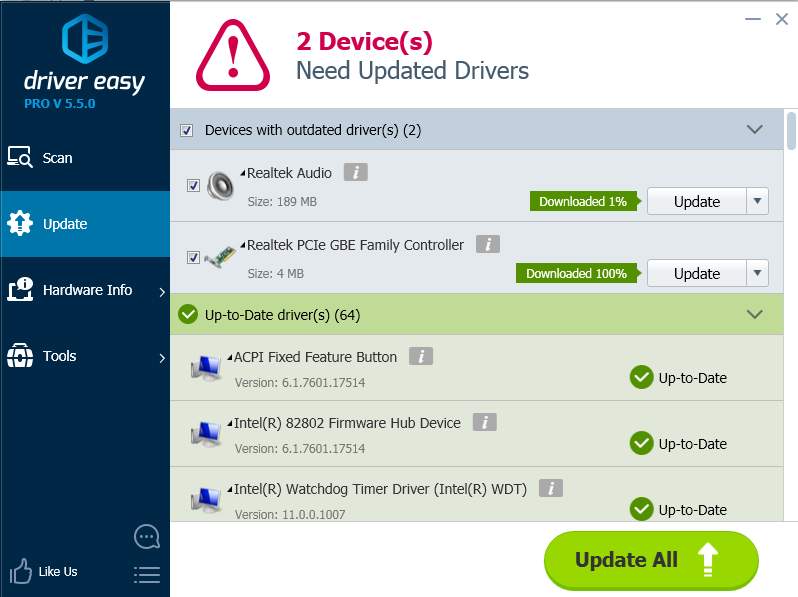
If you have difficulty downloading drivers manually, you can use Driver Easy to help you. Driver Easy can scan your computer and detect all problem drivers, then provide you with new drivers. It has Free version and Professional version. With Professional version, you can update all drivers with just one-click. More importantly, you can enjoy 1 year expert tech support guarantee. You can contact us for further assistance regarding any driver problems including the external hard drive not showing up in Windows 7 issue. And with 30-day money back guarantee, you can ask for a full refund for any reason.