


Can’t get past the Reconnect loop when launching League of Legends? Don’t worry! In the following section, we’ll guide you in fixing it step by step.
Try these methods
Not all solutions are necessary, so just work the list down until you find the one that solves your problem.
- Run League as Admin via Properties
- Update your network adapter driver
- Change your DNS server address
- Download and install Windows updates
- Remove Citrix Workspace
- Ensure no security software is interfering with your game
- Disable debug memory dump
1. Run League as Admin via Properties
If you’re experiencing issues like the reconnect loop when launching League of Legends, it could be due to insufficient system permissions. When the game doesn’t have the necessary permissions to access certain system files or network services, it may fail to connect properly. Running the game as an administrator gives it elevated privileges, allowing it to bypass restrictions that might be causing connectivity problems.
Here’s how to run League as an administrator:
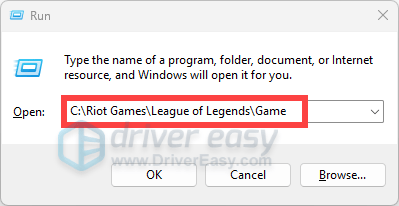
- On your keyboard, press the Windows logo + R keys simultaneously to open the Run box. Copy and paste C:\Riot Games\League of Legends\Game and hit Enter to open the folder.
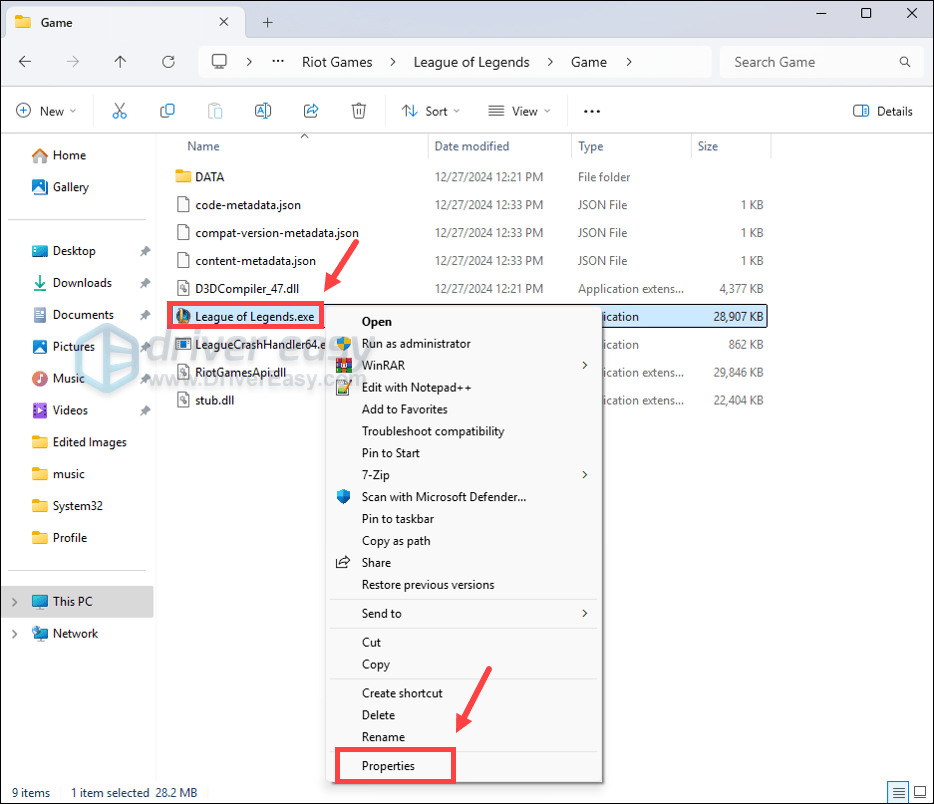
- Locate League of Legends.exe, right-click it and select Properties.
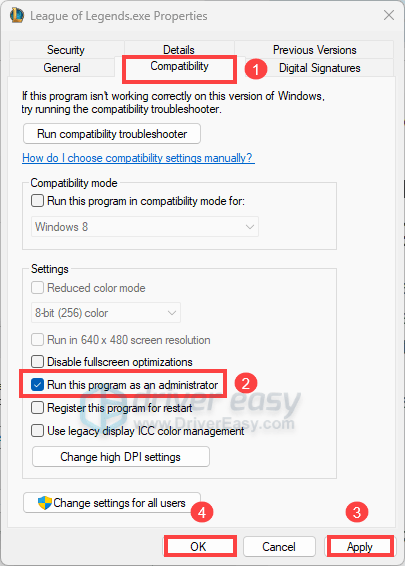
- Select the Compatibility tab, check the box next to Run this program as an administrator. Then click Apply > OK to apply the changes.
Now try to launch your game to test if your issue has been resolved.
2. Update your network adapter driver
Failure to connect and getting stuck at the reconnect loop may indicate that you’re having a poor network connection. It could be caused by your outdated or faulty network adapter driver. To fix the issue, you should try to update your network driver. You can do this by visiting the manufacturer’s official website to download and install the latest driver for your system.
But if you don’t have the time, patience or computer skills to update your network adapter driver manually, you can, instead, do it automatically with Driver Easy. Driver Easy will automatically recognize your system and find the correct drivers for your exact device, and your Windows version, and it will download and install the latest drivers for your system.
You can update your drivers automatically with either the 7 days free trial or the Pro version of Driver Easy. It takes just 2 clicks, and you get full support and a 30-day money-back guarantee with the Pro version:
- Download and install Driver Easy.
- Run Driver Easy and click the Scan Now button. Driver Easy will then scan your computer and detect any problem drivers.

- Click the Activate & Update button next to the flagged device to automatically download and install the correct version of this driver.
Or click Update All to automatically download and install the correct version of all the drivers that are missing or out of date on your system (You’ll need the Pro version for this – when you select Update All, you’ll get a prompt to upgrade. If you’re not prepared to purchase the Pro version yet, Driver Easy provides a 7-day trial at no cost, granting access to all Pro features like fast downloads and easy installation. No charges will occur until after your 7-day trial period ends.)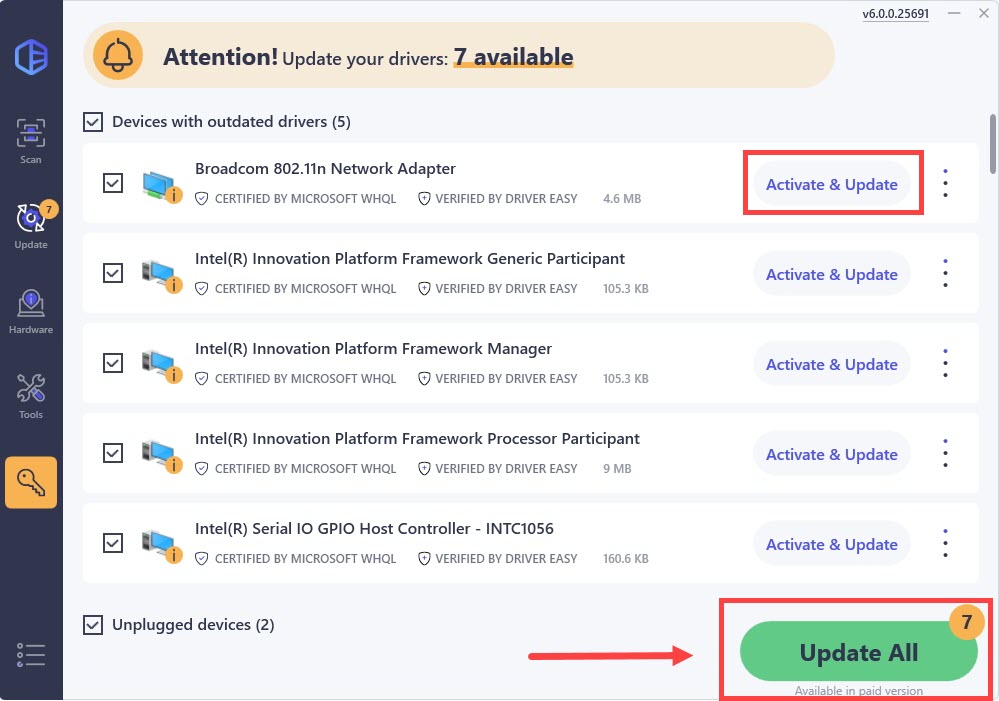
- After updating, restart your computer to take effect.
After updating your drivers, restart your PC for the changes to take full effect. Then launch your game to check if you’re still stuck at the Reconnect loop.
3. Change your DNS server address
There are circumstances where the standard DNS your ISP gives you cannot always be within your expectations. But changing the DNS settings, especially configuring Google Public DNS addresses can help you fix connectivity issues.
Here’s how to do this:
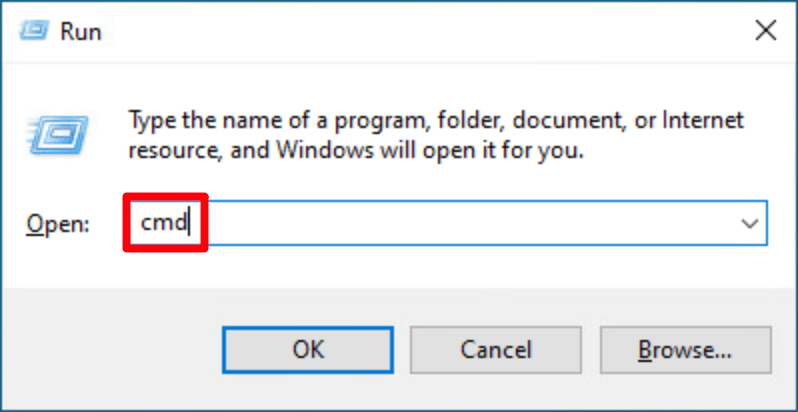
- Press the Windows logo key and R on your keyboard to invoke the Run box.
- Type cmd, then press Shift and Enter at the same time. If prompted for permission, click Yes.
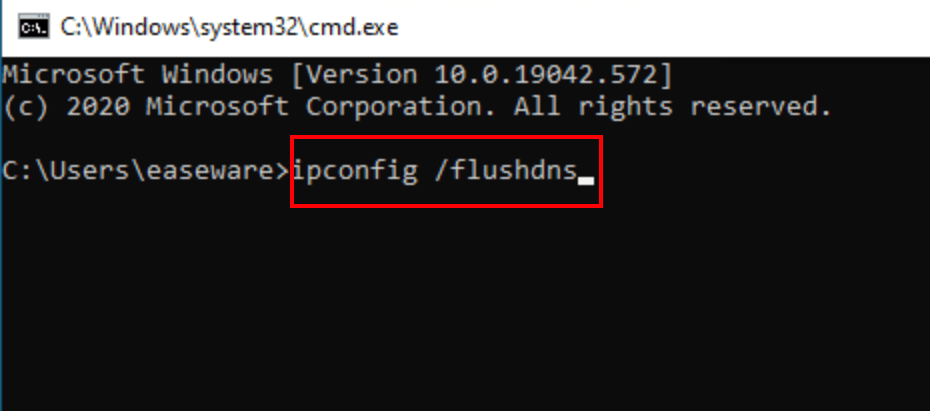
- Copy ipconfig /flushdns, and paste it in the pop-up window. Then press Enter.
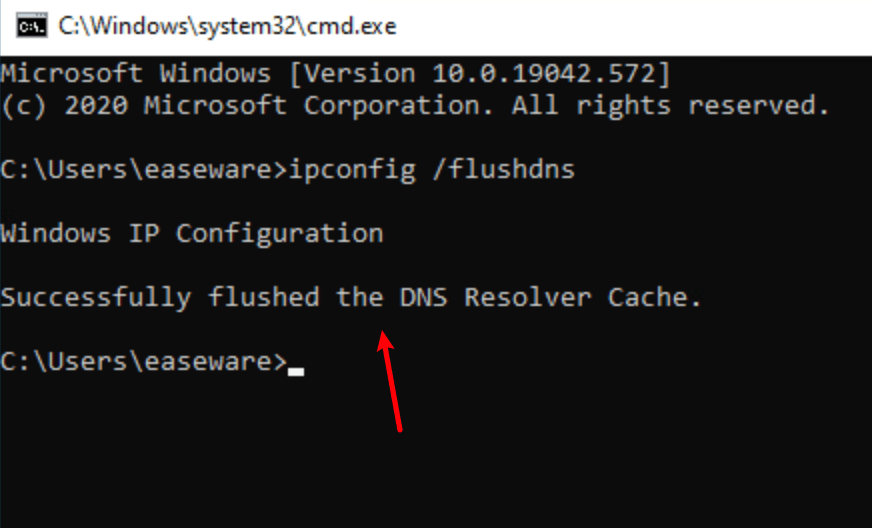
- Your DNS cache is successfully cleared.
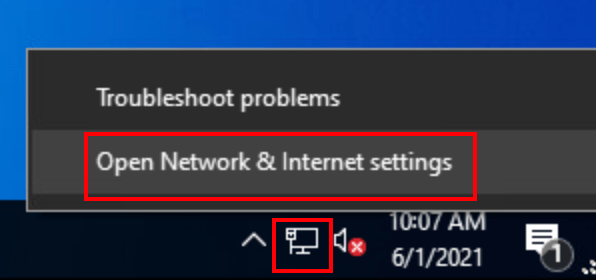
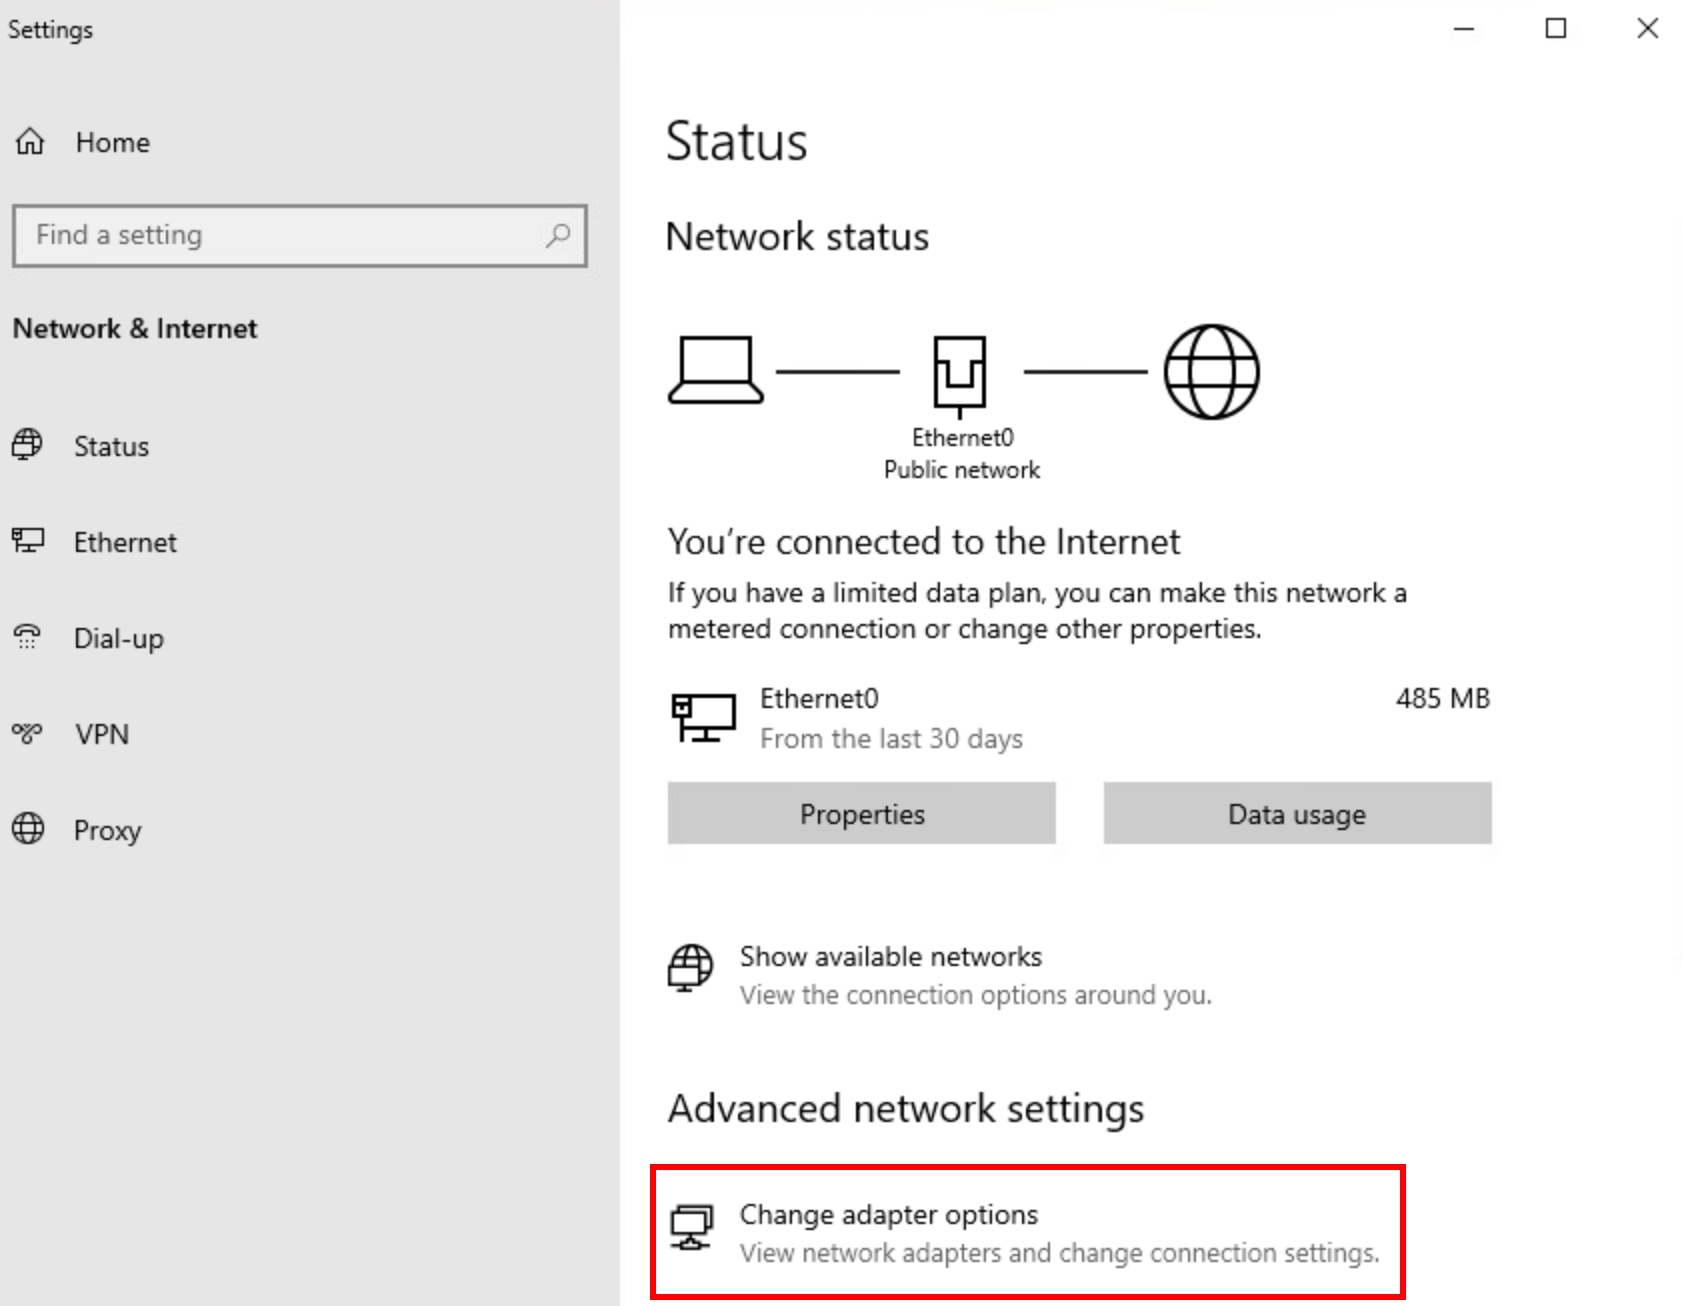
- On your taskbar, right-click the network icon, then click Open Network & Internet settings.
- Click Change adapter options.
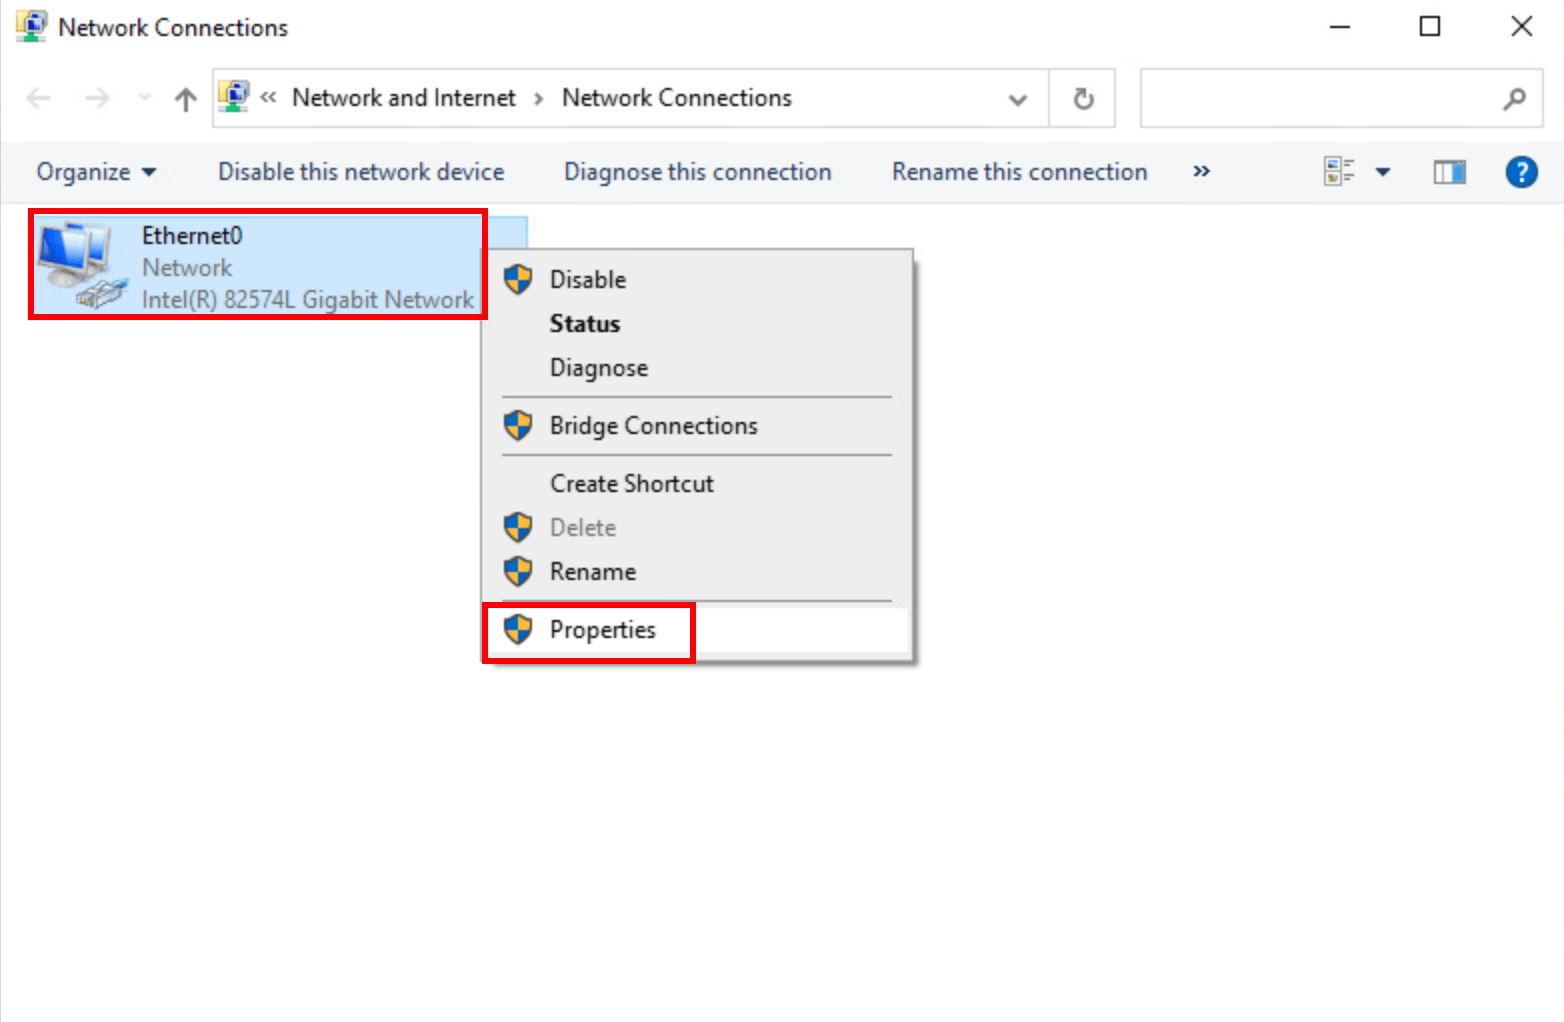
- Right-click the network you’re using, then click Properties.
- Select Internet Protocol Version 4 (TCP/IPv4), then click Properties.

- Select Use the following DNS server addresses, fill in the Google DNS server addresses as below, then click OK.
Preferred DNS server: 8.8.8.8
Alternate DNS server: 8.8.4.4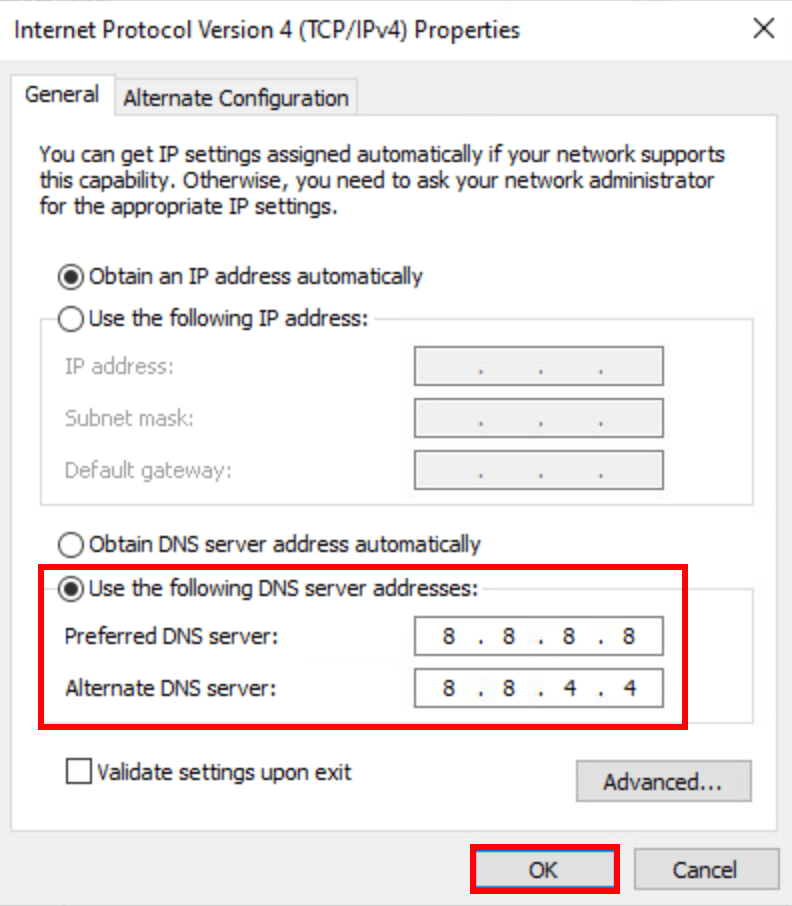
After applying the changes, launch your game and you should be able to connect.
4. Download and install all Windows updates
Keeping your Windows system up-to-date is crucial for smooth gameplay and system stability. Updates often include bug fixes, performance improvements, and enhanced security features, which might resolve the reconnect loop issue. Here’s how to check for updates:
on Windows 11
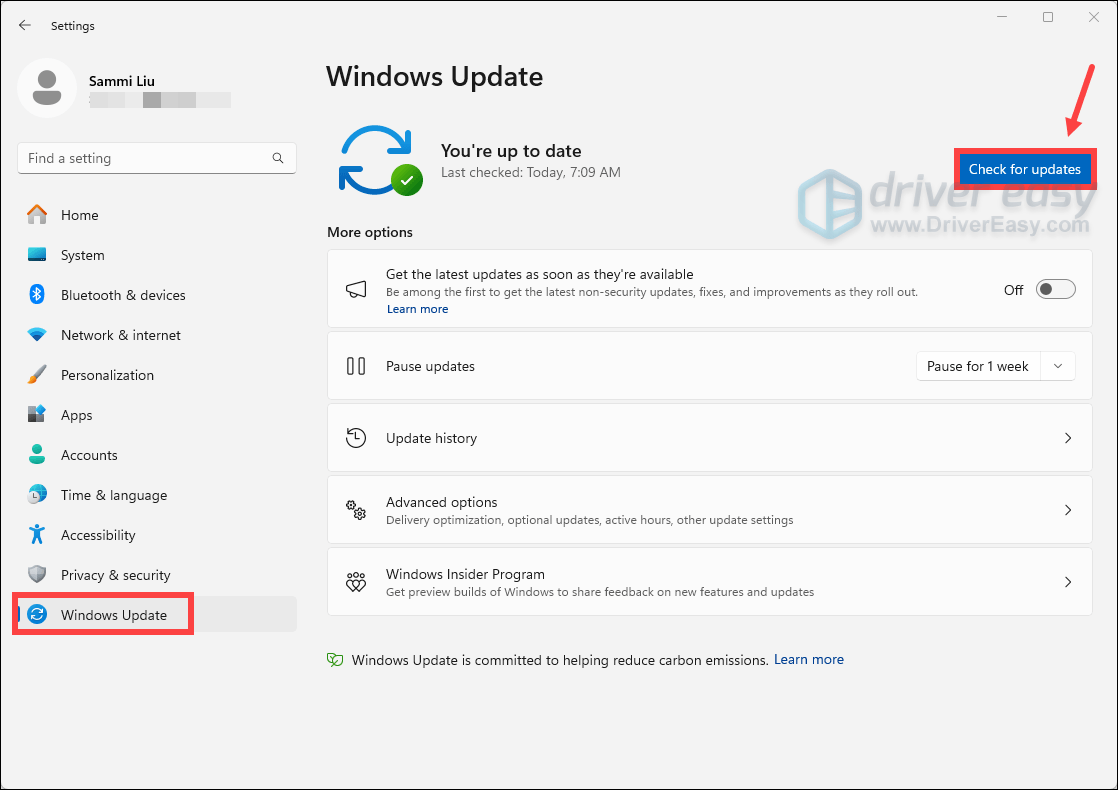
- Press the Windows logo key + I on your keyboard to open the Windows Settings app.
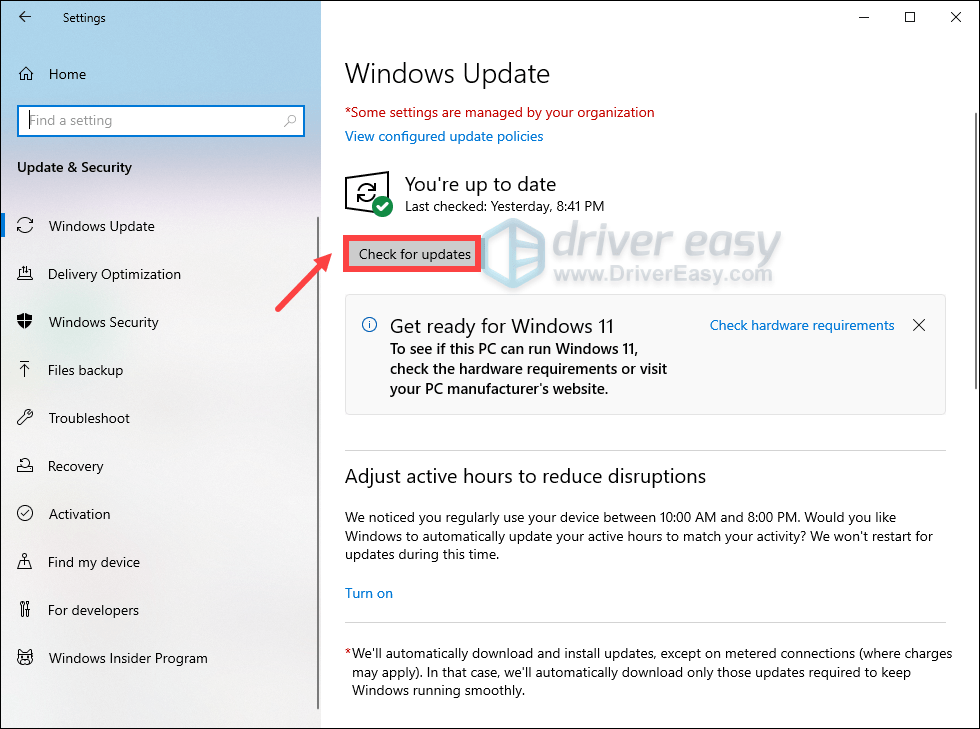
- Select Windows Update from the left pane. Then click Check for updates.
Windows will scan for any available updates. If updates are found, they’ll be downloaded and installed automatically. This process may take some time, depending on the size of the updates.
- Repeat these steps until you see the message You’re up to date, ensuring that all updates have been installed.
- Restart your computer to apply the changes.
After updating Windows, launch League of Legends again to check if the reconnect loop issue is resolved.
on Windows 10
- Press the Windows logo key + I on your keyboard to open the Windows Settings app.
- Select Update & Security.

- Click Check for updates.
Windows will scan for any available updates. If updates are found, they’ll be downloaded and installed automatically. This process may take some time, depending on the size of the updates.
- Repeat these steps until you see the message You’re up to date, ensuring that all updates have been installed.
- Restart your computer to apply the changes.
After updating Windows, launch League of Legends again to check if the reconnect loop issue is resolved.
5. Remove Citrix Workspace
Citrix Workspace is known to have conflicts with certain games and game launchers, and according to some community gamers, Citrix Workspace was the culprit to the reconnect loop issue on their computers.
So if you see concentr.exe, Receiver.exe, redirector.exe, SelfServicePlugin.exe, UpdaterService.exe, wfcrun32.exe, or appprotection.exe in Task Manager’s Processes, Citrix may be causing this issue, and you can remove it to fix the problem:
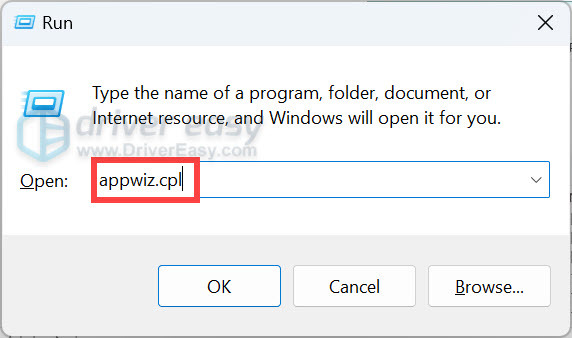
- On your keyboard, press the Windows logo + R keys at the same time to open the Run dialog box. Type appwiz.cpl and hit Enter.
- Find the publisher Citrix or ICA Client. Right-click it and select Uninstall.
- Restart your computer afterward.
If your Citrix Workspace can’t be uninstalled in this way, please try the following instead:
- On your keyboard, press the Windows logo key and R at the same time to open the Run dialog box. Type cmd and press Enter.
- Copy and paste this command
CitrixWorkspaceApp.exe /uninstalland hit Enter.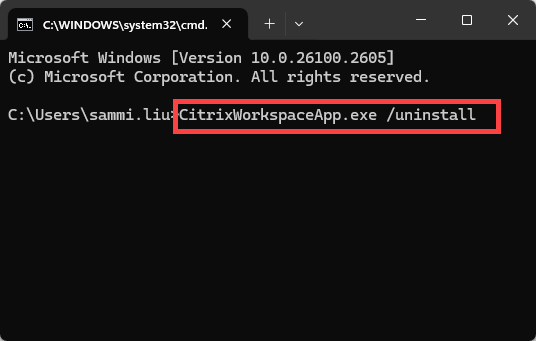
Run League of Legends again to see if the reconnect loop problem is sorted.
6. Ensure no security software is interfering with your game
There might be conflicts between your security software and League of Legends. To prevent this from happening, you can add the Riot-realated directories to the exclusion list.
- On your keyboard, press the Windows key + I to open the Windows Settings app.
- Select Privacy and security > Virus and threat protection.
- Select Manage settings.
- Under Exclusionsb, select Add or remove exclusions.
- Select Add an exclusion, then add these locations:
C:\Program Files\Riot Vanguard\
C:\Riot Games\Riot Client\
C:\Riot Games\League of Legends\
7. Disable debug memory dump
Windows’ debugging default settings allow the system to create a file that stores memory information when your system encounters a crash or error. The file, called a memory dump, can be useful for developers and technicians to diagnose problems with the system or a specific program. However, in some cases, the settings for creating these memory dumps can interfere with certain applications, including games like League of Legends, potentially causing issues like the Reconnect Loop.
To disable these settings:
- On your keyboard, press the Windows key + R to open the Run dialog box.
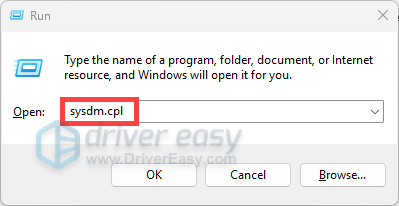
- Type sysdm.cpl and press Enter to open the System Properties window.
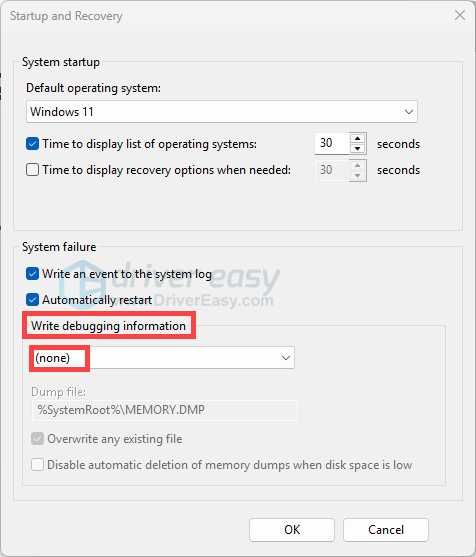
- Select the Advanced tab at the top of the window. Under Startup and Recovery, click on the Settings button.

- In the Startup and Recovery window, look for the section called Write dubugging information. Click on the dropdown menu next to this option and select none. Then click OK and restart your computer. This will disable Windows from writing any debugging information.
If you’ve tried all of these solutions but are still having this problem, using a VPN may get you back in the game.
- NordVPN (30-day money-back guarantee)
Hopefully this post helped you solve your problems. If you have any questions or suggestions, feel free to leave us a comment below.