After upgrading to Windows 10 or performing a Windows Update in Windows 10, if your Synaptics TouchPad will not scroll, you can tell it is caused by faulty touchpad drivers. To get it work again, follow below methods.
Method 1: Install a Lower Version Driver
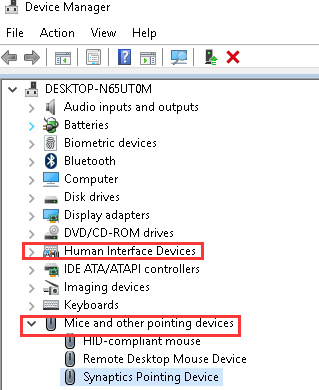
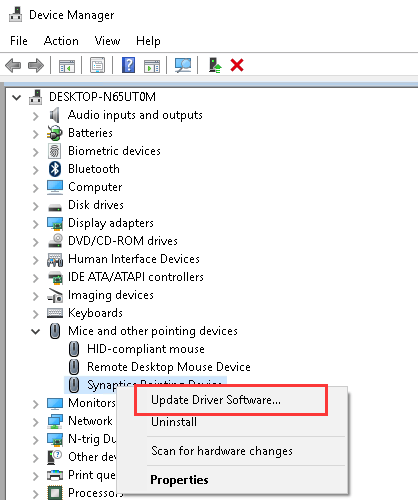
Firstly, go to Device Manager to locate the Synaptics touchpad device. The TouchPad device may list under category “Mice or other pointing devices” or “Human Interface Devices“.
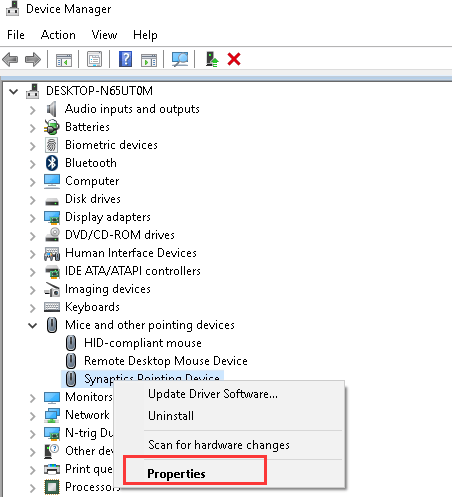
1) Right-click on the Synaptics touchpad device and select Properties.
2) Navigate to “Driver” tab and check for the Driver Version.
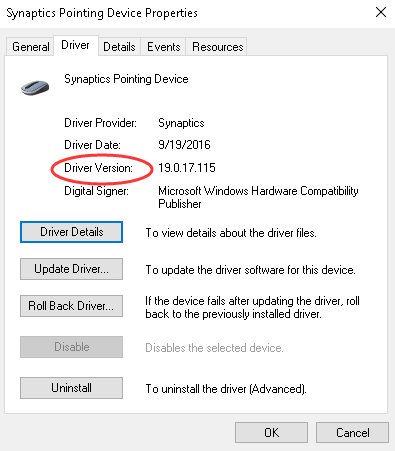
3) If you see version starting with 19 installed on your computer, go to your PC manufacturer’s website to download a lower version starting with 18. Version 18 always is for Windows 8.1 or Windows 8. So check for the drivers for Windows 8.1 or Windows 8.
After downloading the driver, install the driver by just double-clicking the setup file. If the driver can’t be installed successfully, you may need to install the driver manually. Refer steps below to install the driver manually.
1) Extract the downloaded setup file to a specific location.
2) Right-click on the device and select Update Driver Software…
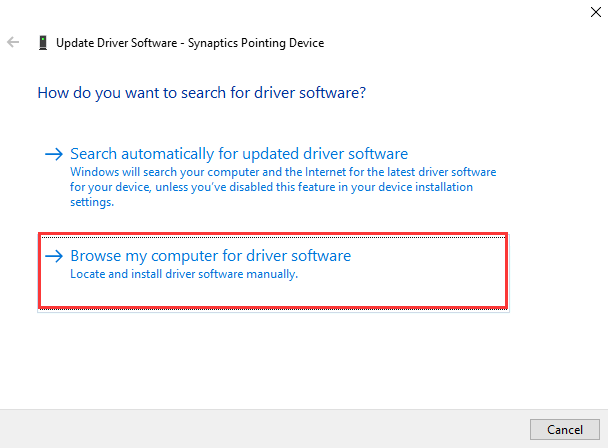
3) Select Browse my computer for driver software.
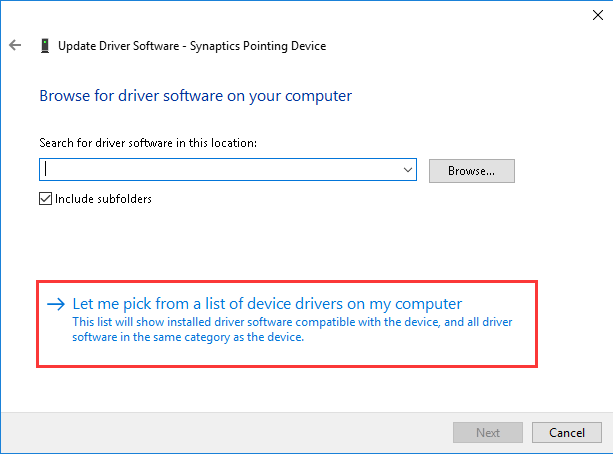
4) Select Let me pick from a list of device drivers on my computer.
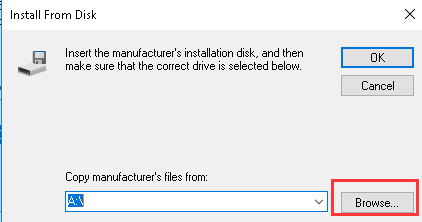
5) Click Have Disk…
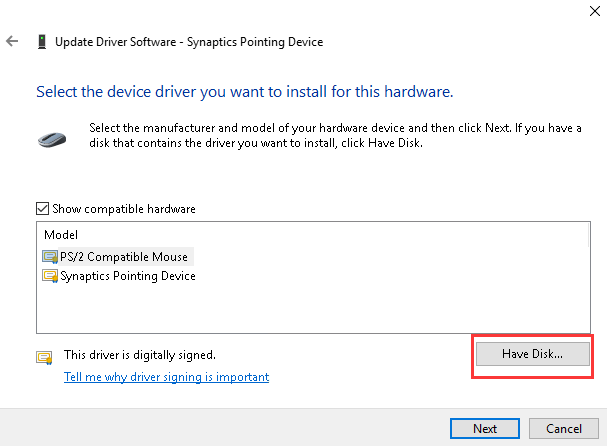
6) Click Browse to navigate to the folder where you extracted the setup file to choose the “.inf” file, which would be selected automatically. Then follow the on-screen instructions to install the driver.
Note after installing the lower version driver, you will need to turn off automatic Windows Update so Windows 10 won’t automatically update the driver to a newer version.
Method 2: Update the Driver
Go to your notebook manufacturer’s website and download the latest Windows 10 touchpad driver.
If you can’t find the driver from notebook manufacturer, go to Synaptics to download the latest generic driver for Windows 10.
If you’re not confident playing around with drivers manually, you can do it automatically with Driver Easy.
Driver Easy will automatically recognize your system and find the correct drivers for it. You don’t need to know exactly what system your computer is running, you don’t need to risk downloading and installing the wrong driver, and you don’t need to worry about making a mistake when installing.
You can update your drivers automatically with either the FREE or the Pro version of Driver Easy. But with the Pro version it takes just 2 clicks (and you get full support and a 30-day money back guarantee):
1) Download and install Driver Easy.
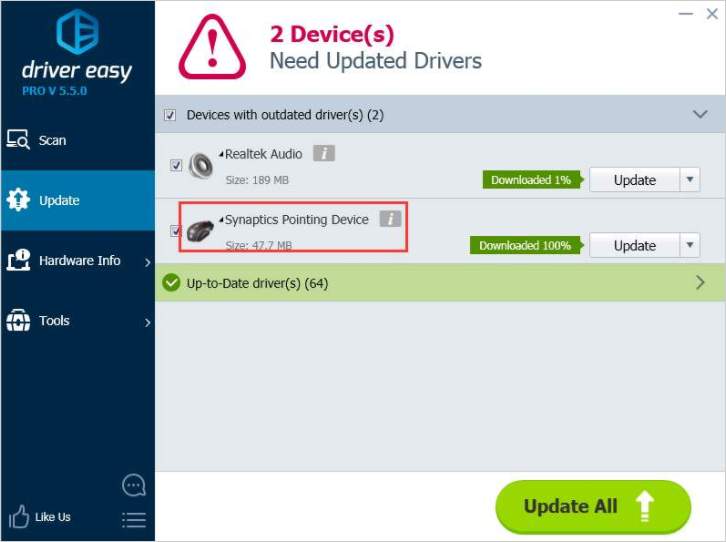
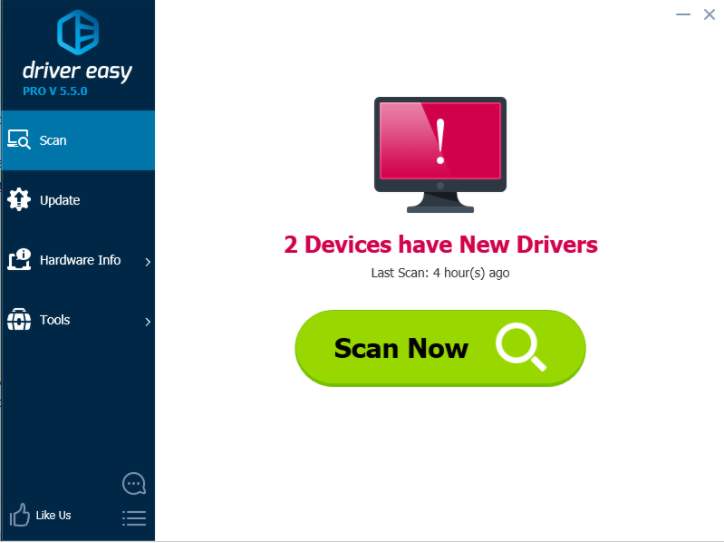
2) Run Driver Easy and click Scan Now. Driver Easy will then scan your computer and detect any problem drivers.
3) Click the Update button next to a flagged Synaptics driver to automatically download and install the correct version of this driver (you can do this with the FREE version). Or click Update All to automatically download and install the correct version of all the drivers that are missing or out of date on your system (this requires the Pro version – you’ll be prompted to upgrade when you click Update All).