


Many users don’t stop at dual monitors and go further to triple-monitor setup. Either for entertainment or work efficiency, anyway, it’s just…awesome, and something that can “expand your horizon” and multiply your joy. But, wait…why is the third monitor not detected? Don’t worry. In this post, we’ll show you how to fix it.
Try these fixes
- Change your project mode
- Check Multiple Monitors settings
- Disable your graphics card
- Update your graphics driver
- Rollback your graphics driver
- Repair your PC
Fix 1: Change your project mode
Sometimes your third monitor not detected can be simply solved by changing project mode. You can run quick troubleshooting by following the steps below:
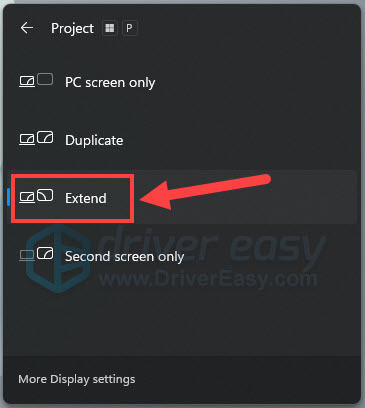
- Press the Windows logo key and the P key at the same time. Then select PC screen only.

- Disconnect all the external monitors (unplug the cables) and power off your computer.
- Reconnect all the monitors and power on your computer.
- Press the Windows logo key and the P key again. And click Extend.
- See if your third monitor is working now. If not, move on to the next fix below.
Fix 2: Check Multiple Monitors settings
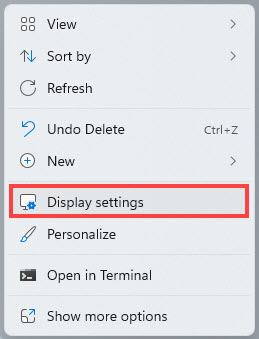
- Right-click your desktop and select Display settings (Windows 11, 10) or Screen resolution (older versions).
- Here you can confirm if all of your displays are detected. If not, click on the Multiple displays section and select Detect.
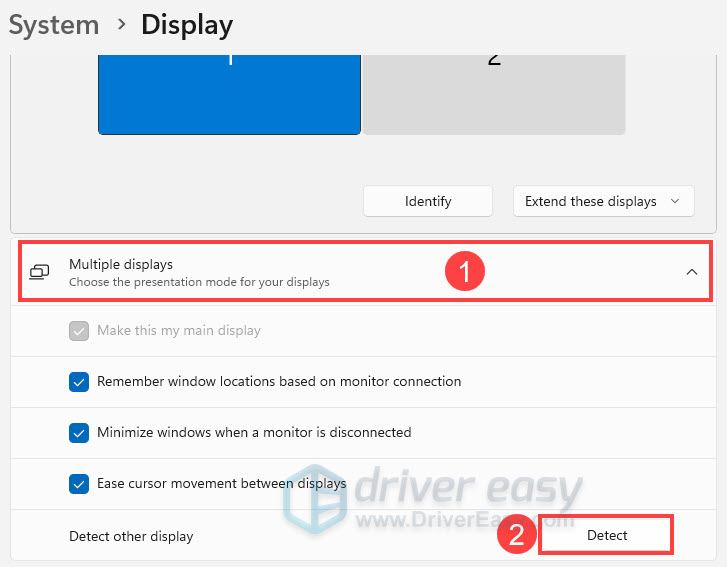
- If yes, drag the three monitors to match your display configuration. (You can click Identify if you don’t know which screen is which.)
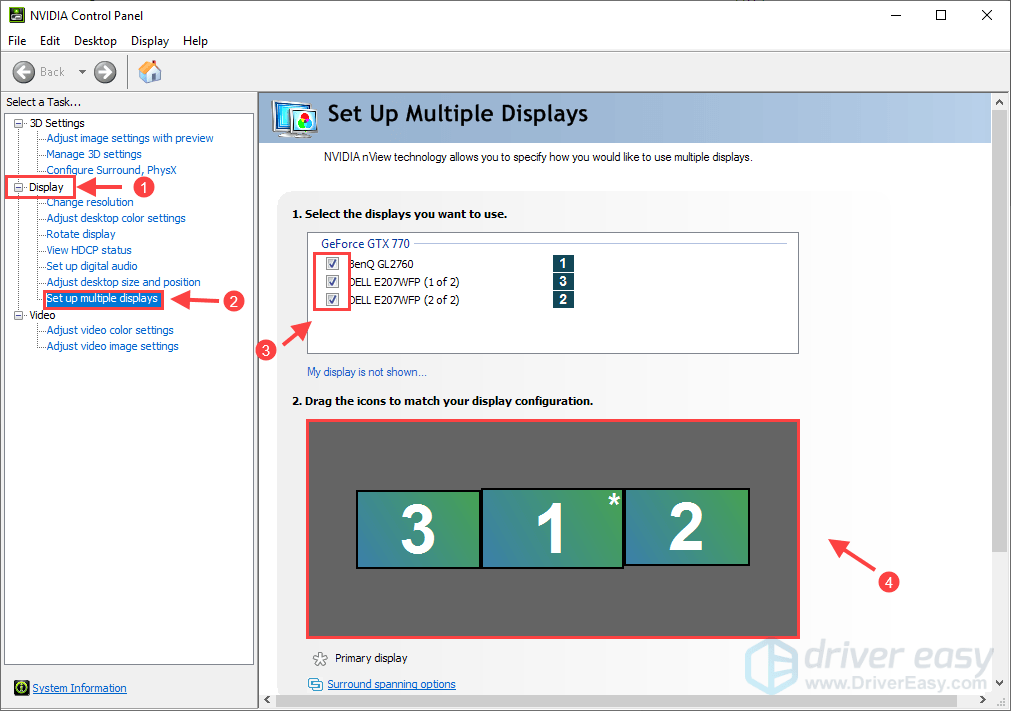
- Alternatively, you can right-click on your desktop and select NVIDIA Control Panel to double-check your settings.
- Go to Display > Set up multiple displays, and make sure you’ve checked all the displays. You can also drag the icons here.
If your 3rd monitor remains not detected after basic troubleshooting, the culprit might be your graphics drivers. You can try the next fix below.
Fix 3: Disable your graphics card
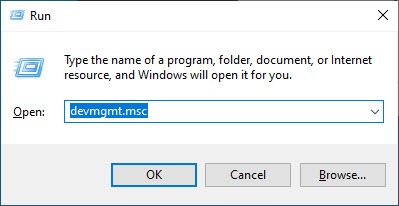
- On your keyboard, press the Windows logo key and the R key (Win+R) to open the Run command window. Then enter devmgmt.msc in the box and hit Enter.
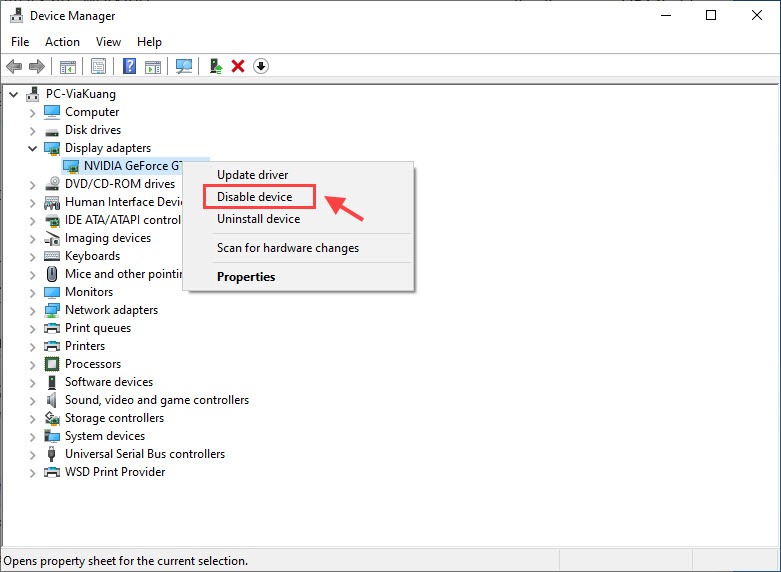
- Expand Display adapters. Right-click your graphics card driver and select Disable device.
- Wait for about 5 seconds for the device to be disabled.
- Right-click the graphics driver again and select Enable device.
- Your third monitor should be detected right now.
If it doesn’t work for you this way, you can just disable your Intel card and let NVIDIA or AMD card driver do the job. Then reconnect your third monitor to check if it’s working now.
Fix 4: Update your graphics driver
Graphics card manufacturers such as NVIDIA and AMD keep releasing new drivers to fix known bugs and improve overall performance. Outdated graphics cards are known to have issues on three monitor setups, so make sure you have the latest correct graphics driver installed.
To update your graphics driver, you always have 2 options – Manually or Automatically.
Option 1 – Manually
To update your graphics driver manually, you need to visit the manufacturer’s official website to download the exact driver for your device and install it manually.
Method 1: Update your graphics driver via Device Manager
- Open Device Manager.
- Expand Display adapters and right-click your graphics card.
- Select Update driver > Search automatically for updated driver software.
- Windows will find the latest driver and install it for you automatically.
However, Windows cannot always find the latest driver for you, so you can head to the manufacturer’s website to download the latest driver and manually install it or do it automatically in Option 2.
Method 2: Download the driver from the manufacturer’s website
- Head to the official website of the manufacturer and download the latest driver.
- For NVIDIA: Go to NVIDIA Official Website: NVIDIA Driver Downloads
- For AMD: Go to AMD Official Website: AMD Drivers and Support
- Double click the downloaded driver file and follow the on-screen instructions to finish the install.
- Restart your computer for the changes to take effect.
Option 2 – Automatically
If you don’t have the time, patience or computer skills to update the graphics driver manually, you can do it automatically with Driver Easy.
Driver Easy will automatically recognize your system and find the correct drivers for it. You don’t need to know exactly what system your computer is running, you don’t need to risk downloading and installing the wrong driver, and you don’t need to worry about making a mistake when installing.
Here’s a step-by-step guide to automatically updating your graphics driver with Driver Easy:
- Download and install Driver Easy.
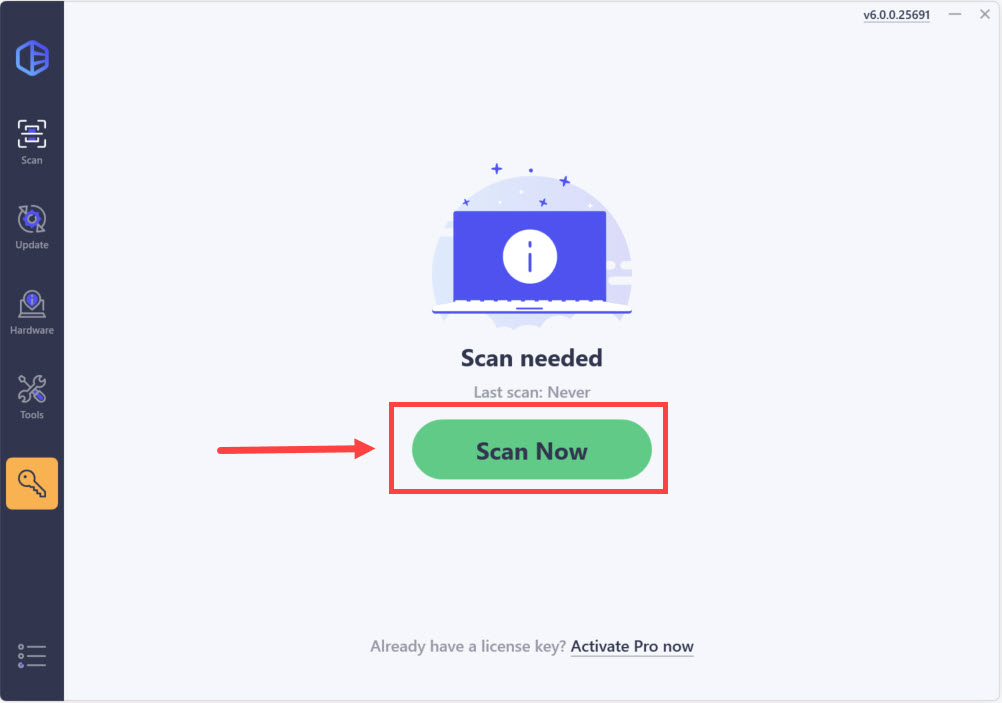
- Run Driver Easy and click the Scan Now button. Driver Easy will then scan your computer and detect any problem drivers.
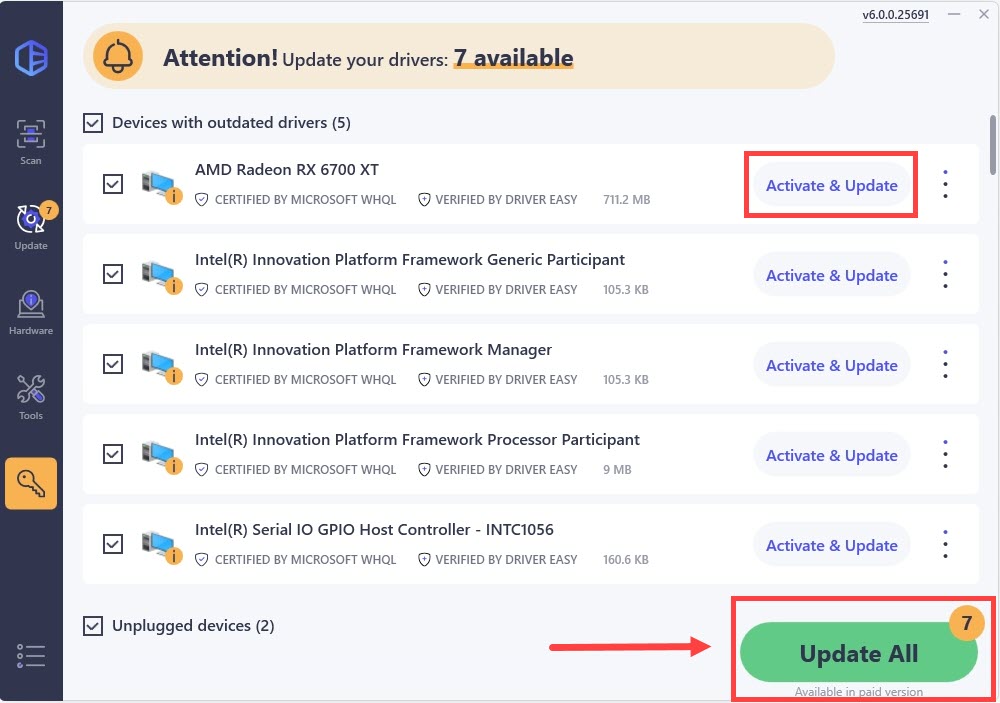
- Click Update All to automatically download and install the correct version of all the drivers that are missing or out of date on your system. (This requires the Pro version – you’ll be prompted to upgrade when you click Update All. If you’re not ready to buy the Pro version, Driver Easy offers a 7-day free trial which includes access to all the Pro features such as high-speed download and one-click install. You won’t be charged until the trial ends.)
- Restart your computer for the changes to take effect.
- Check if your third monitor can be detected now.
Fix 5: Rollback your graphics driver
If re-enabling your graphics driver failed to work, then the graphics driver may be at fault. You can roll back the graphics driver if you’ve made any changes recently. Sometimes the latest drivers don’t work properly. But if you didn’t perform any updates lately, you can skip to Fix 5 to update your graphics driver instead.
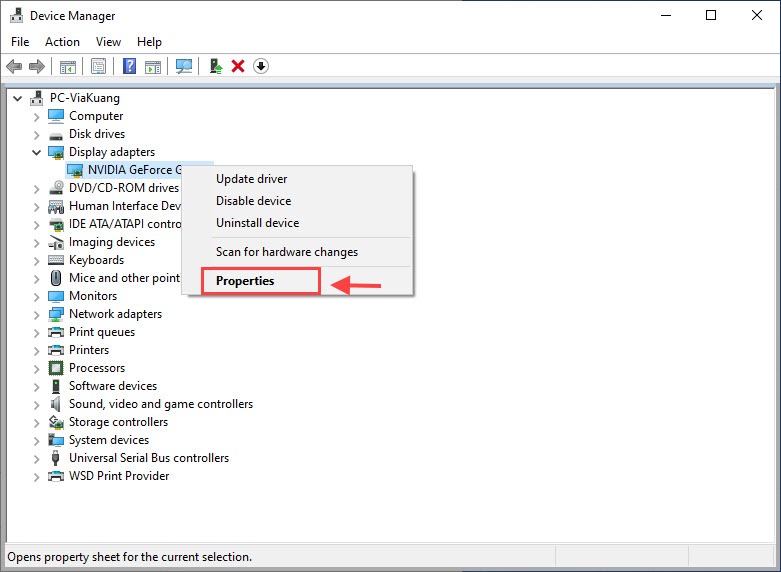
- Open Device Manager.
- Expand the Display adapters, right-click your graphics driver, and select Properties.
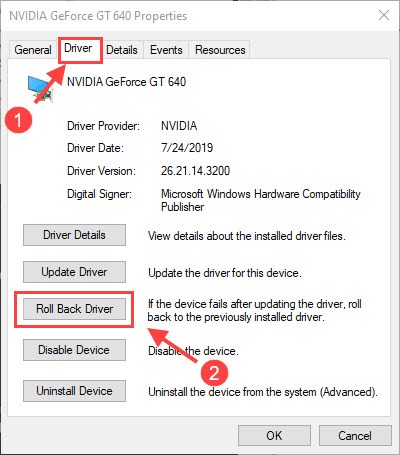
- Go to the Driver tab and click Roll Back Driver, then follow the on-screen instructions to complete.
- Restart your computer for the changes to take effect.
Note: If the Roll Back Driver option is grayed out, it means there is no driver version that Windows can roll back to. This doesn’t mean it’s impossible to roll back the driver, just that you won’t be able to do it from the built-in option. You can download a previous graphics driver from the manufacturer’s website for your graphics card and install it manually, or try the following fix.
Fix 6. Repair your PC
It’s very likely that there’re some issues with your system that are hard to detect. The most common issues are corrupt, damaged, or missing system files. To check if your system is in good condition, you can use System File Checker, a built-in tool to run a scan and automatic repair.
Step 1. Scan corrupt files with System File Checker
System File Checker (SFC) is a Windows built-in tool to identify and repair corrupted system files.
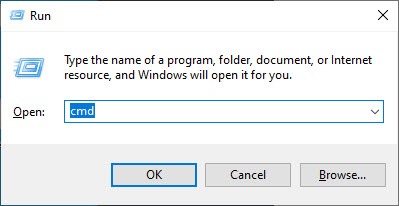
1) On your keyboard, press the Windows logo key and R at the same time to open the Run box. Type cmd and press Ctrl+Shift+Enter to run Command Prompt as administrator.
Click Yes when prompted for permission to make changes to your device.
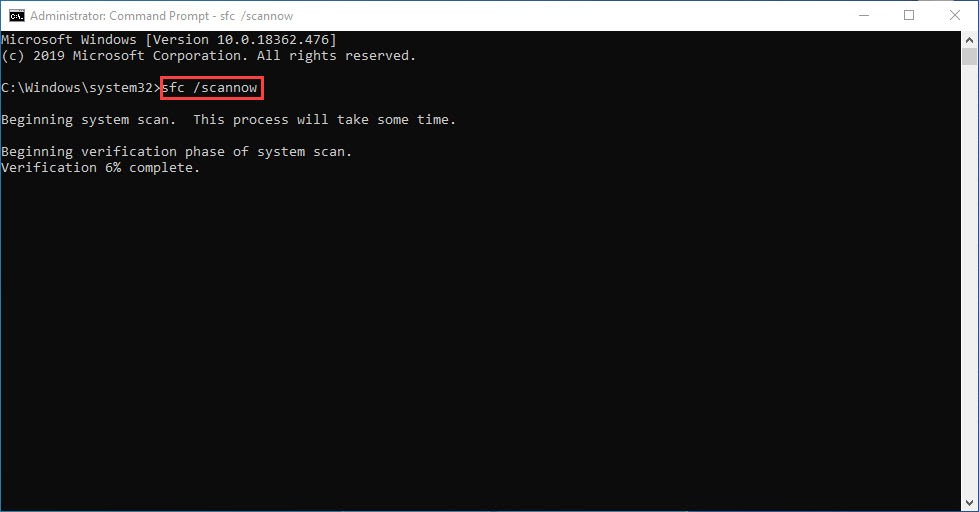
2) In the Command Prompt, type the following command and hit Enter.
sfc /scannow
3) System File Check will begin to scan all system files and repair any corrupted or missing ones it detected. This may take 3-5 minutes.
4) You may receive something like the following messages after the verification.
- no errors
- it fixed some errors
- could not fix all errors
- could not fix errors at all
- ……
No matter what message you receive, you can try running dism.exe (Deployment Image Servicing and Management) to further scan the health of your PC.
Step 2. Run dism.exe
1) Run Command Prompt as admin and enter the following commands.
- This command line will scan the health of your PC:
dism.exe /online /cleanup-image /scanhealth
- This command line will restore the health of your PC:
dism.exe /online /cleanup-image /restorehealth
2) After the restore health process finishes, you may get some error messages.
- If restore heath gave you errors, you can always try this command line. This will take up to 2 hours.
dism /online /cleanup-image /startcomponentcleanup
- If you get Error: 0x800F081F with the restore health scan, reboot your PC and run this command line.
Dism.exe /Online /Cleanup-Image /AnalyzeComponentStore
Restart your PC after repairing the corrupt files, and check if the issue still persists. If everything works out just fine, then congrats!
Good to go?
If the fixes above don’t work for you, contact your computer or motherboard manufacturer or google your graphics model + 3 monitors. Determine if your model supports three displays and what configurations are required.
Also, check the ports on your laptop, for the monitors should have the corresponding ports as well. Otherwise, you will need to buy an extra adapter, such as a DVI to HDMI adapter or HDMI to DVI to have them match.