


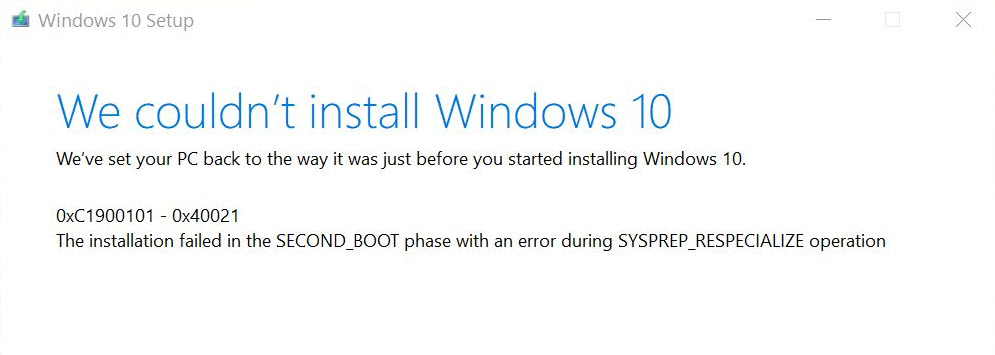
When you updating to Windows 10 version 2004, it’s annoying to have the Conexant driver block your way. Microsoft says they’re working on a fix, but except for waiting, there’re some fixes you can try to solve the issue.
Try these fixes:
You don’t have to try them all; just work your way down the list until you find the one that works for you.
- Disable automatic driver updates
- Uninstall Conexant audio driver
- Update Conexant audio driver
- Edit Local Group Policy
Fix 1: Disable automatic driver updates
Conexant is older and incompatible with the Windows 10 default drivers, so this fix aims to block its automatic driver update to let your update the Windows 10 new version.
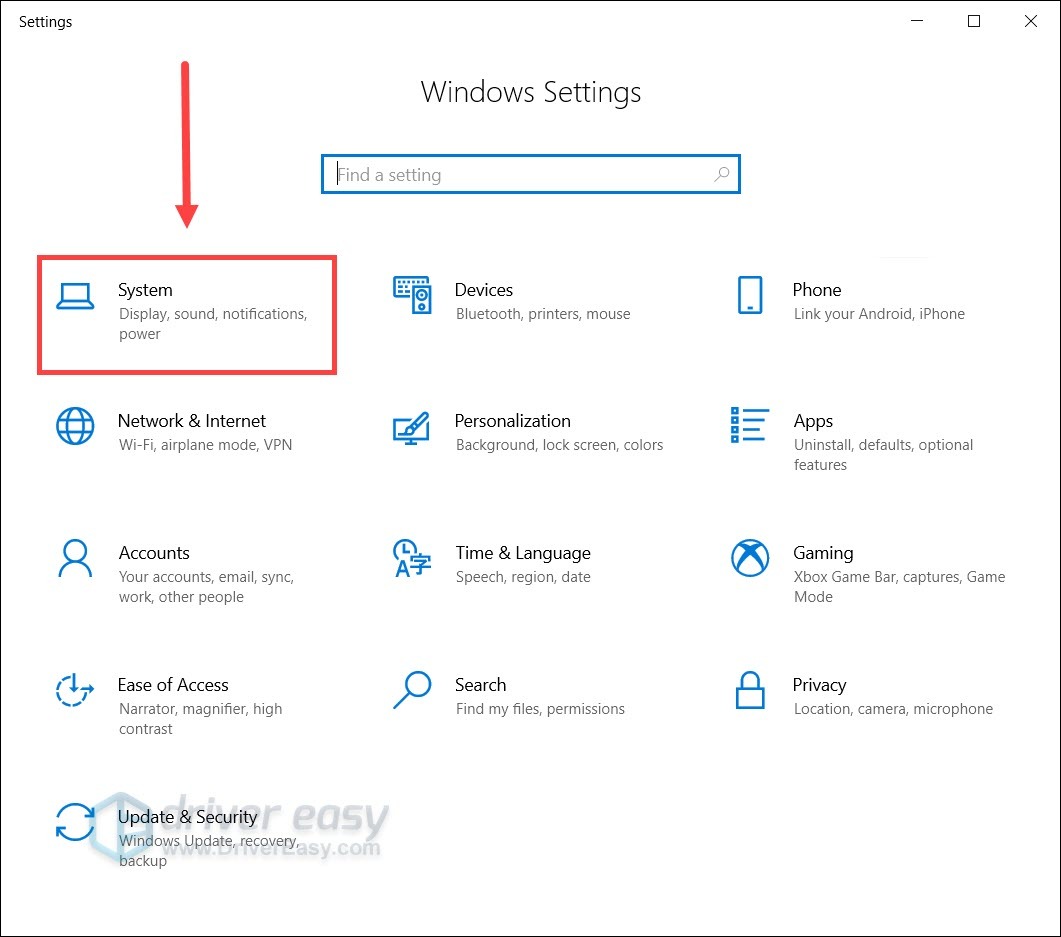
- Press the Windows logo key + I together to open Windows Settings.
- Click System.
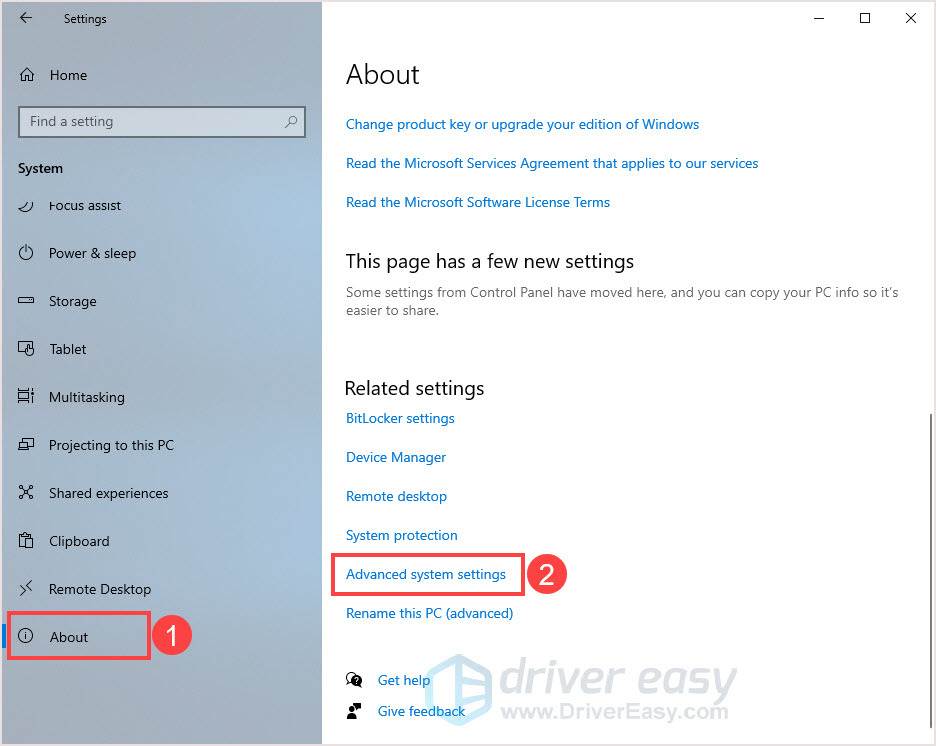
- In the left panel, scroll down to find About, then click it.
- Scroll down and click Advanced system settings.
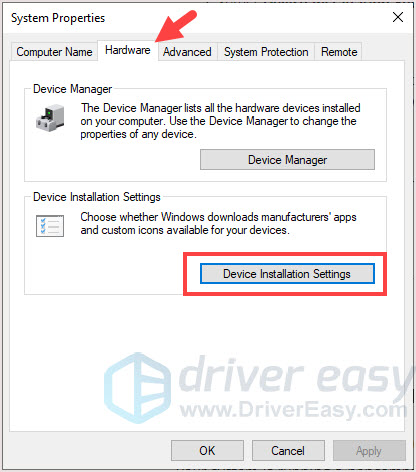
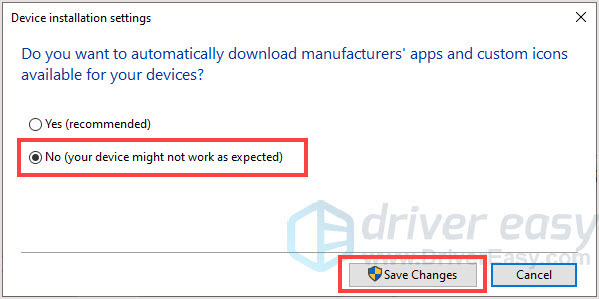
- In the Hardware tab, click Device Installation Settings.
- Click No > Save Changes in the pop-up window.
- Try to update Windows.
If this fix doesn’t work, move to the next fix.
Fix 2: Uninstall Conexant audio driver
If you can’t block Conexant driver, disable it and uninstall it would be another choice.
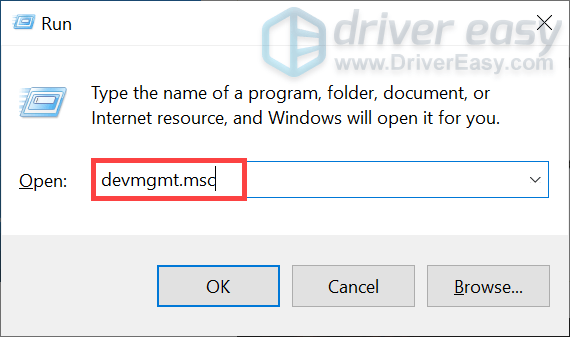
- Press the Windows logo key + R together to open the Run box.
- Type devmgmt.msc and press Enter.
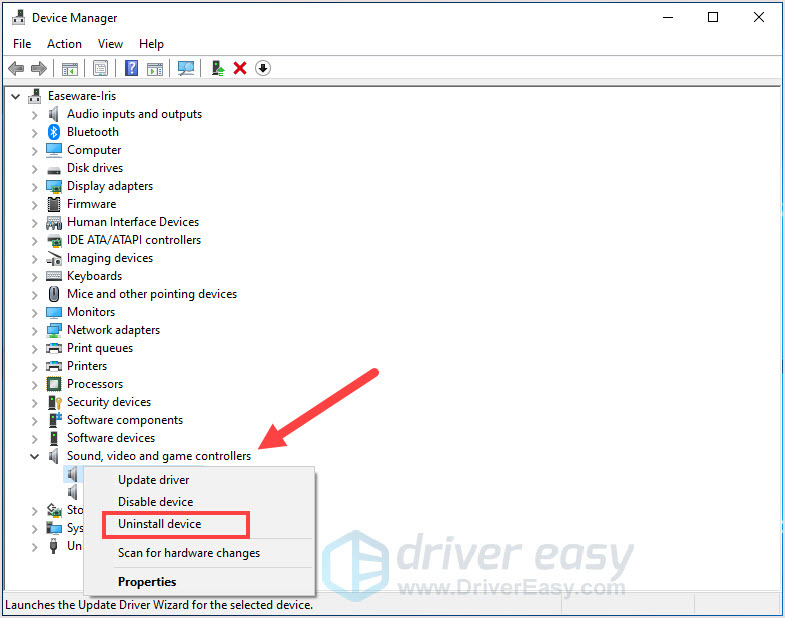
- Click Sound, video and game controllers.
- Right-click on Conexant and click Uninstall device.
- Follow the onscreen instructions to finish the process.
Reboot the computer and update Windows after the process. If it’s not working, move to the next fix.
Fix 3: Update Conexant audio driver
The blocker is mainly the Conexant audio driver, therefore install the correct Conexant driver could be the way to solve the issue.
There’re 3 ways to update the driver, you can choose the way you like.
1. Update through Device Manager
- Press the Windows logo key + R together to open the Run box.
- Type devmgmt.msc and press Enter.
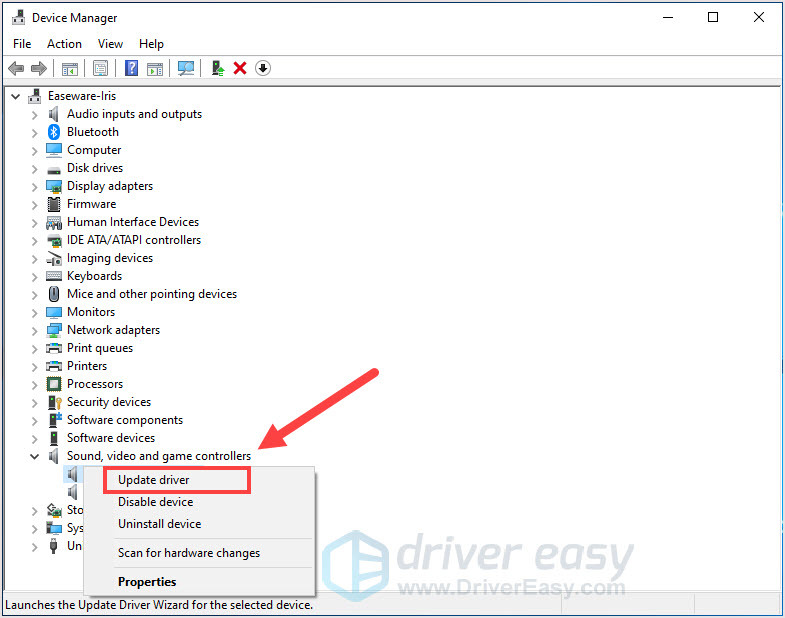
- Click Sound, video and game controllers.
- Right-click on Conexant and click Update driver.
- Click Search automatically for driver.
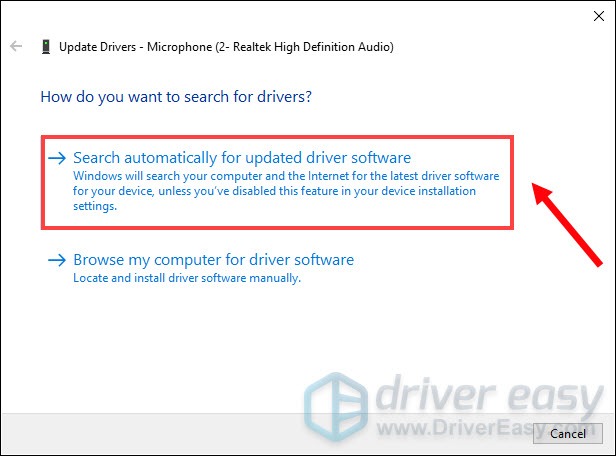
- Follow the onscreen instructions to finish the process.
2. Download from manufacturer
Going to the manufacturer would be the most reliable way to find the correct driver. Although Conexant doesn’t have an official website, you can download Conexant audio driver according to your computer.
For instance, for Lenovo PCs, you can download the driver from Lenovo support, then install it.
You’ll need some computer skills and patience to update your drivers this way because you need to find exactly the right driver online, download it and install it step by step.
3. Update automatically
If you don’t have time or patience to manually digging around on the internet to find the correct driver, you can use Driver Easy — a quick and easy option with just a couple of mouse clicks to do the work.
Driver Easy will automatically recognize your system and find the correct drivers for it. You don’t need to know exactly what system your computer is running, you don’t need to risk downloading and installing the wrong driver, and you don’t need to worry about making a mistake when installing.
- Download and install Driver Easy.
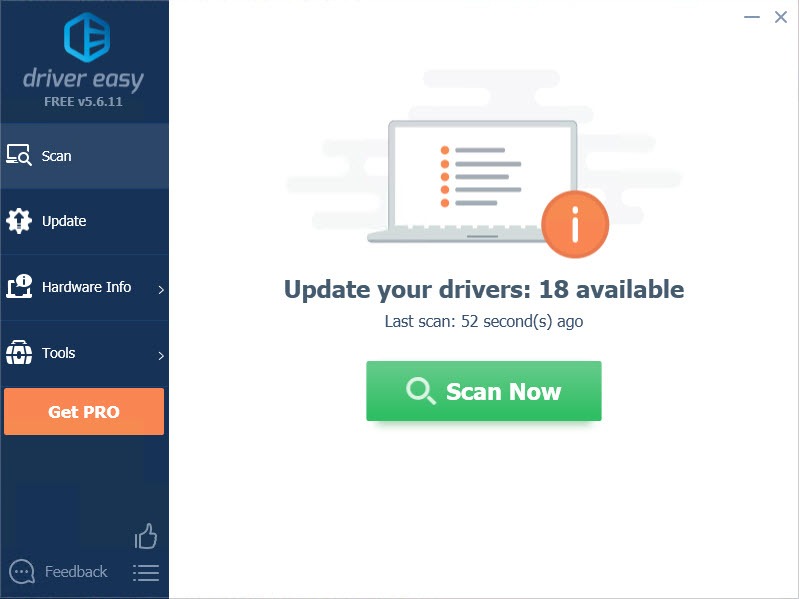
- Run Driver Easy and click the Scan Now button. Driver Easy will then scan your computer and detect any problem drivers.
- Click the Update button next to the flagged driver to automatically download the correct version of that driver, then you can manually install it (you can do this with the FREE version).
Or click Update All to automatically download and install the correct version of all the drivers that are missing or out of date on your system. (This requires the Pro version which comes with full support and a 30-day money back guarantee. You’ll be prompted to upgrade when you click Update All.)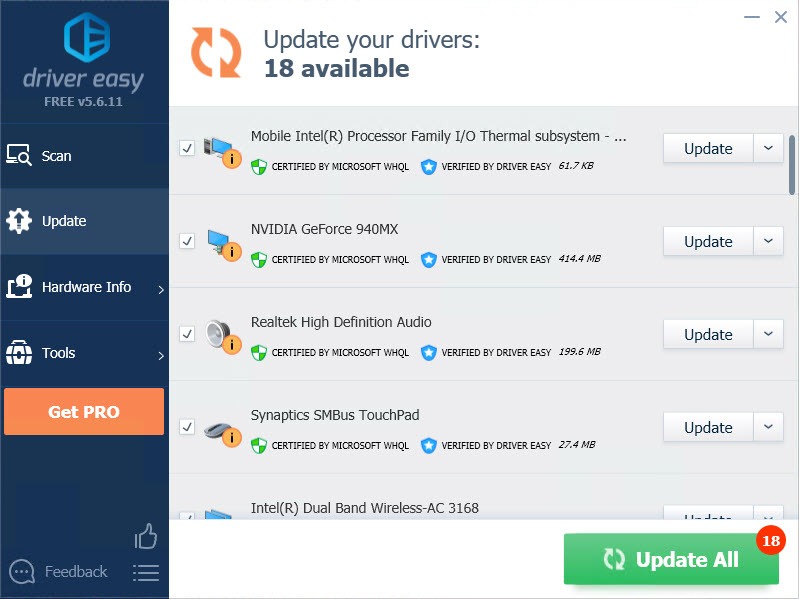
Fix 4: Edit Local Group Policy
By editing registry to disable the Windows driver installation has solve the issue for some users. But you’d better backup your files before doing this for potential risks.
- Press the Windows logo key + R together to open the Run box.
- Type devmgmt.msc and press Enter.
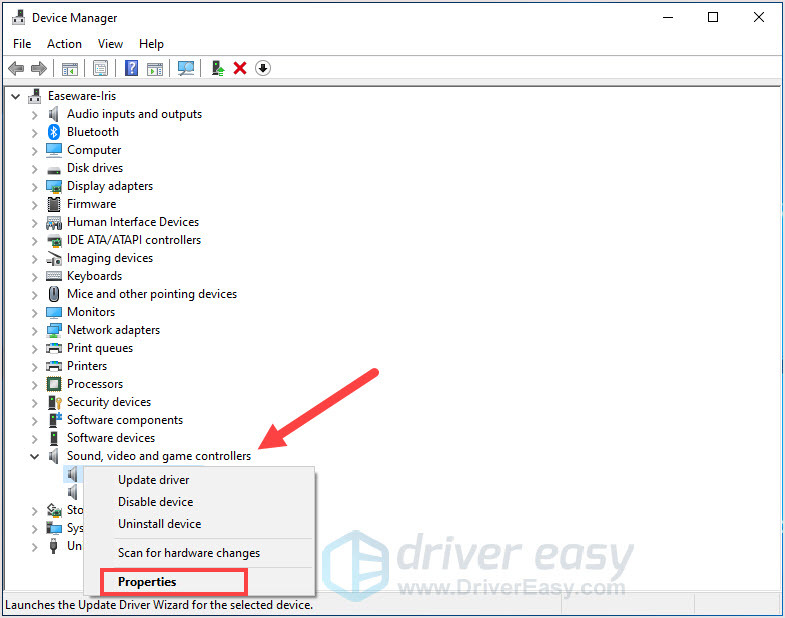
- Click Sound, video and game controllers.
- Right-click on Conexant and click Properties.
- In the Details tab, choose Hardware Ids under Property.
- You’ll see a list of hardware IDs, right-click the shorter one and click Copy. Then paste it somewhere you can get it easily.

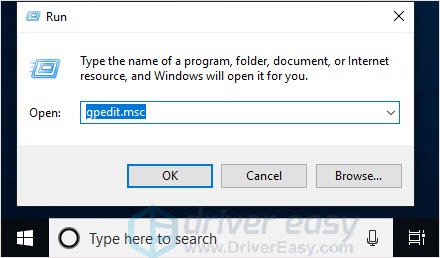
- Press the Windows logo key + R together to open the Run box.
- Type gpedit.msc and press Enter.
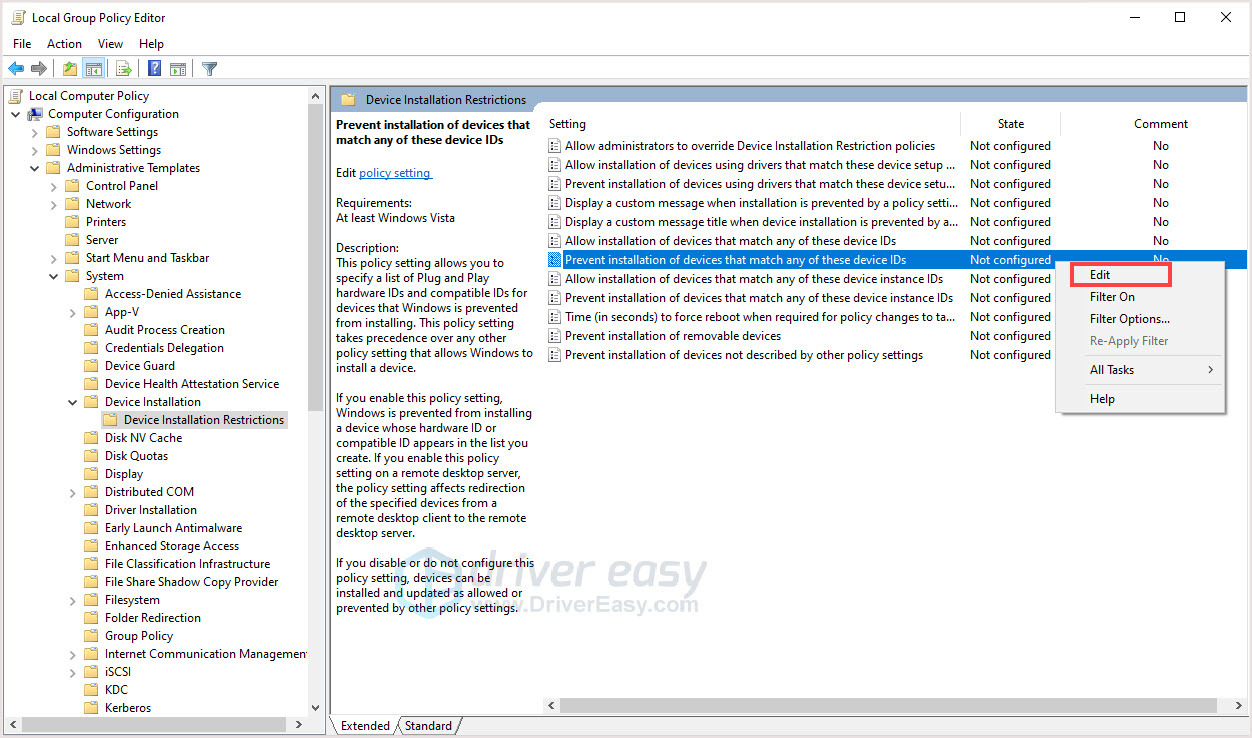
- Click Computer Configuration > Administrative Templates > System > Device Installation > Device Installation Restrictions.
- Right-click Prevent installation of devices that match any of these device IDs in the right panel and click Edit.
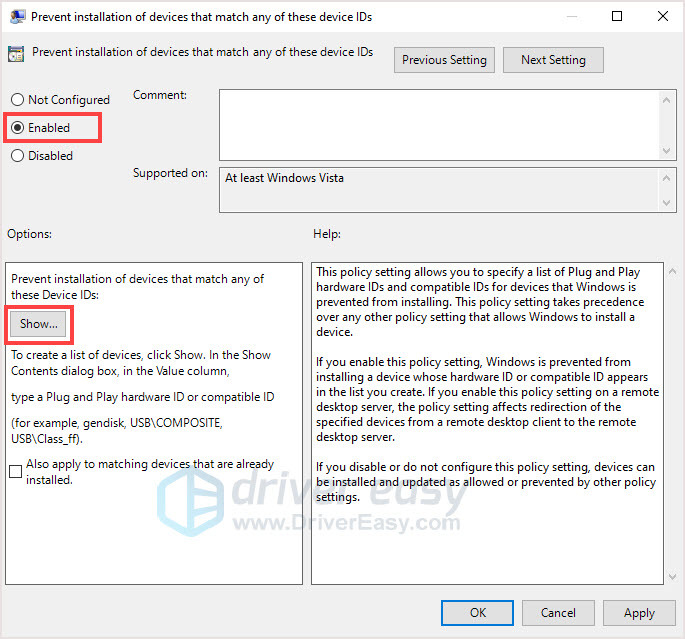
- Click Enable then click the Show… button.
- Paste the Hardware IDs you got from Step 6 in the blank space, then click OK.
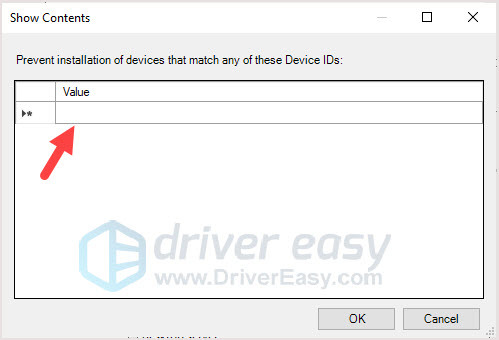
- Update Windows to check.
If you have any issue with the audio, such as it’s not working, you can always return to the previous driver version through the Device Manager.
That’s it, hope this post works for you guys. If you have any suggestions or other working fixes, you’re welcome to drop a comment below.