


The recent hotfix by Riot didn’t seem to fix the stuttering issue in Valorant, as many players still reported being bugged by this problem. But don’t worry if you happen to be one of them. Here’re some working fixes that could help solve or at least mitigate the stuttering.
Try these fixes
You might not need to try all the solutions. Simply work down the list until you find the one that gives you luck.
- Install all Windows updates
- Change your power plan
- Update your graphics driver
- Lower your mouse report rate
- Turn on VSync
- Empty Standby Memory
Fix 1: Install all Windows updates
While the ubiquitous Windows update prompts might be annoying to some, keeping the system up to date is actually saving your time by avoiding tons of compatibility issues. So when you’re troubleshooting game issues, it’s always recommended to check for system updates first.
Here’s how you can check for updates manually:
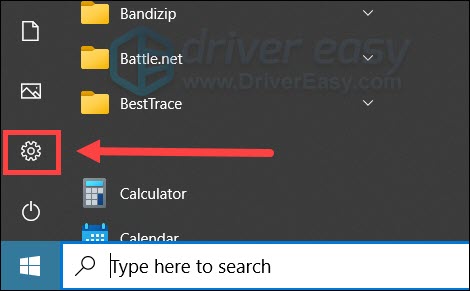
- On your keyboard, press Win (the Windows logo key). At the bottom left corner of your screen, click the gear icon to open Settings.
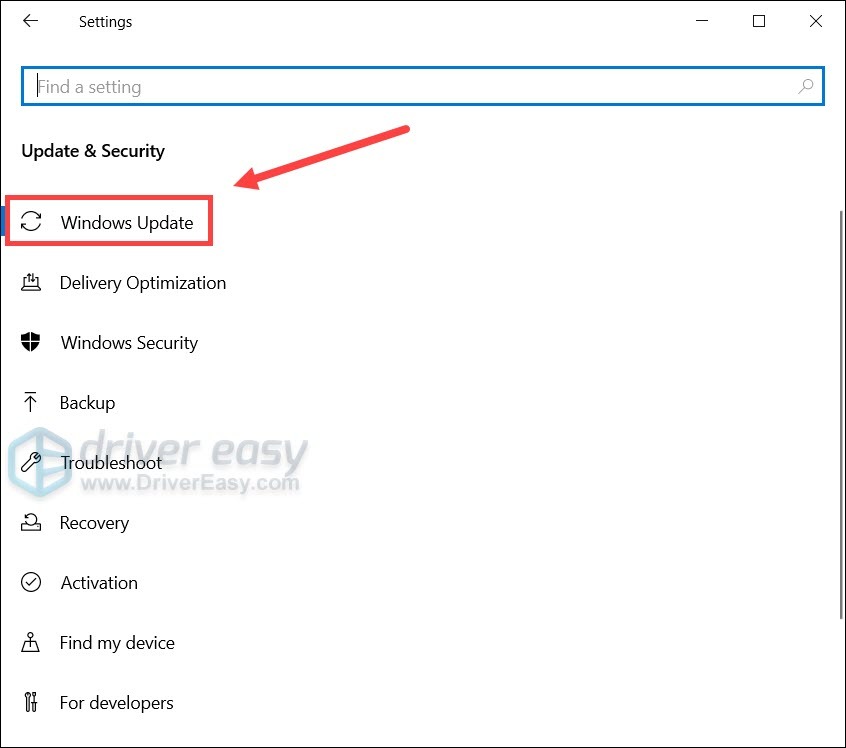
- Scroll down and select Update & Security.

- Click Windows Update.
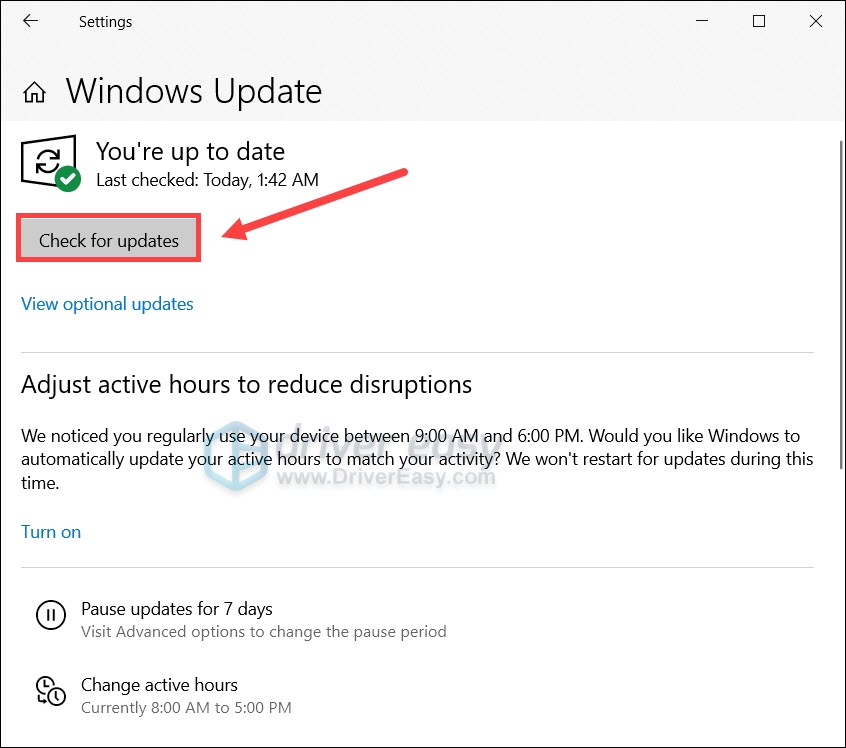
- Click Check for updates. Then wait for the process to complete. After that, restart your PC.
Once you’ve installed all the updates, do a reboot and check if the stuttering issue persists.
If this fix doesn’t help you, take a look at the next one below.
Fix 2: Change your power plan
In the recent build of Windows, users are able to unlock a new power plan called Ultimate Performance, which might to some extent improve gaming experience. If you’re willing to try this out, simply do the following:
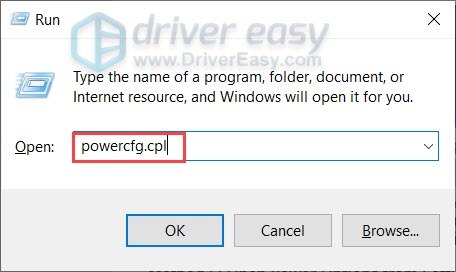
- On your keyboard, press Win+R (the Windows logo key and the r key) at the same time. Type or paste powercfg.cpl and press Enter.
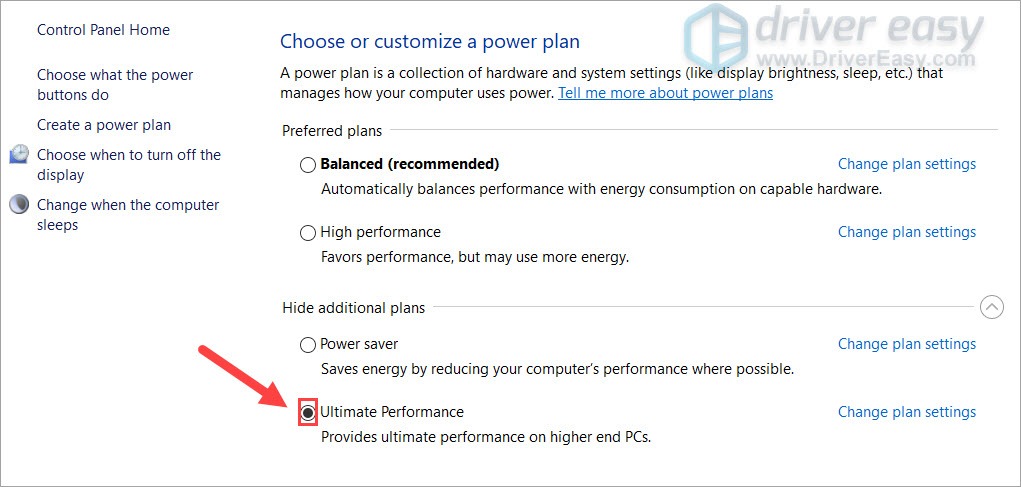
- Select Ultimate Performance. (If you don’t see this power plan, simply continue to the next step to unhide it.)
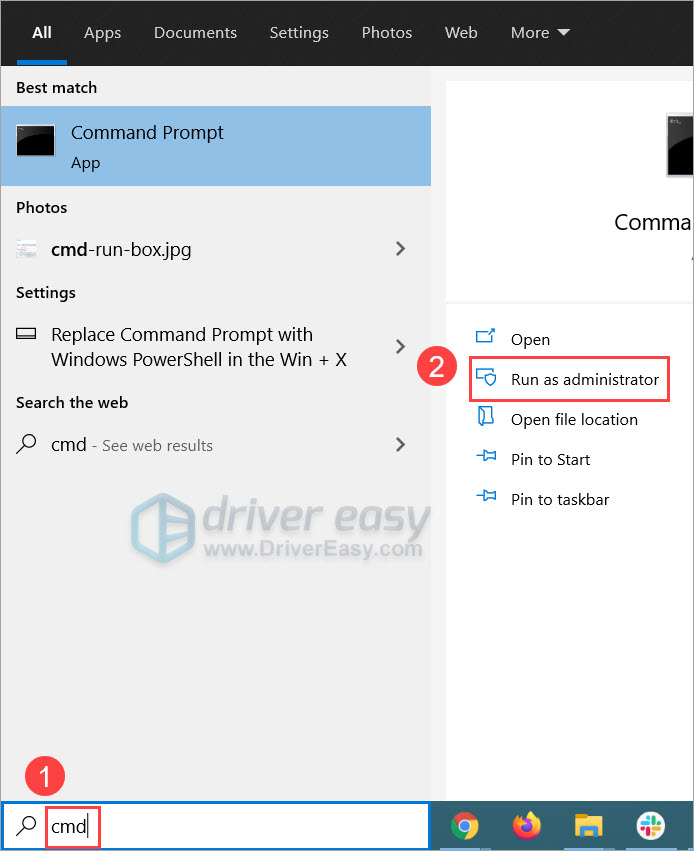
- On your keyboard, press Win (the Windows logo key) and type cmd. Select Run as Administrator.
- In the command prompt, type or paste the following command and press Enter.
powercfg -duplicatescheme e9a42b02-d5df-448d-aa00-03f14749eb61
If you see a prompt similar to this, return to step 2 to enable the Ultimate Performance power plan.
Now you test the gameplay in Valorant and check for improvements.
If this trick doesn’t do the trick for you, simply try the next one.
Fix 3: Update your graphics driver
GPU drivers are essential to your gaming rig and should be kept up to date. The latest graphics driver ensures your graphics card works as intended and helps avoid encountering issues in PC games. So if you don’t remember when was the last time you updated your drivers, definitely do it now.
There’re mainly 2 ways you can update your graphics driver: manually or automatically.
Option 1: Update your graphics driver manually
If you’re a tech-savvy gamer, you can spend some time updating your GPU driver manually.
To do so, first visit the website of your GPU manufacturer:
Then search for your GPU model. Note that you should only download the latest driver installer that’s compatible with your operating system. Once downloaded, open the installer and follow the on-screen instructions to update.
Option 2: Update your graphics driver automatically (Recommended)
If you don’t have the time, patience or computer skills to update your video drivers manually, you can, instead, do it automatically with Driver Easy. Driver Easy will automatically recognize your system and find the correct drivers for your exact graphics card, and your Windows version, and it will download and install them correctly:
- Download and install Driver Easy.
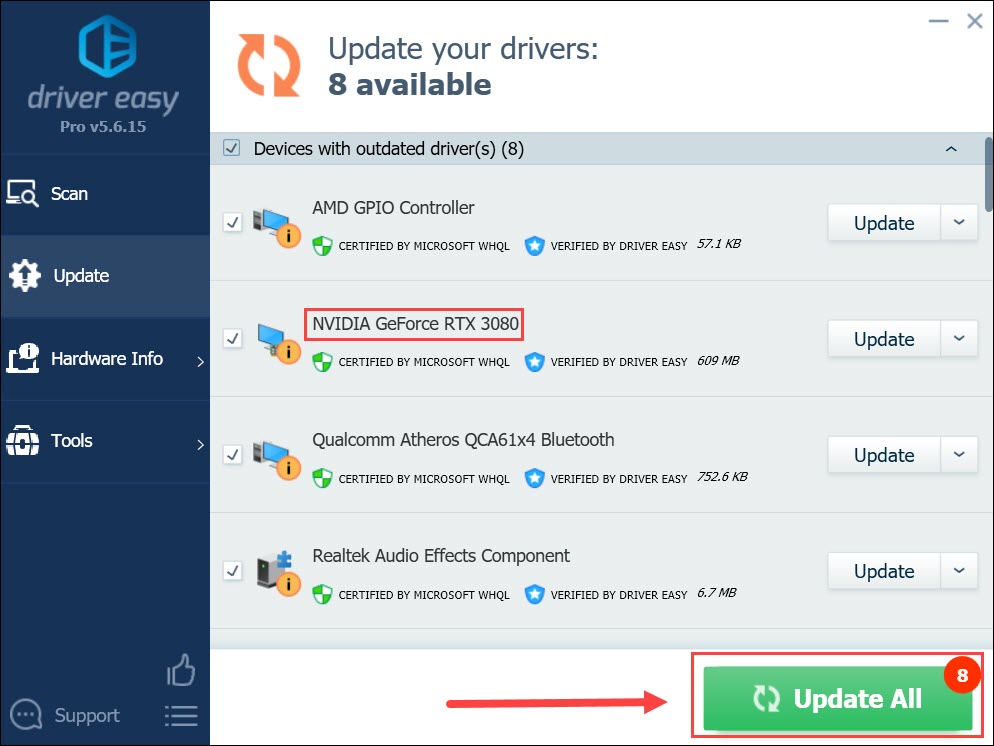
- Run Driver Easy and click the Scan Now button. Driver Easy will then scan your computer and detect any problem drivers.

- Click Update All to automatically download and install the correct version of all the drivers that are missing or out of date on your system.(This requires the Pro version – you’ll be prompted to upgrade when you click Update All. If you don’t want to pay for the Pro version, you can still download and install all the drivers you need with the free version; you just have to download them one at a time, and manually install them, the normal Windows way.)
After updating your graphics driver, restart your PC and check if Valorant stutters again.
If the latest driver doesn’t help you, check out the next method.
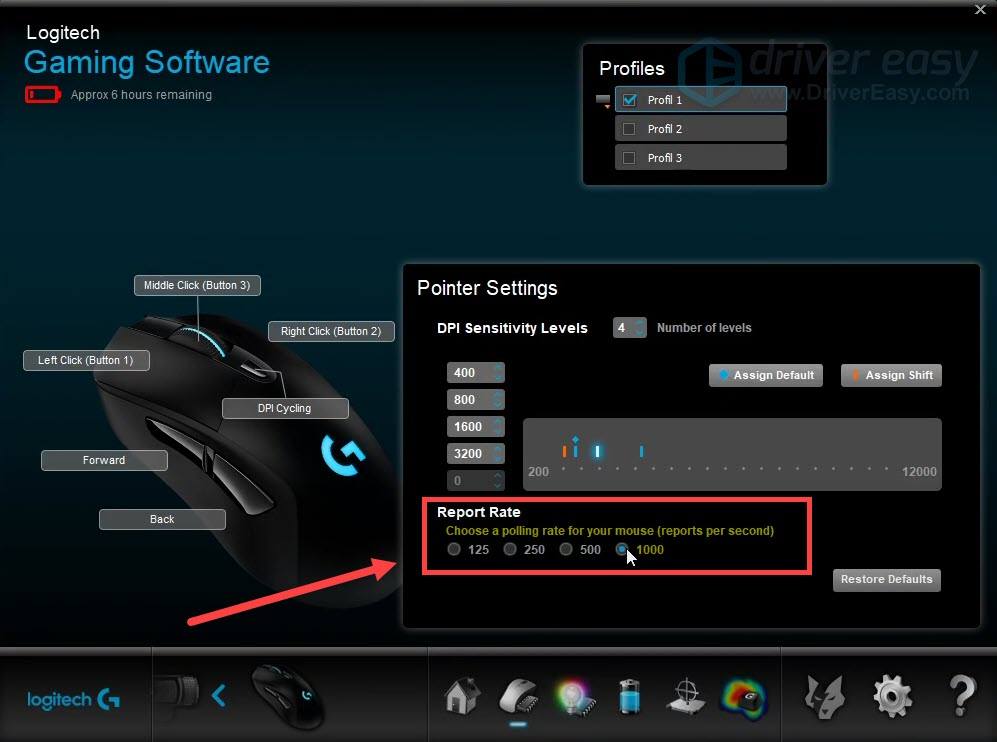
Fix 4: Lower your mouse report rate
According to some players on reddit, decreasing the mouse report rate, or polling rate, proves effective in alleviating the stuttering in Valorant. So if you’re using a gaming mouse that features a customizable polling rate, try tuning it down to 500 and see how things go.
If this fix doesn’t give you luck, simply continue to the next one below.
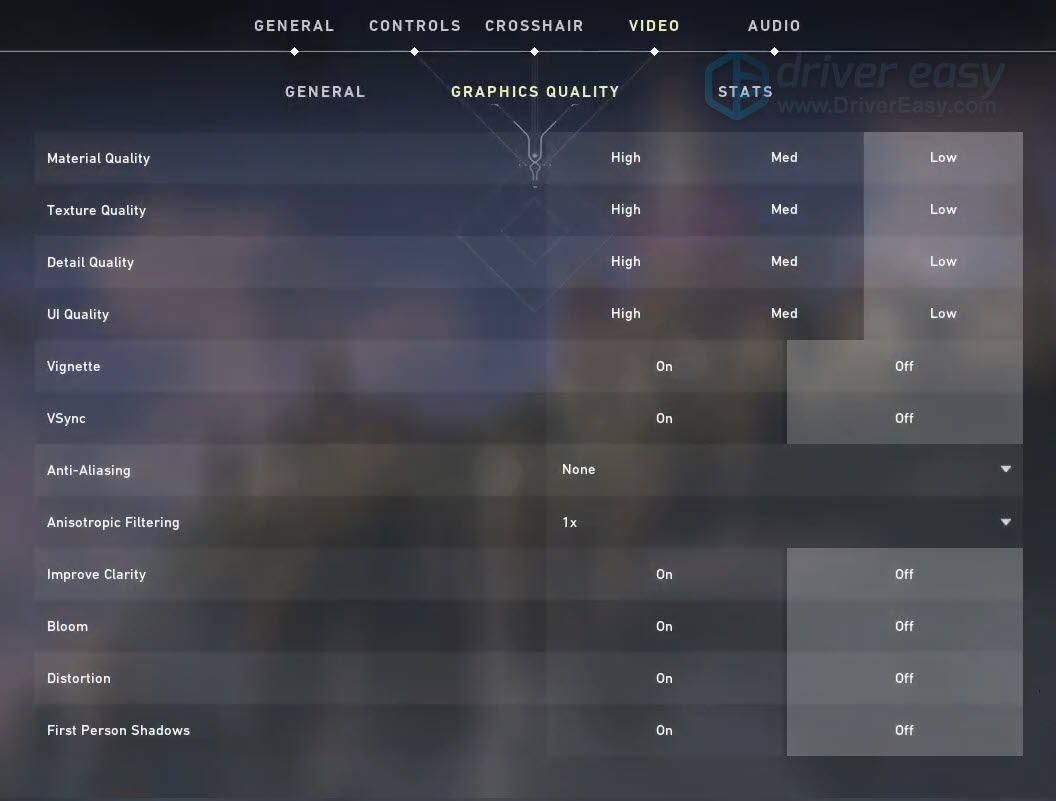
Fix 5: Turn on VSync
Some gamers reported that they managed to solve the stuttering by turning Vertical Sync on, so it might be a potential fix you can try. Meanwhile, if VSync doesn’t improve your game, try lowering your in-game graphics and see what happens.
Fix 6: Empty Standby Memory
Windows sometimes can’t allocate RAM as efficiently as expected. You’ll definitely experience game crashing or stuttering if the system is out of RAM. In some cases, Windows will put standby memory (a type of memory usually used as cache) into good use, but you can also free up the standby memory manually.
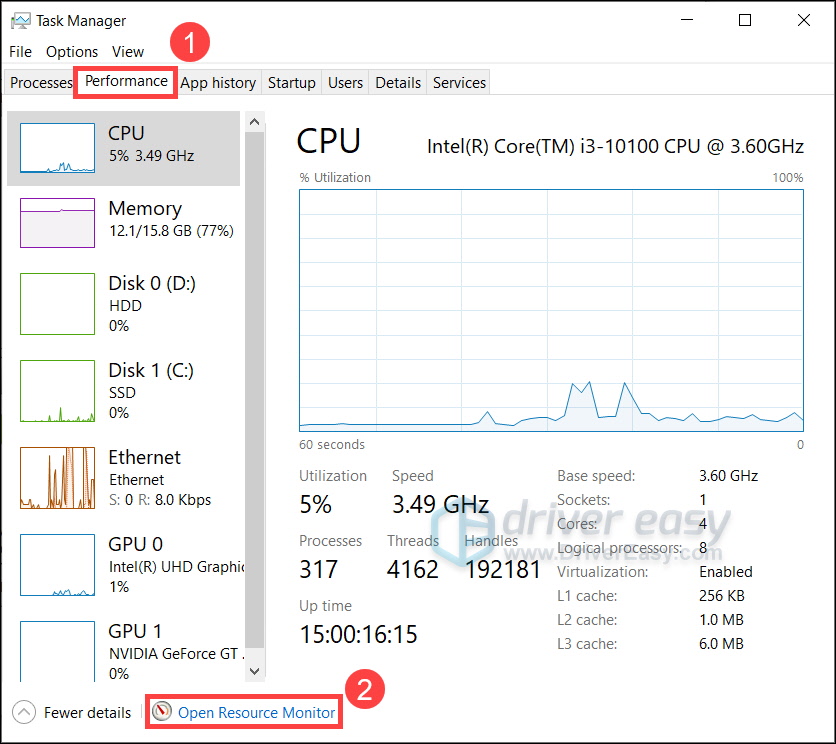
- On your keyboard, press Ctrl+Shift+Esc together to open Task Manager. Navigate to the Performance tab, click Open Resource Monitor.
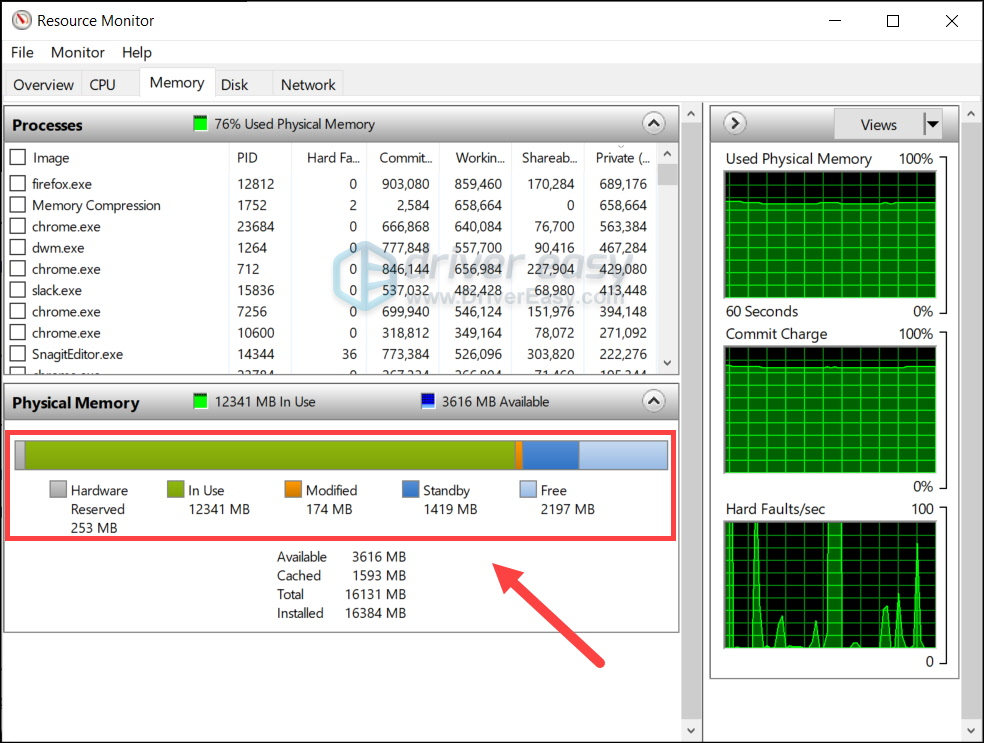
- In Resource Monitor, navigate to the Memory tab. In the Physical Memory section, you’ll see the current memory usage. Check if Standby Memory is taking up too much of your total RAM.
- You can empty the standby memory manually.
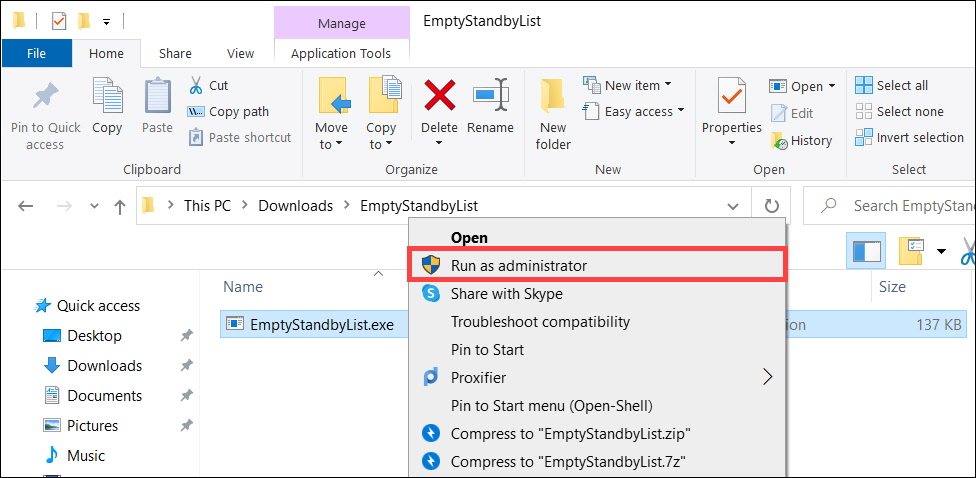
First, download EmptyStandbyList. This is a command line tool that can help you empty standby memory. - Once downloaded, right click the EmptyStandbyList program and select Run as an Administrator.
- Go back to Resource Monitor and check if the standby memory has been cleared. Then you can check if the issue persists.
(Optional) You can also use Task Scheduler to clear the standby memory automatically. Theoretically, you can achieve the same result with a reboot, but it’ll be a different story while you’re in the middle of the game.
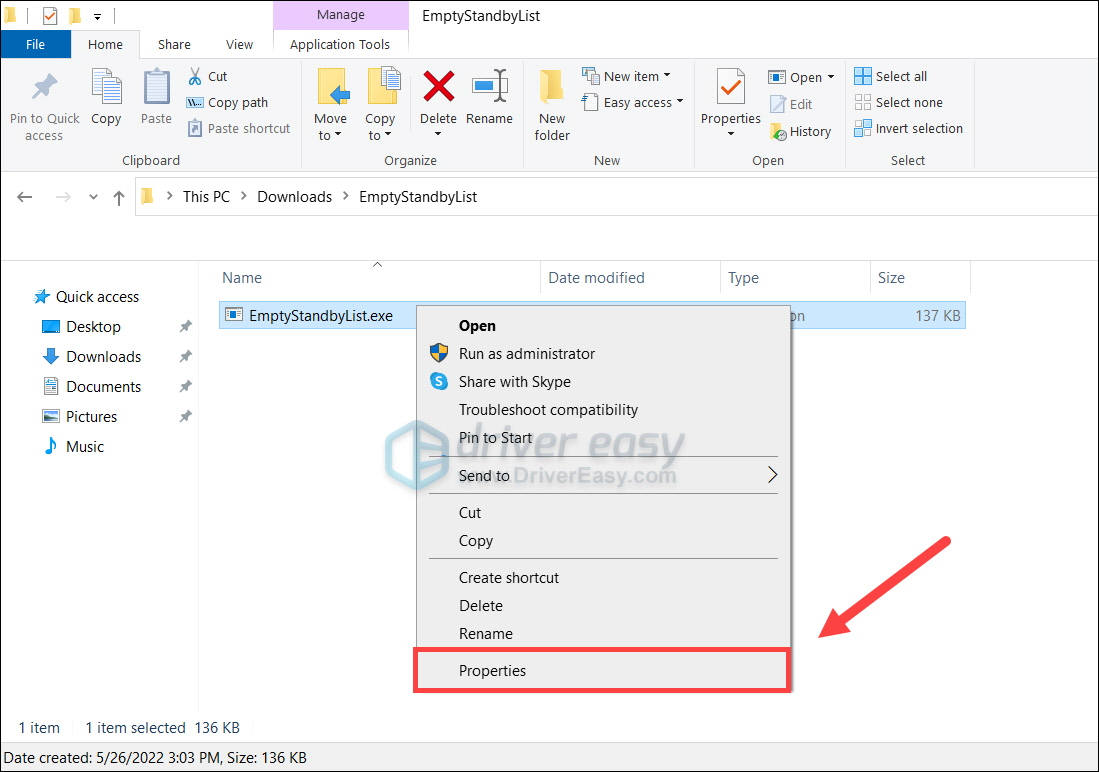
- Right click EmptySandbyList.exe and select Property.
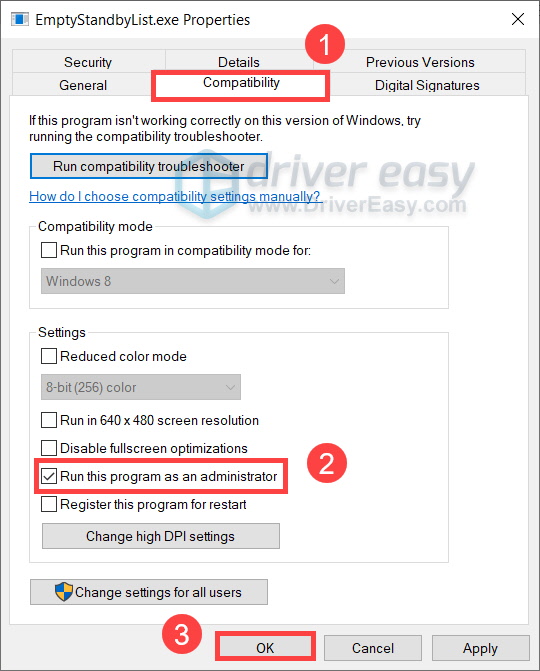
- Navigate to the Compatibility tab, check the box next to Run this program as an administrator. Click OK.
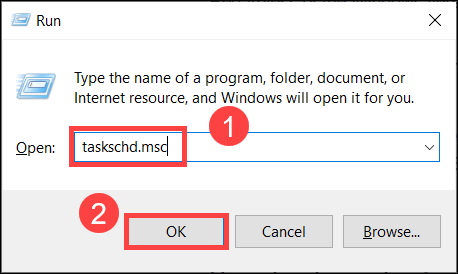
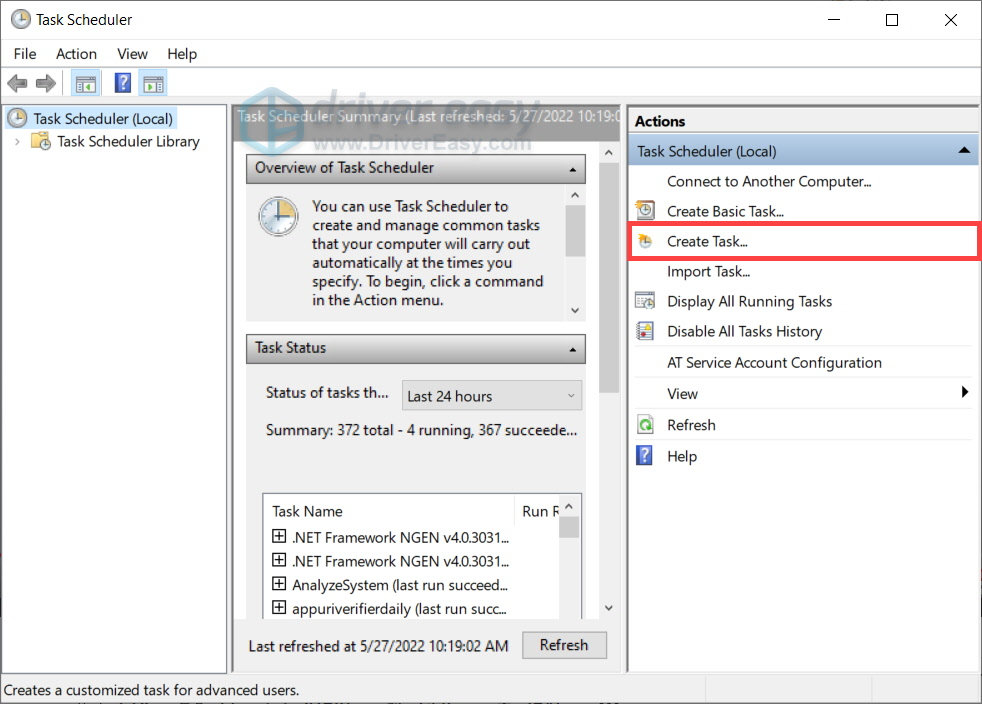
- On your keyboard, press Win+R to invoke the Run box. Type or paste taskchd.msc and click OK.
- In the right pane, select Create Task.
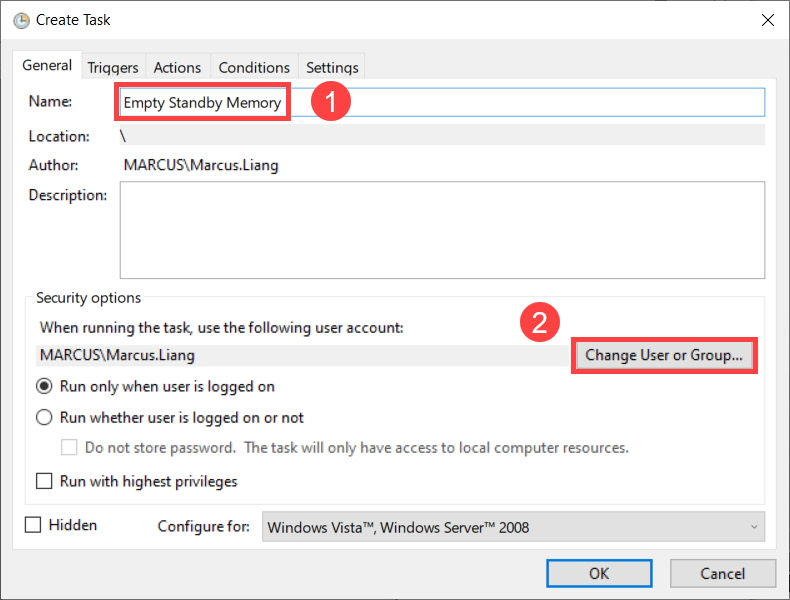
- In the Name section, type or paste Empty Standby Memory. Then click Change User or Group.…
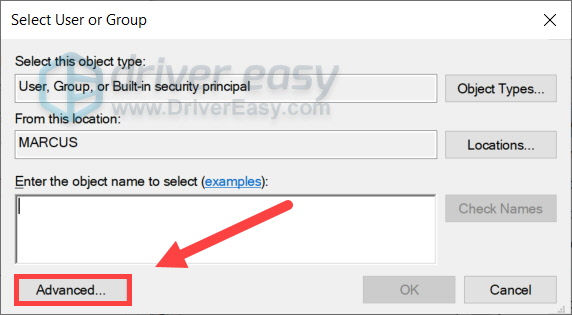
- In the pop-up window, click Advanced….
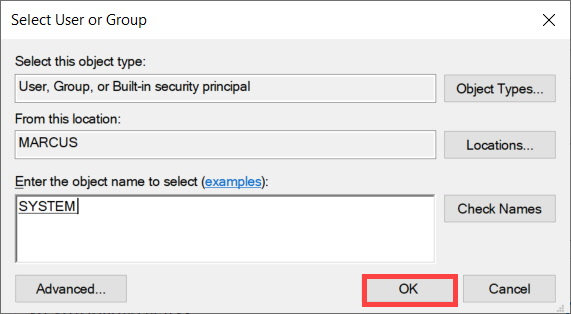
- Click Find Now. In the search results, select SYSTEM. Then click OK.
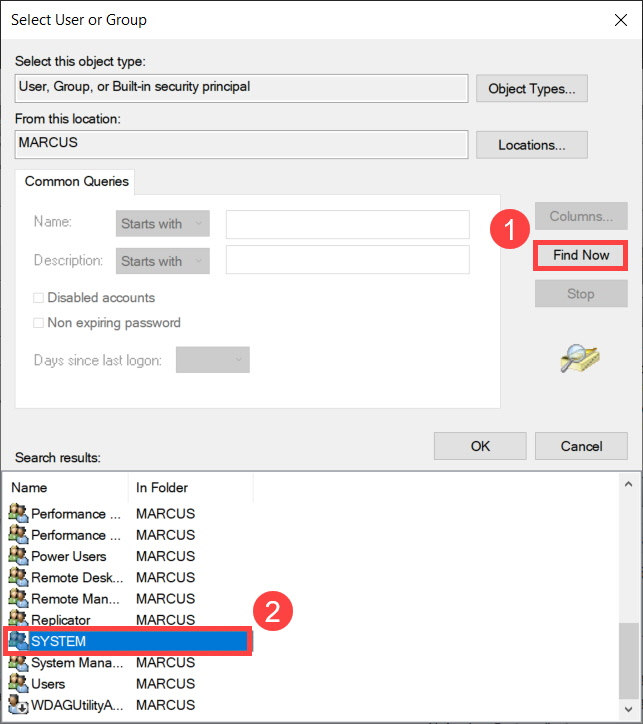
- Click OK.
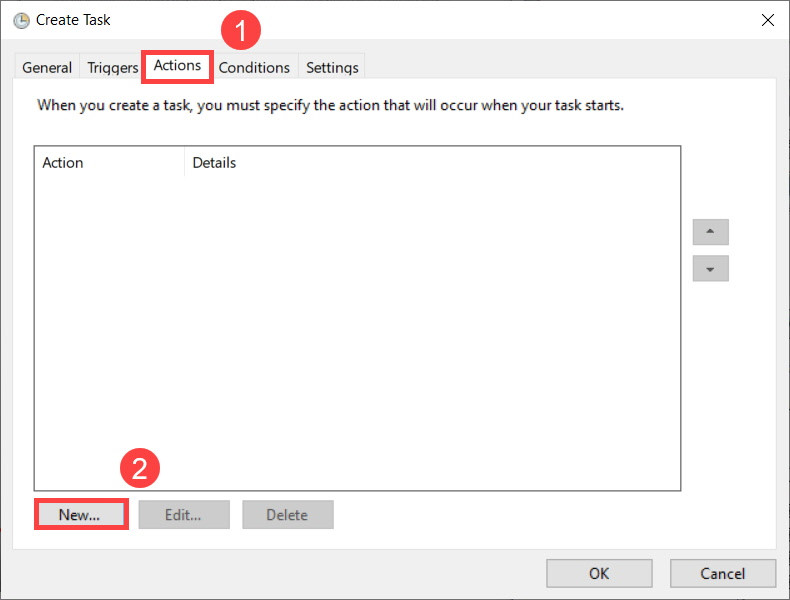
- Navigate to the Actions tab, click New….
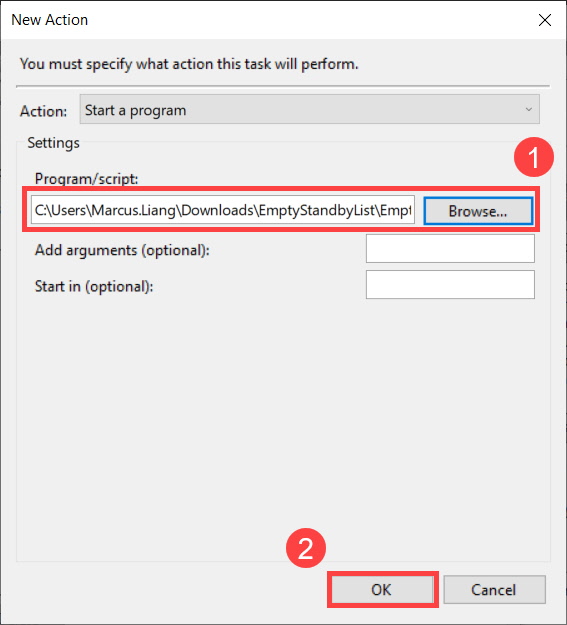
- Browse and select the EmptyStandbyList.exe program. Click OK.
- Then navigate to the Triggers tab, click New....
Under the Advanced settings, set Repeat task to every 10 minutes. Set for a duration of to Indefinitely.
Click OK.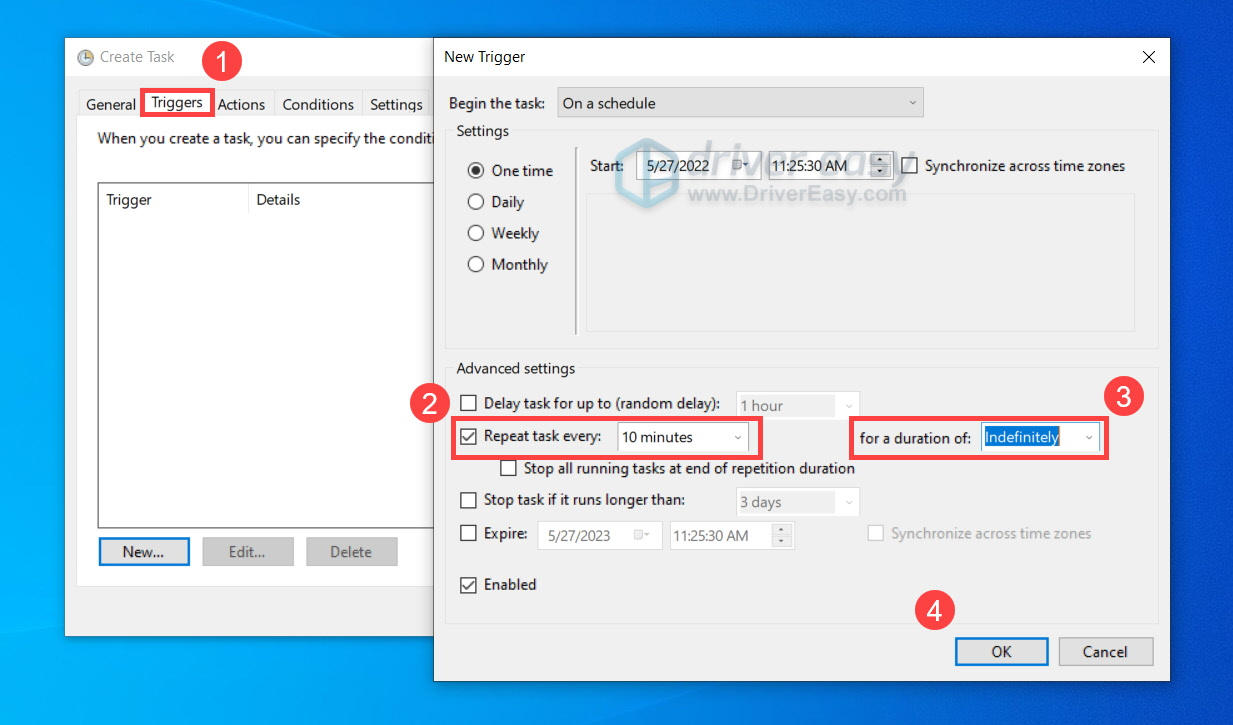
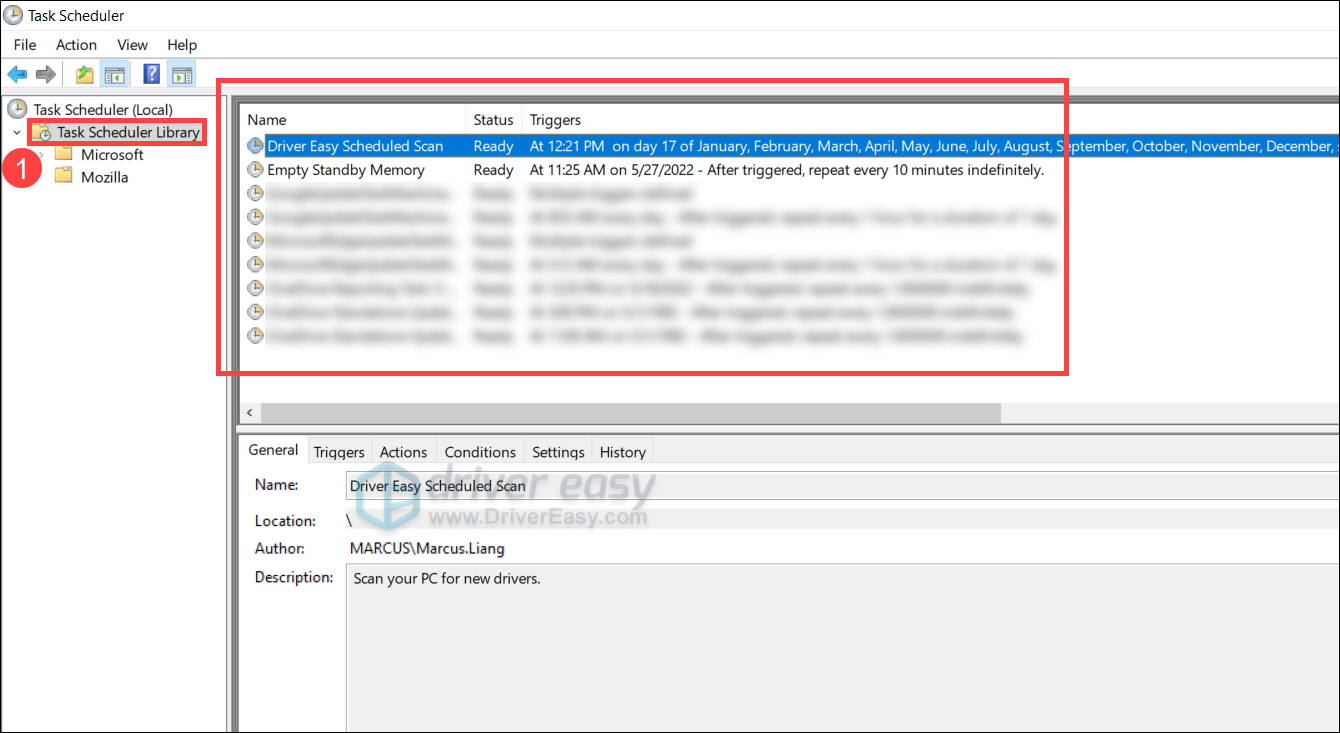
- After finishing the setup, you can select Task Scheduler Library in the left pane to view the pending tasks.
So these are the fixes for your stuttering issue in Valorant. If you have any doubts or ideas, feel free to talk to us in the comments below.