


Xbox 360 is a video game console developed by Microsoft. They have also built perfect support for Xbox 360 controller in their Windows operating systems. There are many Windows PC games that let you play with an Xbox controller. Lots of Windows computer users are using an Xbox 360 controller for a more enjoyable gaming experience. You would also want to try installing your controller on your own computer.
The following are the steps that help you connect your Xbox 360 controller to a Windows PC. Follow them through and you will complete your controller installation very easily.
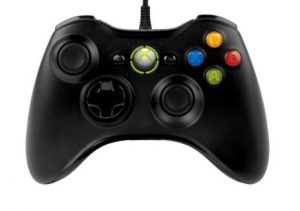
Step 1: Connect your Xbox 360 controller to your computer
If you are using a wired Xbox 360 controller, plug the USB connector of your Xbox 360 controller into a USB port on your computer.
If you are using a wireless controller, insert the USB connector of your Xbox 360 Wireless Gaming Receiver into a USB port on your computer. A green light will be on if your wireless receiver is working.
Step 2: Install the controller driver
To make sure your controller or wireless receiver works on your computer, you need to install the latest driver for the device. One easy and reliable way to install drivers is to use Driver Easy.
Driver Easy will automatically recognize your system and find the correct drivers for it. You don’t need to know exactly what system your computer is running, you don’t need to risk downloading and installing the wrong driver, and you don’t need to worry about making a mistake when installing.
You can download and install your drivers by using either Free or Pro version of Driver Easy. But with the Pro version it takes only 2 clicks (and you get full support and a 30-day money back guarantee):
1. Download and Install Driver Easy.
2. Run Driver Easy and hit the Scan Now button. Driver Easy will then scan your computer and detect any problem drivers.
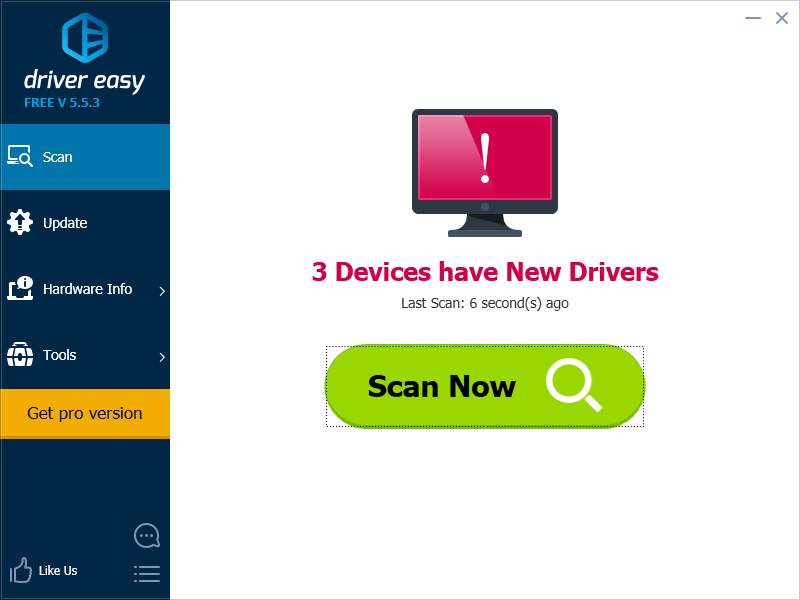
3. Click on the Update button next to the controller or receiver to download the latest and correct driver for it. You can also hit the Update All button at the bottom right to automatically update all outdated or missing drivers on your computer (this requires the Pro version — you will be prompted to upgrade when you click on Update All).

After installing the driver, restart your computer.
Step 3 (for wireless controller only): Connect your controller to the wireless receiver
1. Insert a pair of AA batteries or a battery pack into your controller.
2. Press and hold the Guide button (the button with a Xbox logo) to turn on the controller.

3. Press the connect button (a circular button near the middle) on the wireless receiver. The light will flash green.
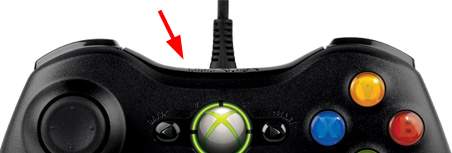
4. Press the connect button on the front edge of the controller.
5. There will be green lights flashing on both the controller and the receiver. This means they are establishing a connection. When they are connected, there will be a green light around the Guide button remaining lit, indicating the connection has been established.
Step 4: Test your controller
Open a game that supports the Xbox 360 controller. Test your controller by pressing the buttons or pulling the triggers on it.
If your Windows computer cannot detect your controller, try connecting your controller to another USB port. But if you have tried all the ports and the problem persists, or there are some issues with buttons on your controller, you may need to get it repaired or replaced. In this case, you can contact Microsoft support for further assistance.
You can also use a PS4 controller on your Windows computer! Read this post to learn how.