System Restore is a very important and useful function in Windows system. It tracks software installations, driver changes and software updates and allows a user to revert to their prior state if something unexpected happens. The record created by System Restore service is called System restore points. Windows automatically creates restore points once a week.
In Windows 10, this service is still available and fully functional. However, this feature is turned off by default, which means that you will not be able to find it available to use the System Restore function if you have not change the default setting to On manually before.
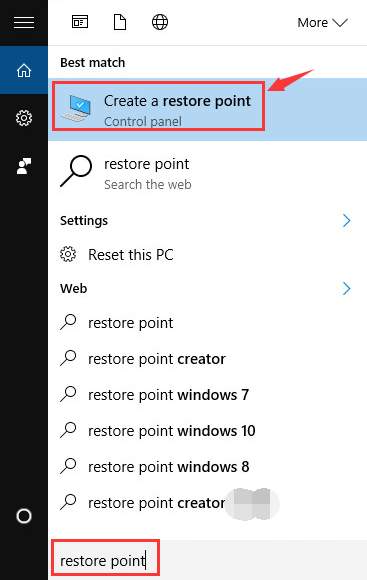
1) Type restore point in the search box and choose Create a restore point from the list of results.
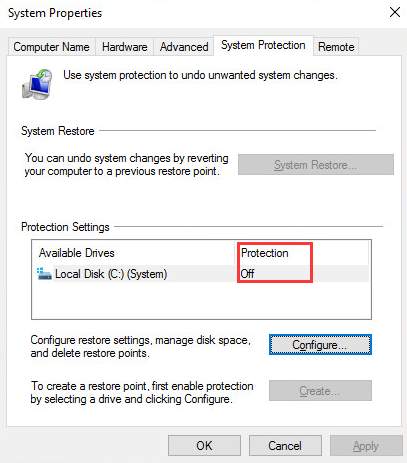
2) The status of the Protection should be Off if you haven’t done anything to it before.
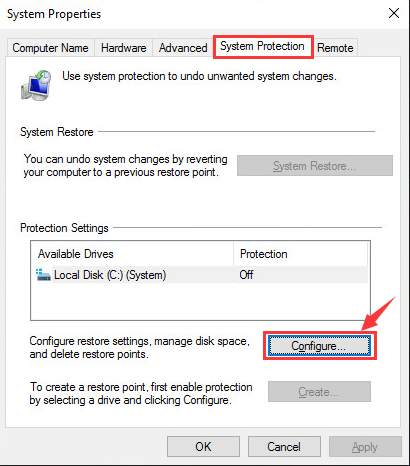
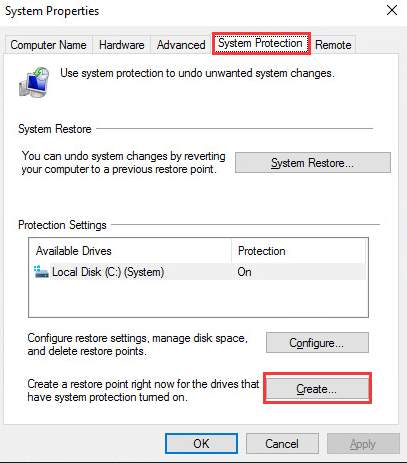
3) Under System Protection tab, you need to click Configure button.
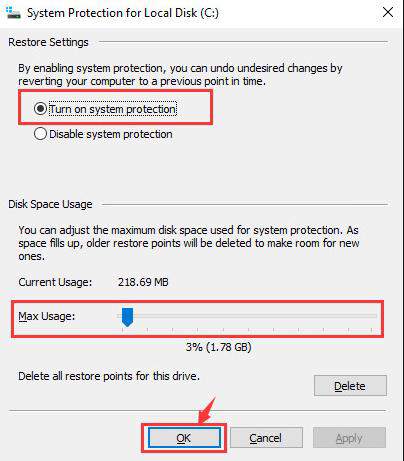
4) Click to enable Turn on system protection. Then use the Max Usage slider to decide how much of your hard drive you would like to use to store Restore Points. (5% to 10% is usually enough.) Then click OK.
5) You can manually create a restore point now by going back to System Properties window. Under System Protection tab, click the Create button.
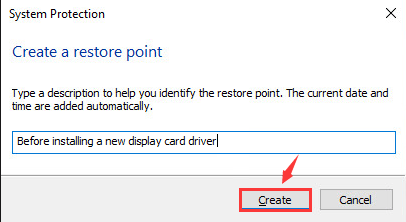
6) Type in the name you want to name the restore point and click Create to continue.
7) Wait for the process to finish. Then you will see a notification as shown below.