


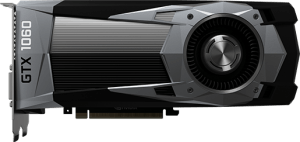
Want to install a new graphics card on your computer? You may be thinking this is difficult or requires some technical skills. But actually, it’s very easy. Just follow the instructions below, and you should be able to set up your graphics card on your computer with it.
To install a graphics card
Step 1: Preparation
You should make sure your computer hardware is compatible with the new graphics card you’re going to use.
When checking your hardware, you need to open your computer case. Here’s how you can do it:
- Turn off your computer, then disconnect all the cables and the attached devices from your computer. You should mark your cables so you’ll be able to reconnect them later.
- Remove the screws of the side panel. For most cases, the panel you need to unscrew is on your left hand side (if you’re facing the front panel)
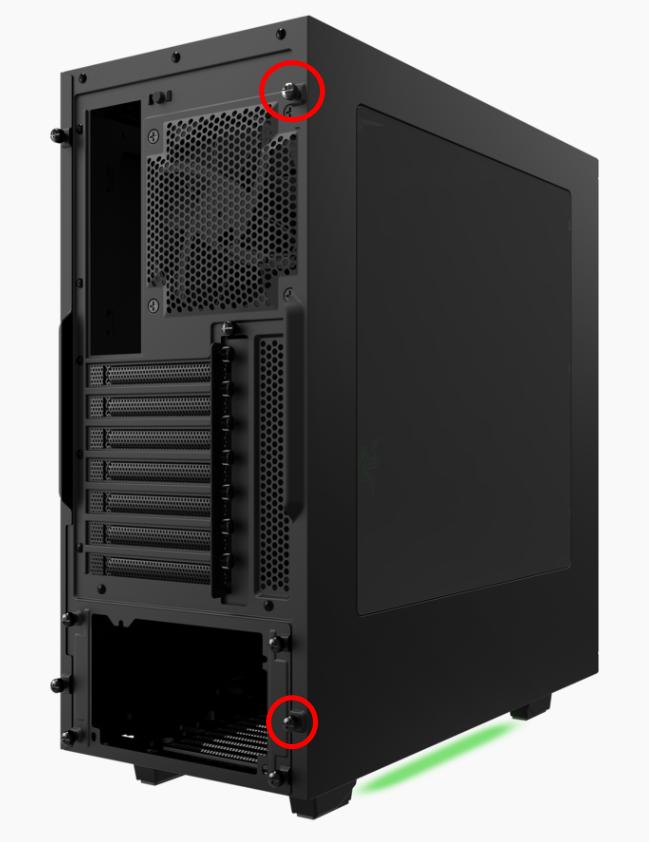
Usually the screws are on the back of a case. - Remove the side panel.
Now you’ve opened your computer case. And you should be able to check your computer components inside.
And there are a few things you should look at:
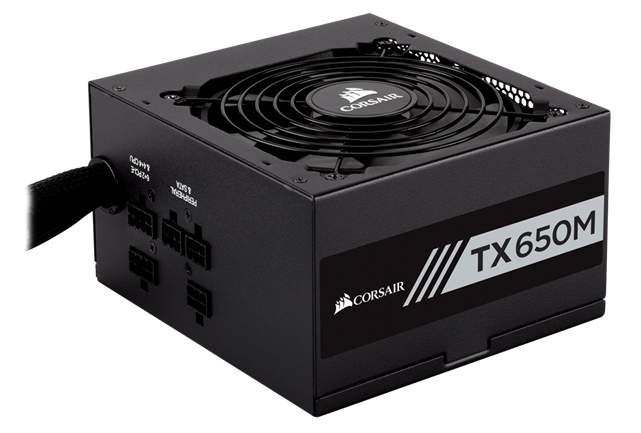
1. Your computer power supply
A more powerful graphics card may consume more electric power. So make sure your power supply unit can supply enough power when there is a new graphics card on your computer.
You should do some research on the Internet to know the the system power requirement of your graphics card. Then open the computer case and check the sticker on your power supply unit for details of how much power it supplies.
If your power supply unit can’t support the graphics card you’re going to use, you should try upgrading the unit as well, or choose a graphics card that consumes less power.
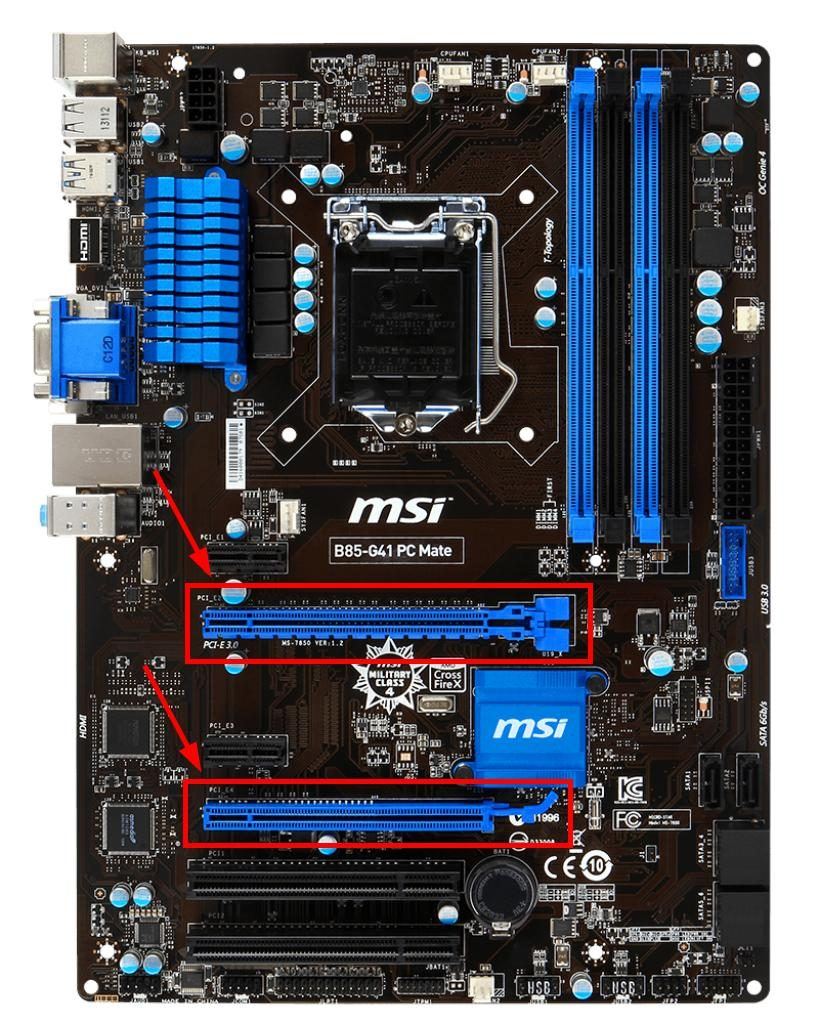
2. Your motherboard
You should check your motherboard to see if it’s compatible with your graphics card.
You need to see if your motherboard have PCI Express x16 slots available on it so you can connect your graphics card to your motherboard. And it should have more than one slot if you’re going to use two or more cards.
If you’re going to upgrade your graphics card, you should remove your old card and install the new one into the same slot.
3. The space inside your computer case
Your new graphics card needs to be fit into your computer case. If you’re using a small case, we recommend you replace it with a bigger one, not only because you’ll be able to install your graphics card, but you can have a cooler environment for hardware.
If everything is ready, then what you need to do next is to install the graphics card into your computer.
Step 2: Install the graphics card
To install your new graphics card:
- Turn off your computer, then disconnect all the cables and the attached devices from your computer. You should mark your cables so you’ll be able to reconnect them later.
- Remove the screws of the side panel. For most cases, the panel you need to unscrew is on your left hand side (if you’re facing the front panel).
Usually the screws are on the back of a case. - Remove the side panel.
- Remove your old graphics card if you have one.
- Remove the slot cover on your computer case if you have a graphics card installed. The slot covers are located next to your motherboard PCI Express x16 slots. And if your graphics card is double-wide, you’ll need to remove two covers.
- Plug the new graphics card into the primary PCI Express x16 slot (often the closest one to the CPU).
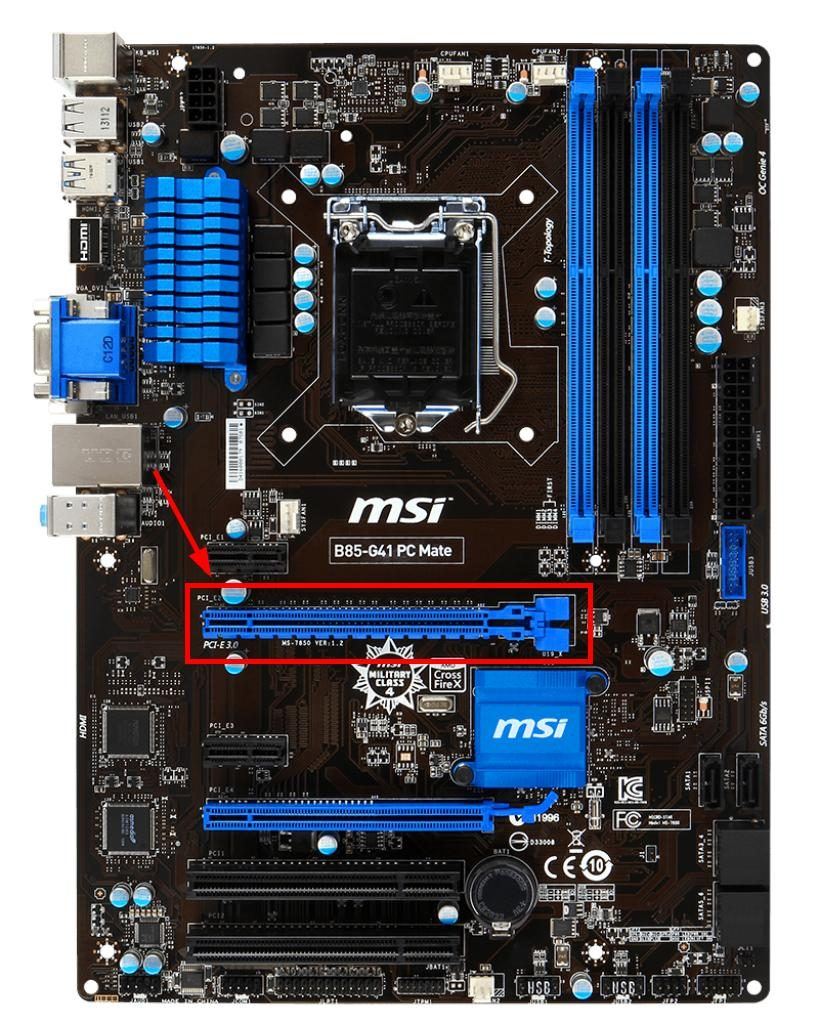
The primary PCI Express x16 slot - Secure your graphics card to your computer case with screws.
Where you should put the screws - If your graphics card requires independent power supply, connect the 6-pin or 8-pin power connector from your power supply unit to your card. Check the top edge of your graphics card. If you see a power connector, then your graphics card will need independent power supply.
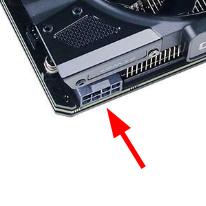
An 8-pin power connector - Reinstall the side panel of your computer case.
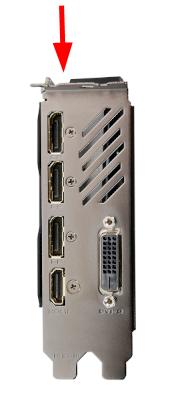
- Connect a video cable from your graphics card to your monitor.
You should check the video ports on your monitor to see if they are compatible with the ones on your new graphics card. The common video connection standards include:
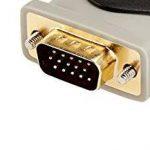
VGA 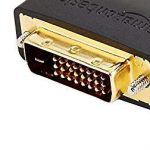
DVI 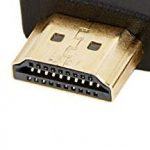
HDMI 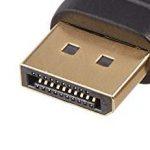
DisplayPort If the video ports are not compatible, you may need to get a video output adapter to convert your video signal so you can set up connection with different ports. - Connect all the other cables you unplugged earlier.
Now you can turn on your computer. You should be able to see your computer running, but it’s not displayed properly because you haven’t installed the proper graphics driver.
Step 3: Install the driver for your graphics card
You can install the driver with the software disc that came with your graphics card. But the driver it provides may not be the latest version, and you should update it to ensure your graphics card is working properly.
If you don’t have the time, patience or skills to update your graphics driver manually, you can do it automatically with Driver Easy.
Driver Easy will automatically recognize your system and find the correct drivers for it. You don’t need to know exactly what system your computer is running, you don’t need to risk downloading and installing the wrong driver, and you don’t need to worry about making a mistake when installing.
You can download and install your drivers by using either Free or Pro version of Driver Easy. But with the Pro version it takes only 2 clicks (and you get full support and a 30-day money back guarantee):
- Download and install Driver Easy.
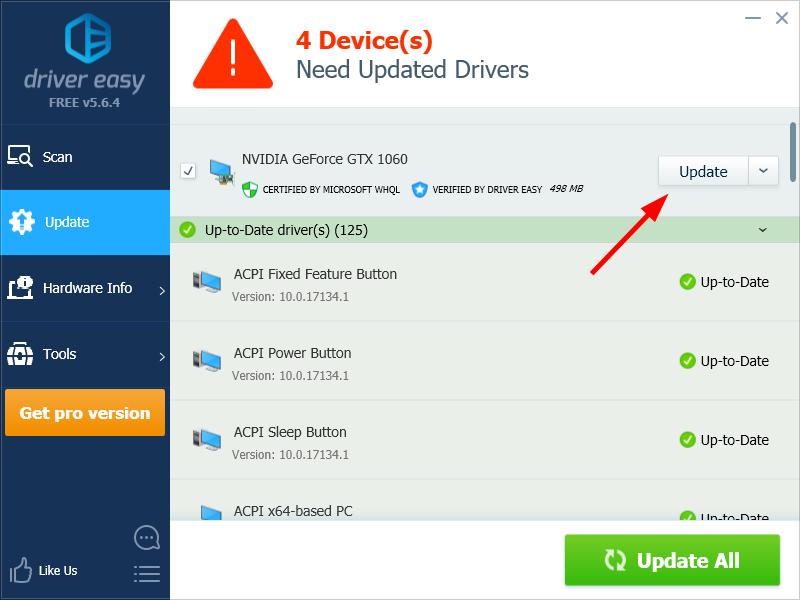
- Run Driver Easy and click the Scan Now button. Driver Easy will then scan your computer and detect any problem drivers.

- Click the Update button next to your graphics card to download the latest and correct driver for it, then you can manually install it. You can also click the Update All button at the bottom right to automatically update all outdated or missing drivers on your computer (this requires the Pro version — you will be prompted to upgrade when you click Update All).
You can do it for free if you like, but it’s partly manual.
Once you’ve updated your graphics card, restart your computer. And then you should be able to see your system displayed properly.
That’s it! Your new graphics card is now ready to use! And if you have any questions, leave us a comment below.