


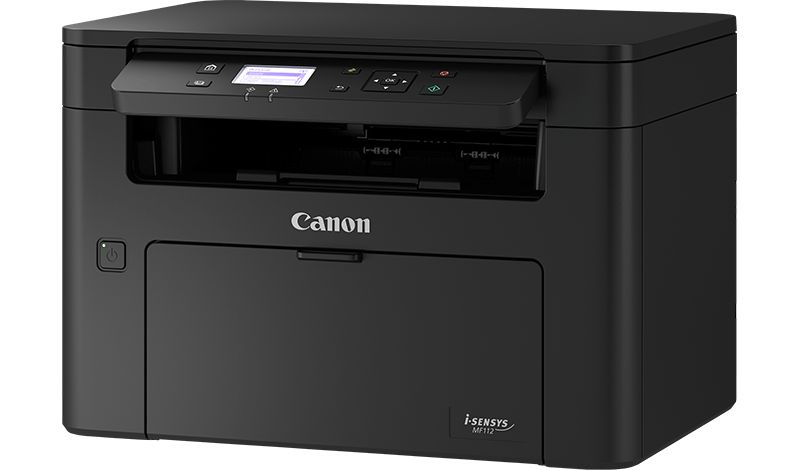
Have no idea about how to set up your new Canon printer? You’ve come to the right place. This post will guide you through the process of setting up a Canon printer, step by step.
How to set up your Canon printer:
Setting up your Canon printer is quite easy and takes only two steps:
Step 1 – Connect your Canon printer to the computer
To set up a Canon printer, the first thing is connecting it to the computer. And there are three ways you can do that:
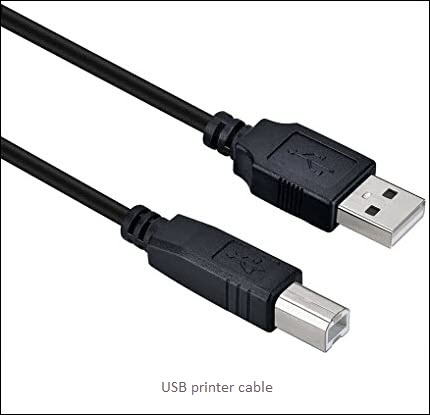
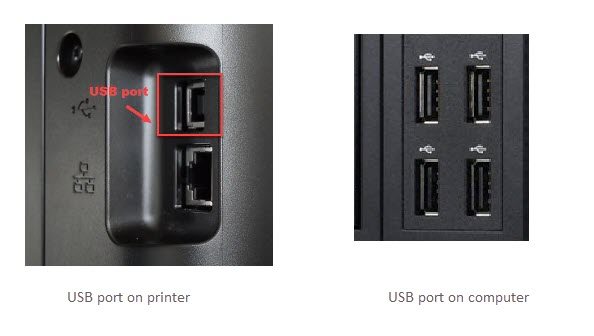
Connect your printer via a USB cable
If you want to connect the printer to your computer directly and print only from that device, you could choose the USB connection.
Simply plug one end of the cable into the USB port on the Canon printer and the other into the USB port on your computer. Then, plug in the power cable and turn on the printer.
After connecting the printer with your computer, you can follow Step 2 to install the printer driver.
Connect your printer via Wi-Fi
If your printer is wireless-capable, you can easily connect it via Wi-Fi. In this way, your printer will be able to print from any devices connected to the same wireless network, including computers, laptops, tablets or cell phones.
1) Plug in the power supply and turn on the printer.
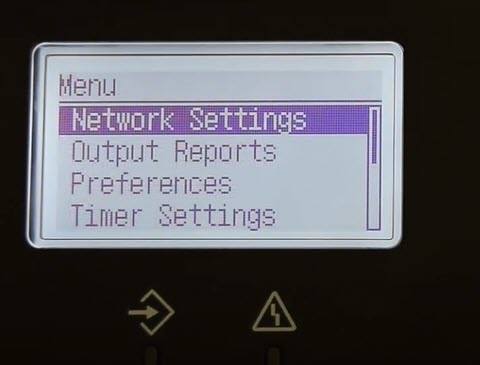
2) On the printer’s control panel, use the arrow key to select Menu, and then select Network Settings.
3) Select Wireless LAN, and press OK.
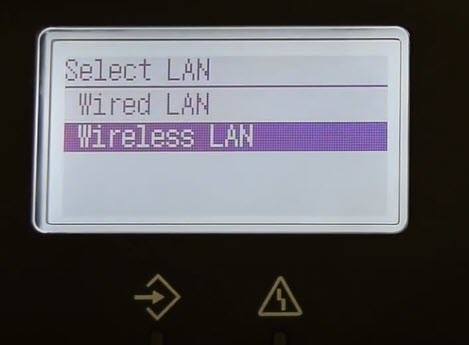
4) Select the Wireless LAN settings, and press OK. Then, select your network and enter the password.
After the wireless connection is completed, you can proceed to Step 2.
Connect your printer via a wired network
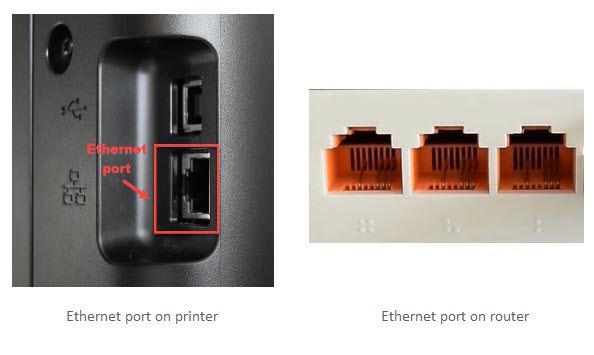
A wired connection allows multiple devices on a wired network to access the printer but requires the use of an Ethernet cable. You can connect your printer directly to the router as follow:
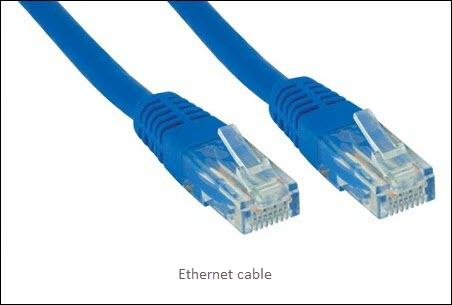
1) Simply connect one end of the Ethernet cable into the printer and the other end of the cable into your router. Then, turn on the printer.
2) On the printer’s control panel, use the arrow key to select Menu, and then select Network Settings.
3) Select Wired LAN.

After the Canon printer is connected to a wired LAN, you can continue with the next step to install the printer driver on your computer.
Step 2 – Install the printer driver
To let your Canon printer communicate properly with the computer, you’ll need to install the correct and up-to-date printer driver.
If your computer automatically detects the printer, you could follow the on-screen instructions to install it. Otherwise, you’ll need to download and install the printer driver manually.
You could directly insert the installation CD that comes with the Canon printer and launch the setup program. But if you don’t have the disc or if you lost it, here are 2 ways to get the printer drivers:
Option2 – Automatically (Recommended)
Option 1 – Download and install the driver manually
Canon keeps updating the printer drivers. Follow the instruction below and you’ll learn how to get it from the official website.
1) Navigate to Canon’s support website.
2) Enter your product model and select it from the search results.

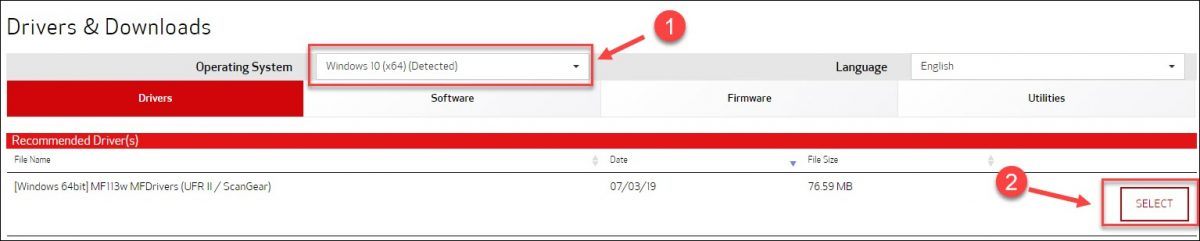
3) Scroll down to the Drivers & Downloads section. Choose your operating system, and click Select next to the driver you’d like to download.
4) Click Download.

5) Open the downloaded file, and click Yes when you’re prompted to continue.
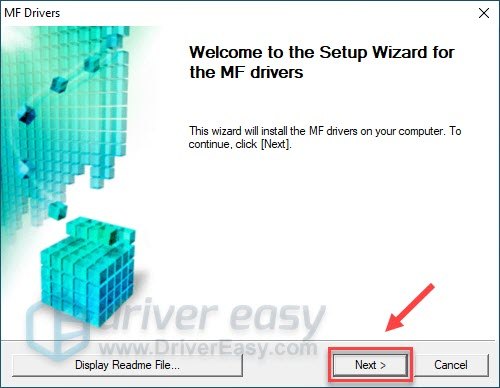
6) In the setup wizard, click Next.
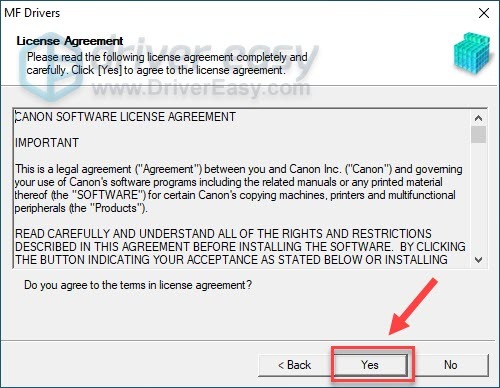
7) Click Yes.
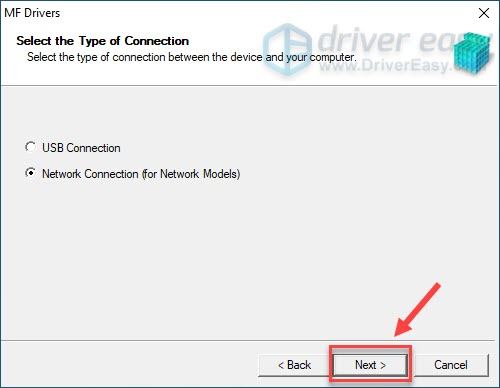
8) If you connect your printer via a USB cable, select the USB connection. If you use the Wi-Fi or Ethernet connection, select the Network Connection. Then, click Next.
Follow the wizard to complete the entire setup procedure, and you’ll be able to make your print with the newly-installed Canon printer!
Option 2 – Automatically update the printer driver
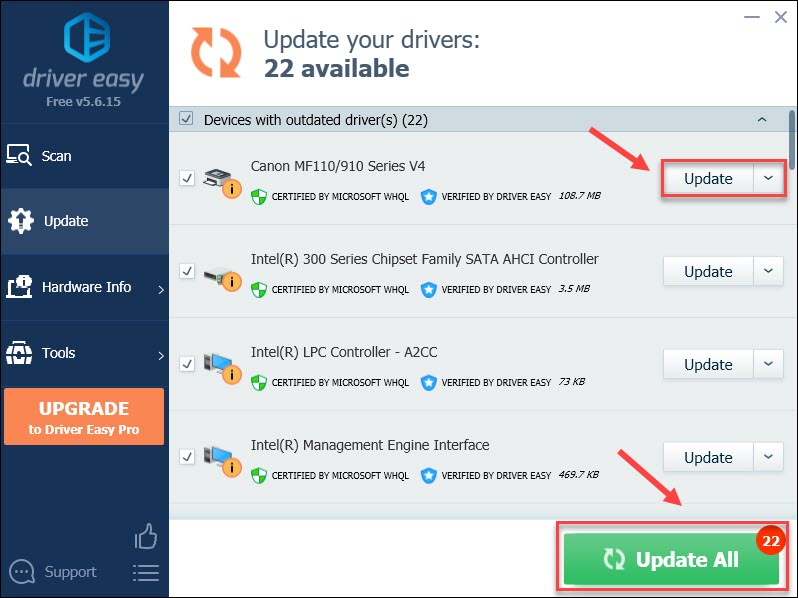
If you don’t have the time, patience or computer skills to update your printer driver manually, you can, instead, do it automatically with Driver Easy. Driver Easy will automatically recognize your system and find the correct driver for your printer, and your Windows version, and it will download and install them correctly:
1) Download and install Driver Easy.
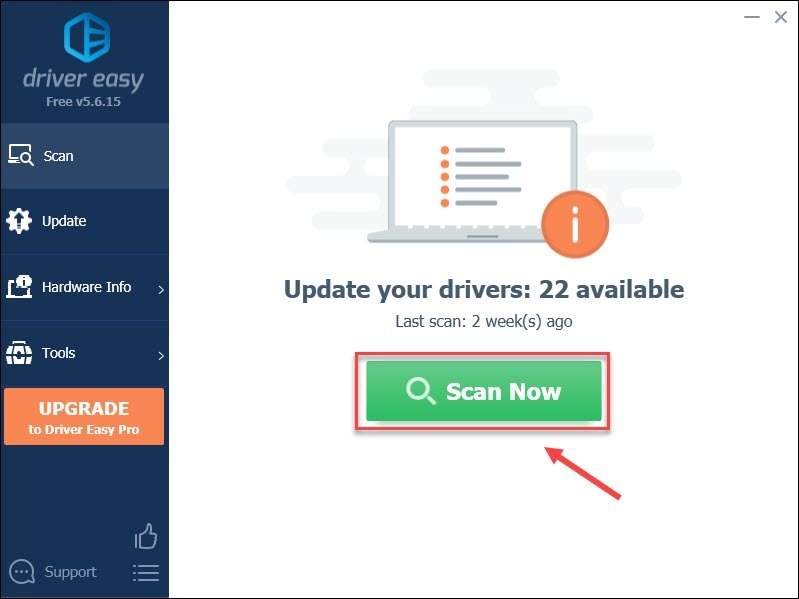
2) Run Driver Easy and click the Scan Now button. Driver Easy will then scan your computer and detect any problem drivers.
3) Click the Update button next to the flagged Canon printer driver to automatically download the correct version of that driver, then you can manually install it (you can do this with the FREE version).
Or click Update All to automatically download and install the correct version of all the drivers that are missing or out of date on your system. (This requires the Pro version which comes with full support and a 30-day money back guarantee. You’ll be prompted to upgrade when you click Update All.)
If you need assistance, please contact Driver Easy’s support team at support@drivereasy.com.
There you have it – two simple steps to set up Canon printer. Hopefully they’re helpful to you. If you have any questions or suggestions, feel free to leave a comment below.