


Updating the audio drivers on our computer can go a long way in keeping computer issues at bay and making sure different hardware components are working properly. If you are looking to update the drivers for your Dell XPS 15 laptop, you’ve come to the right place!
Here we are showing you 2 ways for you to update Dell XPS 15 Drivers. Please read on…
How to update Dell XPS 15 Drivers
There are two ways you can update the drivers for your Dell XPS 15 laptop:
Option 1 – Automatically (Recommended) – This is the quickest and easiest option. It’s all done with just a couple of mouse clicks – easy even if you’re a computer newbie.
OR
Option 2 – Manually – You’ll need some computer skills and patience to update your drivers this way, because you need to find exactly the right the driver online, download it and install it step by step.
Option 1 – Update Dell XPS 15 drivers automatically
If you don’t have the time, patience or computer skills to update the drivers for Dell XPS 15 manually, you can do it automatically with Driver Easy.
Driver Easy will automatically recognize your system and find the correct drivers for it. You don’t need to know exactly what system your computer is running, you don’t need to risk downloading and installing the wrong driver, and you don’t need to worry about making a mistake when installing. Driver Easy handles it all.
You can update your drivers automatically with either the FREE or the Pro version of Driver Easy. But with the Pro version it takes just 2 clicks (and you get full support and a 30-day money back guarantee):
1) Download and install Driver Easy.
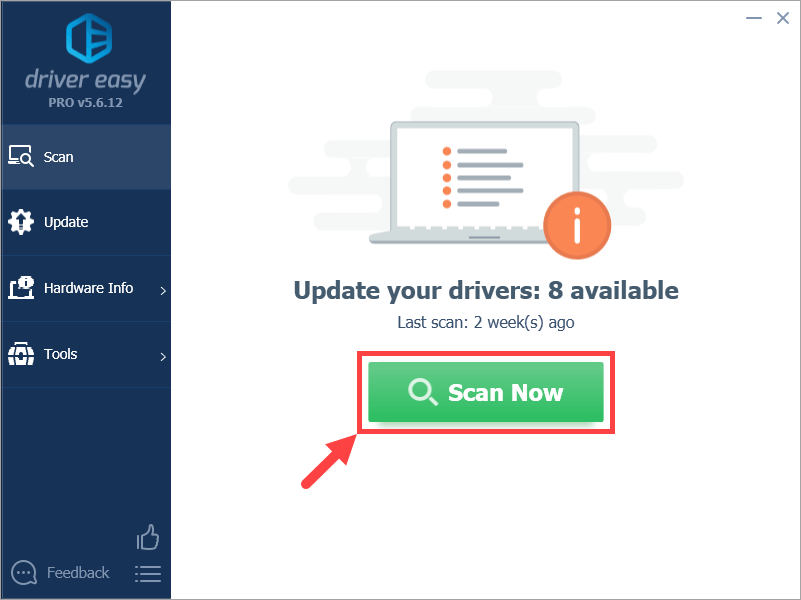
2) Run Driver Easy and click the Scan Now button. Driver Easy will then scan your computer and detect any problem drivers.
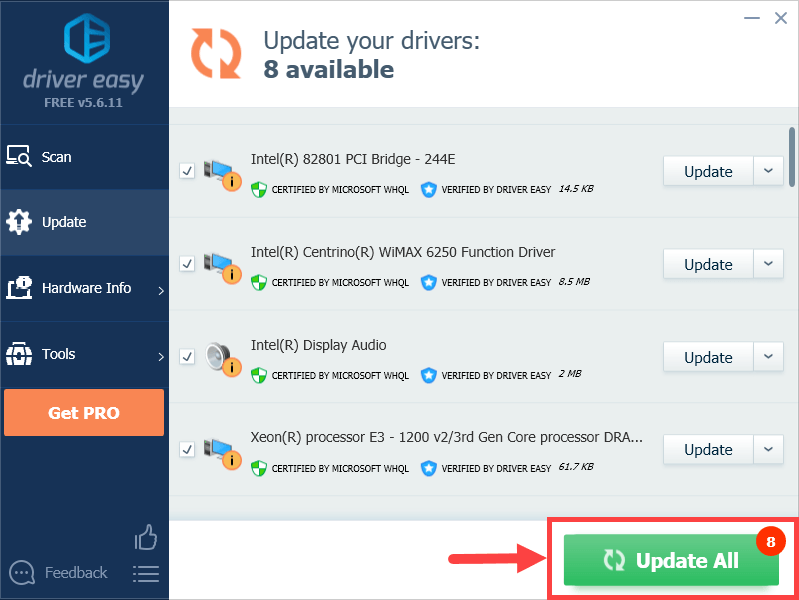
3) Click Update All to automatically download and install the correct version of ALL the drivers that are missing or out of date on your system (this requires the Pro version – you’ll be prompted to upgrade when you click Update All).
4) Restart your computer for the changes to take effect.
Now congrats – you have already updated all the outdated or missing drivers for your Dell XPS 15 laptop.
Option 2 – Download and install the driver manually
Dell keeps updating drivers. To get them, you need to go to Dell’s official website, find the drivers corresponding with your specific flavor of Windows version (for example, Windows 32 bit) and download the driver manually.
Here is how to manually update the drivers for your Dell XPS 15 laptop:
1) Go to Dell’s official website, hover your mouse over Support and click Product Support.

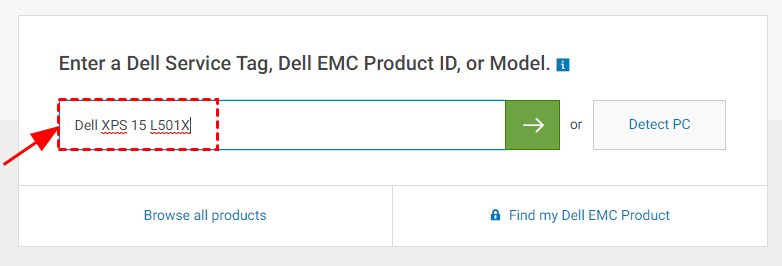
2) Type your model of Dell XPS 15 and click the search icon.
3) Click on the Drivers & Downloads section.
4) In the page that shows the search results, click Drivers & Downloads under your model.
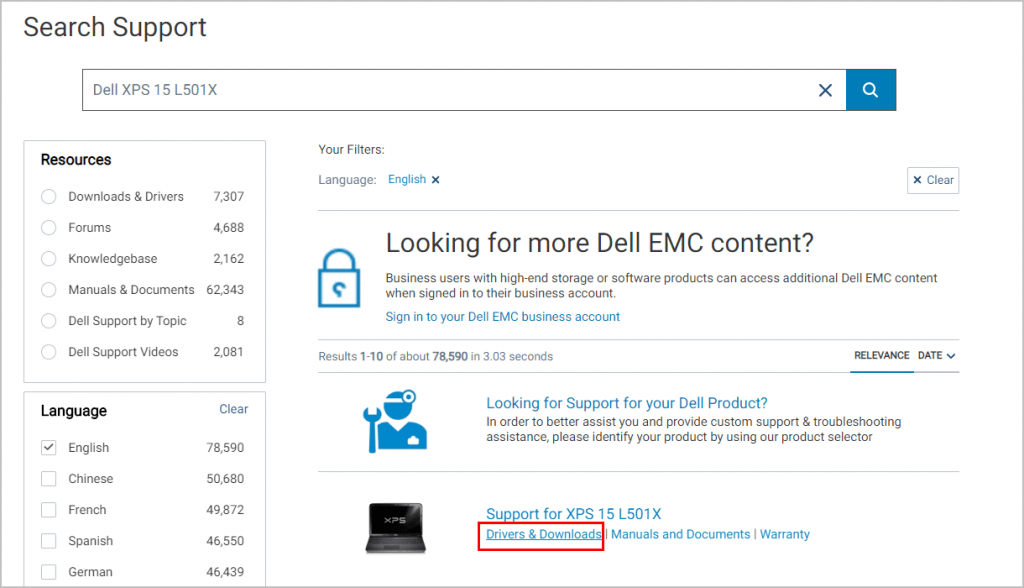
5) Within seconds, Dell will return to you a list of drivers available for download. Make sure the detected OS is correct, then locate the driver packages that you would like to download and click on Download next to it.
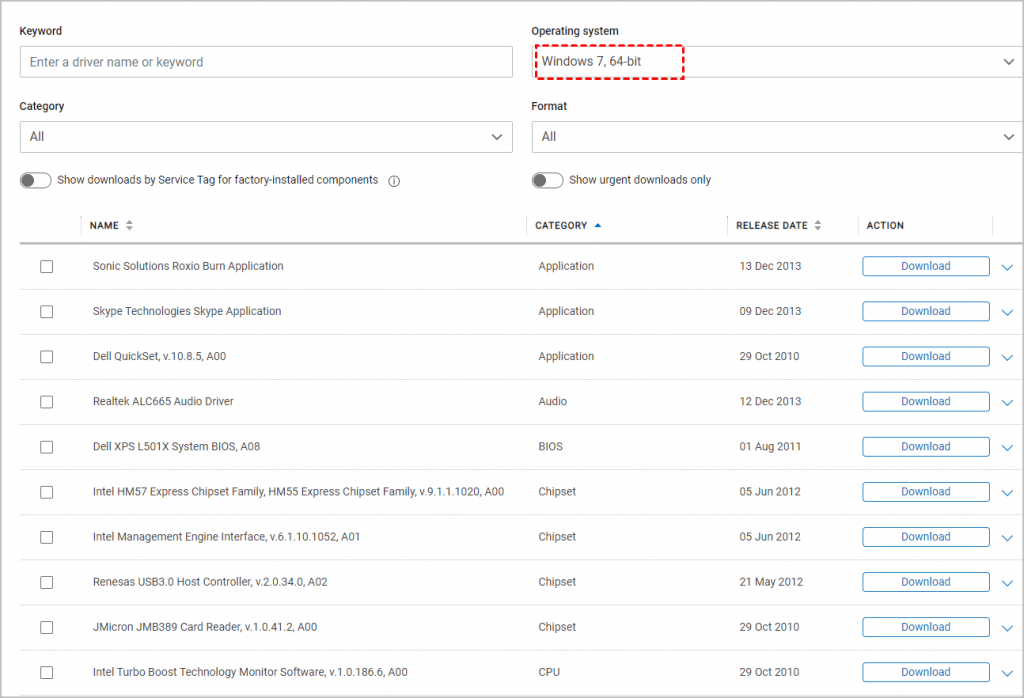
6) Run the downloaded file to install the driver for your computer.
7) Restart your computer for the changes to take effect.
8) If you have more than one driver to update, please repeat 5) to 7) until you have completed updating them all.
Now congrats – you have already updated all the outdated or missing drivers for your Dell XPS 15 laptop.
That’s it! Hope the post has guided you in the right direction in updating Dell XPS 15 laptop drivers. If you have any ideas, suggestions or questions, please do not hesitate to let us know in the comments. Thanks for reading!