If you find that your network connection is somehow glitchy, you need to update your Intel network card driver for it to work properly again. Here are two of the most effective ways to get your network card driver updated.
You just need to pick one of them to update your Intel card driver.
Method 1. Download from Intel Support
Method 2. Download and Update Automatically
Method 1: Download from Intel Support Manually
To manually download and update driver for your Intel Ethernet, first you need to know the model of your network adapter.
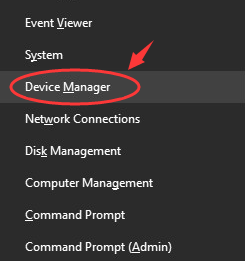
1) On your keyboard, press the Windows logo key  and X at the same time, then click Device Manager.
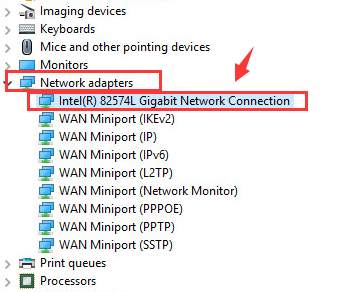
2) Expand Network adapters. Double-click your Intel Network adapter.
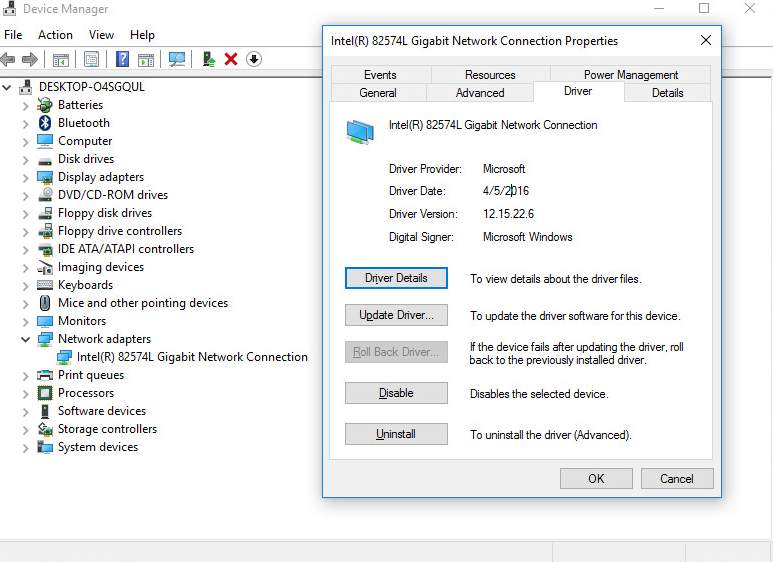
3) Go to Driver tab. You should be able to see the detailed information of this certain driver here.
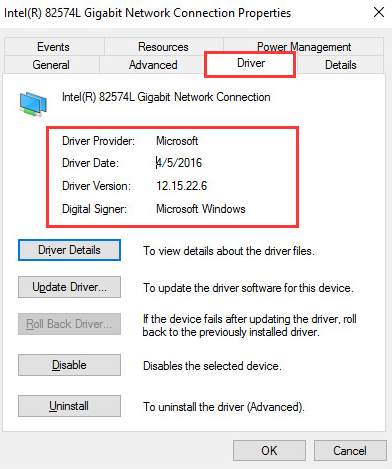
Now that you have more detailed information about your network driver, you can start looking for the newer driver for it.
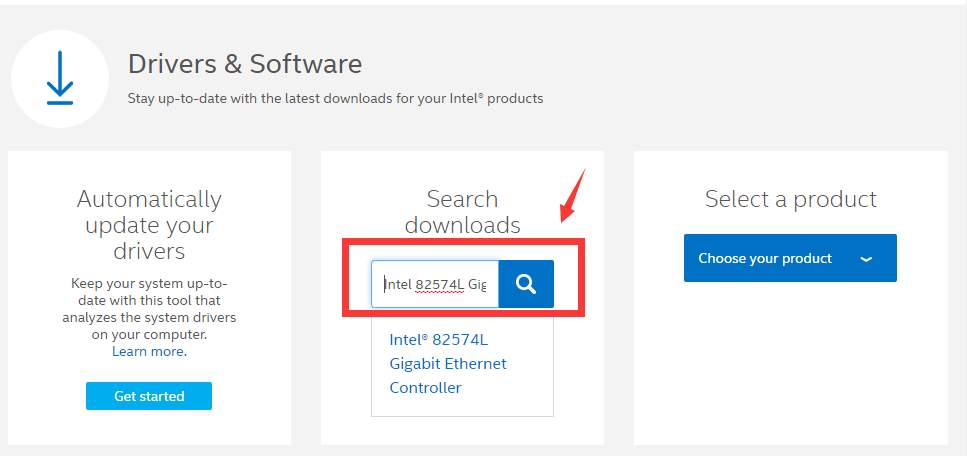
4) Go to the Drivers & Software section on Intel Support. Type the name of our adapter in the box in the middle. Click the search icon.
5) Select Drivers from the drop down menu on the left.
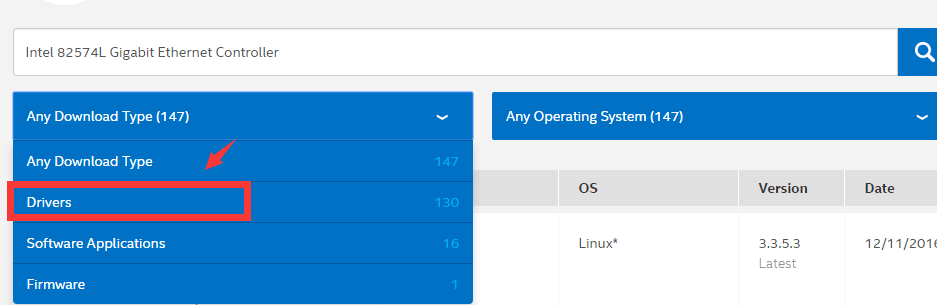
6) We can see that the latest version that you could see is the driver released on October, 11th, 2016 for Windows 7 operating system.

This version is newer than the version that we are having now, which is released on April, 5th, 2016, according to the information that we saw in the above screen shot.
7) Click into the web page for this driver, and download the correct version for your operating system.

8) When you finish the download, extract the file and then run the installation setup app to install it by yourself.
Method 2: Download and Update Automatically
If you find the above method too much to ask from you, or you’re not confident playing around with drivers manually, you can do it automatically with Driver Easy.
Driver Easy will automatically recognize your system and find the correct drivers for it. You don’t need to know exactly what system your computer is running, you don’t need to risk downloading and installing the wrong driver, and you don’t need to worry about making a mistake when installing.
You can update your drivers automatically with either the FREE or the Pro version of Driver Easy. But with the Pro version it takes just 2 clicks (and you get full support and a 30-day money back guarantee):
1) Download and install Driver Easy.
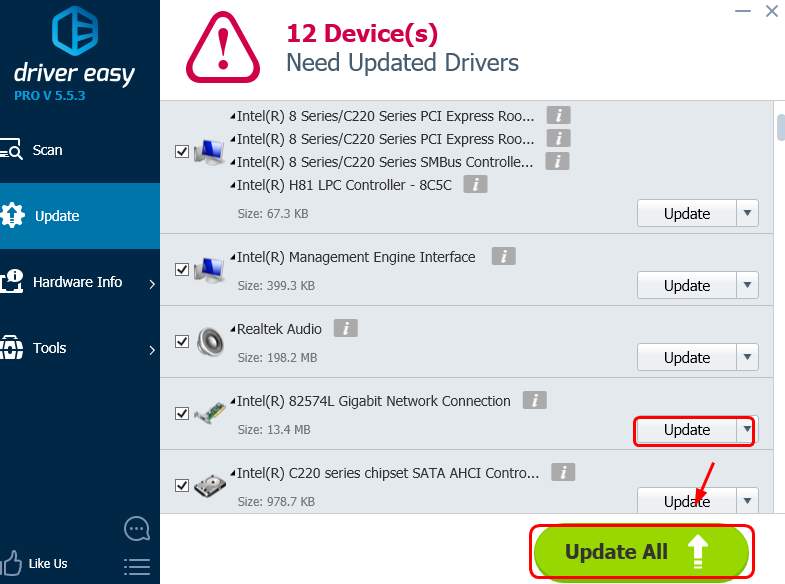
2) Run Driver Easy and click the Scan Now button. Driver Easy will then scan your computer and detect any problem drivers.

3) Click the Update button next to the flagged Intel network card to automatically download and install the correct version of its driver (you can do this with the FREE version).
Or click Update All to automatically download and install the correct version of all the drivers that are missing or out of date on your system (this requires the Pro version – you’ll be prompted to upgrade when you click Update All).