


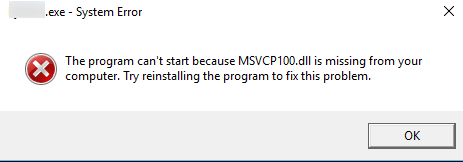
If you’re bugging by a popped-up box saying “The program can’t start because MSVCP100.dll is missing from your computer“, you’re not alone. Many Windows users share your feelings and experience.
But no worries, it’s possible to fix. This article gives you 3 solutions to try.
What is MSVCP100.dll missing error?
This problem is most likely seen when:
a) Windows is first starting up or shut down;
b) a certain program is being installed or used; or
c) when a new Windows is being installed.
How do I fix it?
Here are 3 fixes you can try to fix this problem. You don’t need to try them all, just work your way down until you find the one works for you.
- Reinstall Microsoft Visual C++ Redistribution Package MFC Security Update
- Copy the file from trusted computer
- Run a Virus Scan
- Bonus Tip
Fix 1: Reinstall Microsoft Visual C++ Redistribution Package MFC Security Update
The most likely cause for this error message is that you lack certain files when installing the program. To fix it:
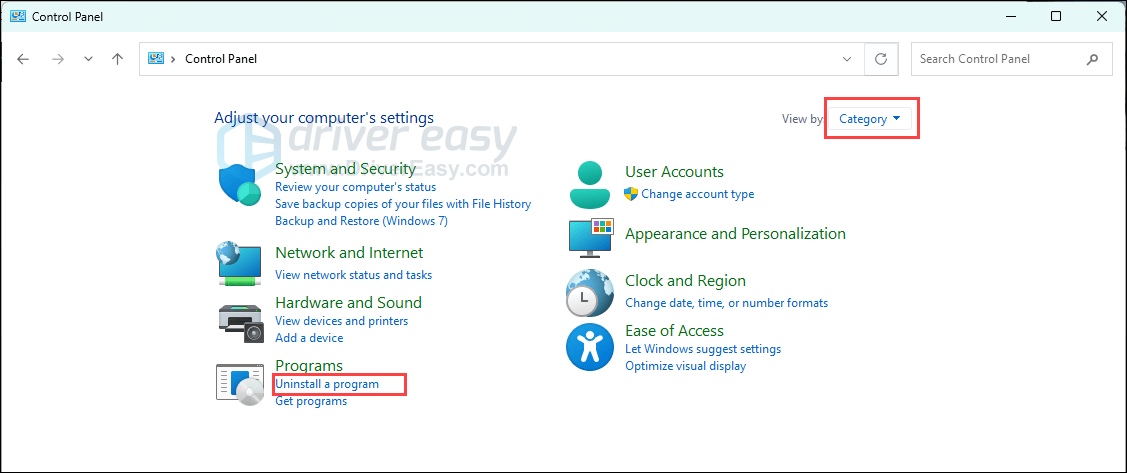
1) On your keyboard, press the Windows logo key, then select Control Panel. View by Category, and then click Uninstall a program.
2) Check to see what version of Microsoft Visual C++ Redistributable program that you have installed. We’re having version 2005 and 2012. Select one from the list and click Uninstall.
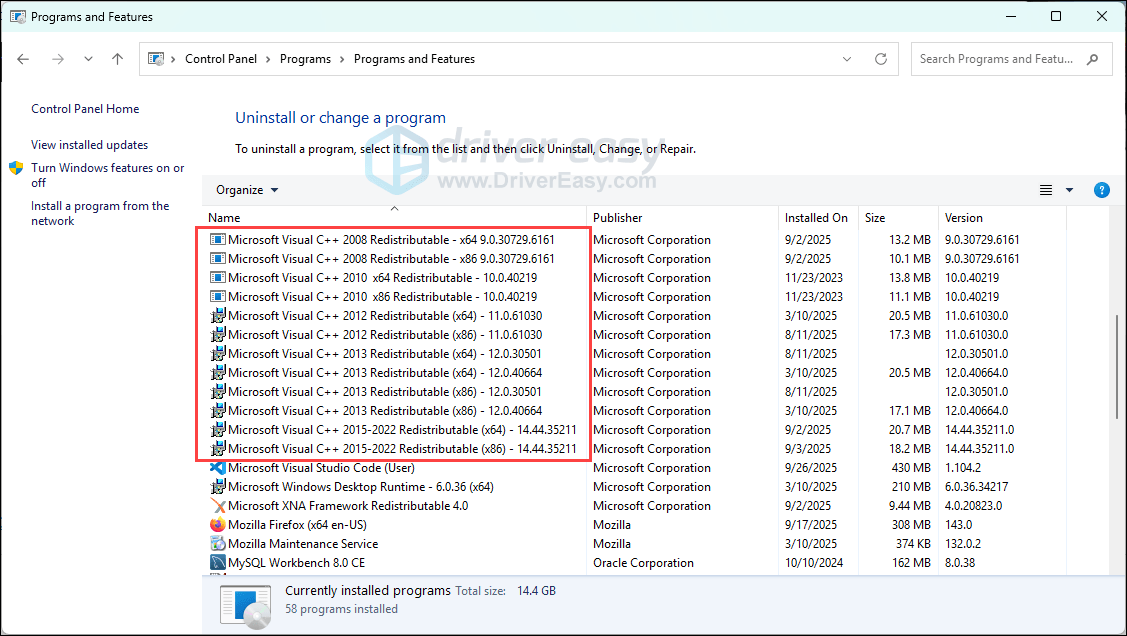
3) Repeat the uninstall process with the other Microsoft Visual C++ Redistributable programs that you are seeing here.
4) In most cases, this problem can be solved by installing Visual C++ redistributable 2015 Redistribution Update 3 downloaded from Microsoft. It’s the latest version of this update so far.
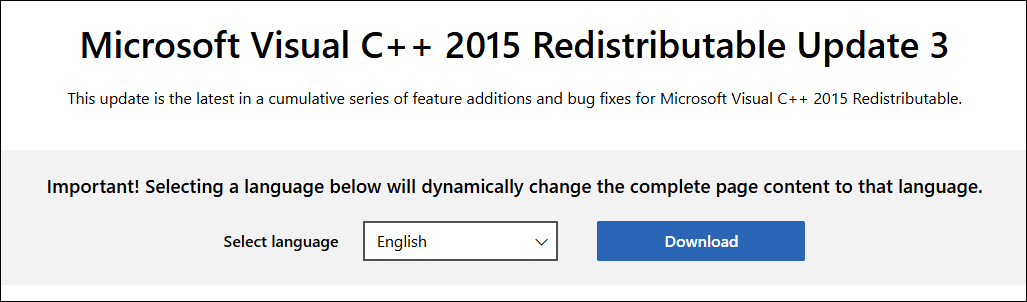
Please make sure that you only download this file from Microsoft and not from some random websites.
5) When the download finishes, double-click the installation file to install it on your computer.
6) When the installation finishes, reboot your computer for the change to take effect.
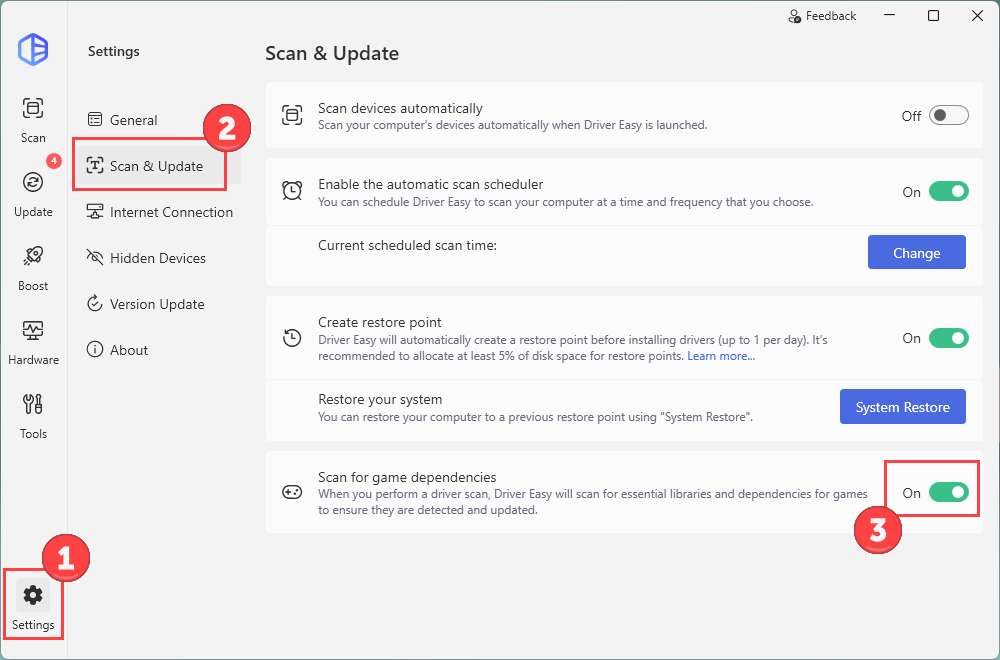
Additionally, you can use Driver Easy to download the Microsoft Visual C++ Redistributable package:
- Open Driver Easy, click Settings > Scan & Update, and then turn Scan for game dependencies On.
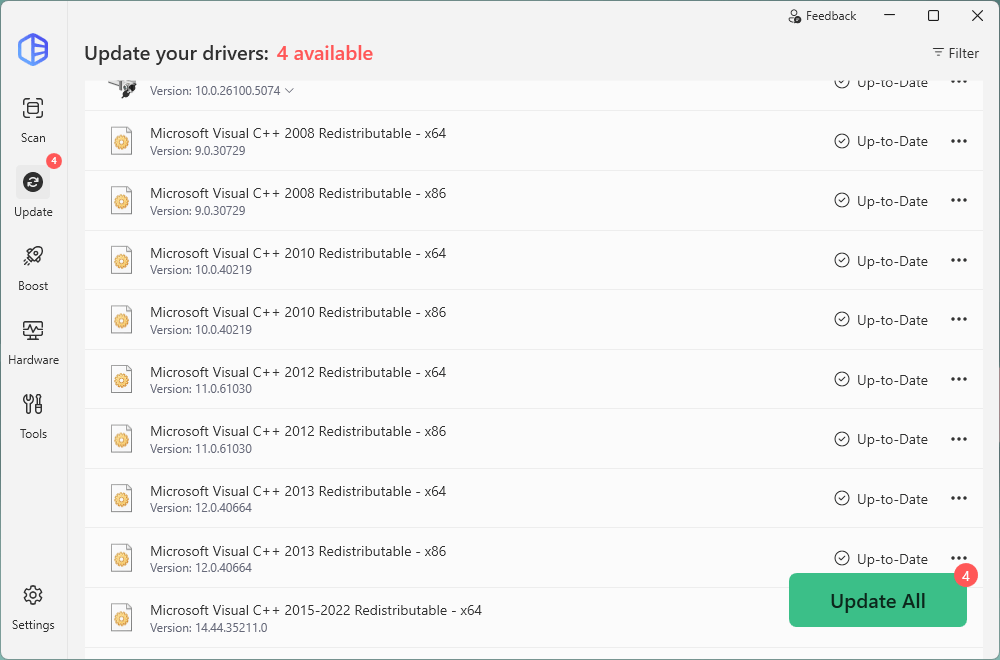
- Run a scan again and update the Microsoft Visual C++ package. Here’s an up-to-date version:
If the problem persists, please follow the next option below.
Fix 2: Copy the file from trusted computer
You can also fix this error by copying the same file from another computer and pasting it into your own. To do so:
1) Find another computer that runs the same operating system as yours.
The versions (Windows 10/8/7) and architectures (32-bit/64-bit) of both operating systems must be the same.
2) On that computer, open File Explorer (by pressing the Windows logo key and E on your keyboard), then go to C:\Windows\System32 and copy the msvcp100.dll there.
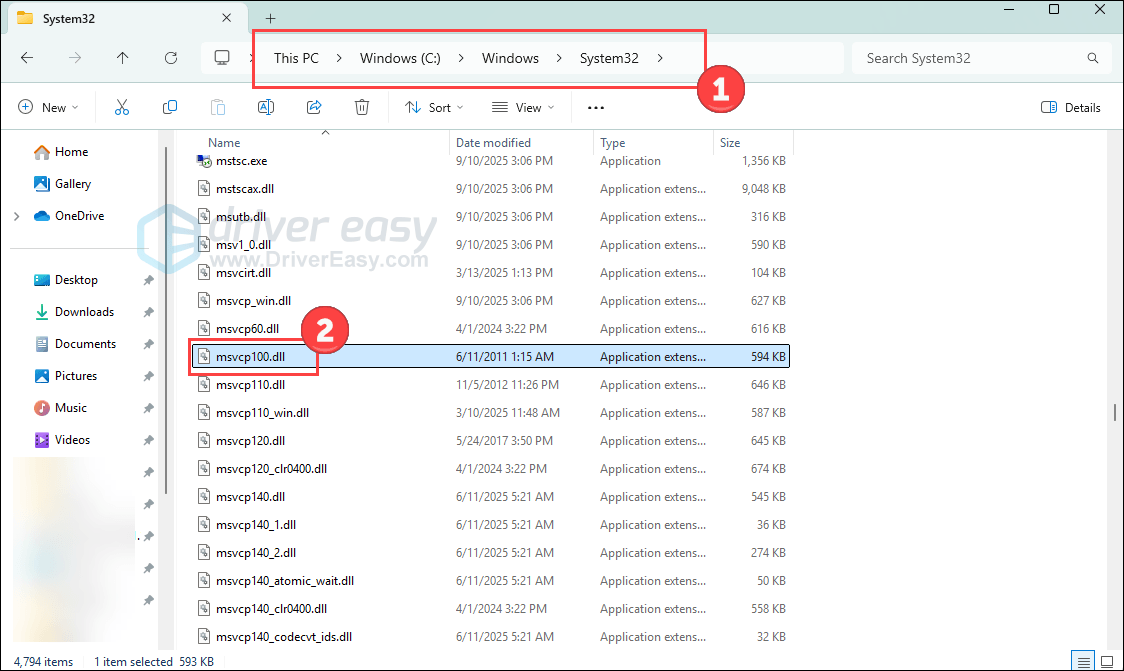
3) Paste the copied file to the same location (C:\Windows\System32) on your own computer. (You may need an external storage device, like a flash drive.)
Try launching the program again and it should be working.
Fix 3: Run a Virus Scan
Viruses or malware infection could also stop the .dll file from running.
To rule out this possibility, run a full system check with your anti-virus program. Windows Defender alone might not be able to help you with it. You could try other anti-virus programs.
If the above methods do not help to solve your problem, please:
1) Reinstall the program that shows you this notification. Sometimes, just simply reinstall the program fixes the problem right away.
2) You can also try to perform a startup repair with your system.
3) Or if none of the methods work, you might need to consider getting your Windows 10 reinstalled.
Bonus Tip: Update available drivers
Updating device drivers should always be the prior option when something goes wrong with your computer. You can choose to manually update device drivers via Windows Update, or from the trusted manufacturer website. This takes time and computer skills, and you need to ensure that the downloaded device driver should be compatible with your operating system all the time.
If you’re not familiar with playing around with device drivers, you can do it automatically with Driver Easy.
Driver Easy will automatically recognize your system and find the correct drivers for it. You don’t need to know exactly what system your computer is running, you don’t need to risk downloading and installing the wrong driver, and you don’t need to worry about making mistakes when installing.
You can update your drivers automatically with either the FREE or the Pro version of Driver Easy. But with the Pro version, it takes just 2 clicks (and you will get full support and a 30-day money back guarantee).
1) Download and install Driver Easy.
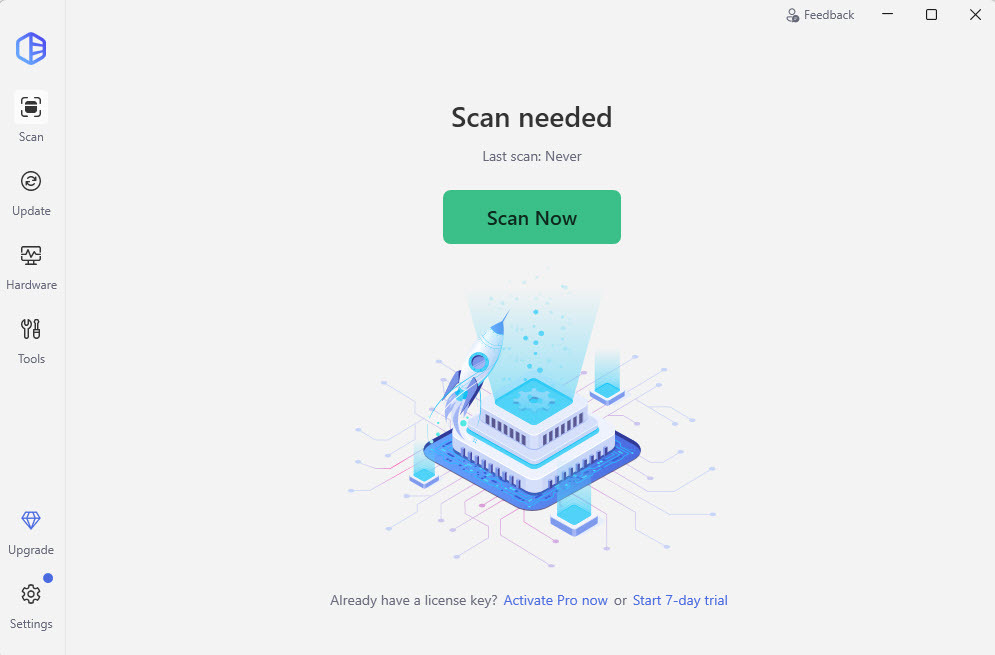
2) Run Driver Easy and click the Scan Now button. Driver Easy will then scan your computer and detect any problem drivers.
3) Click the Update button next to the flagged device to automatically download the correct version of the driver. Or click Update All to automatically download and install the correct version of all the drivers that are missing or out of date on your system (this requires the Pro version – you’ll be prompted to upgrade when you click Update All).

4) Restart your computer to take effect.