


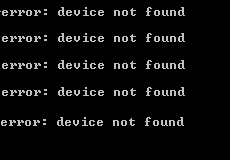
ADB, short for Android Debug Bridge, is a command-line utility. It can allow you control your device over USB from a computer. And it’s included by Google’s Android SDK. The annoying thing is, many users and you encounter the error device not found when you try to use it.
Don’t worry. It’s not a problem that cannot be solved any more. Here in this article, you’ll learn how to fix ADB device not found step by step.
ADB Device Not Found Error is always a driver issue. In other words, if you found ADB device not found error on your computer, it’s very likely there is problem with your ADM device driver.So you can probably fix this problem through installing the correct driver for the ADB device.
Here you’ll be shown with two ways to install the correct driver for your ADB device.
Pick the way you prefer:
- Install the correct driver for your ADB device manually through Device Manager
- Install the correct driver for your ADB device automatically through Driver Easy [Recommended]
Way 1: Install the correct driver for your ADB device manually through Device Manager
1) Find your SDK manager from Start list. Right-click on it and choose Run as administrator. Then click Yes when prompted by User Account Control.
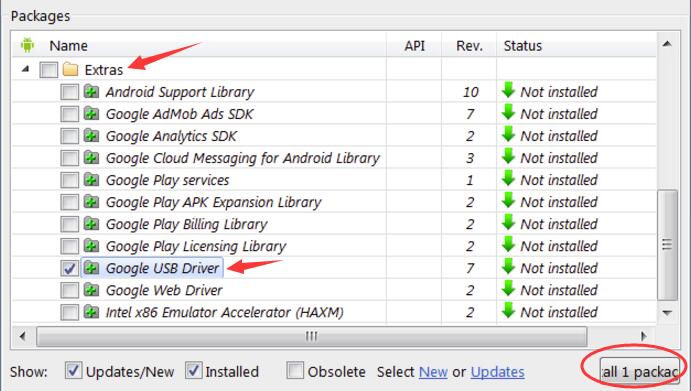
2) When SDK manager is open, find and expand Extras folder. Go on to find and tick on Google USB Driver under Extras folder. Then click Install 1 package at the bottom right.
3) When finish installing the driver, plug in your Android device.
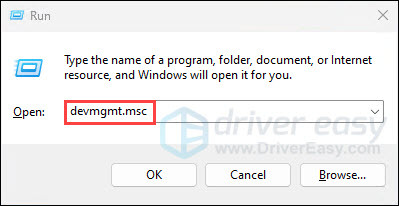
4) On your keyboard, press the Windows logo key + R key at the same time.
5) Type devmgmt.msc in the box and press Enter to open Device Manager.
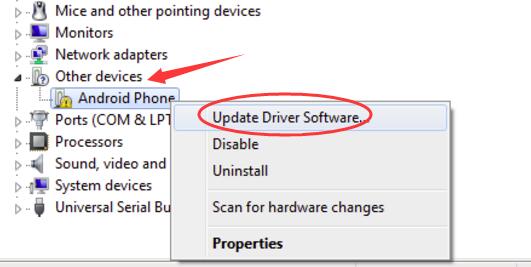
6) Find your Android device. It’s probably under Other devices section with a yellow mark. Then right-click on it and choose Update Driver Software…
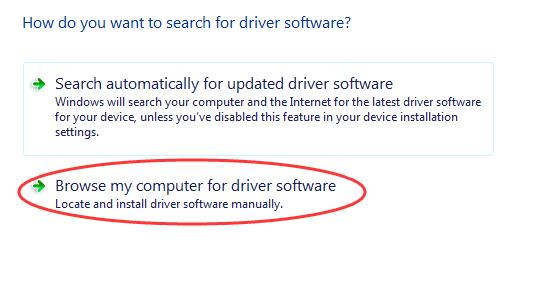
7) Click Browse my computer for driver software.
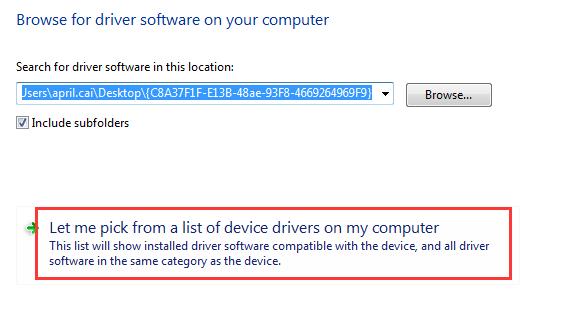
8) Go on to click Let me pick from a list of device drivers on my computer.
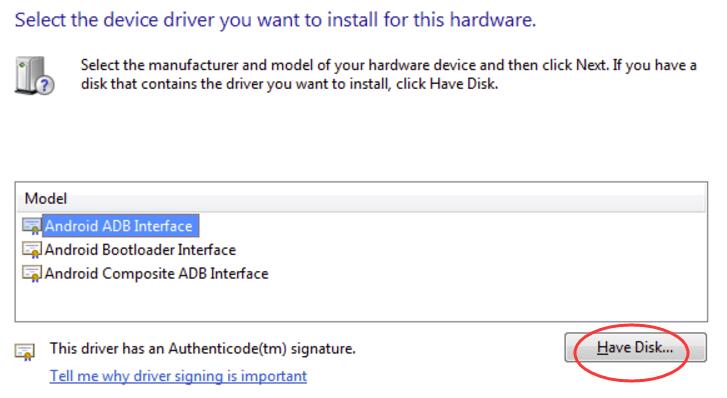
9) Click Have Disk.
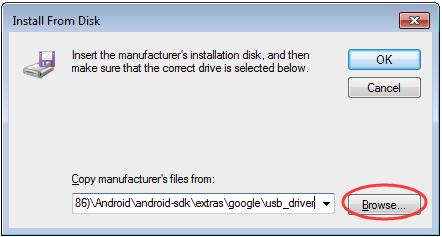
10) Click Browse to choose the Google USB Driver you downloaded at the beginning. Or you can enter the following address into the box.
C:\Program Files (x86)\Android\android-sdk\extras\google\usb_driver
Then click OK.
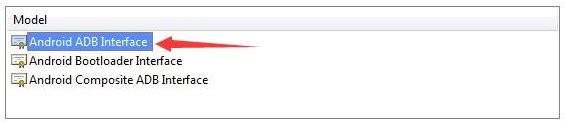
11) Double-click on Android ADB Interface.
12) Go on to follow the easy on-screen instructions to complete installing the driver.
After it’s done, please restart your computer to make the new driver take effect.
Now your problem should be solved, try to use ADB now.
Way 2: Install the correct driver for your ADB device automatically through Driver Easy [Recommended]
If you don’t have the time, patience, or computer skills to update your ADB device driver manually, you can, instead, do it automatically with Driver Easy. Driver Easy will automatically recognize your system and find the correct driver for your exact ADB device, and your variant of Windows system, and it will download and install it correctly:
1) Download and install Driver Easy.
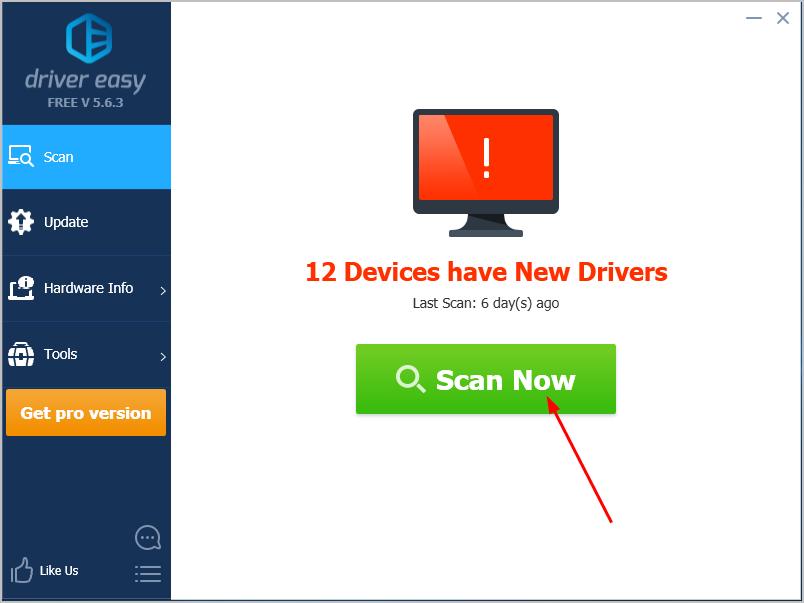
2) Run Driver Easy and click the Scan Now button. Driver Easy will then scan your computer and detect any problem drivers.
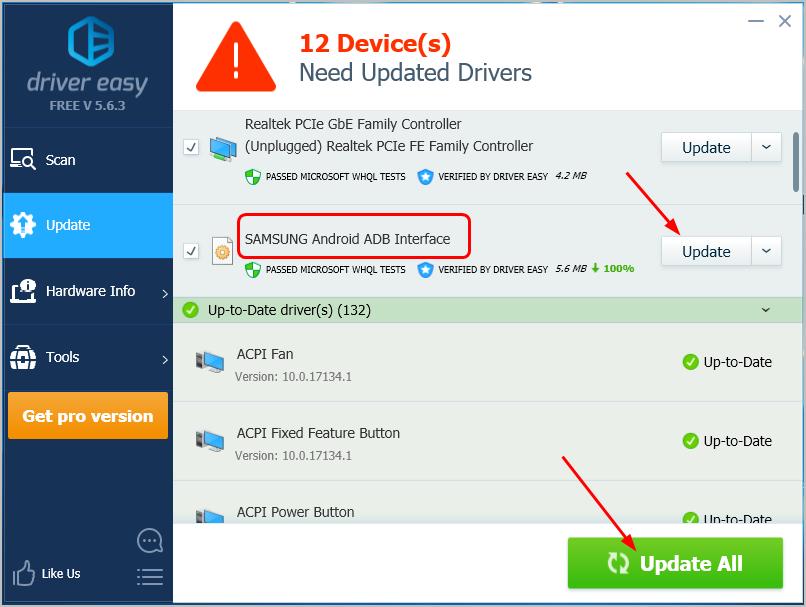
3) Click the Update button next to the flagged ADB device driver to automatically download and install the correct version of that driver (you can do this with the FREE version).
Or click Update All to automatically download and install the correct version of all the drivers that are missing or out of date on your system. (This requires the Pro version which comes with full support and a 30-day money-back guarantee. You’ll be prompted to upgrade when you click Update All.)
4) After it’s done, please restart your computer to make the new driver take effect.
Now your problem should be solved, try to use ADB now.
Hopefully, this has helped you fix the problem. Feel free to comment below with your own experiences.