


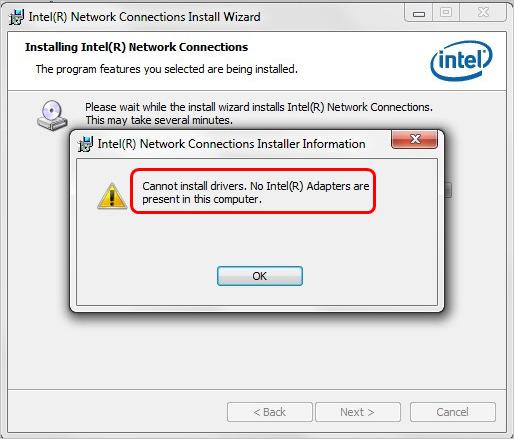
When you try to install the Intel Network driver, if you run into the error “Cannot install drivers. No Intel(R) Adapters are present in this computer“, don’t worry. You can fix the error with one of the solutions below.
Solution 1: Update the driver via Device Manager
First, ensure the driver was downloaded from Intel official website. If you have downloaded the driver from Intel’s official website, then ensure the driver has the latest version.
If this is the latest driver you could find from Intel, you can install the driver manually step by step via Device Manager. To do so:
- Extract and decompress the downloaded file (.exe) to a folder. (You need an archive utility such as 7.zip to extract the file. If you haven’t installed a utility yet, you can download it online.)
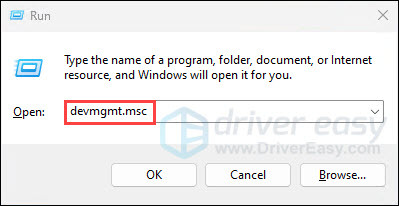
- On your keyboard, press the Windows logo + R keys simultaneously to open the Run box. Type devmgmt.msc and hit Enter to open the Device Manager.
- Expand the category “Network adapters”. Right-click on the Intel network device and select Update Driver Software…
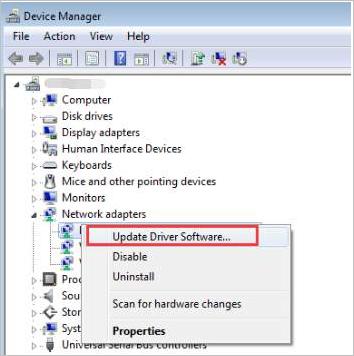
Note if the network driver is missing, it might be listed under the category “Other devices”. In this case, there is a yellow mark next to the device which is probably displayed as Ethernet Controller.
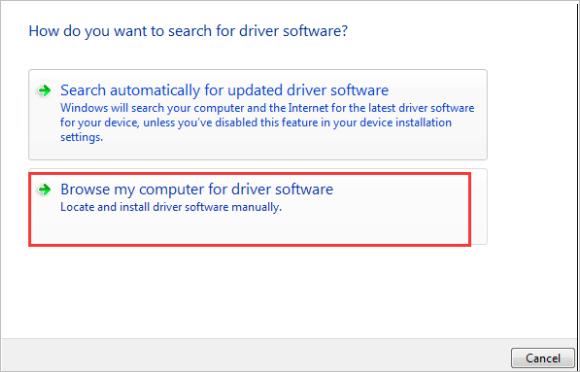
- Click Browser my computer for driver software.
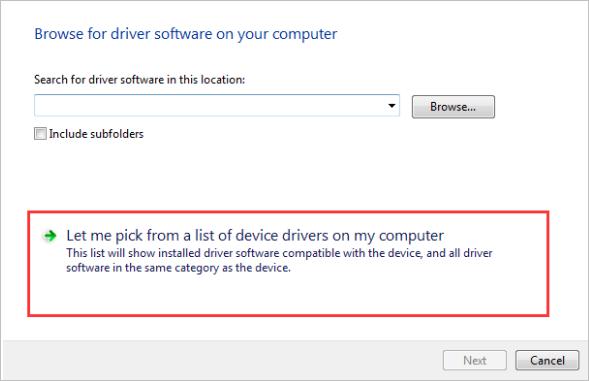
- Click Let me pick from a list of device drivers on my computer.
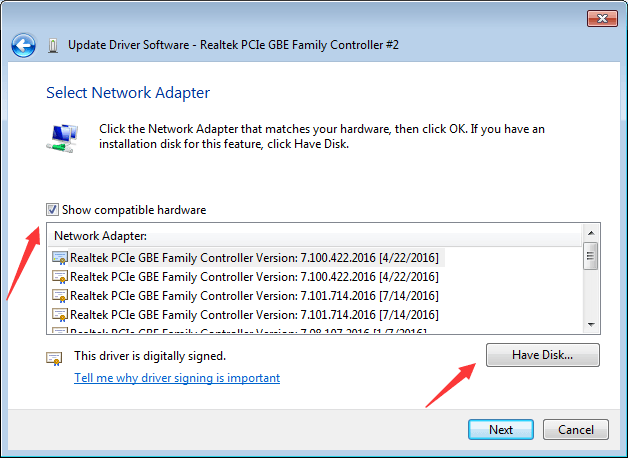
- Check the box next to Show compatible hardware and click Have Disk.
- Click Browse and navigate to the folder where you extracted the driver file to in Step 1).
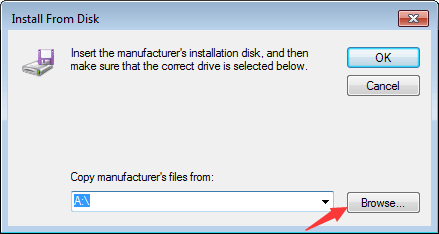
- Continue to open the folders until you can choose any of the .INF files. Then follow the on-screen instructions to install the driver.
Solution 2: Update the driver automatically
The above steps above may help resolve the problem, but if they don’t, you can update the driver automatically using Driver Easy.
Driver Easy will automatically recognize your system and find the correct drivers for it. You don’t need to know exactly what system your computer is running, you don’t need to risk downloading and installing the wrong driver, and you don’t need to worry about making a mistake when installing.
You can update your drivers automatically with either the 7 days free trial or the Pro version of Driver Easy. It takes just 2 clicks, and you get full support and a 30-day money-back guarantee with the Pro version:
- Download and install Driver Easy.
- Run Driver Easy and click the Scan Now button. Driver Easy will then scan your computer and detect any problem drivers.

- Click the Activate & Update button next to the flagged device to automatically download and install the correct version of this driver.
Or click Update All to automatically download and install the correct version of all the drivers that are missing or out of date on your system (You’ll need the Pro version for this – when you select Update All, you’ll get a prompt to upgrade. If you’re not prepared to purchase the Pro version yet, Driver Easy provides a 7-day trial at no cost, granting access to all Pro features like fast downloads and easy installation. No charges will occur until after your 7-day trial period ends.)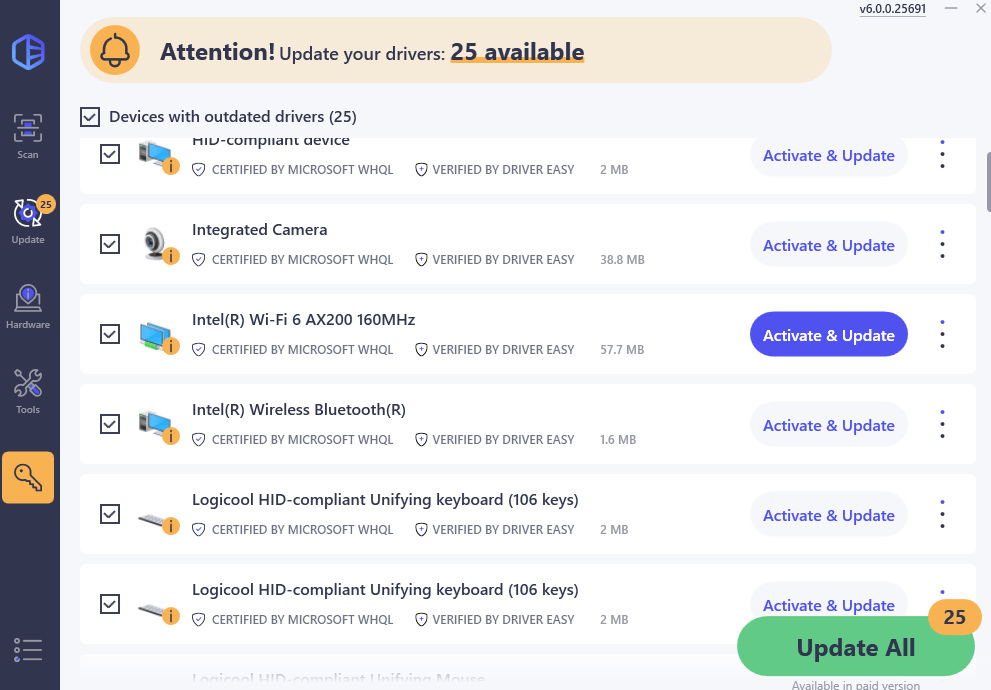
- After updating, restart your computer to take effect.
Hopefully, you can install the Intel network driver successfully with the tips above. If you have any questions, please feel free to leave your comments below. We’d love to hear any ideas or suggestions.