


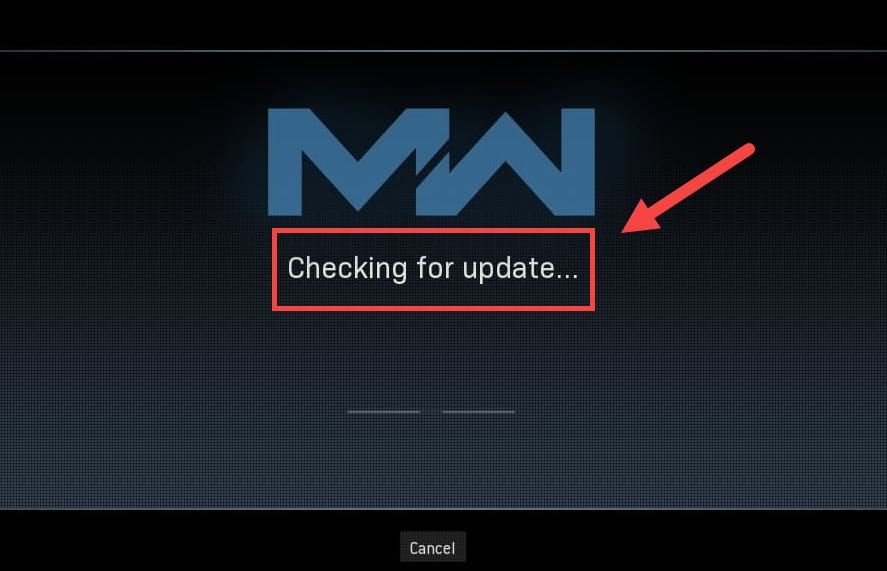
While Treyarch is trying to stop Warzone from crashing constantly, a new issue emerges and gets players stuck on the “Checking for updates” screen. But don’t worry if you happen to be on the same boat. Though Treyarch hasn’t yet released a patch targeting this issue, there’re still some workarounds you can try.
Try these fixes
You might not need to try them all. Simply work your way down until you hit the one that does the charm.
- Restart your network
- Scan and repair your game files
- Change your DNS settings
- Update your network driver
- Check for updates on Battle.net client
- Temporarily disable your firewall
- Purge the Blizzard-related cache
- Use a VPN
Fix 1: Restart your network
While troubleshooting network issues, you should first rule out the possibility of hardware failure. To do so, you can simply do a reboot of your network equipment. This will renew your IP address and purge the DNS cache.
Here’s a quick guide for that:
- At the back of your modem and router, unplug the power cords.
Modem 
Router - Wait at least 30 seconds, then plug the cords back in. Make sure the indicators are back to their normal state.
- Open your browser and check the connection.
Once you’re back online, launch Warzone and test the connection.
If you still can’t get pass the update screen, take a look at the next fix.
Fix 2: Scan and repair your game files
The connection issue could also mean that certain game files are missing or corrupted. If that’s the case, a simple scan and repair should allow Warzone to update properly.
To do so, follow these steps:
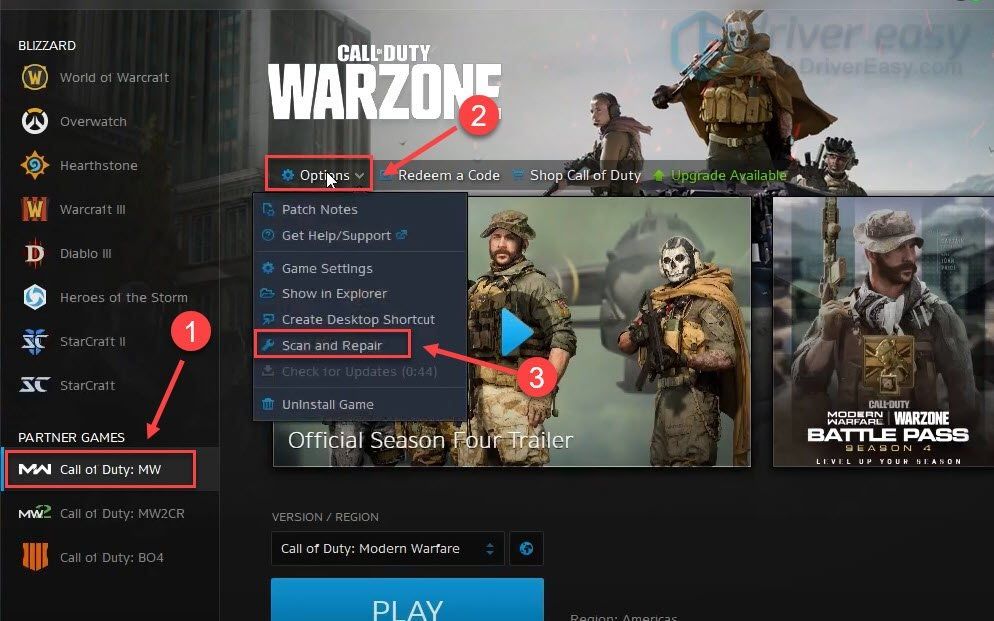
- Open your Battle.net client.
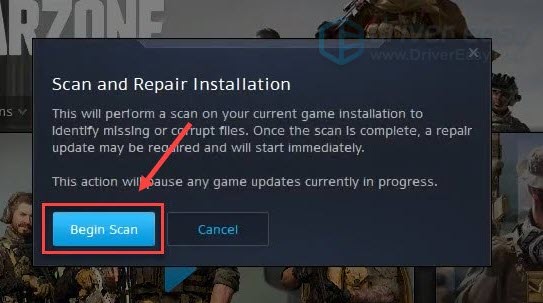
- From the left menu, select Call of Duty: MW. Click Options and select Scan and Repair.
- Click Begin Scan. Then wait for the process to complete.
- Once done, launch Warzone and see if the problem goes away.
If the issue lingers on, you can go ahead and try the next solution.
Fix 3: Change your DNS settings
DNS servers are like Internet phonebooks that translates the domain into actual IP addresses. You can configure your PC to use popular DNS servers, which will help avoid connection issues caused by DNS resolution failure.
To change your DNS settings, use these steps:
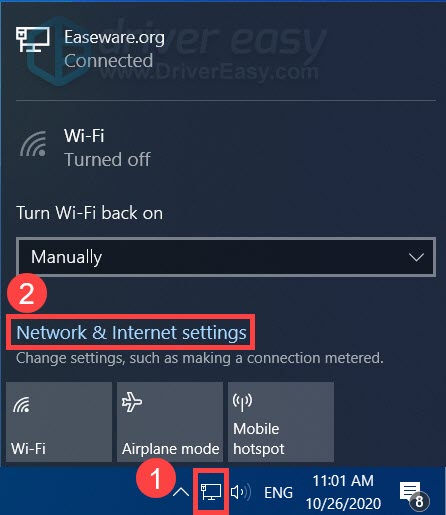
- At the bottom right corner of your screen, click the computer icon. Then click Network & Internet settings.
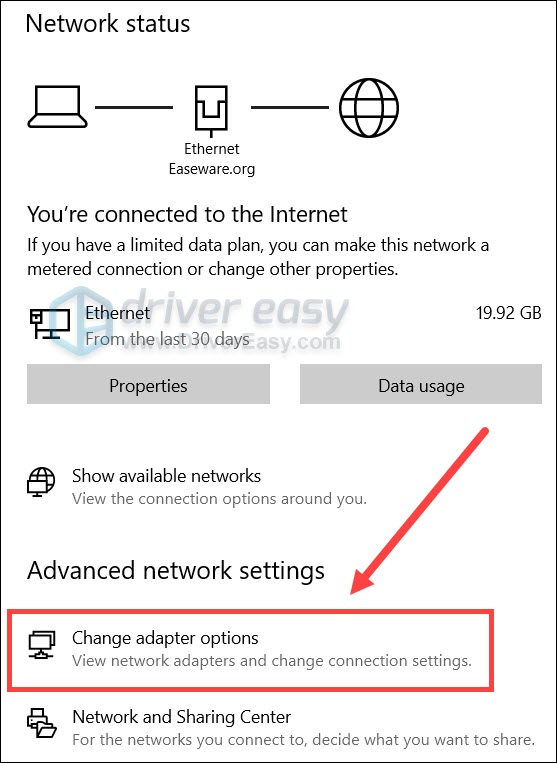
- Under the Advanced network settings section, click Change adapter options.
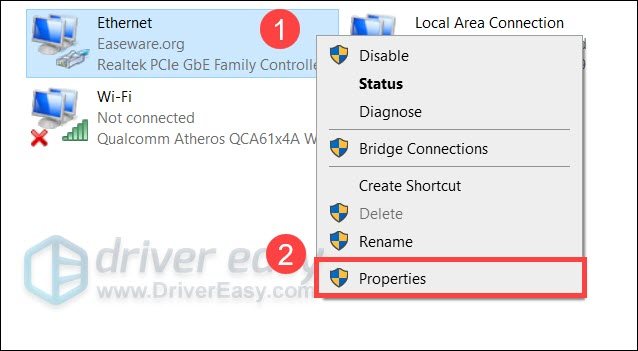
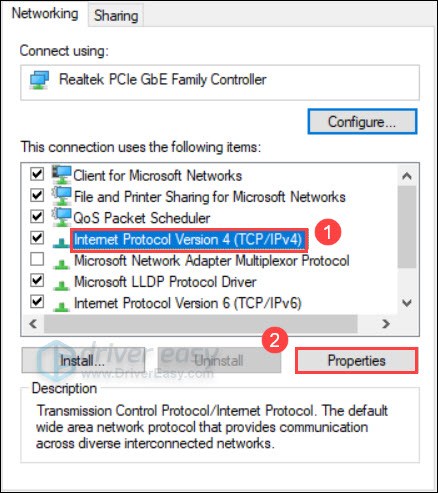
- Right-click your network adapter, select Properties.
- Select Internet Protocol Version 4 (TCP/IPv4) and click Properties.
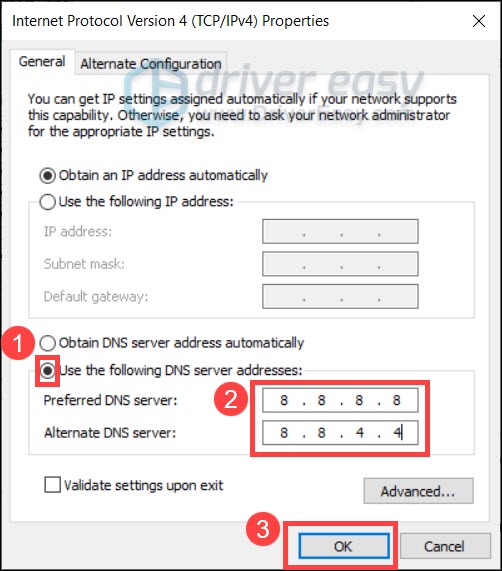
- Select Use the following DNS server addresses:. For Preferred DNS server, type 8.8.8.8; and for Alternate DNS server, type 8.8.4.4. Click OK to save the changes.
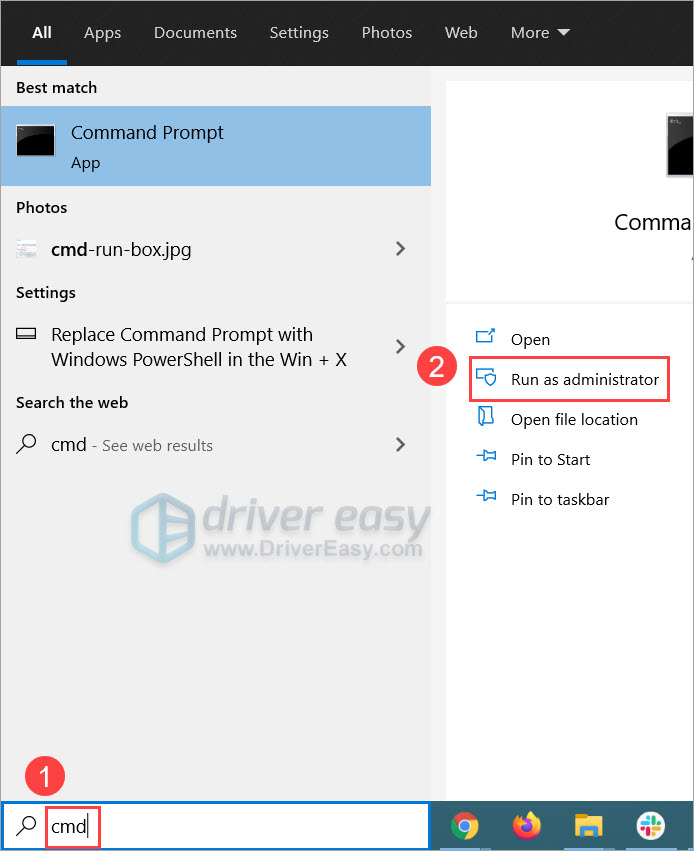
- Next you need to purge the DNS cache for the changes to apply. On your keyboard, press Win (the Windows logo key) and type cmd. Select Run as administrator.
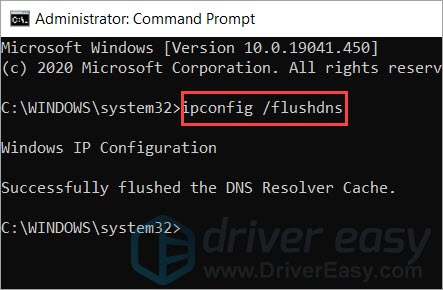
- In the pop-up window, type in ipconfig /flushdns. Press Enter.
Now restart your Battle.net launcher and check if Warzone updates now.
If the problem persists, you can move on to the next fix.
Fix 4: Update your network driver
Being stuck on “Checking for updates” could mean that you’re using a broken or outdated network driver. To ensure an uninterrupted gaming experience, especially in online shooters, you need to make sure you’re always using the latest network driver.
There’re generally two ways you can update your network driver: manually or automatically.
Option 1: Update your network driver manually
If you’re a tech-savvy gamer, you can try to update your network driver manually.
First you can visit the website of your motherboard manufacturer, then search for you model. You can usually find drivers in the support or download page. Remember to download only the latest correct network driver that’s compatible with your system.
Option 2: Update your network driver automatically (Recommended)
If you’re not comfortable playing with device drivers, we recommend using Driver Easy. It’s a tool that detects, downloads and installs any driver updates your computer needs.
- Download and install Driver Easy.
- Launch Driver Easy, then click Scan Now. Driver Easy will then scan your computer and detect any problem drivers.
- Click Update All to automatically download and install the correct version of all the drivers that are missing or out of date on your system.(This requires the Pro version – you’ll be prompted to upgrade when you click Update All. If you don’t want to pay for the Pro version, you can still download and install all the drivers you need with the free version; you just have to download them one at a time, and manually install them, the normal Windows way.)

After updating your network driver, restart your PC and test the connection in Warzone.
If the latest network driver doesn’t give you luck, you can continue to the next method.
Fix 5: Check for updates on Battle.net client
Normally the update takes place when you start Warzone. But you can actually update manually on the Battle.net client. This might be a workaround to this issue.
Here’s how
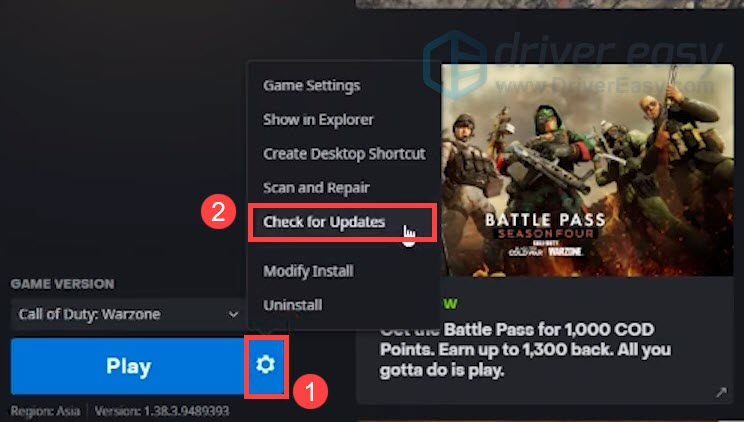
- Open your Battle.net client. Navigate to the Warzone page.

- Click the gear icon next to the Play button. Select Check for Updates and wait for it to finish.
- Once done, start Warzone and check if the issue persists.
If this method doesn’t work for you, simply check out the next one below.
Fix 6: Temporarily disable your firewall
Though rare, in some cases, it might be your firewall that’s causing the hassle. To fix possible firewall misconfigurations, you can temporarily disable your firewall and see how things go.
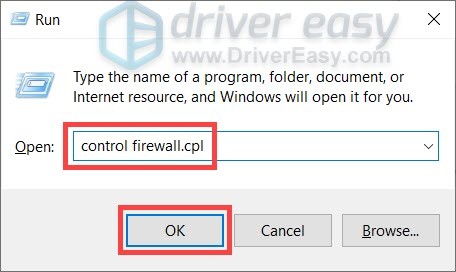
- On your keyboard, press the Windows logo key and R at the same time to invoke the Run box. Then Type or paste control firewall.cpl and click OK.
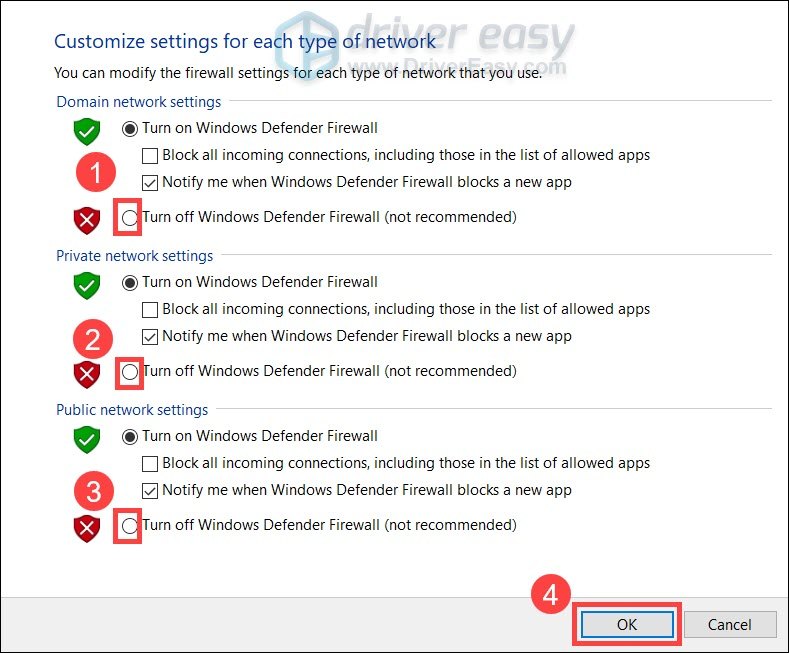
- From the left menu, select Turn Windows Defender Firewall on or off.
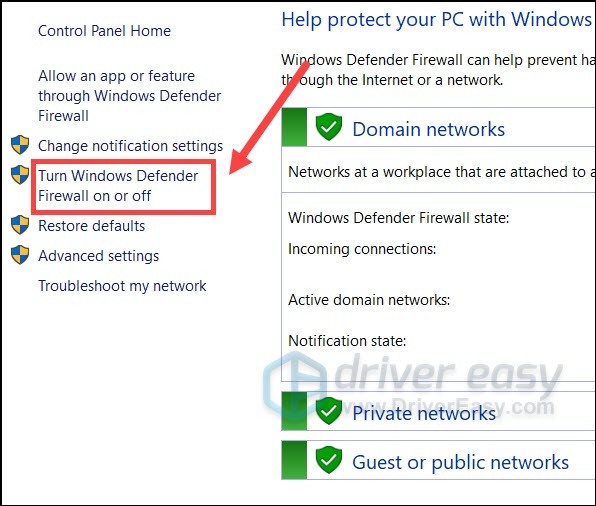
- Select Turn off Windows Defender Firewall (not recommended) for Domain network, Private Network and Public network. Then click OK.
Now launch Warzone and check if you can get past the update screen.
If this method doesn’t help, turn the firewall back on and move on to the next fix.
Fix 7: Purge the Blizzard-related cache
Some users reported that cleaning up cache could be a potential fix for the connection problem. You can try this and see if this applies to your case.
Remove these folders (detailed instructions below):
| Cache folders | Directory shortcut (Win+R) |
| Battle.net, Blizzard Entertainment | %programdata% |
| Battle.net | %appdata% |
| Battle.net, Blizzard Entertainment | %localappdata% |
You can also follow these instructions to purge the cache:
- On your keyboard, press Win+R (the Windows logo key and the R key) to invoke the Run box. Type or paste %programdata% and click OK.
- One at a time, right-click the Battle.net and Blizzard Entertainment folders and select Delete.
- Press Win+R again. Type or paste %appdata% and click OK.
- Right-click the Battle.net folder and select Delete.
- Again, press Win+R and type %localappdata% and click OK. This time, right-click the Battle.net and Blizzard Entertainment folders and select Delete.
Now restart your Battle.net App and test the Warzone connection.
If this fix doesn’t give you luck, take a look at the next one.
Fix 8: Use a VPN
If you’re tired of troubleshooting your local network, maybe give VPN a shot. VPN servers tend to have a better connection, and they take care of all the complex settings such as port-forwarding and NAT.
But note that we don’t like free VPNs as they are usually a catch. A paid VPN subscription guarantees a smooth gameplay even during rush hours.
And here’re some gaming VPNs we recommend:
So these are the fixes for your connection issues in COD: Warzone. Hopefully, this tutorial helps you get back to the field. If you have any questions or ideas, just give us a shout in the comments below.
