


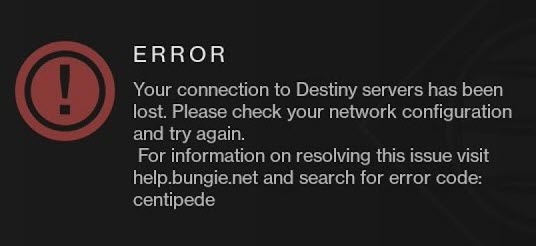
Many players have been reporting the Error Code Centipede on Destiny 2 for PC, PS5/PS4, and Xbox. If you also get the Centipede Error, it means that you’re not able to connect to Destiny servers currently. The good news is there are some working fixes available. Read on and find out what they are.
Try these fixes…
You don’t have to try them all; just work your way down the list until you find the one that does the trick!
1: Check Destiny 2 server status
2: Check your Internet connection
4: Update your network adapter driver
5: Use a VPN when your Internet access is restricted
Fix 1: Check Destiny 2 server status
Since the Error Centipede is a general networking error, the first thing you can do is to check if the server is down. If Destiny 2 is undergoing maintenance, you won’t be able to connect to the server and thus may get the Centipede Error.
You can refer to the Bungie Help page and Bungie Help official Twitter for upcoming maintenance schedules and real-time notifications.
If Destiny 2 servers are working as intended, then the problem may be with your Internet connection. Read on for some fixes to configure your Internet settings and resolve the Error Centipede on Destiny 2.
Fix 2: Check your Internet connection
If your Internet connection is unstable or slow, you may get the Error Centipede when trying to log in to Destiny 2. There are a few things you should pay attention to and configure as needed:
- It’s recommended to play Destiny 2 on a wired connection. A wired connection is usually more stable and can be faster.
- If you need to play on Wi-Fi, make sure it’s not overcrowded. You can disconnect other devices from the Wi-Fi. You can set up your PC or console somewhere closer to the router to increase the stability and reduce Wi-Fi connection problems for Destiny 2.
- One more thing to try: power cycle your router and modem. All you need to do is to unplug the cables from your router and your modem, wait for at least 30 seconds, then plug the cables back into both devices.
- You can also run an Internet speed test to see if there’s anything wrong. If your Internet speed appears to be unreasonably low, you may need to contact your Internet Service Provider for help.
If you still get the Error Centipede, try the next fix.
Fix 3: Choose NAT Type 1/Open NAT
When you get the Error Centipede on Destiny 2, you’ll need to make sure your connection is not restricted and can connect to Destiny 2 servers. It’s recommended to set your NAT to Type 1/Open for a stable connection to Destiny servers.
NAT is short for Network Address Translation. Put simply, it operates on your router and allows a single IP address to represent all the devices on your private network. To configure your NAT settings, you’ll either need to enable UPnP or set up Port Forwarding. It’s usually recommended to try only one method, unless the first one doesn’t work for you.
Option 1: Enable UPnP
Bungie recommends players to enable UPnP when they encounter network issues, since it’s related to how players are connected within Destiny 2. Here’s how to set up your UPnP:
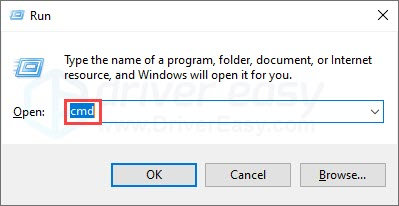
- Press the Windows logo key and R on your keyboard to invoke the Run box.
- Type in cmd, then press Shift and Enter to run the command prompt with admin permissions.
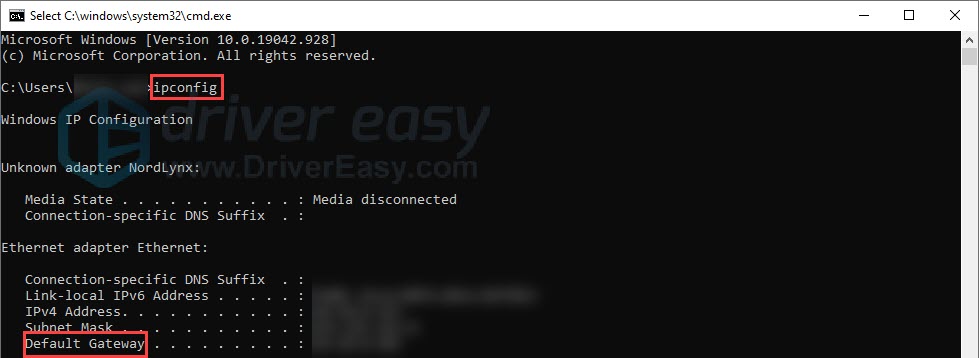
- Type in ipconfig, then press Enter. Copy the address of your default gateway as we’ll need them for the next steps.
- Now open your browser, paste the default gateway address you copied before into the address bar, and press Enter.
- You’ll need to enter credentials (username and password) to log into your router’s control panel.
- Once you’re logged in, look for UPnP settings. The location may differ on different brands, you can refer to user manuals or turn to specialists for help.
- Enable UPnP, and save the changes.
You can now test a game to see if you still get the Centipede Error.
Option 2: Port Forwarding
Port Forwarding works on incoming Internet connections. It routes an outside internet connection to use the open ports, which will allow you to connect to Destiny 2. This process is a bit difficult than enabling UPnP, technically speaking, but it’s generally a little safer. There are a few steps to do, here we’ll divide them into Step 1,2, and 3.
Step 1: Get IP address information
- Press the Windows logo key and R to invoke the Run box.
- Type in cmd, then press Shift and Enter to run the command prompt as Admin.
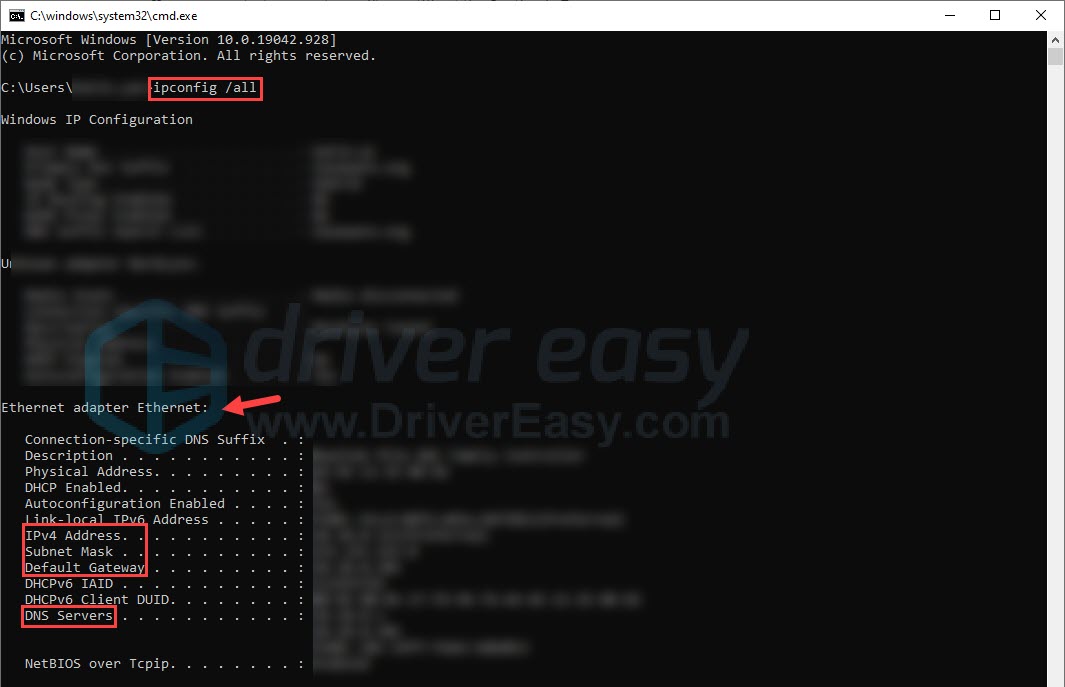
- Type in ipconfig /all, then press Enter. Record the information that we’re gonna use in the following steps: IPv4 Address, Subnet Mask, Default Gateway, and DNS Servers.
Step 2: Assign a static IP address
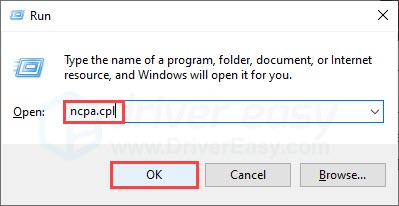
- Press the Windows logo key and R to invoke the Run box.
- Type in npca.cpl, then click OK.
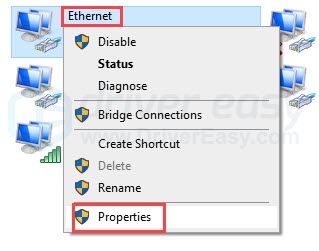
- Click on the Ethernet icon, right-click it then click Properties.
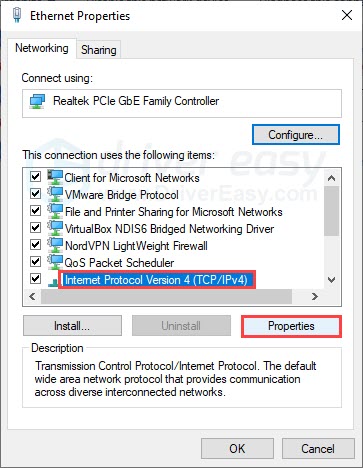
- Select Internet Protocol Version 4 (TCP/IPv4), then click Properties.
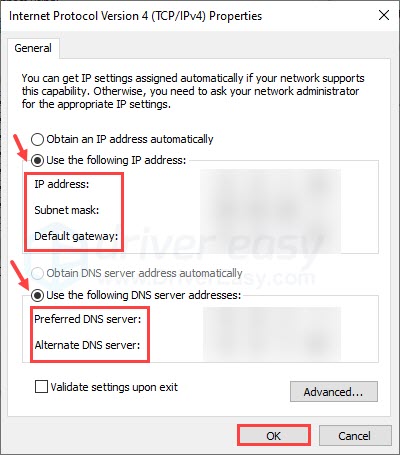
- Select Use the following IP address and Use the following DNS server addresses. Fill in the information you recorded in Step 1: IP address, Subnet mask, Default gateway, DNS servers. Once complete, click OK.
Step 3: Set up Port Forwarding
- Copy-paste the default gateway address into the address bar on your browser to log into your router’s control panel. You’ll need to know the username and password for this step.
- Find the Port Forwarding settings. The name of this setting may differ on the router’s brands, so you may need to navigate a bit or refer to user manuals for help.
- Fill in your static IP address accordingly.
- Type in the port numbers you want to use (See the tables below for ports that should be opened or forwarded for Destiny 2.)
- For protocol status, choose as needed (Also refer to the tables below.)
- Once complete, enable the new Port Forwarding rule with an Enable or On option.
Ports that should be OPEN
| Platform | TCP Destination Ports | UDP Destination Ports |
| Xbox Series X | S | 53, 80, 3074 | 53, 88, 500, 3544, 3074, 27015-27200 |
| PlayStation 5 | 80, 443, 1935, 3478-3480 | 3478, 3479, 49152-65535, 27015-27200 |
| PlayStation 4 | 80, 443, 1935, 3478-3480 7500-7509 30000-30009 | 2001, 3074-3173, 3478-3479, 27015-27200 |
| Xbox ONE | 53, 80, 443, 3074 7500-7509 30000-30009 | 53, 88, 500, 3074, 3544, 4500, 1200-1299, 1001, 27015-27200 |
| PC | 80, 443, 1119-1120, 3074, 3724, 4000, 6112-6114 7500-7509 30000-30009 | 80, 443, 1119-1120, 3074, 3097-3196, 3724, 4000, 6112-6114, 27015-27200 |
| PlayStation 3 | 80, 443, 5223, 3478-3480, 8080 7500-7509 30000-30009 | 3478-3479, 3658 3074, 1001 |
| Xbox 360 | 53, 80, 443, 3074 7500-7509 30000-30009 | 53, 88, 3074, 1001 |
Ports that should be FORWARDED
| Platforms | TCP Destination Ports | UDP Destination Ports |
| Xbox Series X | S | 3074 | 88, 500, 3074, 3544, 4500 |
| PlayStation 5 | If your router supports Protocol Both, use 1935,3074,3478-3480 If not, use 1935, 3478-3480 | 3074, 3478-3479 |
| PlayStation 4 | 1935, 3478-3480 | 3074, 3478-3479 |
| Xbox ONE | 3074 | 88, 500, 1200, 3074, 3544, 4500 |
| PC | N/A | 3074, 3097 |
| PlayStation 3 | 3478-3480, 5223, 8080 | 3074, 3478-3479, 3658 |
| Xbox 360 | 3074 | 88, 3074 |
If setting up the NAT type doesn’t solve your problem, try the next fix.
Fix 4: Update your network adapter driver
If you’ve tried the above fixes but nothing worked, then it’s likely that you would need to check your driver. An outdated or faulty network adapter driver could lead to random networking problems, so you may want to make sure yours is up-to-date and functioning properly.
There are two ways you can get the right driver for your network adapter: manually or automatically.
Manual driver update – You can update the network adapter driver via Device Manager. But sometimes Windows may fail to detect an available update because its database isn’t updated as frequently.
Automatic driver update – If you don’t have the time, patience, or computer skills to update your driver manually, you can, instead, do it automatically with Driver Easy. Driver Easy will automatically recognize your system and find the correct driver for your network adapter and your Windows version, then it will download and install it correctly:
1) Download and install Driver Easy.
2) Run Driver Easy and click the Scan Now button. Driver Easy will then scan your computer and detect any problem drivers.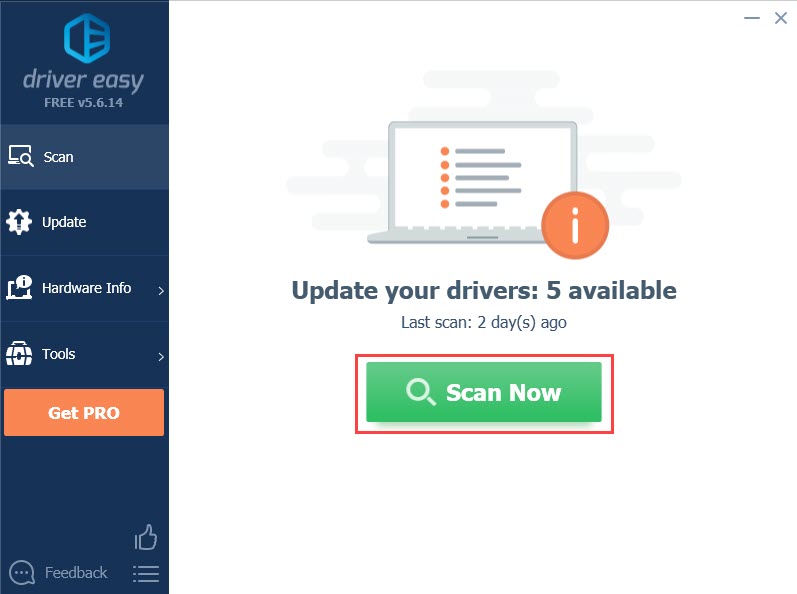
3) Click the Update button next to the flagged network adapter driver to automatically download the correct version of the driver, then you can manually install it (you can do this with the FREE version).
Or click Update All to automatically download and install the correct version of all the drivers that are missing or out of date on your system. Here for example, I can update the graphics driver on my PC as well. (This requires the Pro version which comes with full support and a 30-day money-back guarantee. You’ll be prompted to upgrade when you click Update All.)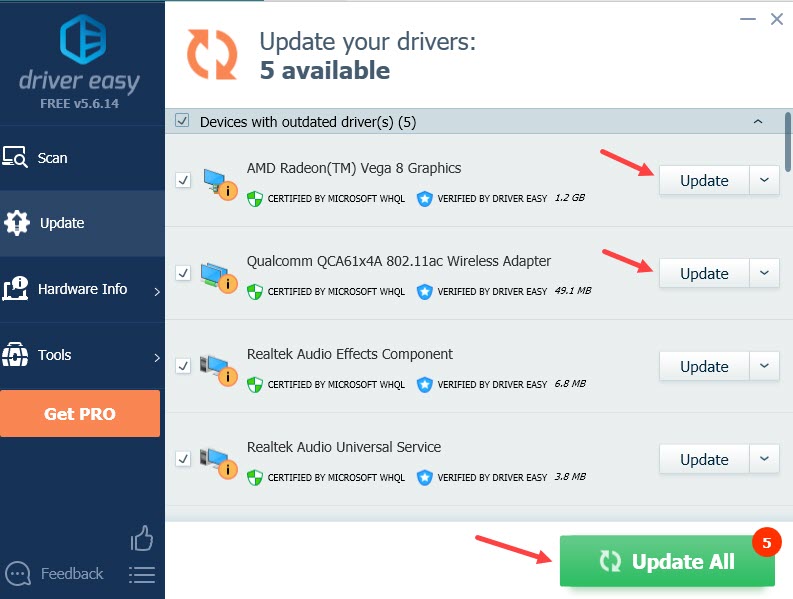
Restart your PC for the new drivers to take effect. If this doesn’t solve the Error Centipede for you, try the last fix.
Fix 5: Use a VPN when your Internet access is restricted
When you try to play Destiny 2 on campus or in a hotel, anywhere that’s likely to restrict your Internet access, you’ll likely get the Error Centipede. If this is the case, it’s unlikely to get assistance from the Internet Service Provider. But the good news is, you can use a VPN.
There are many choices on the VPN market, but it’s recommended NOT to use free VPNs because they can be highly risky and your data may be sold. If you’re not sure which VPNs are compatible with Destiny 2, our best pick is NordVPN.
It’s one of the safest and fastest VPNs out there, providing over 5,300 servers in 59 countries and the best security features. NordVPN offers a 30-day money-back guarantee, so don’t hesitate to give it a try and enjoy Destiny 2 with a VPN!
You may also like: Latest NordVPN coupons and deals – 100% Valid
Hopefully this article is helpful and you can now enjoy Destiny 2 without the annoying Error Centipede!