


When you click the Fallout 4 icon, you want to play the game straight away. So a long loading time can ruin your patience and your mood for the game which is not pleasant at all. Don’t worry, there are tips that can help you shorten the waiting time and to let you have a better game experience.
Try these methods:
- Install Fallout 4 on an SSD
- Edit local file
- Disable the cloud sync
- Uncap the frame rate
- Update your game
- Update your graphics card driver
Method 1: Install Fallout 4 on an SSD
You can try to install Fallout 4 on an SSD (Solid State Drive) if you have one. One of the benefits of SSD is that it has fast read/write speed. The benefit of install game on an SSD is because SSD run faster to read games. So it can shorten the loading times.
But if it doesn’t help or you’ve already install Fallout 4 on SSD, then try the next method.
Method 2: Edit local file
To fix the super long loading times, you can edit the local files to fix the issue.
1) Navigate to the Fallout 4 local files.
2) Open Fallout4Prefs.ini file.
3) Under the “General” section, type the following words.
(If it’s already there just change the value.)
 iNumHWThreads=X
 uExterior Cell Buffer=64
Note: X is the number of your CPU cores (not counting hyperthreading). You can experiment with other numbers.
Method 3: Disable the cloud sync
The long loading times in Fallout 4 might because of the game save files that are large and not everyone has high upload speeds. So, try the below steps:
- Run Steam.
- In the LIBRARY tab, right-click Fallout 4 and choose Properties.
- Click the Updates tab.
- Make sure the checkbox on the bottom is empty.
Method 4: Uncap the frame rate
Fallout 4’s loading screen is tied to the frame rate. The loading time will be affected by the frame rate in the engine. If you uncap the frame rate, the game speed can be doubled. You can uncap the frame rate to shorten the loading time.
- Navigate to the Fallout 4 folder.
- Open Fallout4Prefs.ini in the folder.
- Find iPresentInterval=1. Change 1 to 0.
Note: The change may cause some weird stuff in-game. - Relaunch the game.
Method 5: Update your game
If you haven’t been updating your Fallout 4 for a while, you can update the game to fix the long loading problem. The latest version may fix the problem for you.
Method 6: Update your graphics card driver
It is possible that the long loading time in Fallout 4 is caused by driver issues. If you’re using the wrong graphics card driver or the driver is out of date, you may meet this problem. In addition to solving this problem, updating drivers can also improve your computer performance.
There are two ways to update your drivers:
Option 1 – Manually – You’ll need some computer skills and patience to update your drivers this way, because you need to find exactly the right the driver online, download it and install it step by step.
OR
Option 2 – Automatically (Recommended) – This is the quickest and easiest option. It’s all done with just a couple of mouse clicks – easy even if you’re a computer newbie.
Option 1 – Download and install the driver manually
To get the latest driver, you need to go to the manufacturer website, find the drivers corresponding with your specific flavor of Windows version (for example, Windows 32 bit) and download the driver manually.
Once you’ve downloaded the correct drivers for your system, double-click on the downloaded file and follow the on-screen instructions to install the driver.
Option 2 – Automatically update video card drivers
If you don’t have the time, patience or computer skills to update your drivers manually, you can do it automatically with Driver Easy.
Driver Easy will automatically recognize your system and find the correct drivers for it. You don’t need to know exactly what system your computer is running, you don’t need to risk downloading and installing the wrong driver, and you don’t need to worry about making a mistake when installing.
You can update your drivers automatically with either the FREE or the Pro version of Driver Easy. But with the Pro version it takes just 2 clicks (and you get full support and a 30-day money back guarantee):
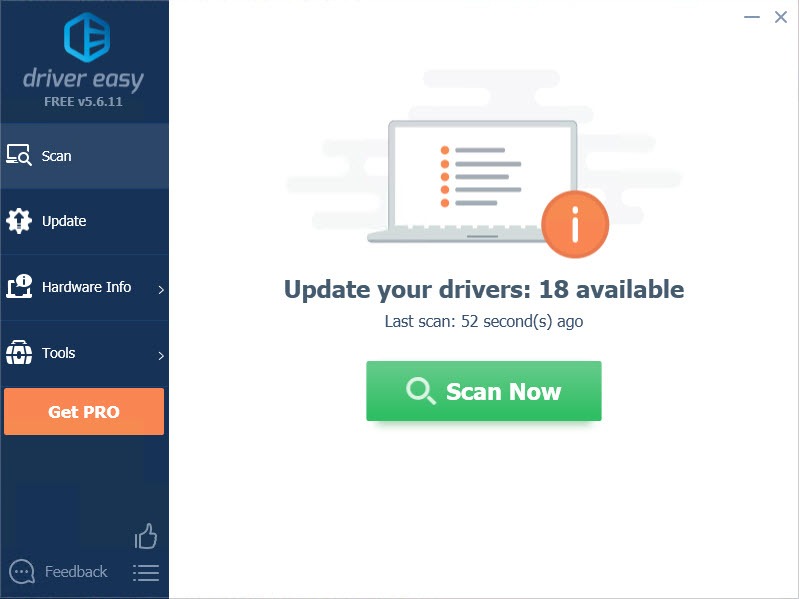
- Download and install Driver Easy.
- Run Driver Easy and click Scan Now button. Driver Easy will then scan your computer and detect any problem drivers.
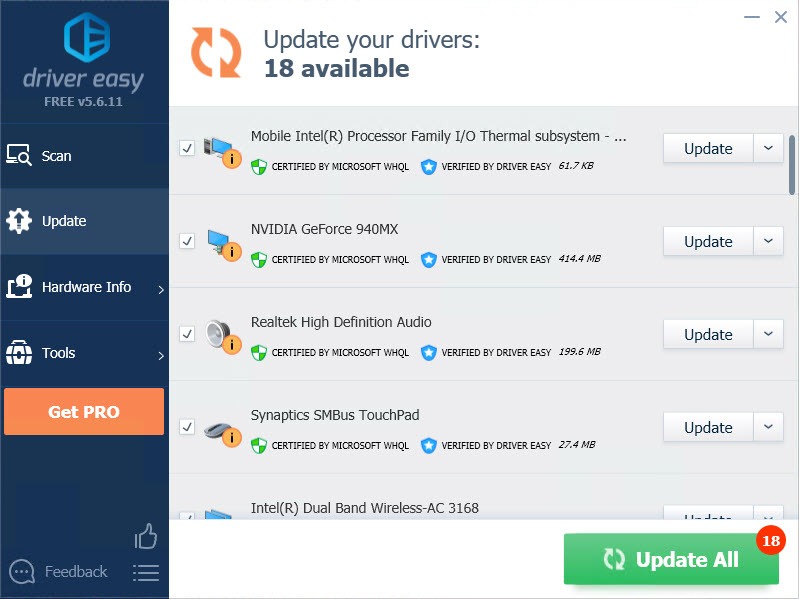
- Click the Update button next to the driver to automatically download and install the correct version of this driver (you can do this with Free version). Or click Update All to automatically download and install the correct version of all the drivers that are missing or out of date on your system (this requires the Pro version – you’ll be prompted to upgrade when you click Update All).
We hope you find the above information helpful. And if you have any ideas, suggestions, or questions, feel free to leave a comment below.