


If you ever bump into this “uninvited guest” – the WPD FileSystem Volume Driver – in your Device Manager, then you’ve come to the right place! Further down in this post, you’ll know what the driver is and how to deal with related issues. Now read on and find out possible solutions for yourself.
What is WPD FileSystem Volume Driver?
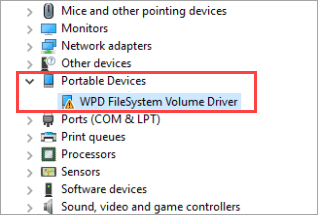
WPD FileSystem Volume Driver is not the driver for a particular device. Instead, WPD stands for “Windows Portable Device” which covers a wide range of devices such as mobile phones, digital cameras, etc. Since the driver often appears with a yellow exclamation mark, it is in fact an error sign notifying you of certain problems with your device. When you notice this entry listed below the “Portable Devices” node, there’s huge likelihood that the portable device you’ve just connected to the PC is not working properly, or not recognized by the computer. Whatever problem you’re faced with, please rest assured that you’re not alone. Usually it’s not very hard to resolve.
How to resolve the WPD FileSystem Volume Driver issues
Here are 4 fixes that have proved useful for such problems. You don’t have to try them all; just work your way down the list until your find the one that does the trick for you.
Fix 3: Allocate a drive letter to your device
Fix 4: Uninstall unwanted hidden devices
Fix 1: Reinstall your drivers
In most cases, issues related to the WPD FileSystem Volume Driver are down to driver errors. One of the most typical is the Code 10 error that shows up when Device Manager cannot start your hardware device due to outdated or corrupt drivers. There may be other triggers for this error, but they’re also associated with your drivers at large.
The first thing you should do is to reinstall your WPD FileSystem Volume Driver, whatever device it is used for. Here’s how:
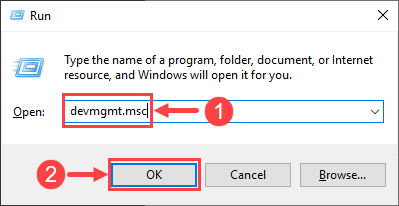
1) On your keyboard, press the Windows Logo key ![]() and R at the same time to invoke the Run dialog box. Then, type devmgmt.msc and click OK.
and R at the same time to invoke the Run dialog box. Then, type devmgmt.msc and click OK.
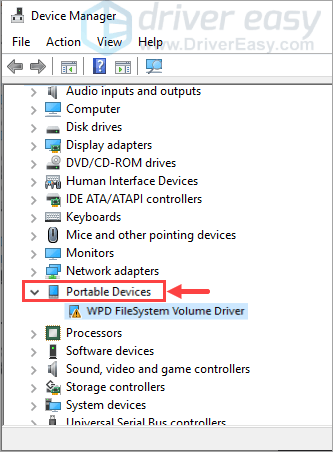
2) There pops up the Device Manager. Double-click on the Portable Devices node to expand its drop-down list. Below you’ll see this entry – WPD FileSystem Volume Driver.
3) Right-click WPD FileSystem Volume Driver and select Uninstall device.
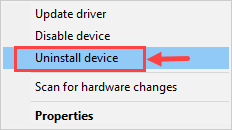
Click Uninstall if prompted for confirmation.
4) After the driver has been completely uninstalled, unplug the device from your computer.
5) When you’re ready, reboot your computer and plug in the portable device again. Then your PC will automatically download and install the compatible drivers for it.
Check to see if the WPD FileSystem Volume Driver is still there in your Device Manager, alongside the yellow exclamation mark. If so, please move on to the next fix below.
Fix 2: Update your drivers
If the fix above didn’t work, then there’s another way you can reinstall and update your drivers. Here we highly recommend you to try Driver Easy, a reliable driver updater tool that helps you manage all the driver-related stuff.
Driver Easy will automatically recognize your system and find the correct drivers for it. You don’t need to know exactly what system your computer is running, you don’t need to risk downloading and installing the wrong driver, and you don’t need to worry about making a mistake when installing. Driver Easy takes care of everything.
You can update your drivers automatically with either the FREE or the Pro version of Driver Easy. But with the Pro version it takes just 2 clicks:
1) Download and install Driver Easy.
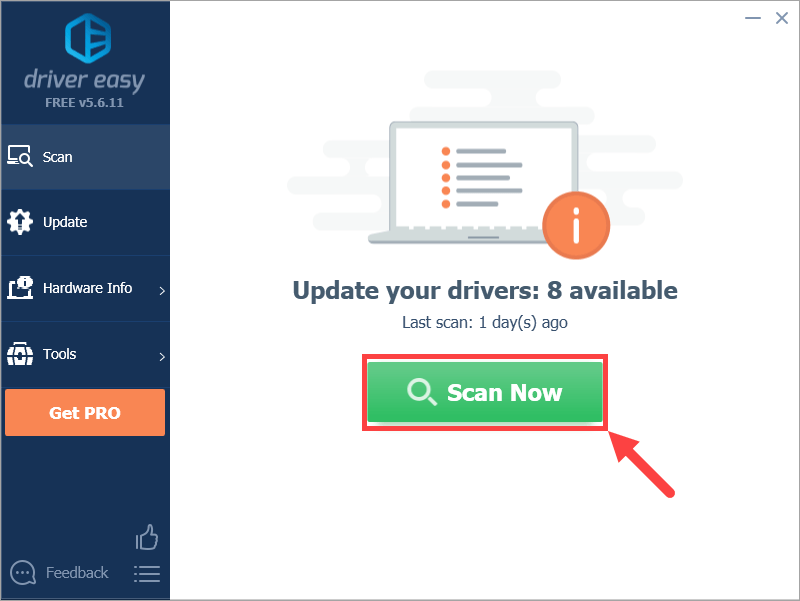
2) Run Driver Easy and click the Scan Now button. Driver Easy will then scan your computer and detect any problem drivers. (Make sure your portable device is plugged into the computer.)
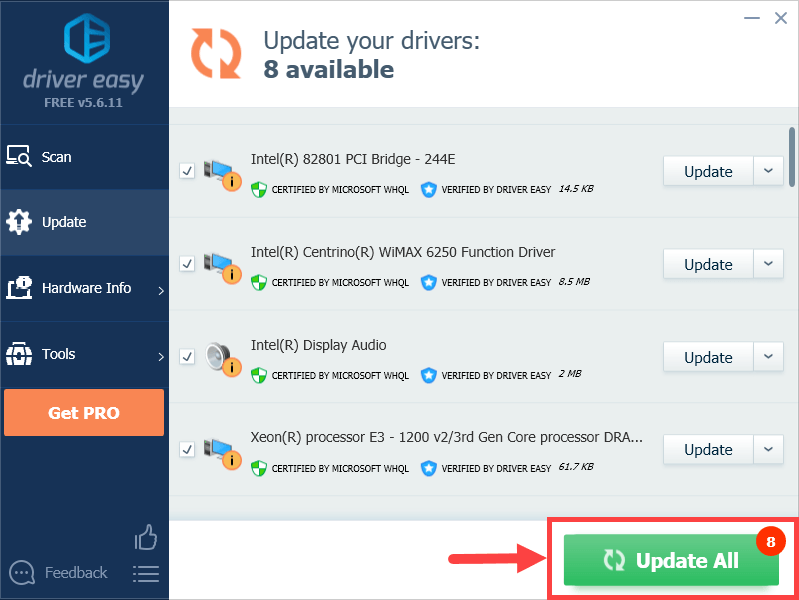
3) Click the Update button next to a flagged driver to automatically download the correct version of that driver, then you can manually install it (you can do this with the FREE version).
Or click Update All to automatically download and install the correct version of all the drivers that are missing or out of date on your system. (This requires the Pro version which comes with full support and a 30-day money back guarantee. You’ll be prompted to upgrade when you click Update All.)
In case your problem still remains, please proceed to the next fix.
Fix 3: Allocate a drive letter to your device
You’ll have to allocate a drive letter (such as E, F…) to your portable device in case the system is not able to detect and read its content.
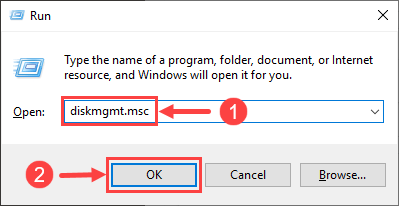
1) On your keyboard, press the Windows Logo key ![]() and R at the same time to invoke the Run dialog box. Then, type diskmgmt.msc and click OK.
and R at the same time to invoke the Run dialog box. Then, type diskmgmt.msc and click OK.
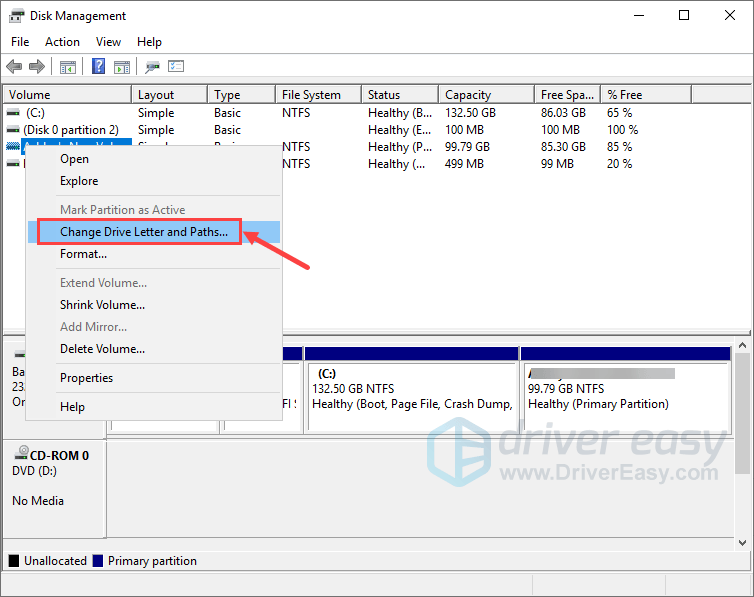
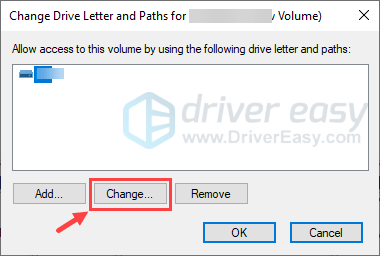
2) In the Disk Management window, right-click on the offending storage device (no letter has been assigned to it yet) and select Change Drive Letter and Paths….
3) In the next window, click Change….
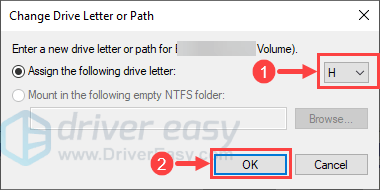
4) Choose a letter for your device and click OK to save the change.
5) Now head over to Device Manager. Press the Windows Logo key ![]() and R simultaneously on your keyboard to open the Run dialog box. Type devmgmt.msc and click OK.
and R simultaneously on your keyboard to open the Run dialog box. Type devmgmt.msc and click OK.
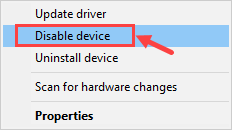
6) You should be able to find your device under the Portable Devices node. Right-click on it and select Disable device.
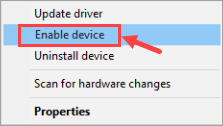
7) Wait a minute and then right-click on your device again. This time, select Enable device.
8) In the Device Manager window, click Action on the top menu bar. Then, select Scan for hardware changes.
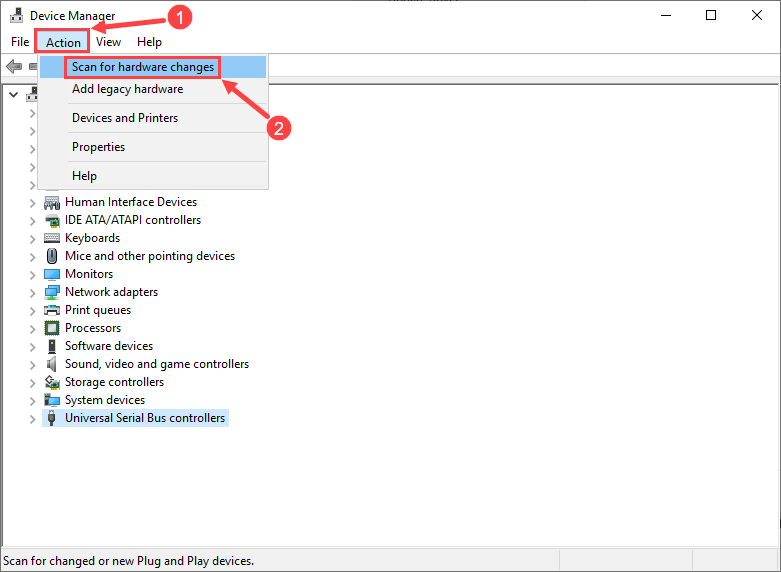
9) If there’s any new driver, Windows will install it automatically for you. Wait till the process is complete and then restart your computer for the changes to take effect.
Now it’s time to check whether the WPD FileSystem Volume Driver is still there in your Device Manager. If so, there’s one last fix you may give a shot.
Fix 4: Uninstall unwanted hidden devices
As reported by many people, some hidden devices that are not in use may cause the “WPD FileSystem Volume Driver” issues you have. Luckily, this is usually not that hard to tackle. Just perform the steps below and see if they work wonders.
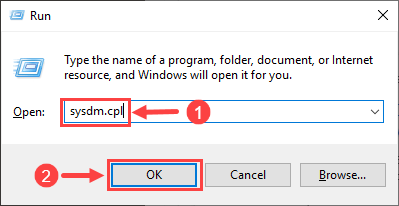
1) On your keyboard, press the Windows Logo key ![]() and R at the same time to invoke the Run dialog box. Then, type sysdm.cpl and click OK.
and R at the same time to invoke the Run dialog box. Then, type sysdm.cpl and click OK.
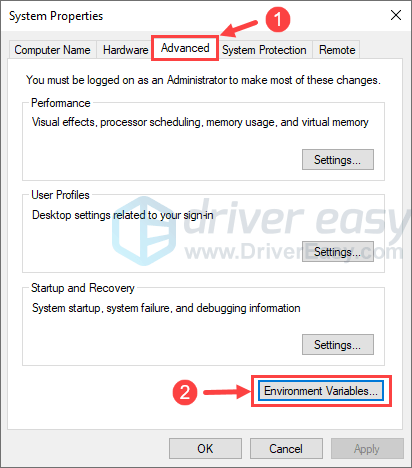
2) Go to the Advanced tab. Then click the Environment Variables… button.
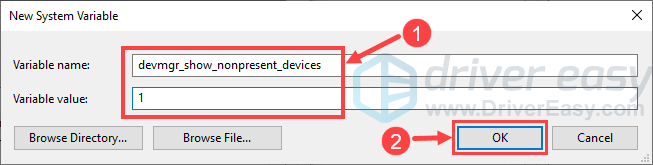
3) Click New… to fire up the New System Variable dialog box.
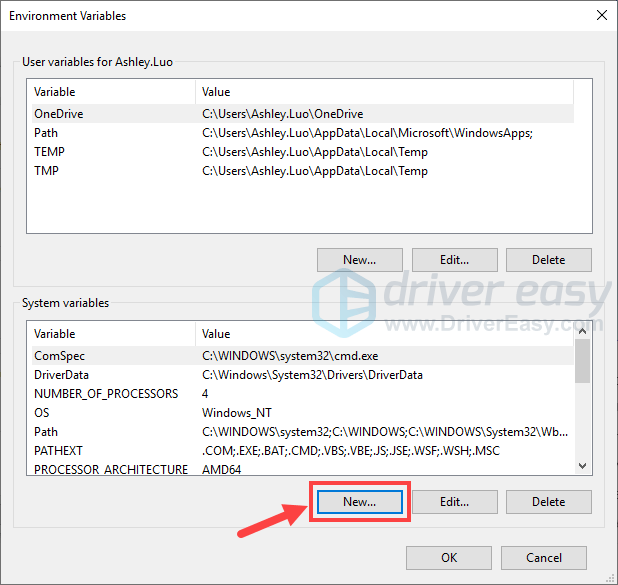
4) Name the new variable as devmgr_show_nonpresent_devices and set its value to 1. Then, click OK to save the changes.
5) On your keyboard, press the Windows Logo key ![]() and R at the same time to invoke the Run dialog box. Then, type devmgmt.msc and click OK.
and R at the same time to invoke the Run dialog box. Then, type devmgmt.msc and click OK.
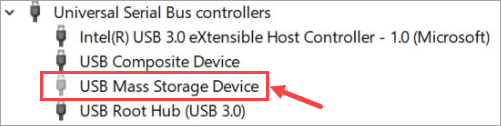
6) Locate the Universal Serial Bus controllers node in your Device Manager. Double-click on it to expand the drop-down list. Once you notice any of the listed devices is grayed out (which means they are no longer in use), simply right-click on that item and select Uninstall device.
Click Uninstall if prompted for confirmation.
7) Check for other unused devices in your Device Manager. Use the same way as in the last step to uninstall them.
8) Reboot your computer for the changes to take effect.
After everything’s done, please insert your portable device again and check if it works properly.
Please feel free to leave a comment below if you have follow-up problems or ideas. We’ll be more than glad to assist you in any ways. Thanks for reading!