


If you’re on the Windows operating system, and you’re experiencing the following problems with your wireless mouse:
- mouse pointer moves erratically;
- mouse pointer doesn’t respond to your gesture;
- mouse stops working after a certain period of use;
- mouse is not detected by Microsoft Windows;
this post is here to help. No need for you to worry so much about this problem, it’s possible to fix it. Here are 5 methods for you to try. You may not have to try them all; just work your way down until you find the one that works for you.
- Reinstall the wireless mouse driver
- Update the mouse driver
- Check your hardware, devices and wireless connections
- Disable the fast startup option
- Repair system files
NOTE: Replace your mouse if it’s over 5 years old.
Some of the following fixes require a working pointing device. Try using a pointing pen, a USB mouse, a touchpad, or speech recognition. If you have previously enabled the remote connection on your Windows 10 or 11, or that you have installed Teamviewer, use them as per your own needs.
1: Reinstall the wireless mouse driver
NOTE: You should use the remote control feature to proceed with the following method.
One of the first things you do when you have ill-functioned hardware is to reinstall its driver. Here is how:
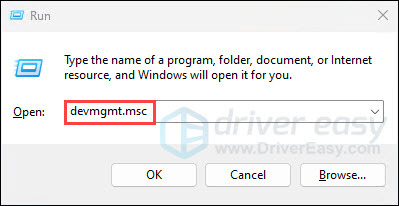
1) On your keyboard, press the Windows logo + R keys simultaneously to open the Run box. Type devmgmt.msc and hit Enter.
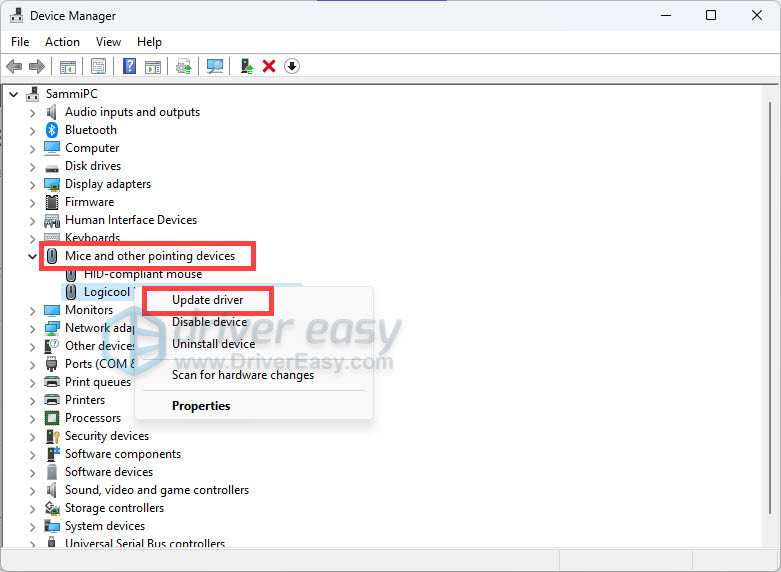
2) Expand Mice and other pointing devices. Right-click your wireless mouse and click Update Driver.
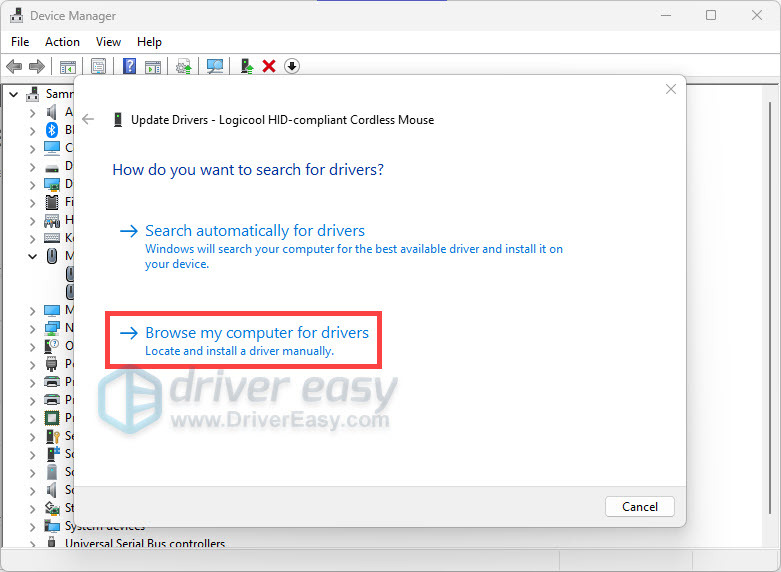
3) Click Browse my computer for driver software.
4) Click Let me pick from a list of device drivers on my computer.
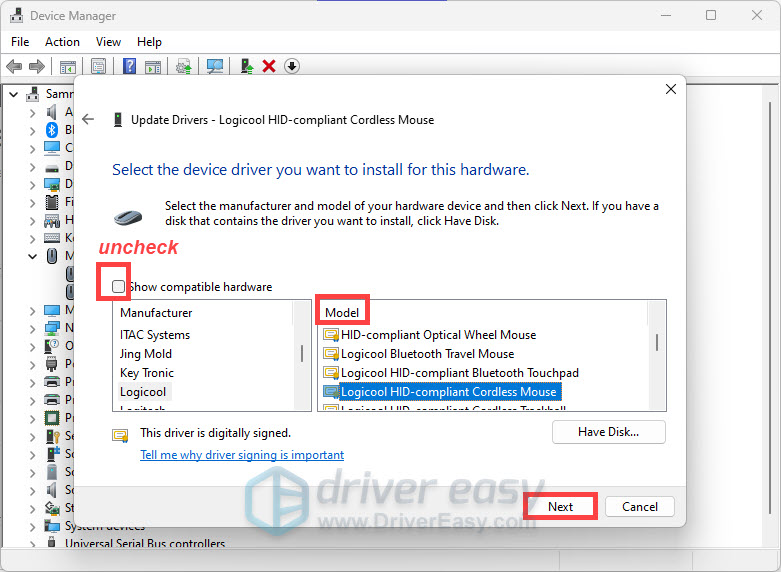
5) Uncheck the box Show compatible hardware. Select your device. Click Next to continue.
6) Wait for it to download and install the latest driver for your system. Once finished, reboot your device.
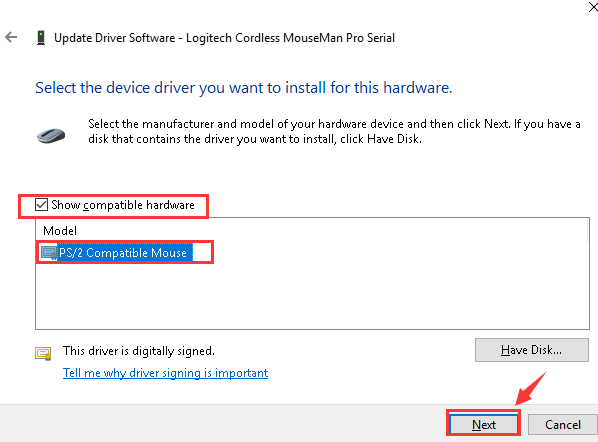
7) After the restart, go through the process again. When you reach the following window, tick the box for Show compatible hardware. Then select the right driver for you. Click Next to continue.
8) When the installation finishes, update your wireless mouse driver via Device Manager. Then restart your computer.
9) See if the problem is resolved.
2: Update the mouse driver
If your wireless mouse still refuses to work after the method above, it’s likely that you’re using the wrong or outdated driver altogether.
There are two ways you can get the right drivers for your wireless mouse: manually or automatically.
Manual driver update – You can update your wireless mouse driver manually by going to the manufacturer’s website, and searching for the most recent correct driver for it. Be sure to choose only drivers that are compatible with your variant of Windows 10/11.
Automatic driver update – If you don’t have the time, patience, or computer skills to update your drivers manually, you can do it automatically with Driver Easy.
Driver Easy will automatically recognize your system and find the correct drivers for it. You don’t need to know exactly what system your computer is running, you don’t need to be troubled by the wrong driver you would be downloading, and you don’t need to worry about making a mistake when installing. Driver Easy handles it all.
You can update your drivers automatically with either the 7 days free trial or the Pro version of Driver Easy. It takes just 2 clicks, and you get full support and a 30-day money-back guarantee with the Pro version:
- Download and install Driver Easy.
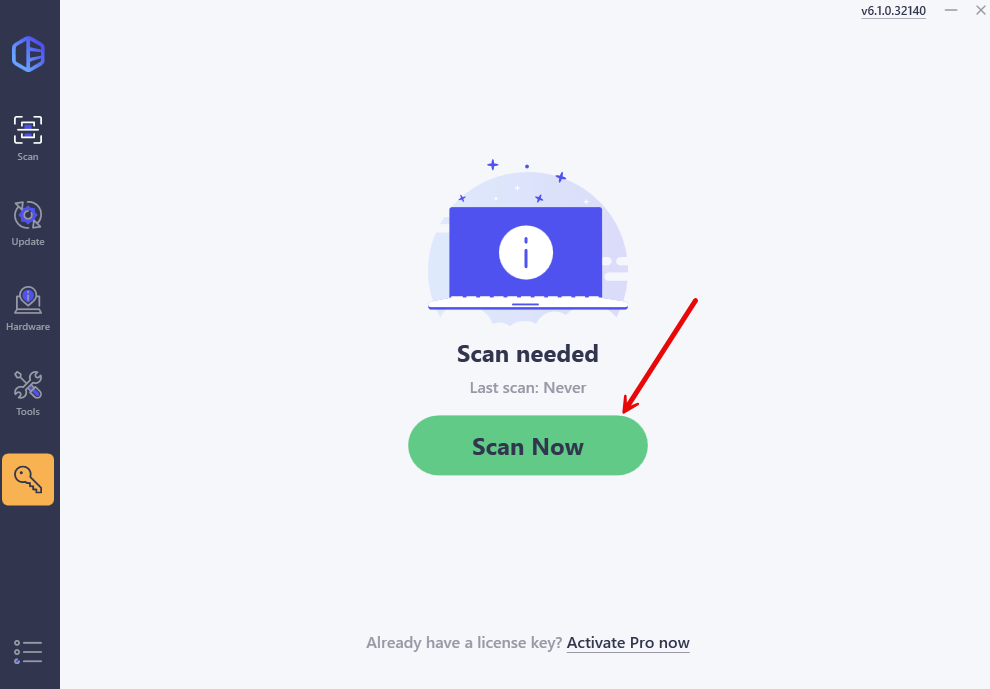
- Run Driver Easy and click the Scan Now button. Driver Easy will then scan your computer and detect any problem drivers.
- Click the Activate & Update button next to the flagged device to automatically download and install the correct version of this driver.
Or click Update All to automatically download and install the correct version of all the drivers that are missing or out of date on your system (You’ll need the Pro version for this – when you select Update All, you’ll get a prompt to upgrade. If you’re not prepared to purchase the Pro version yet, Driver Easy provides a 7-day trial at no cost, granting access to all Pro features like fast downloads and easy installation. No charges will occur until after your 7-day trial period ends.)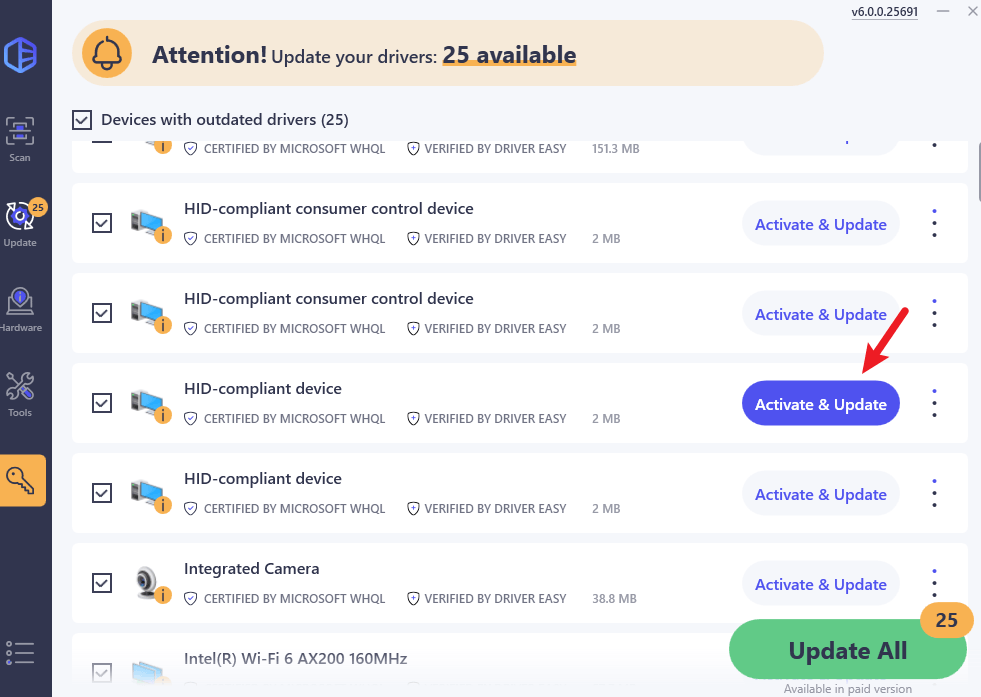
- Restart your computer for the change to take effect.
3: Check your hardware, devices, and wireless connections
1) Connect your mouse receiver to a different port. If possible, try the USB port at the back of the computer, since they typically have more power available.
2) Replace the battery. Please make sure that you have inserted both the required batteries into the wireless mouse correctly.
3) Reestablish wireless connection. Leave your system running. Then unplug your USB wireless receiver, wait for about 10 seconds, then plug the USB wireless receiver back in.
4) Try on a different computer. If the same problem happens on a second computer, then your wireless mouse might be defective. In that case, you might want to contact the manufacturer of your wireless mouse for more suggestions.
4: Disable the fast startup option
The fast startup feature is reported to be one of the causes of this problem. So you can disable it to see if the problem is resolved:
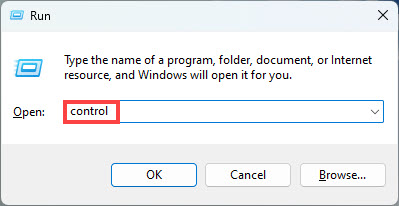
1) On your keyboard, press the Windows logo + R keys simultaneously to open the Run box. Type control and hit Enter to open the Control Panel.
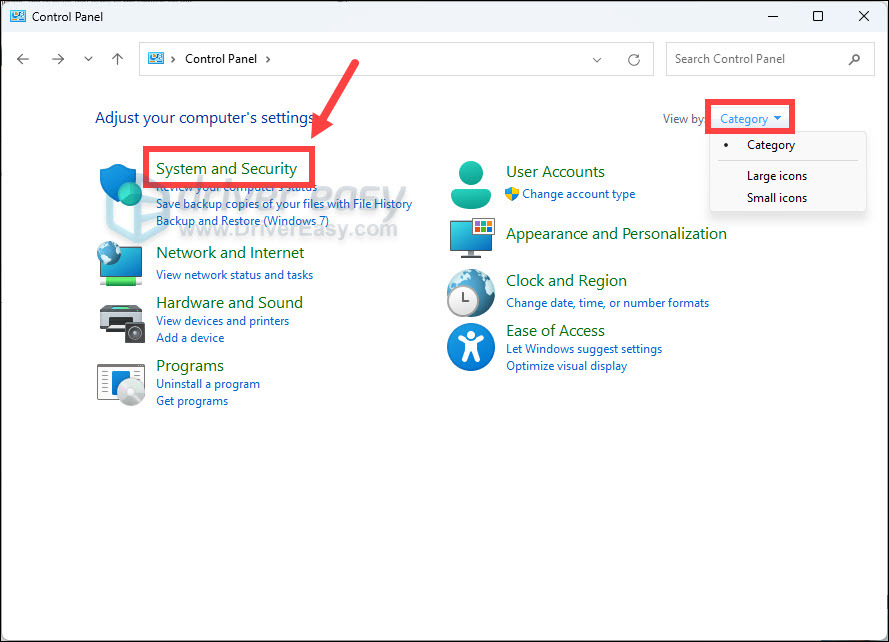
2) Click on System and Security. If you don’t see it, make sure you’ve set Category as your view-by.
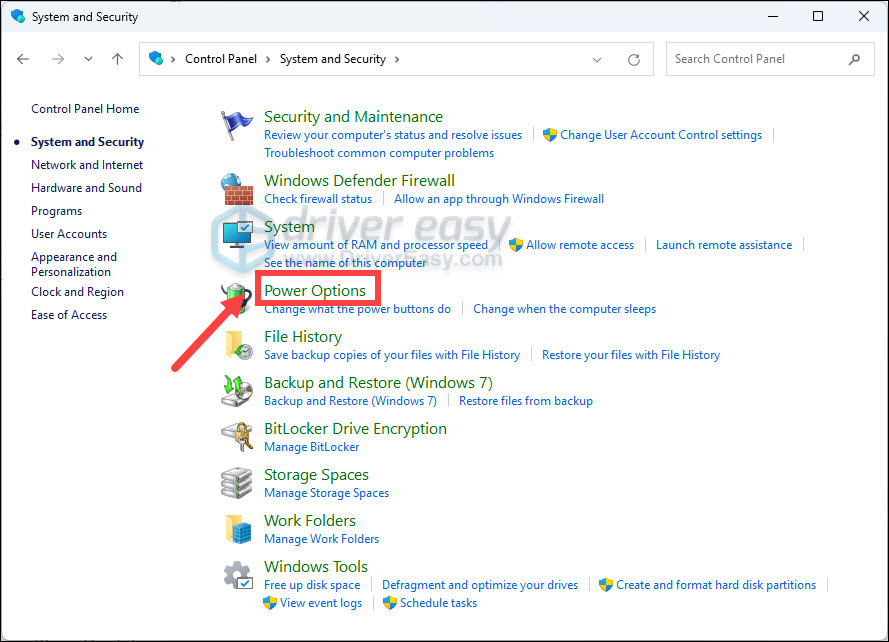
3) Click Power Options.
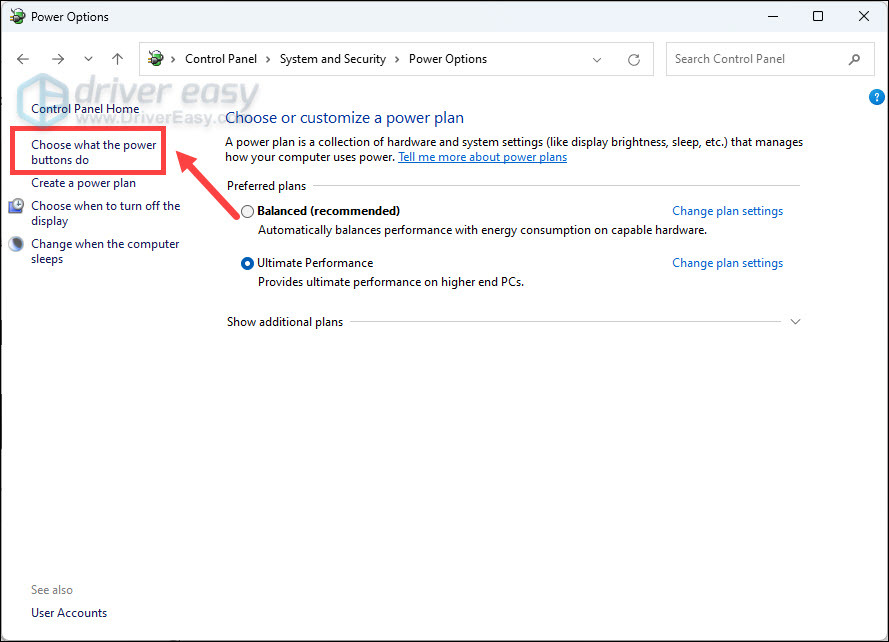
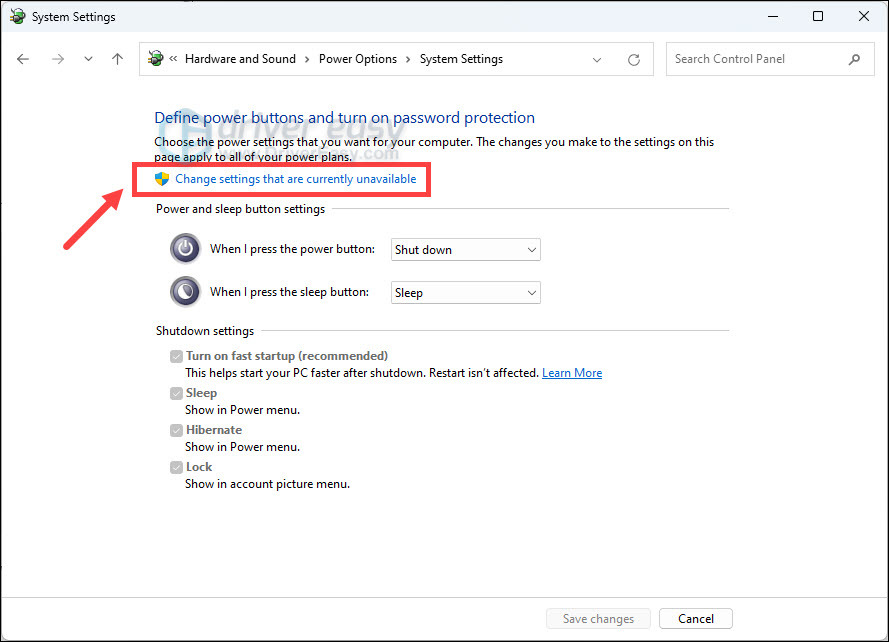
4) In the left pane, click on Choose what the power buttons do.
5) Click on the Change settings that are currently unavailable link.
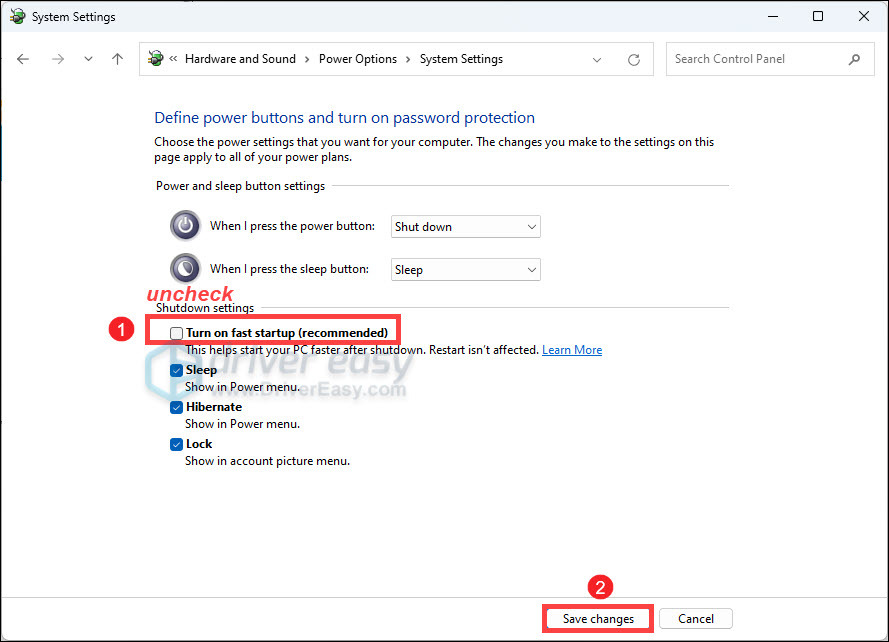
6) Uncheck the box for Turn on fast startup (recommended). Click Save changes and close the window.
5) Restart your computer. All drivers will be initialized on startup now. So the time needed to start your computer might be longer.
5: Repair system files
If all else fails, it’s time to check if the issue stems from corrupted system files.
Critical system files contain information necessary for hardware components and devices to operate, including wireless mice. If some of these files become damaged or go missing, it can prevent proper communication between the wireless mouse and the computer. Repairing corrupted system files can restore them to their original state and fix problems that are disrupting the recognition and function of the wireless mouse.
- On your keyboard, press the Windows Logo key
 , type in command prompt, and select Run as administrator. (If Windows prompts for permission, click OK to continue.)
- Type in SFC /Scannow, and then press Enter.
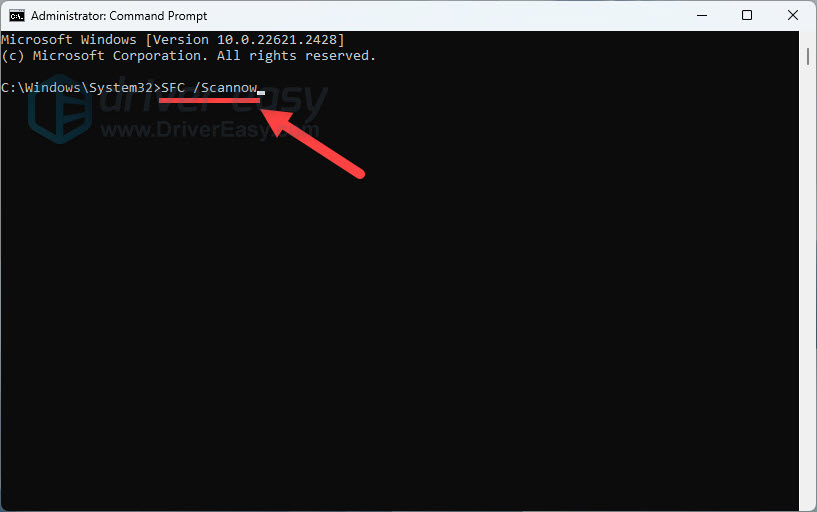
- It’ll take some time for the SFC to repair the corrupted system files if it detects any.
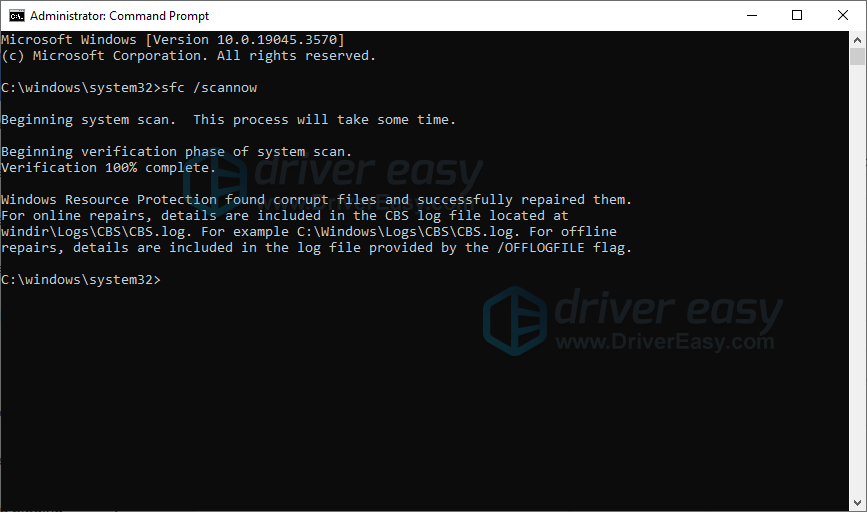
- When the process is completed, reboot your computer and test if the issue still exists.
Hopefully, this guide can help you get your wireless mouse back to its normal state. If you have any ideas or questions, feel free to drop us a line in the comment section below!