


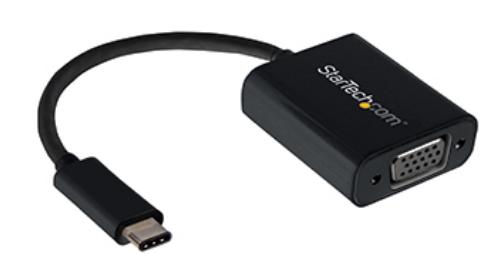
How to download or update StarTech drivers
- Download or update StarTech drivers manually
- Download or update StarTech drivers automatically
- Download or update StarTech drivers via Device Manager
Note: the screenshots below come from Windows 10, but the methods also work in Windows 8 and Windows 7.
Fix 1: Download or update StarTech drivers manually
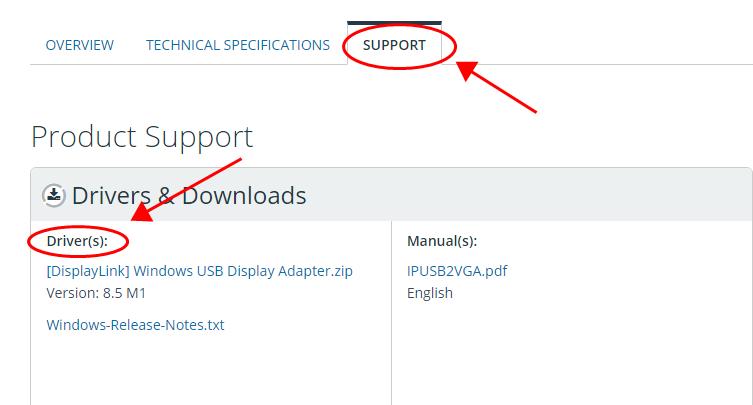
You can manually download the drivers for your StarTech devices from StarTech Support center. Before getting started, you should know your StarTech Product ID, which is a combination of letters and numbers. You can find the product ID on the product itself, or you can find it on the packaging or box it came in. 1) Go to StarTech Driver Download center. 2) Search for your StarTech driver by entering the product ID. For example, you can search IPUSB2VGA for your Ethernet to VGA converter.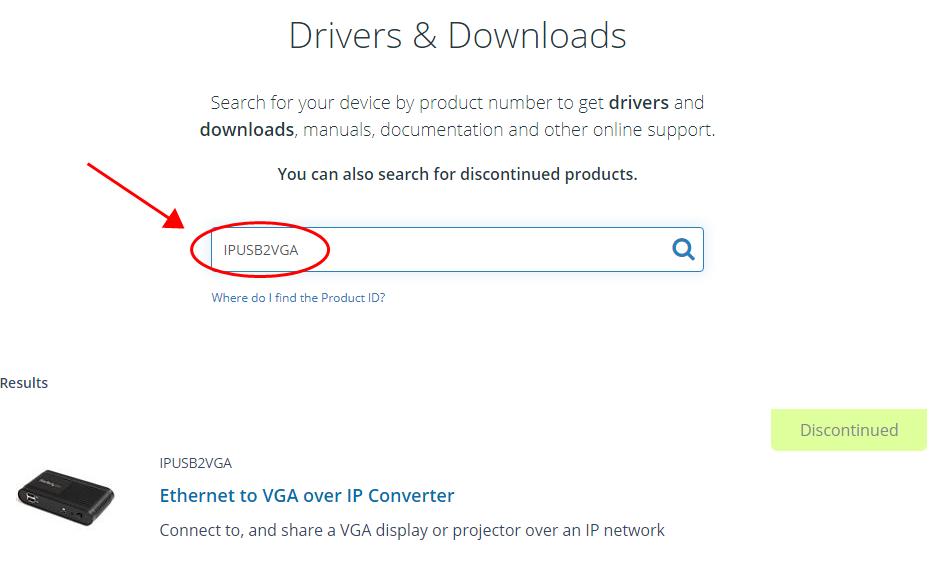
Fix 2: Download or update StarTech drivers automatically
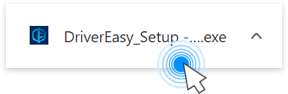
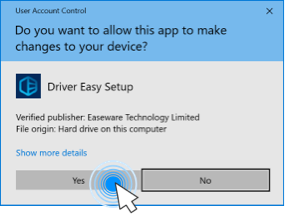
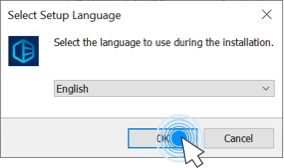
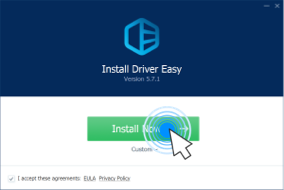
Manually downloading the drivers for your StarTech devices requires time and computer skills. If you don’t have time or patience, you can do it automatically with Driver Easy. Driver Easy will automatically recognize your system and find the correct drivers for it. You don’t need to know exactly what system your computer is running, you don’t need to risk downloading and installing the wrong driver, and you don’t need to worry about making a mistake when installing. You can update your drivers automatically with either the FREE or the Pro version of Driver Easy. But with the Pro version it takes just 2 clicks (and you get full support and a 30-day money back guarantee): 1) Download and install Driver Easy. 2) Run Driver Easy and click the Scan Now button. Driver Easy will then scan your computer and detect any problem drivers.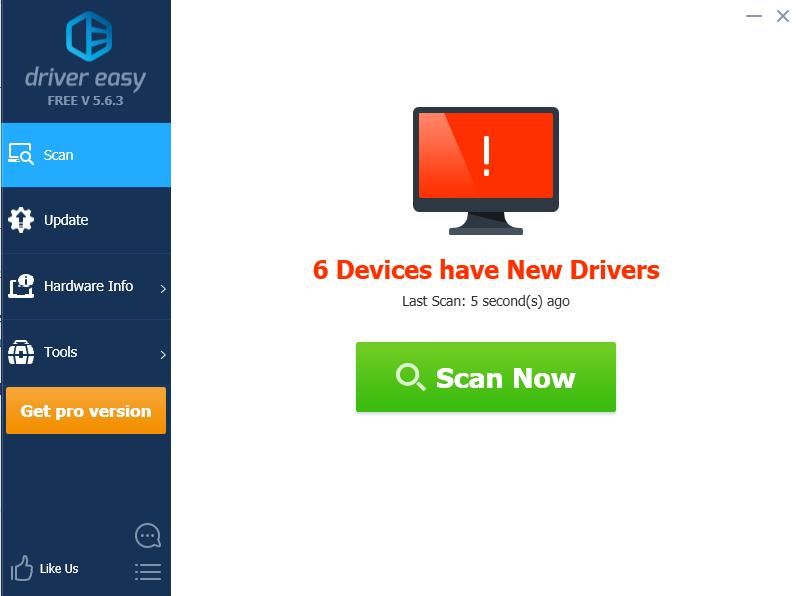
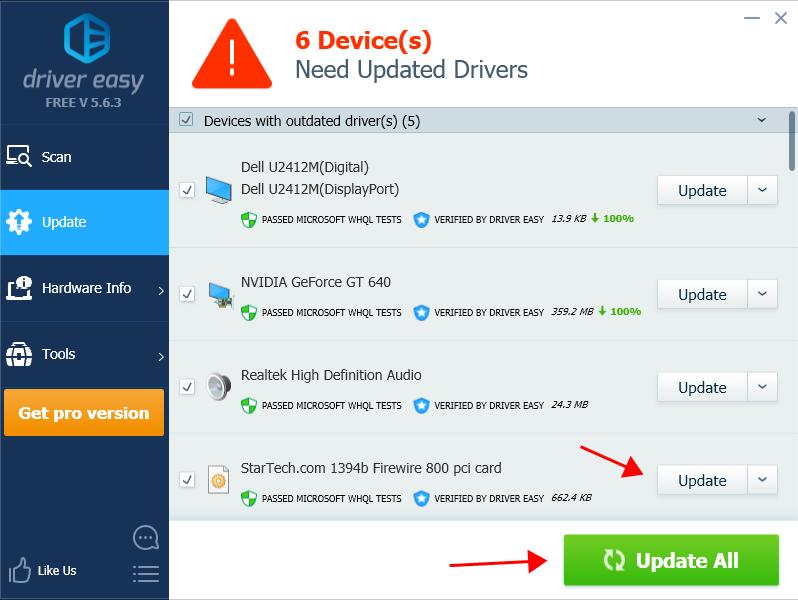
If you’ve tried Driver Easy, but the problem persists, please feel free to contact our support team at support@drivereasy.com for further assistance regarding this issue. Our support team would be happy to help you resolve this issue. Please attach the URL of this article so we could assist you better.
Still no luck? Okay, there’s one more thing to try.
Fix 3: Download or update StarTech drivers via Device Manager
You can also update your StarTech drivers via Device Manager, where you can view and manage the hardware device and the driver software in your Windows computer. Here’s how to do it: 1) On your keyboard, press the Windows logo key and R at the same time to invoke the Run box.
2) Type devmgmt.msc and click OK.
and R at the same time to invoke the Run box.
2) Type devmgmt.msc and click OK.
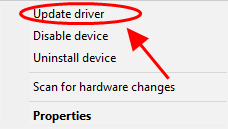
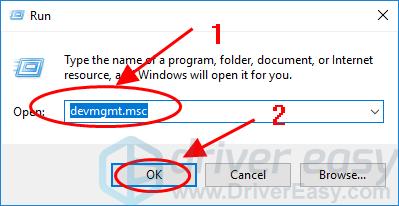 3) In Device Manager, find your StarTech device, and right click on it to select Update driver.
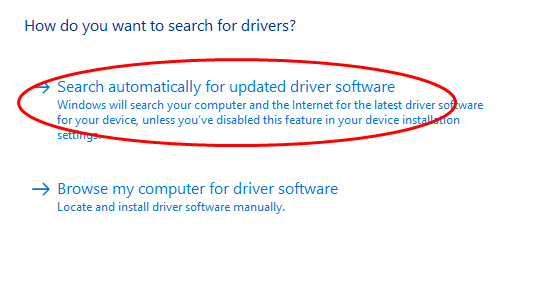
 4) Choose Search automatically for updated driver software, and follow the on-screen instructions to finish.
That’s it. Hope this article helps in resolving your StarTech driver issues and updating your StarTech drivers in Windows.
0 Comments
Most Voted