


Steam runs frustratingly slow on your PC? You’re not alone! Many Steam users are reporting it. But the good news is that you can fix it. Here are 6 solutions to try.
Try these fixes:
You may not have to try them all. Just work your way down the list until you find the one that works for you.
- Turn off unwanted programs
- Clear Steam cache and cookies
- Update your device drivers
- Disable auto proxy settings
- Repair the Steam service
- Reinstall Steam
Fix 1: Turn off unwanted programs
If you’re running multiple applications and background processes on your computer all at the same time, hogging your network resources, that can cause Steam to slow down. Try turning off unnecessary programs:
Turn off unwanted programs on Windows 7
1) Right-click your taskbar and select Start Task Manager.

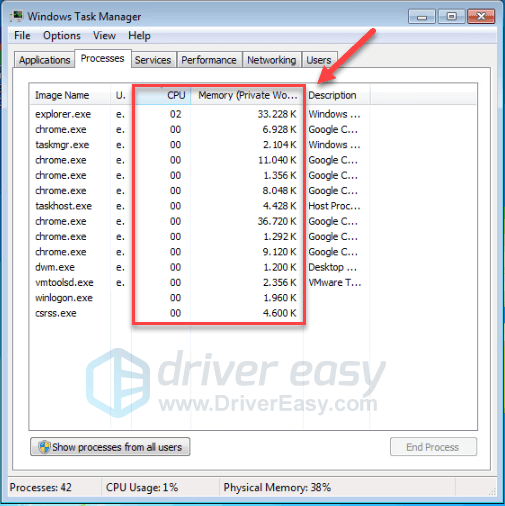
2) Click the Processes tab. Then, check your current CPU and memory usage to see what processes are consuming your resources most.
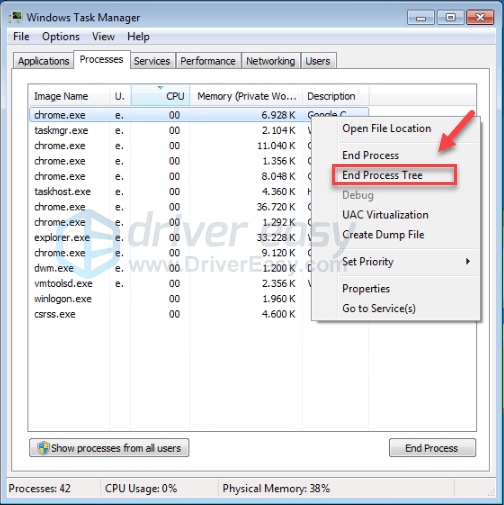
3) Right-click the resource-consuming process and select End Process Tree.
After you turn off unnecessary processes on your computer, restart Steam to see if it runs faster. If this doesn’t help, try Fix 2 to clear Steam cache and cookies.
Turn off unwanted programs on Windows 8 or 10
1) Right-click your taskbar and select Task Manager.

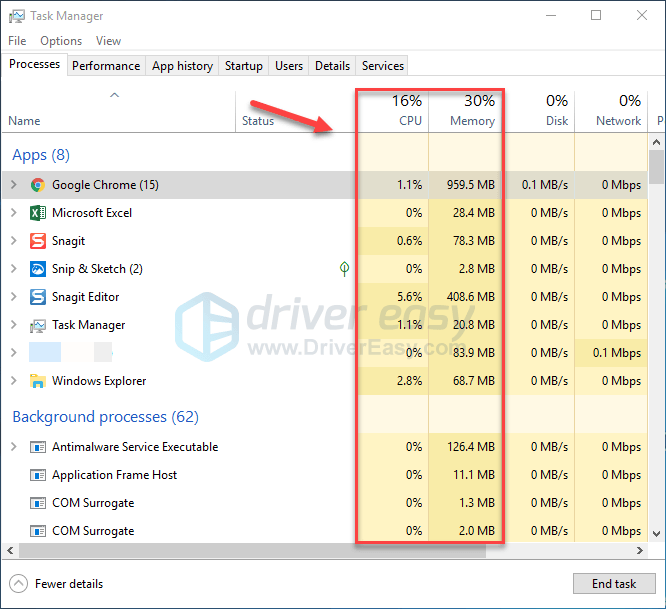
2) Check your current CPU and memory usage to see what processes are consuming your resources most.
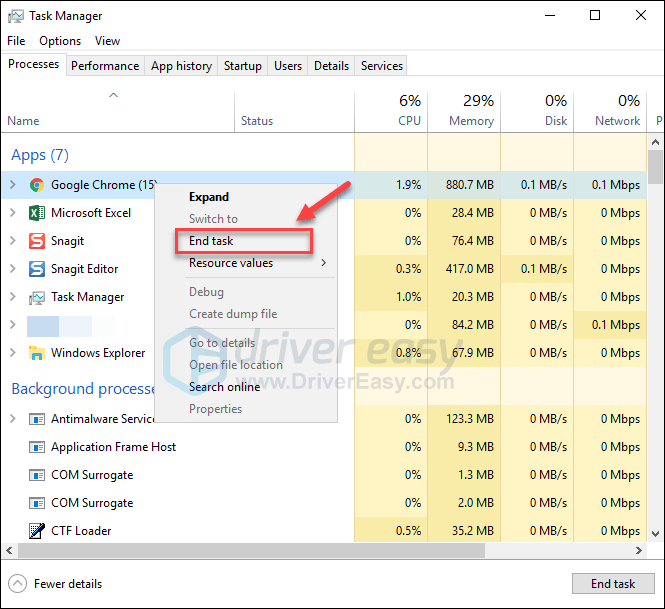
3) Right-click the resource-consuming process and select End task.
Try running Steam to see if it can work faster now. If Steam still works slow, there are 5 more fixes you can try.
Fix 2: Clear Steam cache and cookies
Over time, your PC accumulates Steam cache files and cookies. These files and cookies may affect your PC performance and cause Steam to slow down.
If that’s the problem for you, clearing cache and cookies should be able to improve your browsing speed. Follow the instructions below:
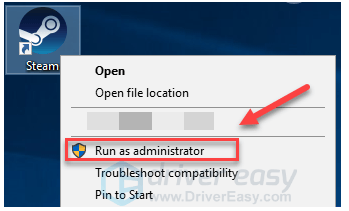
1) Right-click the Steam icon, and then select Run as administrator.
2) Click Steam, and then select Settings.

3) Select Web Browser and click DELETE WEB BROWSER CACHE.

4) Click OK.

5) Click DELETE ALL BROWSER COOKIES.
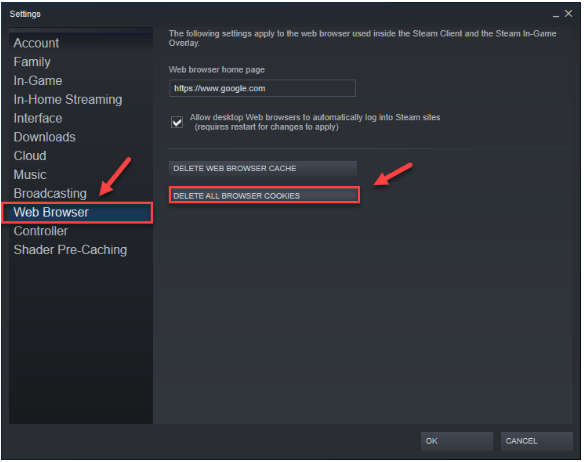
6) Click OK.

7) Select Downloads, and then click CLEAR DOWNLOAD CACHE.
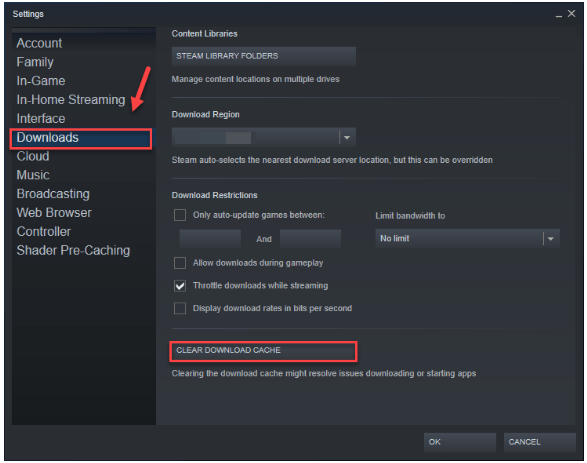
8) Click OK.
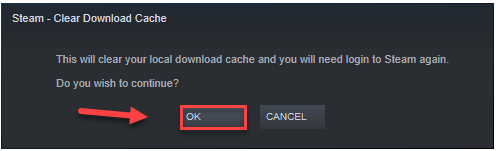
9) Restart Steam.
Check if this method helped in speeding up Steam. If Steam still runs slow, try the fix below.
Fix 3: Update your device drivers
Outdated or faulty device drivers can also cause Steam to lag. To see if that’s the problem for you, try updating your drivers. There are two ways you can do this:
Manual driver update – You can update your driver manually by going to the manufacturer website of your devices, and searching for the most recent correct driver. Be sure to choose the driver that is compatible with your Windows version.
Automatic driver update – If you don’t have the time, patience or computer skills to update your drivers manually, you can, instead, do it automatically with Driver Easy. Driver Easy will automatically recognize your system and find the correct driver for your computer, and your Windows version, and it will download and install them correctly:
1) Download and install Driver Easy.
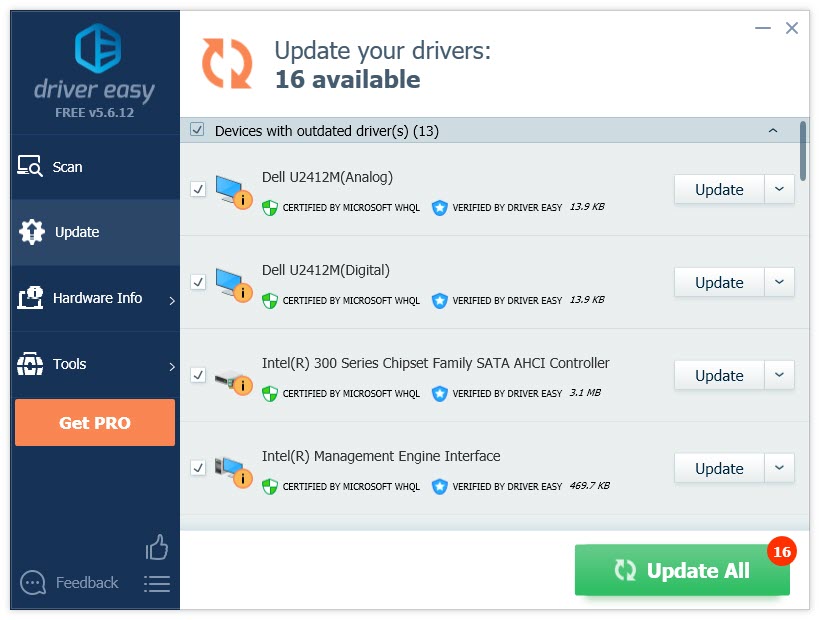
2) Run Driver Easy and click the Scan Now button. Driver Easy will then scan your computer and detect any problem drivers.

3) Click the Update button next to the driver you need to automatically download the correct version of this driver, then you can manually install it (you can do this with the FREE version).
Or click Update All to automatically download and install the correct version of all the drivers that are missing or out of date on your system. (This requires the Pro version which comes with full support and a 30-day money back guarantee. You’ll be prompted to upgrade when you click Update All.)
4) Restart Steam to test your issue.
If your problem persists, then move on and try the fix below.
Fix 4: Disable auto proxy settings
Incorrect proxy settings can cause connection issues such as slow webpage load speed. For those who don’t use a proxy at all, follow the instructions below to disable the automatic detection of a proxy service to see if that fixes your issue.
If you already have a proxy server that uses automatic configuration, you should skip this method and try Fix 5; otherwise, you might lose network connections after you disable the automatic detection setting.
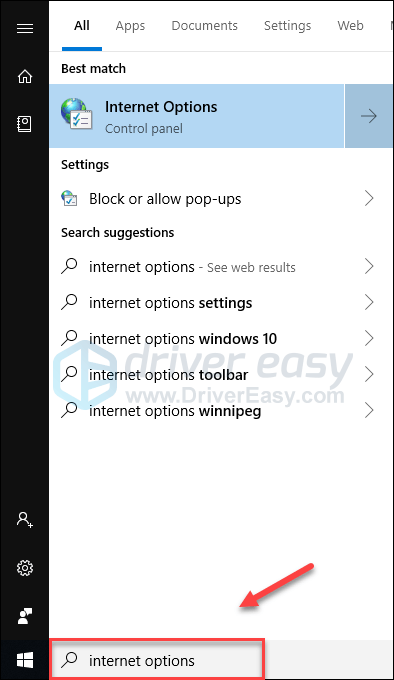
1) On your keyboard, press the Windows logo key and type internet options.
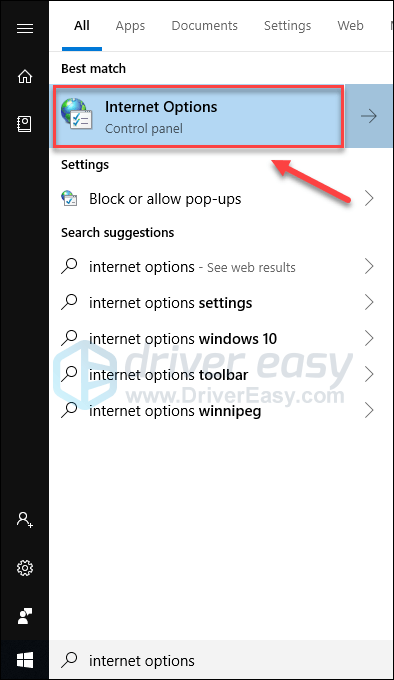
2) Click Internet Options.
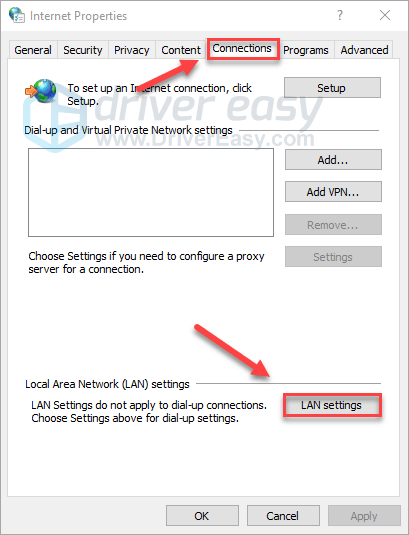
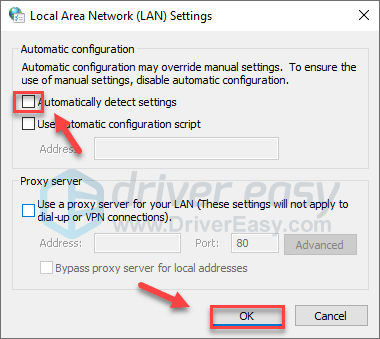
3) Click the Connections tab, and then click LAN settings.
4) Uncheck Automatically detect settings and click OK.
5) Restart Steam client to test your issue.
If this didn’t resolve your problem, move on and try the next fix.
Fix 5: Repair the Steam service
Corrupt or missing Steam files may also Steam performance issues. To fix it, you’ll need to verify Steam files. Here is how:
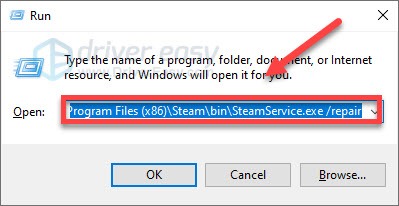
1) On your keyboard, press the Windows logo key and R at the same time.
2) Type C:\Program Files (x86)\Steam\bin\SteamService.exe /repair, then hit the Enter key on your keyboard.
3) You’ll see a window appears. (It may take a few minutes to repair Steam service, please wait for the process to be complete. Don’t close the window.)

4) Restart Steam to test your issue.
If your issue continues to occur, then move on to the next fix below.
Fix 6: Reinstall Steam
If none of the fixes above helped, reinstalling Steam is very likely the solution to your problem. Here is how to back up your game content and reinstall Steam:
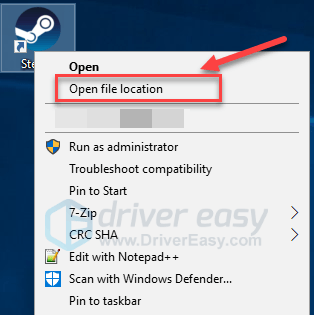
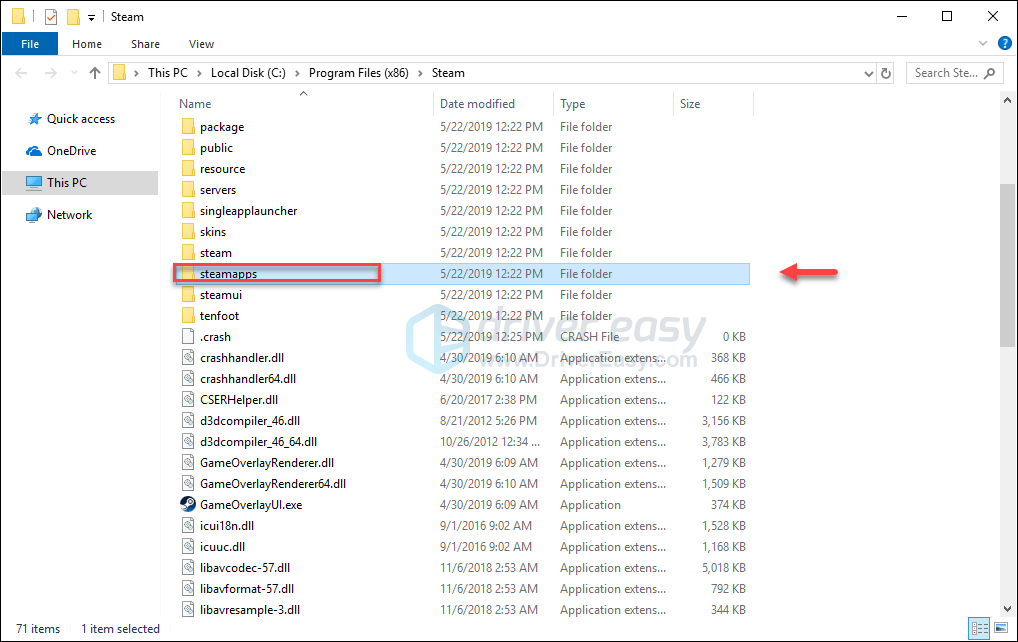
1) Right-click the Steam icon and select Open file location.
2) Right-click the steamapps folder and select Copy. Then, place the copy in another location to back up it.

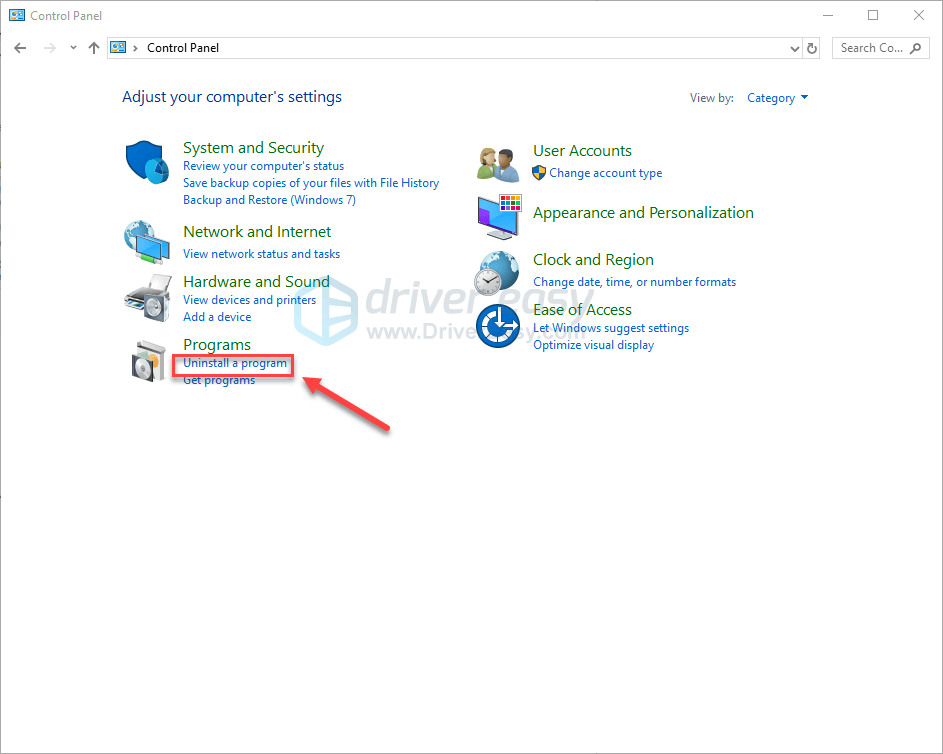
3) On your keyboard, press the Windows logo key and type control. Then, click Control Panel.

4) Under View by, select Category.

5) Select Uninstall a program.
6) Right-click Steam, and then click Uninstall.

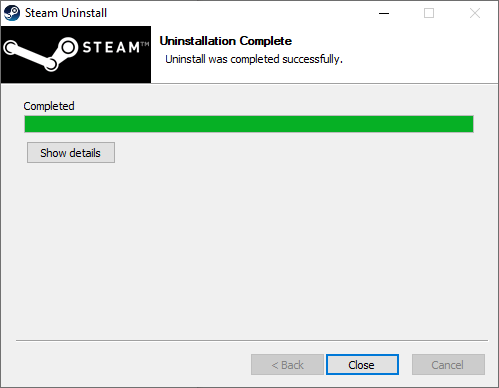
7) Follow the on-screen instructions to uninstall Steam and wait for the process to be complete.
8) Download and install Steam.
9) Right-click the Steam icon and select Open file location.
10) Move the backup steamapps folder you create before to your current directory location. Then, restart Steam.
Hopefully, this article helped in speeding up Steam! If you have any questions or suggestions, please feel free to leave a comment below.