


There are two methods you can use. Method 1 should work for most cases. If it doesn’t work on your case, try Method 2.
Method 1: Change Device Installation Settings
Follow these steps:
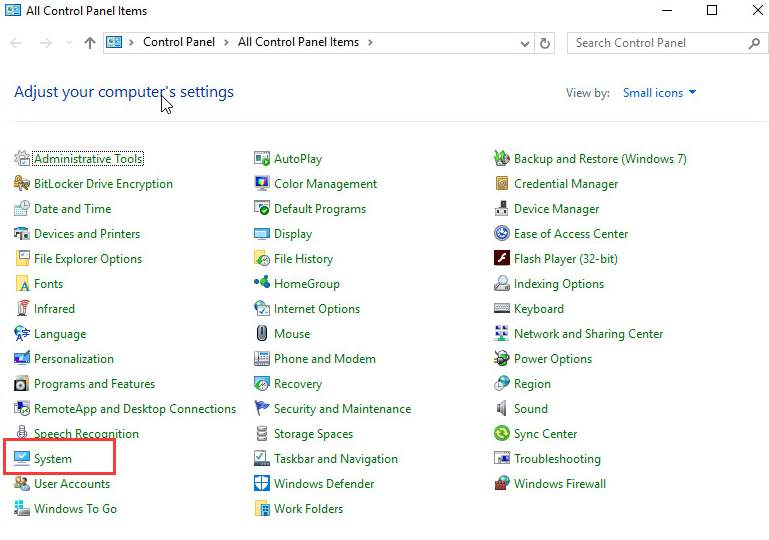
1. Open Control Panel.
2. View by Small icons, click System.
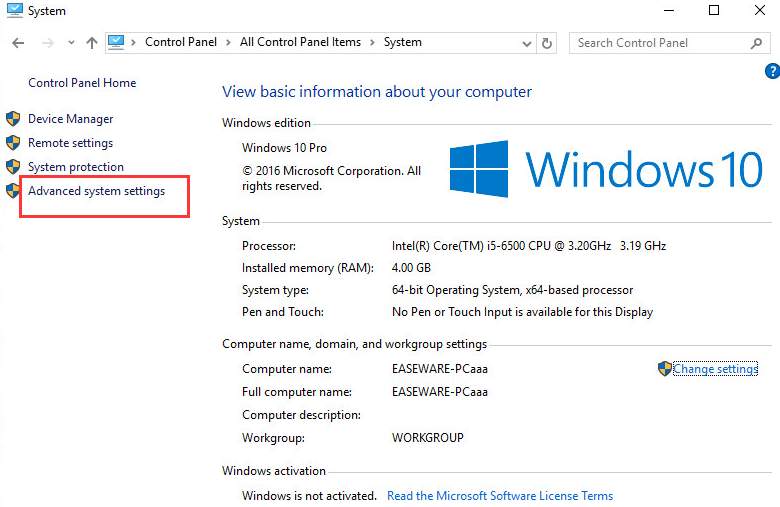
3. In left pane, click Advanced system settings.
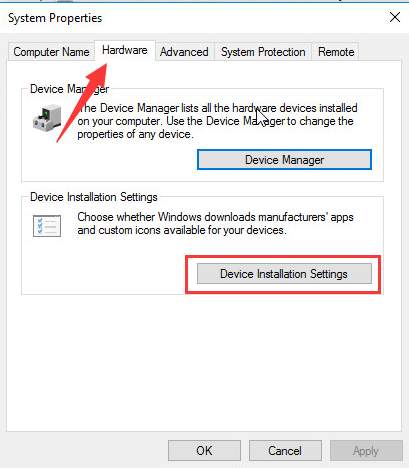
4. Go to Hardware tab. Under Device Installation Settings section, click on Device Installation Settings.
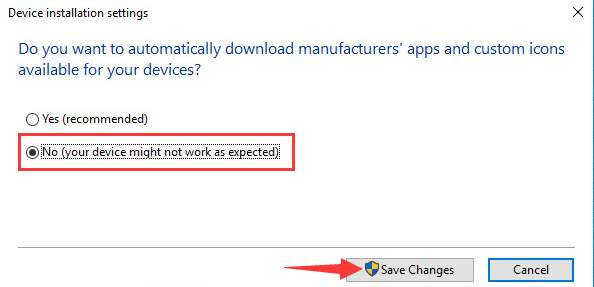
5. Select No. Then click on Save Changes.
Method 2: Change Group Policy Settings
Follow these steps:
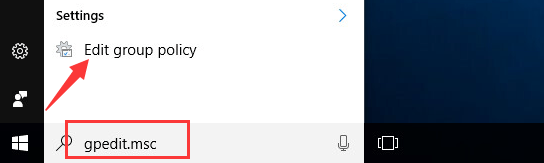
1. Type gpedit.msc in the search box then select Edit group policy.
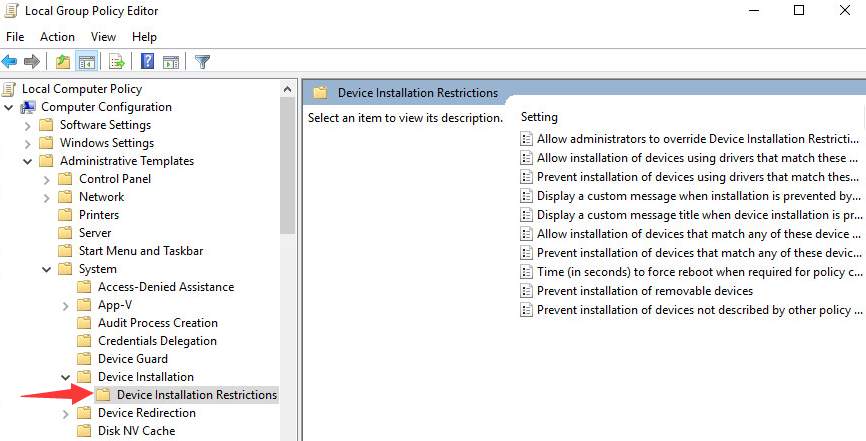
2. Navigate to Computer Configuration -> Administrative Templates -> System -> Device Installation -> Device Installation Restrictions.
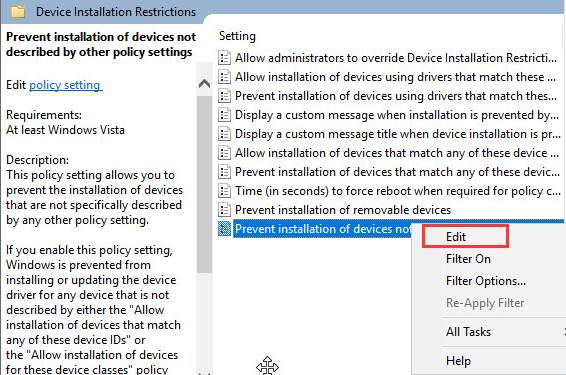
3. In the right pane, right-click on Prevent Installation of Devices not described by other policy settings and select Edit.
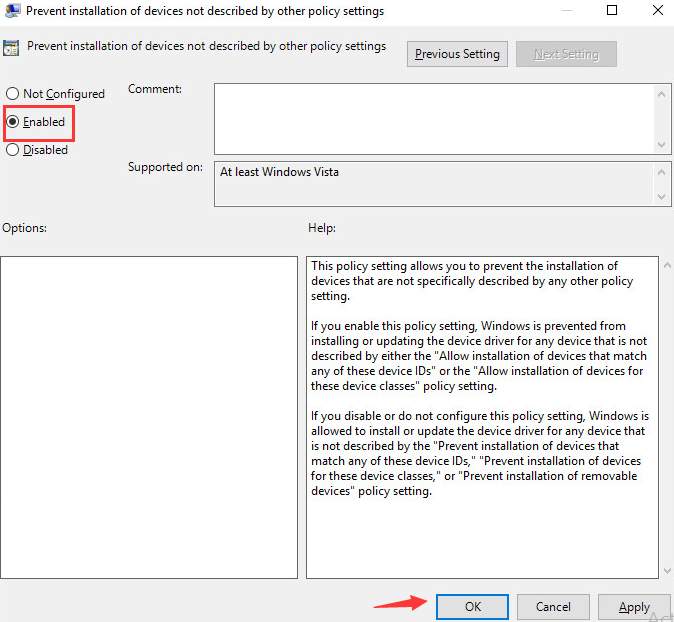
4. Select Enabled and click OK button.
Note if you want to let Windows install some drivers automatically, remember to change back the settings.
To update drivers, you can download the latest drivers from manufacturers. And if you want to save more time, you can use Driver Easy to help you.
Driver Easy has Free version and PRO version. Click here to download the Free version for a trial. If you find it useful, upgrade to the PRO version. The PRO version allows you to update all drivers with just one click. And offers you free expert tech support guarantee and 30-day money back guarantee. Just contact us for further assistance if you meet any driver issue. And ask for a full refund if you are not satisfied with the product.