


 You’ve plugged in your microphone and want to know if it’s working at all? Here’re some tips for you to test microphone on Windows 10. Easily and quickly.
Try these tips
Tip 1: How to test microphone on Windows 10?
Is this the first time you’ve connected the microphone to Windows 10? If so, you can follow the steps below to install the mic; If not, you can click here to see how to test a microphone that has already been installed.
To install a new microphone:
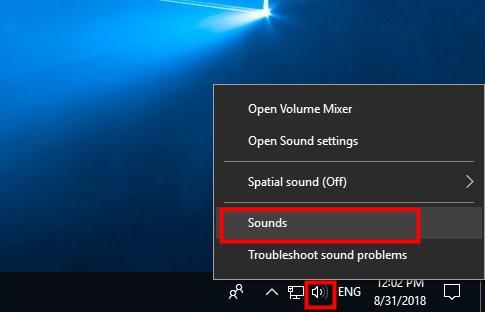
- Right-click the speaker icon on the bottom left of your screen, then select Sounds.
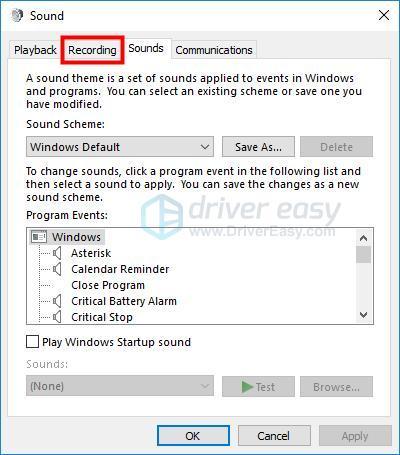
- Click the Recording tab.
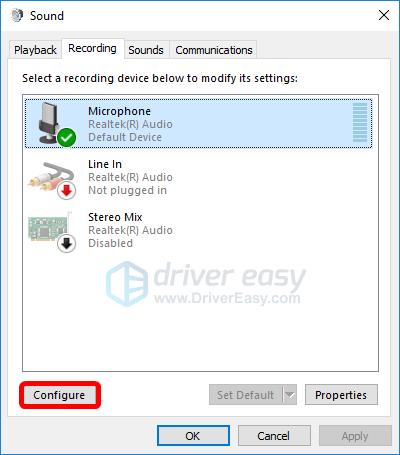
- Select the microphone you want to set up, and click the Configure button in the lower left.
- Click Set up microphone.
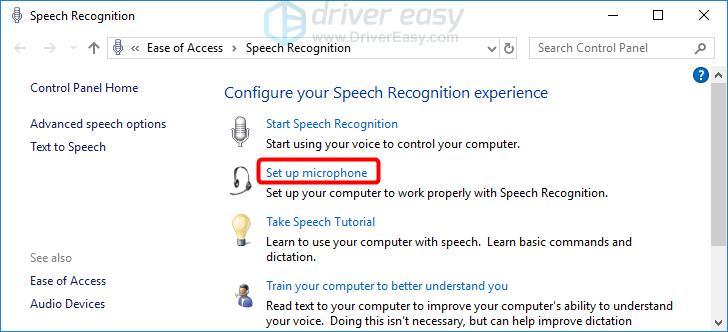
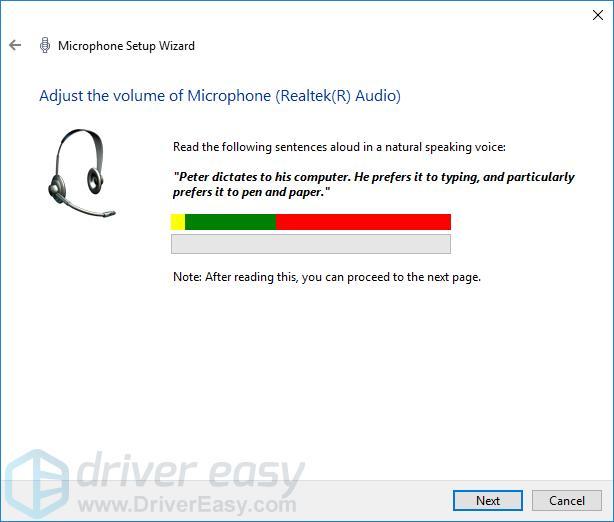
- Follow the steps of the Microphone Setup Wizard.
- When it’s complete, click Fininsh.

To test a microphone that has already been installed:
- Right-click the speaker icon in the bottom-right part of your screen, then select Sounds.
- Click the Recording tab.
- Try speaking into your microphone to test if it’s working properly. If it is, you should see a green bar rising next to it while you talk.

Another way to test microphone on Windows 10 is — if you want to speak something and quickly listen to your voices, you can use the pre-installed app Voice Recorder to test your microphone — you can refer to this article: Voice Recorder Windows 10 — How to use it & fix issues with it?
Tip 2: How to fix microphone not working on PC?
Solution 1: Update your audio driver
A missing or outdated audio driver may stop mic from working on PC. If you don’t have the time, patience or computer skills to update your audio driver manually, you can, instead, do it automatically with Driver Easy.
Driver Easy will automatically recognize your system and find the correct drivers for it. You don’t need to know exactly what system your computer is running, you don’t need to be troubled by the wrong driver you would be downloading, and you don’t need to worry about making a mistake when installing. Driver Easy handles it all.
- Download and install Driver Easy.
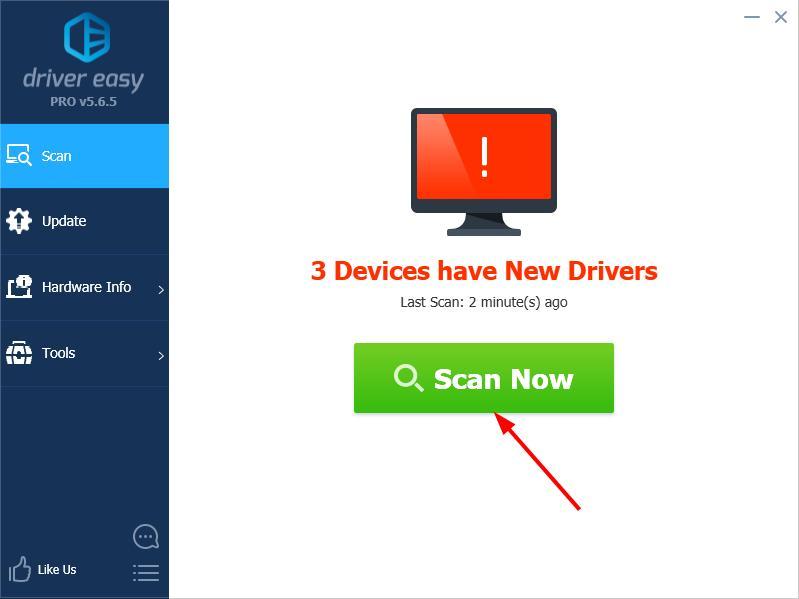
- Run Driver Easy and click Scan Now. Driver Easy will then scan your computer and detect any problem drivers.
- Click the Update button next to your audio device to automatically download the correct version of its driver, then you can manually install it (you can do this with the FREE version).
Or click Update All to automatically download and install the correct version of all the drivers that are missing or out of date on your system. (This requires the Pro version which comes with full support and a 30-day money back guarantee. You’ll be prompted to upgrade when you click Update All.)
Note: If you need assistance, please contact Driver Easy’s support team at support@drivereasy.com.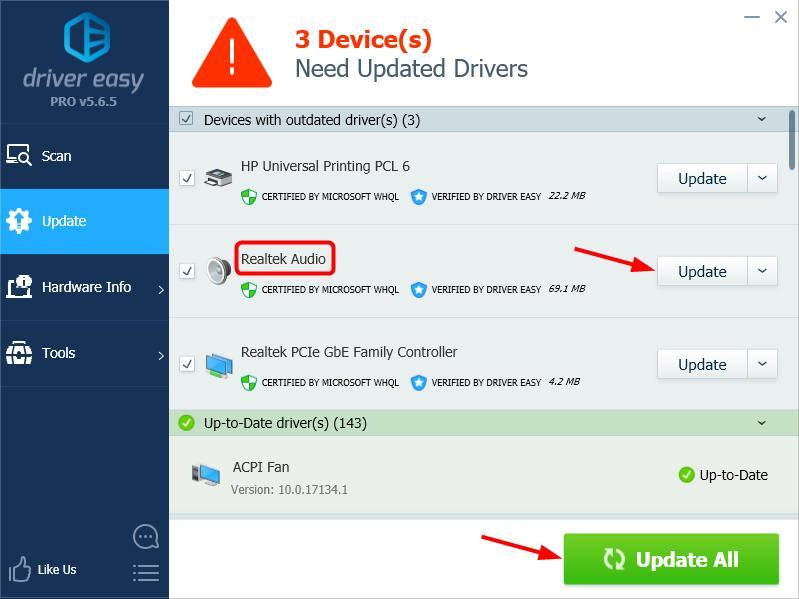
Solution 2: Set microphone as default device
- Right-click the volume icon in the bottom-right part of your screen, then select Sounds.
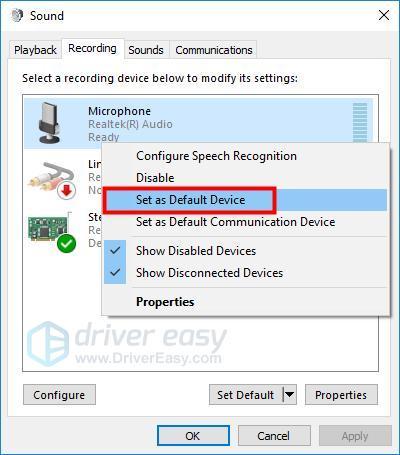
- Click the Recording tab.
- Right-click on the device you want to use, and select Set as Default Device.
- Click OK.
If you have any question or suggestion, please feel free to leave a comment below.