


Twitch is a popular live streaming platform owned by Amazon that lets users broadcast and watch gaming, sports, music, and other content. With millions of daily active users, Twitch has become the go-to site for live streaming entertainment online.
However, users sometimes encounter issues like streams not loading properly on the platform. Assuming that Twitch does not have any server issues, there are a variety of factors that could be preventing you from watching streams on your end. But don’t worry, with this guide, you can navigate your way down the list of solutions, until you get to the root of the problem and find the fix that works for you.
Fixes for Twitch Streams Not Loading
- Restart your network devices
- Update your graphics driver
- Change your DNS settings
- Clear cache and cookies
- Disable browser extensions
- Use VPN to change your IP address
- Launch in safe mode
Fix 1 Restart your network devices
Twitch may not be loading if it loses its connection. Chances are you have a weak internet connection that doesn’t provide enough bandwidth for Twitch to stream properly. So the first thing we should look into is your network devices, which could become overflooded with cache if you have kept them on for too long a while.
Here’s how to restart it:
- Unplug your modem (and your router, if it’s a separate device) from the power socket.
 (a modem)
 (a router)
 - Wait 60 seconds for your modem (and your router) to cool off.
- Plug the network devices back in again and wait until the indicator lights are back to the normal state.
- Restart your computer.
- Start streaming in Twitch and see if the loading issue is resolved.
Fix 2 Update your graphics driver
A graphics driver is an essential piece of software program that enables your computer to work with your graphics hardware. If the driver is wrong, corrupt or outdated, you may experience issues like slow loading or not loading at all. So you should update your graphics driver to see if it fixes your problem.
You can head to graphics manufacturers’ websites (like Nvidia or AMD) to download the latest drivers. However, if you don’t have the time, patience, or computer skills to update the driver manually, you can do it automatically with Driver Easy.
It will automatically recognize your system and find the correct drivers for it. You can update your drivers automatically with either the FREE or the Pro version of Driver Easy. But with the Pro version it takes just 2 steps (and you get full support and a 30-day money-back guarantee):
- Download and install Driver Easy.
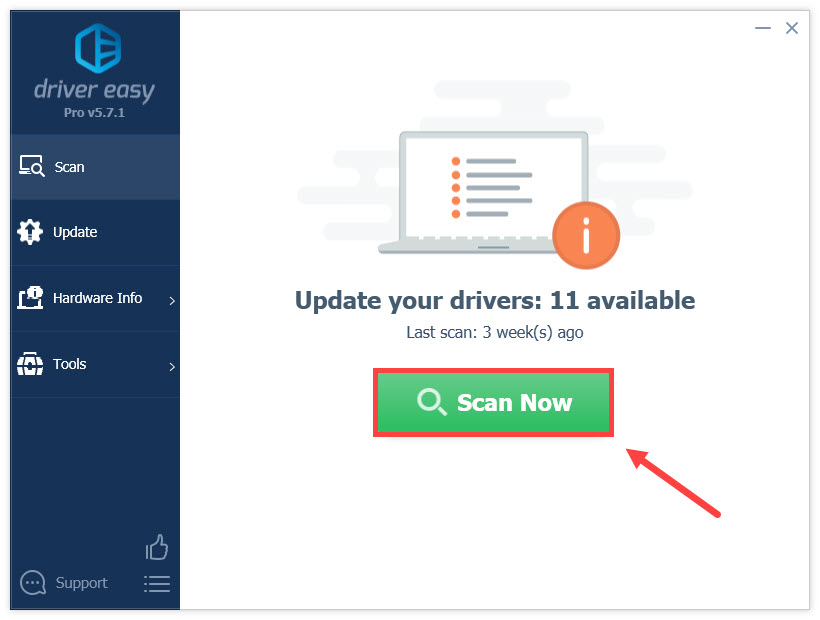
- Run Driver Easy and click the Scan Now button. Driver Easy will then scan your computer and detect any problem drivers.
- Click Update All to automatically download and install the correct version of all the drivers that are missing or out of date on your system (this requires the Pro version – you’ll be prompted to upgrade when you click Update All).
Or, you can click the Update button next to the flagged graphics driver to automatically download the correct version of that driver, then you can manually install it (you can do this with the FREE version).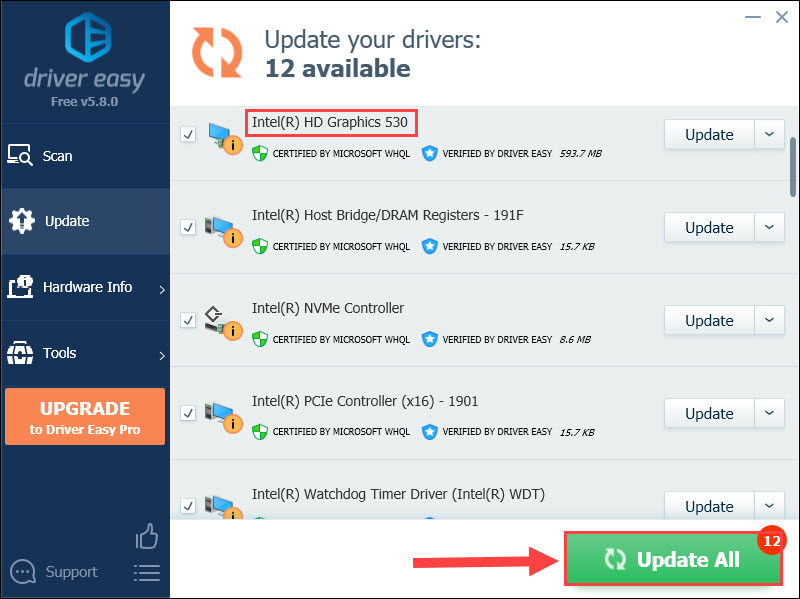
Fix 3 Change your DNS settings
DNS (Domain Name System) is like an address book for the internet – it translates domain names to IP addresses so your device can load the correct website or server. Sometimes DNS issues cause errors or failed loading, so changing your DNS settings to alternate DNS servers can resolve the problem by routing your requests differently. Switching DNS provides a fresh lookup and mapping of domain names to IPs, allowing streams to connect successfully.
To fix this, you can try using Google Public DNS. Here’s how:
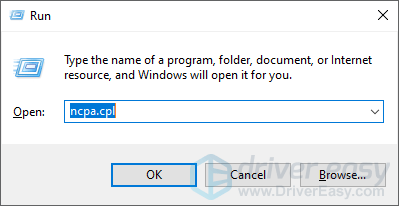
- On your keyboard, press the Windows logo key and R on your keyboard at the same time to invoke the Run box.
- Type “ncpa.cpl” and press Enter.
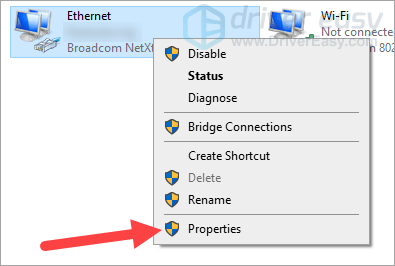
- Right click your Internet connection (Ethernet for wired connection or Wi-Fi for wireless), then select Properties.
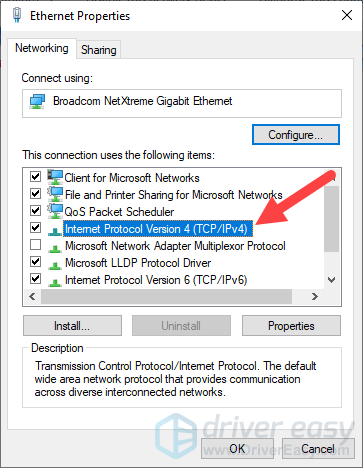
- Double click Internet Protocol Version 4 (TCP/IPv4).
- Select Use the following DNS server addresses, fill in the Google Public DNS addresses (8.8.8.8 for Preferred DNS server and 8.8.4.4 for Alternate), and then click OK.
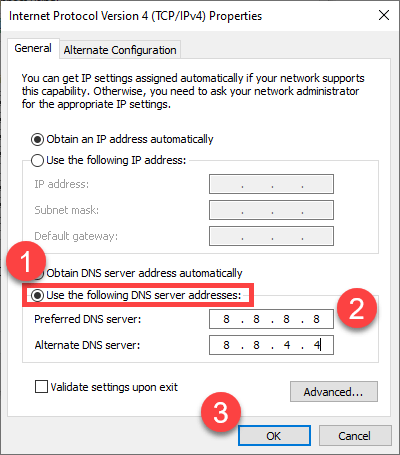
- Click OK.
- Restart your computer as well as your router/modem.
Now check to see if this helps you load Twitch streams. If yes, then congrats! If the black screen persists, please try Fix 4, below.
Fix 4 Clear cache and cookies
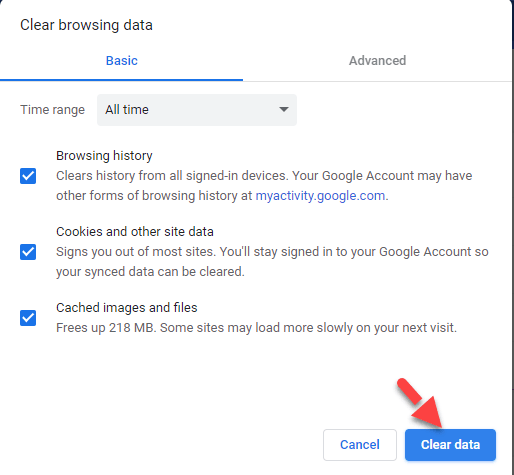
Web browsers store cache and cookies to help sites load faster, but sometimes this data gets corrupted or outdated. Clearing the cache and cookies gives your browser a fresh start, deleting any problematic cached/cookie data that may be preventing a page from loading properly.
Clear cache and cookies in Google Chrome:
- Open Google Chrome.
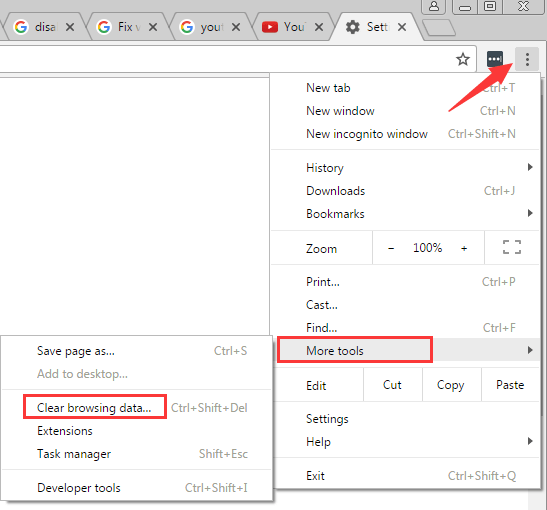
- In the top right corner of your screen, click the three-vertical-dots icon > More tools > Clear browsing data…
- Click Clear data.
- Restart Google Chrome.
- Open Twitch and see if you can play the streaming content properly. If it still doesn’t do the trick, please continue with Fix 5, below.
Fix 5 Disable browser extensions
Ad blockers and other browser extensions can interfere with Twitch’s functionality and cause streams not to load. Disabling them temporarily can help resolve the issue. Follow the steps below to disable ad blockers and extensions in Google Chrome:
- Open Google Chrome.
- In the top right corner of your screen, click the three-vertical-dots icon > More tools > Extensions.
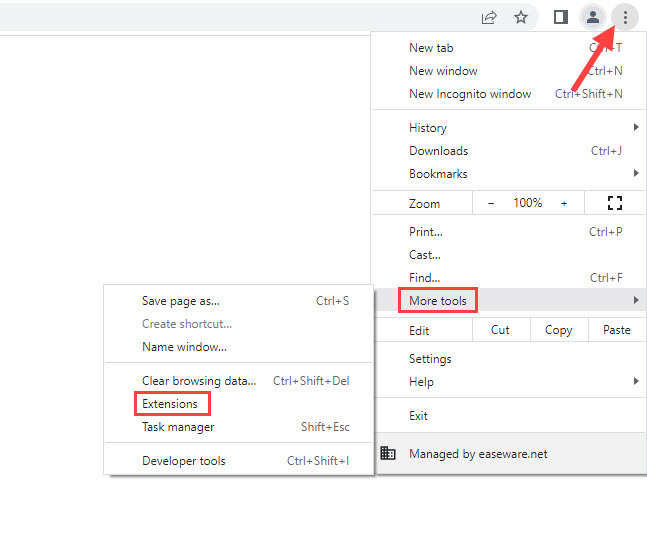
- Disable any ad blockers or extensions that you have installed by clicking the toggle switch next to them.
- Restart Google Chrome. If disabling browser extensions doesn’t help with the situation, please try the next fix, below.
Fix 6 Use VPN to change your IP address
You won’t be able to visit Twitch if you are trying to open the website in a country without access to Twitch, as it isn’t readily available in some locations. Fortunately, there is a simple and reliable solution to this problem. Using a VPN (Virtual Private Network) will help you “mask” your IP to make it appear as though it’s coming from a country where Twitch is allowed.
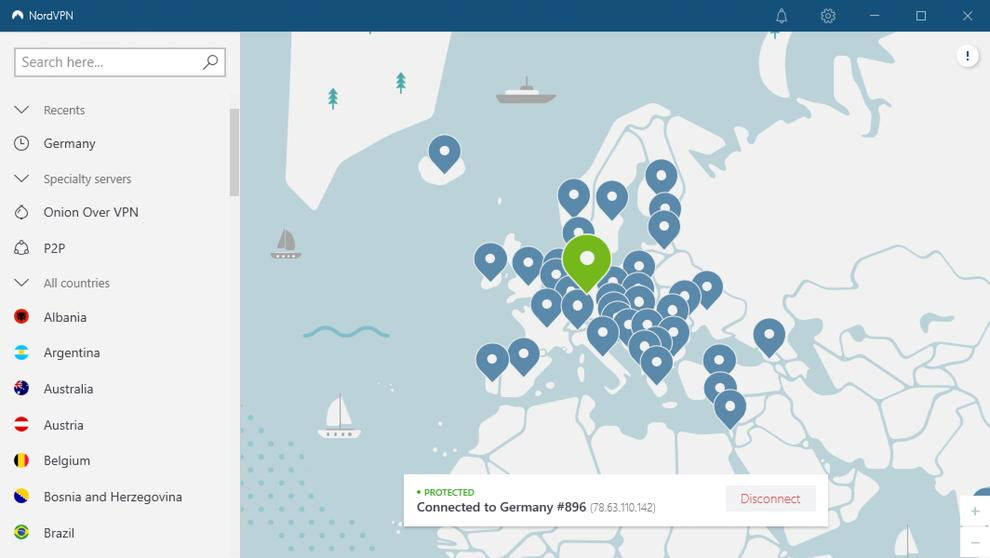
You can set up a VPN connection manually, but this requires a lot of time and computer skills. So it’s easier to use a VPN service, such as NordVPN.
Here’s how to use it:
- Download and install NordVPN.
- Run NordVPN, then choose a location you want to connect to.
- Check to see if you can open the website without problems this time. If yes, then you’ve worked around the issue. If no, please head on to Fix 7, below.
Fix 7 Launch in safe mode
If the problem continues to appear even after applying the above workarounds, we recommend launching the app in safe mode. Here’s how to do it:
- Press Win
 +R keys to open the Run dialog.
 - Type “msconfig” in the search box and press Enter to open System Configuration.

- Click the Boot tab, enable Safe Boot and the Network option, and then click OK.

Hopefully you can fix Twitch streams not loading with the methods above. If you have any questions, ideas or suggestions, feel free to leave your comments below.