


Your Windows computer can’t connect to your WiFi network? Don’t worry. Although this is incredibly annoying, you’re definitely not the only person to experience it. And more importantly, it’s fixable…
Try these fixes
You may not have to try them all; just work your way down the list until you find the one that works for you.
Fix 1: Restart your router
This is the first thing you should try when you’re unable to connect to your WiFi network. To do so:
- Turn off your router.
- Disconnect the router power cable from the power source.
- Wait for 1 minute to drain the power in your router.
- Connect the router power cable to the power source.
- Turn on your router.
If restarting the router worked for you, great! But if not, move on to Fix 2, below.
Fix 2: Reset your network settings
Perhaps there are issues with your computer network settings, so you’re unable to connect to the WiFi network. You should reset your network settings to see if this fixes the issues for you.
To do so:
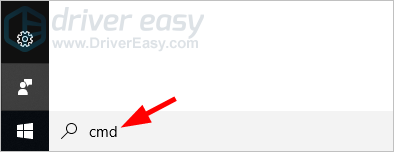
- On your computer, click the Start button and type “cmd“.
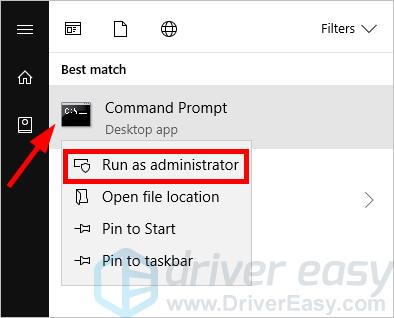
- Right click Command Prompt in the list of results, then select Run as administrator.
- Type the following lines of command at Command Prompt, and after typing each line, press Enter on your keyboard.
ipconfig /release

ipconfig /renew

ipconfig /flushdns

netsh winsock reset

net stop dhcp

net start dhcp

netsh winhttp reset proxy
Now check to see if you’re able to connect to your WiFi network.
Fix 3: Update your wireless network adapter driver
Sometimes your’re having WiFi connection issues because you’re using a wrong wireless network adapter driver or it’s out of date. You should try updating the driver and see if this works for you.
If you don’t have the time, patience or skills to update your wireless adapter driver manually, you can do it automatically with Driver Easy.
You don’t need to know exactly what system your computer is running, you don’t need to risk downloading and installing the wrong driver, and you don’t need to worry about making a mistake when installing. Driver Easy handles it all.
- Download and install Driver Easy.
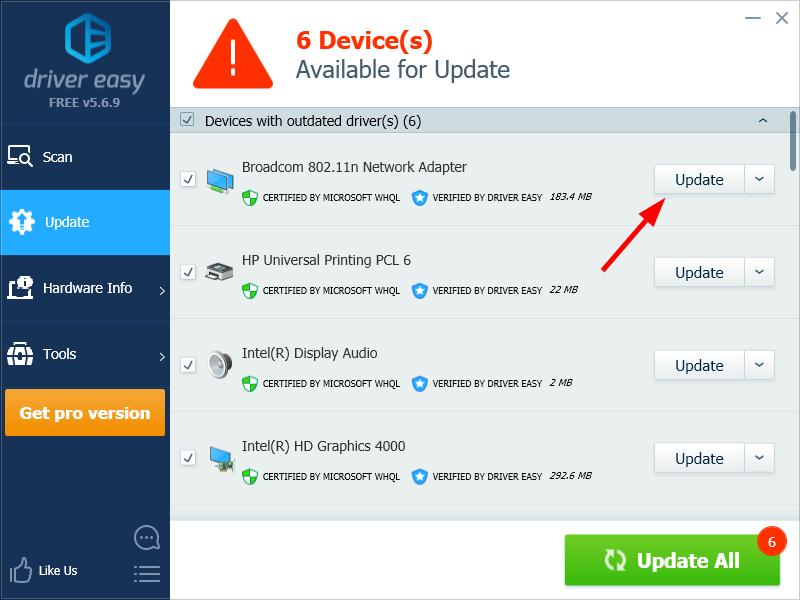
- Run Driver Easy and click the Scan Now button. Driver Easy will then scan your computer and detect any problem drivers.

- Click the Update button next to your wireless adapter to download the correct version of its driver, then you can manually install it. Or click the Update All button at the bottom right to automatically update all the drivers. (This requires the Pro version — you will be prompted to upgrade when you click Update All. You get full support and a 30-day money back guarantee.)
You can do it for free if you like, but it’s partly manual.