When checking your Memory Integrity settings in Core Isolation, you find that it was turned off automatically due to an incompatible driver called wdcsam64_prewin8.sys, but you have absolutely no idea what this file is. If this is also you, don’t worry, it’s not at all a rare problem on Windows 11 and Windows 10 computers.
We have some fixes here that’ll help to sort out the wdcsam64_prewin8.sys driver issue for you. When the incompatible driver problem is fixed, you can then enable your Memory Integrity in Core Isolation with no further problems.
Try these fixes for wdcsam64_prewin8.sys being an incompatible driver issue
You don’t have to try all the following methods: simply work your way down the list until you find the one that does the trick to fix the incompatible driver issue with wdcsam64_prewin8.sys for you.
- Update Windows
- Reinstall the wdcsam64_prewin8.sys driver
- Manually download and install the wdcsam64_prewin8.sys driver
- Automatically update the wdcsam64_prewin8.sys driver
- Repair damaged or corrupt system files
1. Update Windows
If you’ve disabled Windows from automatically updating manually, there are chances that you missed some driver updates that could help to fix incompatible drivers like wdcsam64_prewin8.sys. To make sure that you have the latest available updates installed:
- On your keyboard, hit the Windows key, then type check for updates, then click Check for updates.

- Click Check for updates, and Windows will scan for any available updates.

- If there are available updates, Windows will automatically download them for you. Restart your computer for the update to take effect if needed.

- If there are no available updates, you’ll see You’re up to date like this.

Then restart your computer and see if wdcsam64_prewin8.sys is still listed as an incompatible file that stops Memory Integrity from working properly. If the problem remains, please move on.
2. Reinstall the wdcsam64_prewin8.sys driver
wdcsam64_prewin8.sys is a driver file from Western Digital Technologies, a hard drive manufacturer. So when Core Isolation reminds you that wdcsam64_prewin8.sys is incompatible, you may have some problem with the drivers for your hard drives. If you don’t recall any hard drive from Western Digital, it’s probably pre-installed on your computer.
Whether you have the WD hard drive(s) pre-installed, or you have one or two WD hard drives installed yourself, you can do the following for the mentioned incompatible driver to be reinstalled by Windows:
- On your keyboard, press the Windows key and the R key at the same time. Type cmd and hit Ctrl+Shift+Enter to open Command Prompt as administrator. When prompted for permission, click Yes.

- Type this command:
pnputil.exe -d oem<NUMBER>.infand hit Enter.
The<NUMBER>here should be filled with the number you see on your computer. For instance, I’m seeing 16, so my command here should bepnputil.exe -d oem16.inf.
- This is what the command looks like on my computer.

Hit Enter when the command is typed in. - When you see Driver package deleted successfully, restart your computer for the wdcsam64_prewin8.sys driver to be installed automatically by Windows again.
Go to Core Isolation and see if wdcsam64_prewin8.sys is still regarded as an incompatible driver that stops Memory Integrity from turning on. If so, please move on.
3. Manually download and install the wdcsam64_prewin8.sys driver
According to a post on the WD forum, WD has recognized this problem, i.e. dcsam64_prewin8.sys being incompatible and turning off Memory Integrity, and they’ve since released a new driver, which can be downloaded from here: https://downloads.wdc.com/wdapp/Install_WD_Discovery_for_Windows.zip
After the driver file download, unzip the folder, and double-click the setup file in it to run the driver installation:

Then check to see if the wdcsam64_prewin8.sys driver is still marked as incompatible. If so, please move further.
4. Automatically update the wdcsam64_prewin8.sys driver
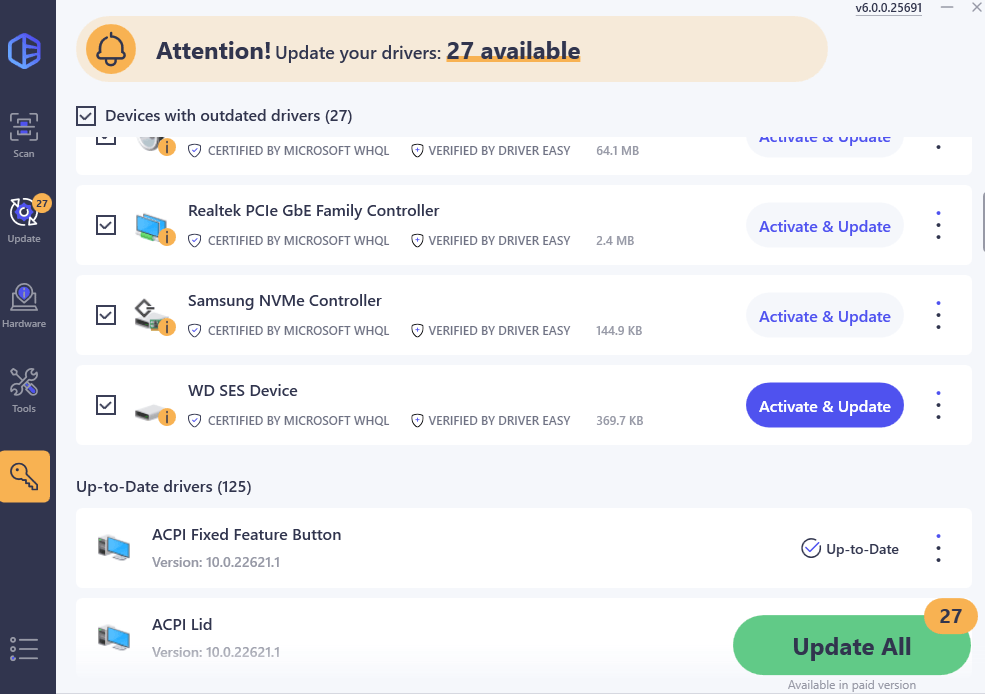
If the above driver doesn’t help, and don’t have the time, patience or skills to update the driver manually, you can do it automatically with Driver Easy. Driver Easy will automatically recognize your system and find the correct drivers for it. You don’t need to know exactly what system your computer is running, you don’t need to be troubled by the wrong driver you would be downloading, and you don’t need to worry about making a mistake when installing. Driver Easy handles it all.
- Download and install Driver Easy.
- Run Driver Easy and click the Scan Now button. Driver Easy will then scan your computer and detect any problem drivers.

- Click Update All to automatically download and install the correct version of all the drivers that are missing or out of date on your system. (This requires the Pro version which comes with full support and a 30-day money-back guarantee. You’ll be prompted to upgrade when you click Update All. If you’re not ready to buy the Pro version, Driver Easy offers a 7-day free trial which includes access to all the Pro features such as high-speed download and one-click install. You won’t be charged anything until your 7-day trial has ended.)

- Restart your computer for the changes to take effect.
Check to see if the driver issue with wdcsam64_prewin8.sys is sorted. If this fix doesn’t work for you, try the next fix, below.
5. Repair damaged or corrupt system files
If none of the above helps, you may need to check if there are corrupt or damaged system files that lead to system conflicts, missing DLLs, registry errors, etc, thus stopping the wdcsam64_prewin8.sys driver from loading. So you’ll need to repair such files. Tools like Fortect can automate the repair process quickly and easily. To use it:
- Download and install Fortect.
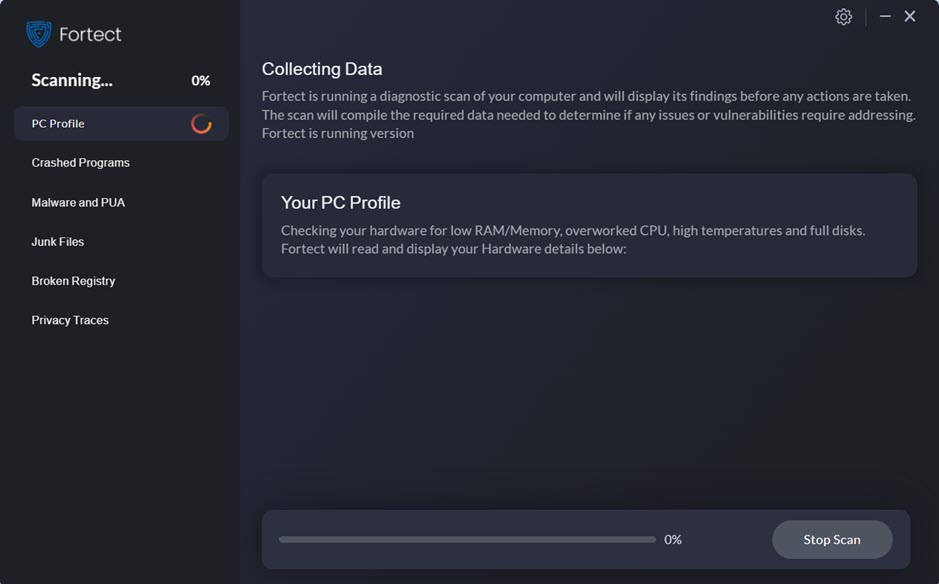
- Open Fortect. It will run a free scan of your PC and give you a detailed report of your PC status.

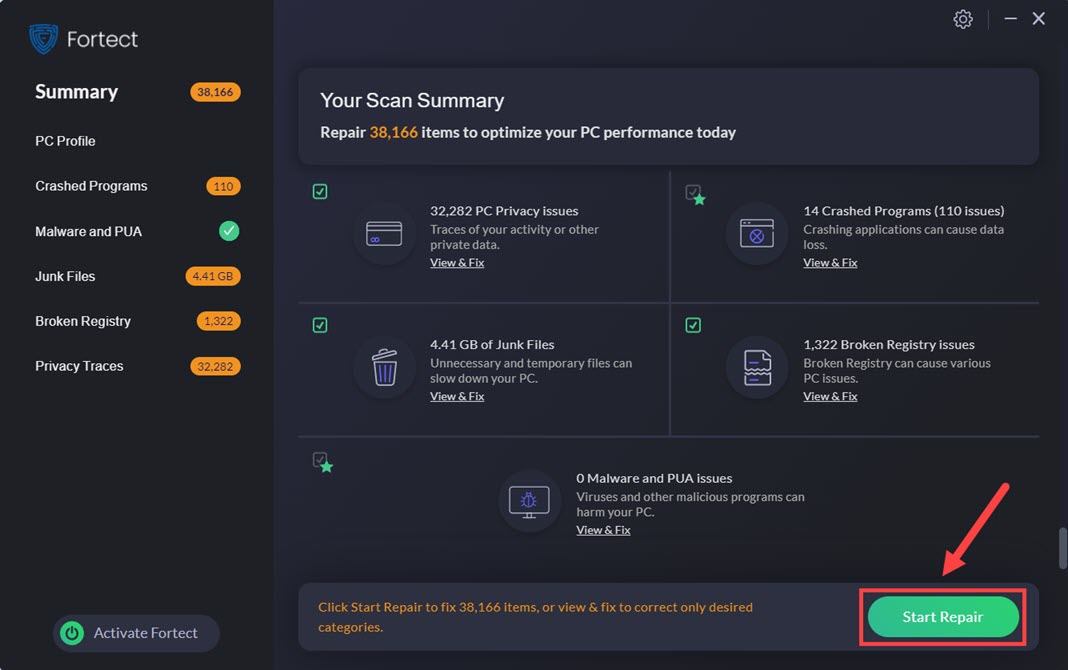
- Once finished, you’ll see a report showing all the issues. To fix all the issues automatically, click Start Repair (You’ll need to purchase the full version. It comes with a 60-day Money-Back Guarantee so you can refund anytime if Fortect doesn’t fix your problem).

Tips: Still unsure if Fortect is what you need? Check this Fortec Review!
Hope one of the above methods helps to resolve the wdcsam64_prewin8.sys driver issue for you, and the Memory Integrity is enabled again. If you have other suggestions, please feel free to leave a comment.


