


If you’ve recently upgraded to Windows 10 Fall Creators Update, version 1709, and found that your Start menu is not opening, making it impossible to use the very handy Search feature, you’re not alone.
Many Windows 10 users are reporting this problem as well. But no worries, we’re here to help.
Fixes for ‘Windows 10 Start Menu Not Working’:
The exact cause of this problem varies on different combinations of PC environments, but there are indeed solutions that are going to help you fix your not working Start menu problem before Microsoft rolls out a permanent solution.
Here are 8 of the most effective fixes. You may not have to try them all; just work your way down until you find the one works for you.
- Relog into your account
- Create a new user account
- Reinstall video card and sound card drivers
- Disable or uninstall third-party antivirus programs
- Uninstall Dropbox
- Run Microsoft Start menu troubleshooter
- Check and repair Windows files
- Reinstall Cortana
1: Relog into your account
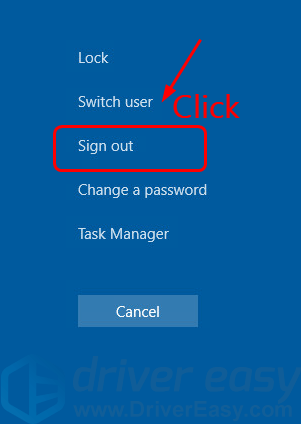
Re-logging to your desktop is one of the easiest workarounds for you to try. If your Start menu was only gone occasionally, you should go with this option. Here is how you relog into your account:
1) On your keyboard, press the Ctrl + Alt + Delete keys at the same time. Click Sign out.
2) Type in your password and log in again.
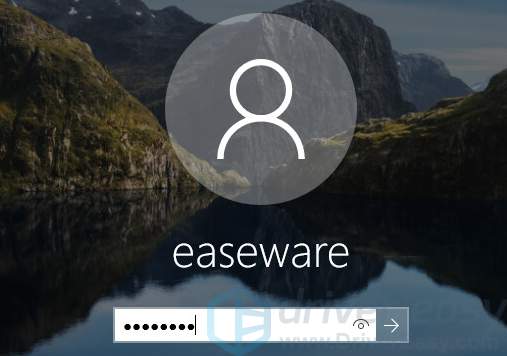
3) Check if your Start menu works all right now.
If the same problem keeps reoccurring, you may need to try other methods below.
2: Create a new user account
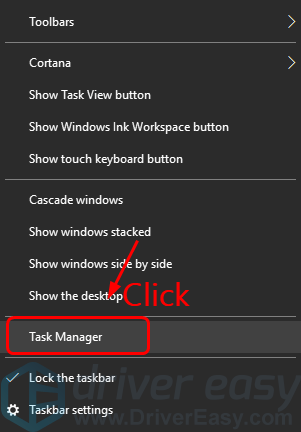
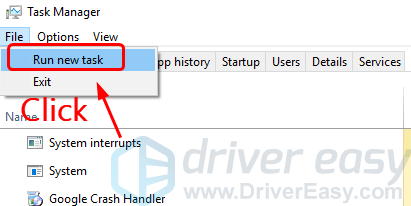
1) Right-click the task bar on your desktop at the bottom and click Task Manager.
2) On the top of the Task Manager window, select File option and then choose Run new task.
3) Then type powershell and tick the box for Create this task with administrative privileges. Click OK.

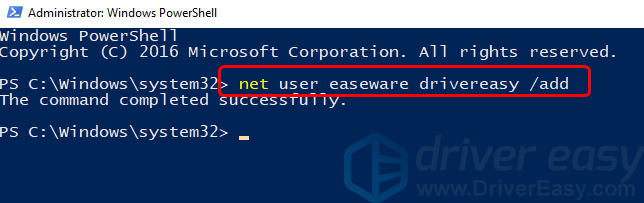
4) In PowerShell window, copy and paste in the following command and press the Enter key on your keyboard:
net user newusername newpassword /add
We are using the username “easeware” and password “drivereasy” as an example in the screenshot, you can set them as per your own preference.
5) Restart your computer and log into the new user account.
6) Your Start menu should work now.You can change the new local account to a Microsoft account and transfer your files and settings.
3: Reinstall video card and sound card drivers
Many Windows users say that their video card driver and sound card driver are the culprit, especially after the latest Windows update, and quite a number of them got their Start menu back after they reinstall or update their video and sound card drivers to the recent correct version. Here is what you can do to get your Start menu working like a charm again:
1) Download Display Driver Updater and use it to uninstall your current display card driver.
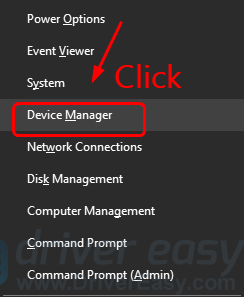
2) On your keyboard, press the Windows logo key and X at the same time, click Device Manager.
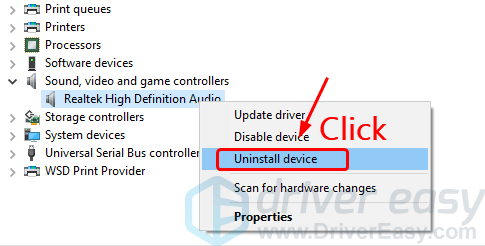
3) Double-click Sound, video and game controller. Right-click your audio card driver and click Uninstall device.
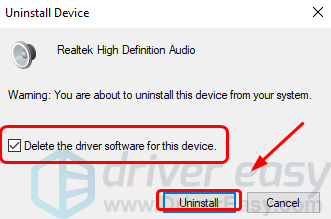
When prompted with the following notification, tick the box for Delete the driver software for this device and click Uninstall.
5) Restart your computer after the uninstall of both of your video card driver and your sound card driver.
6) Going forward, you need to update your video and sound card driver.
Manual drivers update – You can update your drivers manually bu going to the manufacturer’s website and searching for the most recent correct drivers. Note that if you are a laptop users, you should go to the laptop manufacturer for the correct video driver, since drivers from chipset manufacturer or video card manufacturer might not include the customized features you need for you laptop.
Automatic drivers update – If you don’t have the time, patience or computer skills to update your drivers manually, you can, instead, do it automatically with Driver Easy. Driver Easy will automatically recognize your system and find the correct drivers for your exact video card and audio card, and your variant of Windows 10, and it will download and install them correctly:
6.1) Download and install Driver Easy.
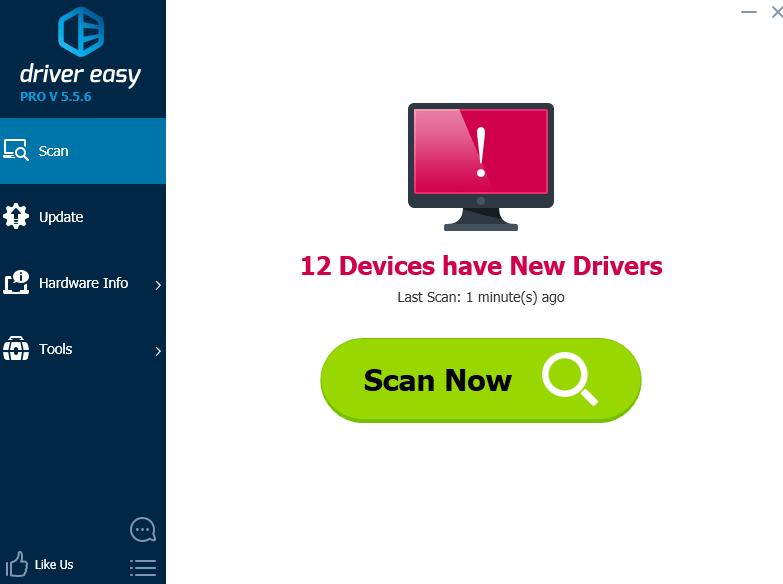
6.2) Run Driver Easy and click Scan Now button. Driver Easy will then scan your computer and detect any problem drivers.
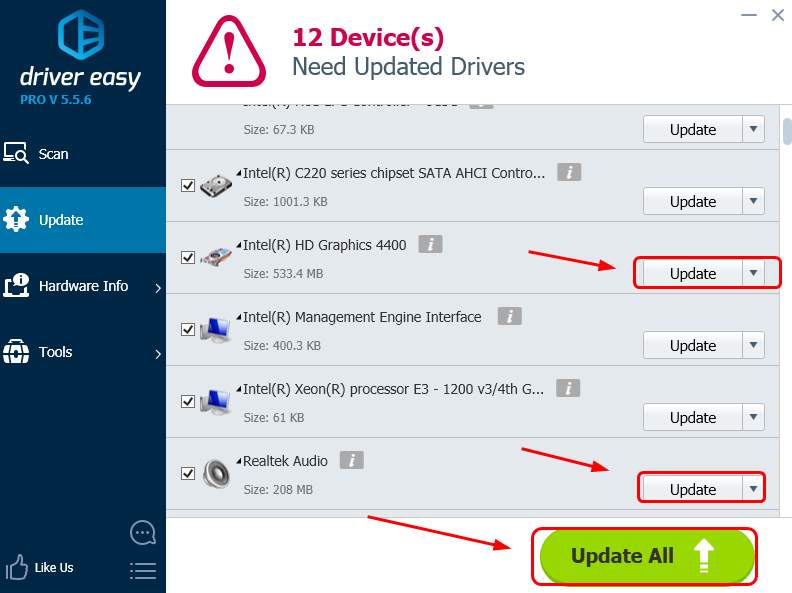
6.3) Click the Update button next to the flagged video and audio card to automatically download and install the correct versions of them (you can do this with the FREE version).
Or click Update All to automatically download and install the correct version of all the drivers that are missing or out of date on your system (this requires the Pro version – you’ll be prompted to upgrade when you click Update All).
7) Check if your Start menu is back.
4: Disable or uninstall third-party antivirus programs
If you’ve installed antivirus or anti-malware programs such as Norton, Kaspersky, AVG, Avast Behavior Shield or Malwarebytes, you should temporarily turn them off or disable them to see if they’re causing your Start menu not working problem. If your computer’s Start menu returns to normal when they’re off, you should contact the vendor of the software to see if they can provide some help.
Note that Microsoft has its own default anti-malware, Windows Defender. It’s automatically enabled even if you also have other antivirus applications installed. Even if you disable your other antivirus programs, Windows Defender is always there for you during that certain time range. So, no need to worry too much about temporarily turning antivirus off.
5: Uninstall Dropbox
Many Windows users find that Dropbox somehow conflicted with the Start menu, making it impossible to use all the feature in the Start panel.
If you have Dropbox installed, try to uninstall it from your system. Here is how:
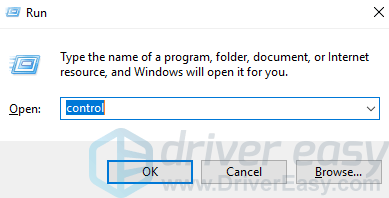
1) On your keyboard, press the Windows logo key and R at the same time, type control in and press Enter.
2) View by Category, then click Uninstall a program.
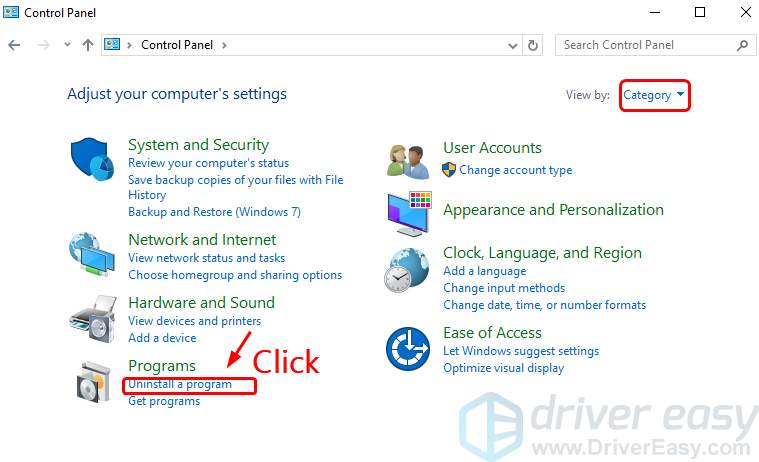
3) Find Dropbox, and click Uninstall to get it removed from your computer.
6: Run Microsoft Start menu troubleshooter
Clearly, Microsoft has recognized the Start menu not working problem after the Creators update, therefore they have rolled out the Microsoft Start menu troubleshooter for you to try.
It will check if the Start Menu and Cortana are installed correctly, and whether registry key permissions and database corruptions are in place and more stuff like these.
Install this troubleshooter and see if your problem can be fixed by it. If the problem remains, you should move on to the methods coming up next.
7: Check and repair Windows files
At times, your not working Start menu should be the result of corrupted system files. Luckily, you can easily get it fixed by running two built-in system tools. Here is what you need to do:
1) Right-click the task bar on your desktop at the bottom and click Task Manager.
2) On the top of the Task Manager window, select File option and then choose Run new task.
3) Then type powershell and tick the box for Create this task with administrative privileges. Click OK.
4) Type sfc /scannow in and press the Enter key on your keyboard. Wait for a while for the process to complete.
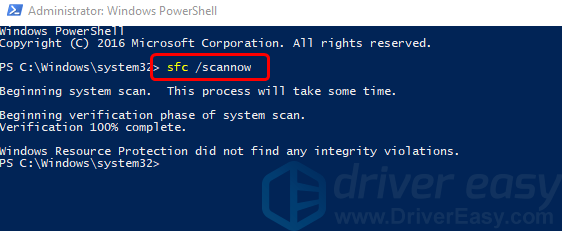
If the result you see is the same with the screen shot above, your system files are all right, and you should move on and run another test. 5) Copy and paste the following command in, and press the Enter key on your keyboard. Still, it could take a while, wait with patience.
DISM /Online /Cleanup-Image /RestoreHealth
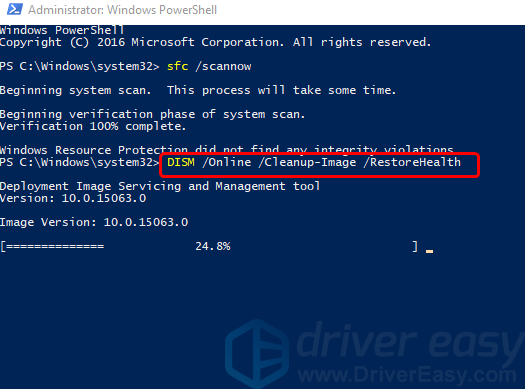
6) When these two tests finishes, check if your Start menu is back.
8: Reinstall Cortana
The reason why your Start menu and Cortana is not working could be that they are installed wrong, somehow. You can reinstall them to get the Start menu feature back. Here is how:
1) Right-click the task bar on your desktop at the bottom and click Task Manager.
2) On the top of the Task Manager window, select File option and then choose Run new task.
3) Then type powershell and tick the box for Create this task with administrative privileges. Click OK.
4) Copy and paste the following command in and press the Enter key on your keyboard.
Get-AppXPackage -Name Microsoft.Windows.Cortana | Foreach {Add-AppxPackage -DisableDevelopmentMo
de -Register "$($_.InstallLocation)\AppXManifest.xml"}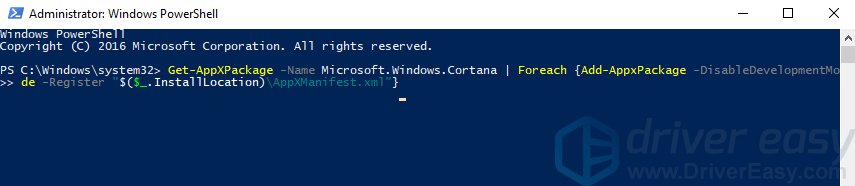
If this command is not working in your case, try the following command instead:
Get-AppXPackage -AllUsers | Foreach {Add-AppxPackage -DisableDevelopmentMode -Register "$($_.InstallLocation)\AppXManifest.xml"}
4) There, your Cortana is reinstalled, and your Start menu should also be back now.
Last but not least: refresh your PC
If you have tried all the above methods, but still you don’t see any promising signs, there is still one more solution left for you to have a try: perform a refresh on your Windows 10.
If you want to know more information about refresh in Windows 10, here is a post for you.